Modern Quilting: Tips, Tricks & Tutorials
A Peek behind the scenes into the Design Process for one of my Say Something FPP Projects
Step 1: Deciding on your words
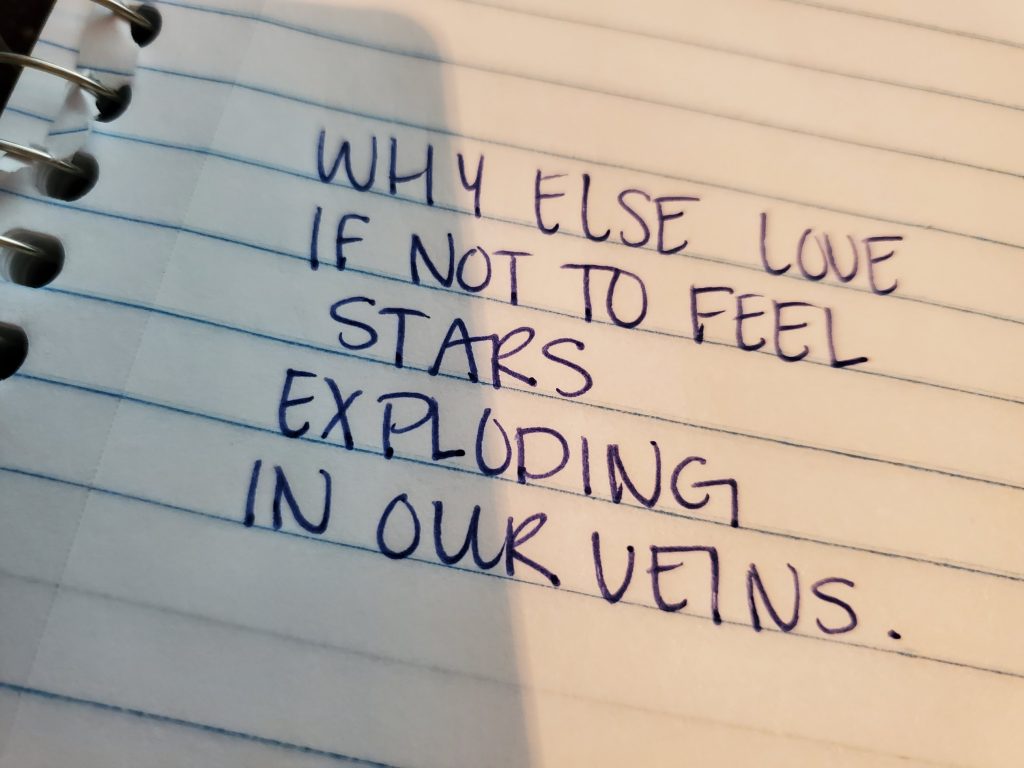
I have long since been a fan of this poetry book that I found on amazon. In it there is a poem in it that reads: “why else love/if not to feel stars/exploding in our veins”. Truth be told, I’m a bit of a romantic sap and I just loved those words! I wanted to create a quilt based on that poem.
Step 2: Work out a rough layout of how you want your text
(This can be complex or simple depending on the text you decided in step 1)
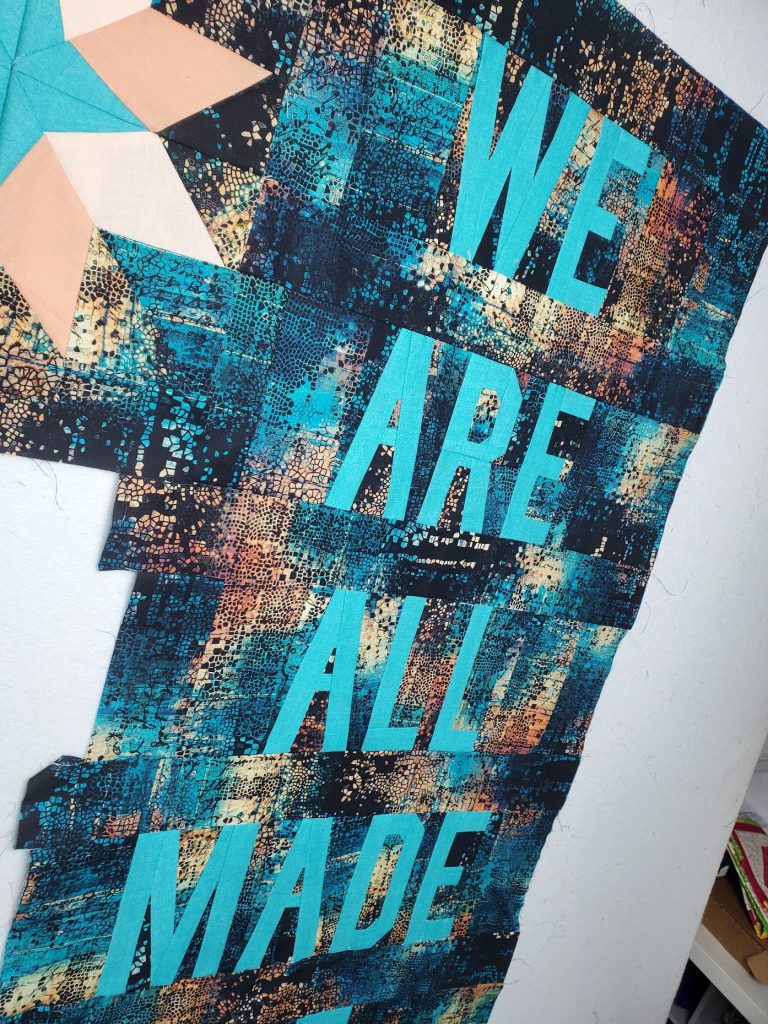
Here is a picture of the layout that I decided on. Being that it was a poem written by someone else… the layout was fairly easy.
Now… I usually choose to go big on quilts and all-in on projects that are more complicated than I have any business getting involved in. I know this about my personality and I am comfortable openly admitting that it is a fault of mine that often gets me into trouble. (trouble meaning: up to my eye balls on projects that are far more in depth and time consuming than I had originally intended)
Knowing all of this… do I ever choose listen? – Often times, no… I do not.
This phrase from a poem that I chose is so near and dear to my heart. I didn’t want to change anything… Even though I know it is a pretty big undertaking with quite a few letters to foundation paper piece… and on a time deadline because I knew I wanted to work on another quilt project soon…
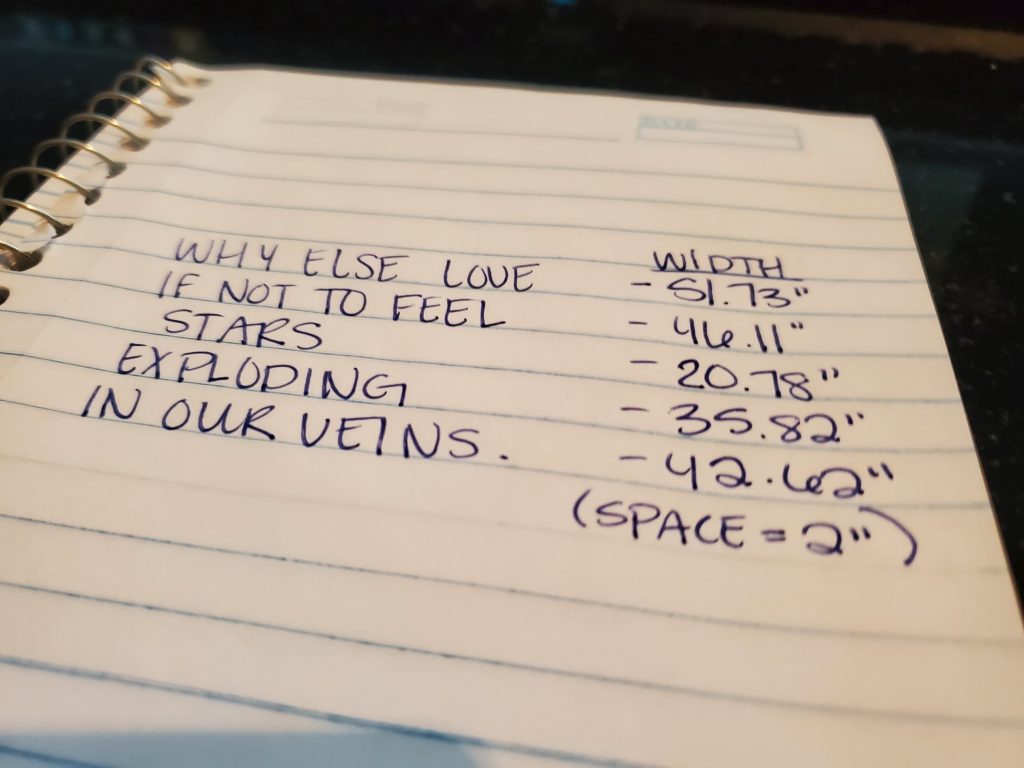
Step 3: Do the math.
At the time, I had only developed the 7″ pattern design. As I began to do the math from the layout phase, it was then that I realized… this quilt was beginning to take on massive size – One that I wasn’t entirely sure I wanted any part of for this project.
So I went back to the drawing board and I started creating alternate sizes for my letter patterns. Not only did this allow me to make the sizing more manageable, but it meant it was going to take less fabric to complete.
Creating multiple sizes opened up a lot of possibilities for mixing the patterns together to create new combinations and layouts!
Step 4: Finalize the design and get your patterns printed out
I realized that what I wanted to do was just not a good use of the time I had for this project before starting my next project. (I had a small window because my cousin was having her baby soon and I NEEDED to finish her quilt. ADHD brains need at least 2 projects to work on so I can procrastinate one project, while working on another project to still be productive. Anyone else do this or just me?!?) I had to compromise the poem I wanted to create and settle for something that was going to be equally epic, but less of a time intensive project.
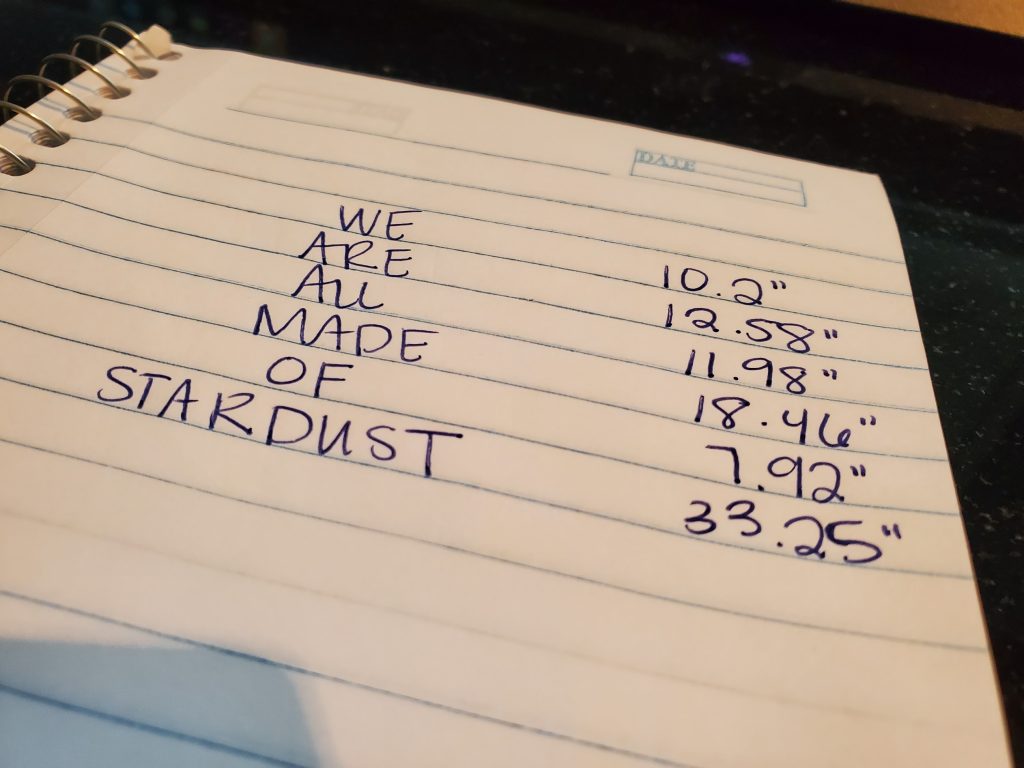
I decided to simplify my text and create a layout that I was equally in love with. The poem will always be there waiting for me another day 🙂
This layout still brings me joy and excites me to work on the project.
Because Foundation Paper Piecing Patterns are a one time use thing, you will need to print out exactly what you need for your design.
I like to trim all my pieces up at once and kind of batch my tasks to make it easier. Also, I can usually turn on a show on Netflix or something and multitask during the monotonous tasks.
I like to use these little handy clips (I use them everywhere in the sewing room) to keep myself organized. If a letter has 2+ pieces to assemble, I just clip them together.
Step 5: Pick your fabrics
Now you can choose to do this fun and scrappy or you can be very strict and really think things through. Make sure you overestimate the amount of fabric you’ll need. I usually do a rough estimate and then order an extra 1/2 yard… making sure that it is a fabric I really really like so if there is plenty leftover I can just use it on another project.
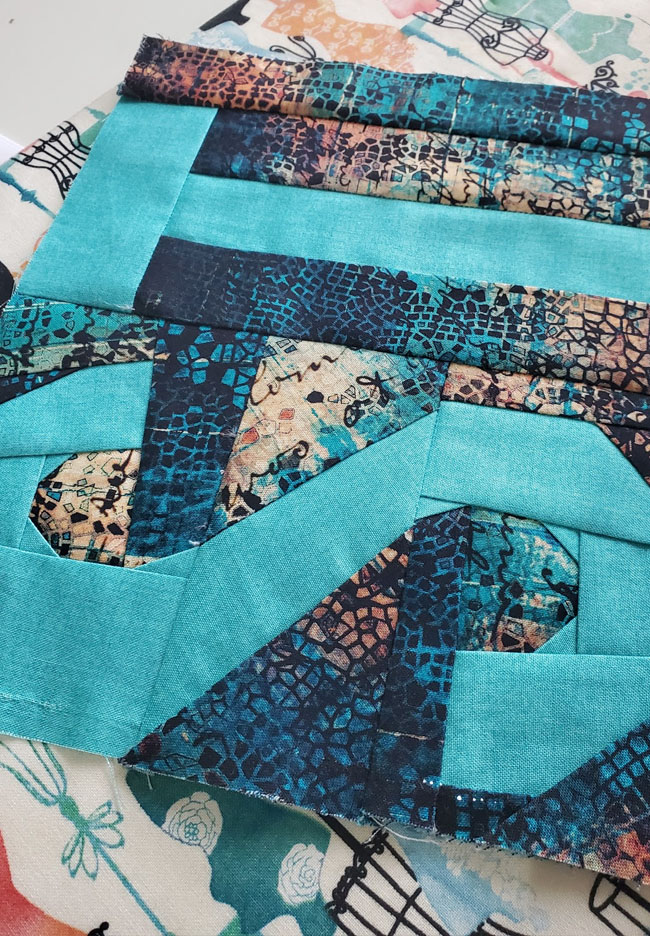
Step 6: Sew Sew Sew
This is the second fun part! Getting to see it all start to come to life! with Foundation paper piecing, all you have to do is focus on one small part at a time. You don’t have to worry about the overall design or how it is all going to work out… just sew the numbered sections in order and worry about one piece at a time. Isn’t it a beautiful thing?
Step 7: Assemble
I like to use my design board for this process and because it is really fun to see your custom designs take shape right before your eyes!
I think my most favorite part of this project is going to be all of the fun I am going to have with the quilting process. All of the beautiful designs that are going to show up in the negative space! Oh it makes my heart giddy!