Printables + Downloads

Learn more quilting by doing! Check out these Printables + Downloads for inspiration and ideas for learning new skills.

  • Framework for a Creativity Audit – How to plan for more creativity

    As we close out and get ready to say goodbye to another year, I want to share with you today my end of year ritual that helps me walk into the new year with a plan and a clearer sense of purpose. My Creativity audit time is something that I use to plan for more creativity in the coming months.

    This is something that I haven’t shared with you before. There are plenty of things that I shout from the rooftops about tools and gadgets etc.

    This is a formula that I’ve developed and fine tuned over the years to get clarity on what really matters in my life so that I can set my goals accordingly.
    It isn’t exactly rocket science and there are probably variations of this same line of thought out there on the web somewhere.

    If you are wanting to shake off the dust from the past year (month, week, etc… this really doesn’t have hard rules!) I want you to give this a shot and let me know what you think! 🙂

    So pull on your comfy pants (oh, you’re already wearing them?! *high five* – me too, to be honest.) Grab the free download sheet below – Just tell me where to send it and I’ll shoot it your way…

    Check out the following tips below and watch the video that I created that gives a little more explanation to implement this audit.

    DOWNLOAD YOUR

    FREE PDF GUIDE!

    A step by step worksheet to decide your goals!

      Creativity Audit Featured Image - to set new creative goals

      WHY SHOULD YOU DO AN END OF YEAR CREATIVITY AUDIT?

      2020 has been something else, huh? Maybe the time you spent at home allowed you to be more productive than ever? Maybe you were one of the beautiful people who sewed HUNDREDS of masks for friends and loved ones?

      We got closer to our families and our comunities and yes, it was hard and emotional… but you know what? You’re still here. You’re reading this.

      I am very thankful for you.

      And I am very proud of you.

      We’re going to take the knowledge that we learned last year and keep moving forward with a perspective that we did not have before.

      I developed this ritual of a quiet reflection at the close of every year. I call it my “Creativity Audit”. It isn’t something that I usually share because it isn’t something that anyone else has any say in. It is just for my knowledge and creative growth.

      I also keep it separate from my other life goals that usually deal with finances, business growth, family goals or personal growth.

      This year, my creativity audit looked a little different than it has in the past. In some ways, I feel like I’ve lived a thousand lives… and in others, I don’t even understand how the calendar is passed March already? So many of the days and weeks blurred together.


      For more project ideas, check out these blog posts:


      Coffee mug with the words Just... begin

      Here is how I like to set the mood to plan for more creativity during my audit:

      Of course, the act of sitting down with a chunk of time where I can be without distractions is a good place to be in… but I start to set things up even before I reach that point! Schedule out a time where you can plan for more creativity and really nail down your goals.

      I’ll usually set aside a few hours the day before to really clean up my space. I put everything away and leave a beautiful blank slate that is a reflection of my openness for progress forward and being open to learning new ideas.

      If you want to learn my biggest cleaning hack, click here.

      I love to light candles and cozy up in my favorite sweater and a quilt too! I love to make a warm mug of tea and put on some soft music in the background.

      Choose whatever puts your in a good mood and sets the tone for amazing quality goal setting time with yourself! If you are the type to grab a giant iced coffee and put on really loud dance music… then by all means, go for it!

      Pro tip: If you have young kids around… give your husband a heads up several days in advance that you’d like a few moments to yourself. Leave him in charge of the house and the kids. You can order pizza or something easy to keep everyone fed… then, I suggest you say a quick prayer and lock the door behind you. 😉

      Watch the video that goes with the free printable!

      Once you have yourself set up, go ahead and watch this video. I go into a little more detail about my audit process and why I do it.

      Then… let it all marinate in your brain for a bit. Sometimes, you need a little time to let things settle or think about your goals.

      Image of brown craft paper with text "what is next?" written on it

      Think about it in terms of:

      • What do you want to experience in the next year of your life and what you want to do?
      • What would you love to create and bring to life in the next year?
      • WHY do you want to plan for more creativity? What would it mean for you?
      • How are you going to feel when you see these dreams come to life?

      And then I want to you to start to get excited about the upcoming year!

      Get yourself hyped up and jazzed about all the wonderfulness of it all! Your planning for more creativity is going to explode your world!

      To all my naysayers that will ask “But I don’t have a guarantee that it is going to be the best year ever!”… To you I say, You don’t have any proof that says it isn’t going to be the best year ever either!! 🥳

      This little ritual is a beautiful way to set yourself up for success in the new year!

      As I mentioned before, this is what works for me… please feel free to change things up or alter your own way of doing things. Do what works for you so long as it leads to positive vibes and uber feelings of success coming your way! 😘

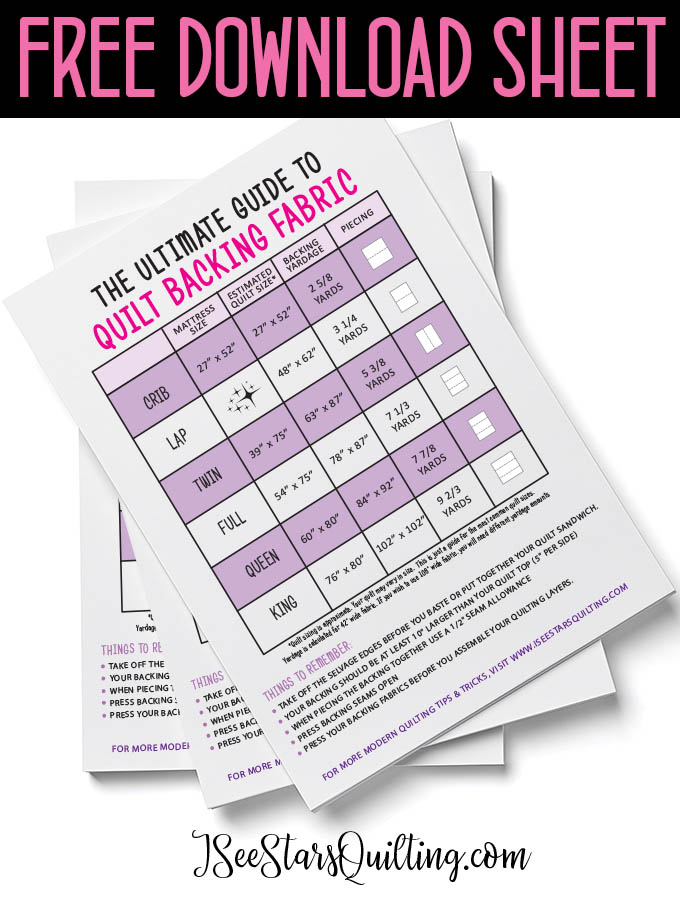
    • The Ultimate Guide To Quilt Backings

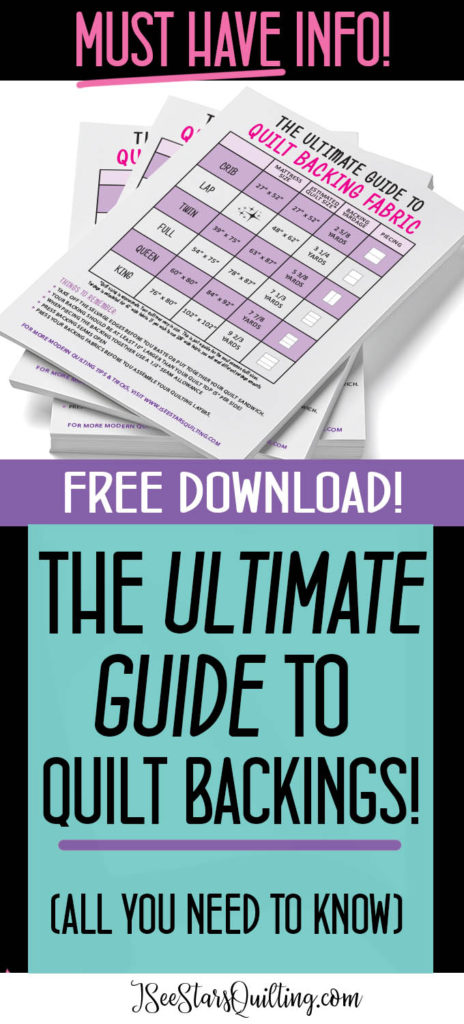
      As quilters, we often spend so much time working on the quilt top. Getting the perfect piecing, spending time on the design work and the fabric choosing… There is so much to it! – But what about the back of your quilt? Today I’m going to talk about just that. This is the Ultimate Guide to Quilt Backings!

      Be sure to check out the FREE download quilt backing
      reference chart that I have for you!

      Are you guilty of just looking at your quilts as a flat 2D piece?


      It’s totally ok. You spend all your energy on the quilt top and then when it comes to the end, you just slap something on the back and call it done! I mean, for goodness sakes, this quilt project didn’t start out as being your entire life’s work… (maybe it was just a small craft project that morphed into a big obsession?)

      I get that by the end your brain might be ready to move on to the next project and be done with the quilt entirely… but if you give yourself just a few more moments to make the right decision, it will be so worth it.

      Taking a little extra time preparing the backing can make a huge difference in the quilt’s longevity as well as how easy it will be to quilt it

      While you generally only look at one side of a quilt at a time, your quilt really is a 360-degree piece of art! …yes, ART!

      Every single decision that you make, no matter how small, further differentiates your quilt from every other quilt out there.

      The Ultimate Guide to Quilt Backings! - All you need to know plus a FREE handy download sheet to print out so you'll always know the most efficient way to piece your quilt backings!

      Have you ever been a part of a sew/quilt-a-long and seen two quilts that turned up identical? I never have.

      You are an artist with your quilting. That tiny mistake that you sewed over and over and decided to just let it stay because you couldn’t be bothered to pick out the threads again… it becomes part of your beautifully unique quilt!

      Your quilt is one of a kind and every single angle should be celebrated!

      Backing fabrics can be so expensive!

      Quilters know this. Fabric can get expensive. And if you have a love of fabric and a need to keep hoards of it untouched in your home… well, it can get REALLY expensive really fast.

      Sometimes it feels like so much money has been spent on the fabric for the front, you can’t bear to drop another $50+ on the backing, right?

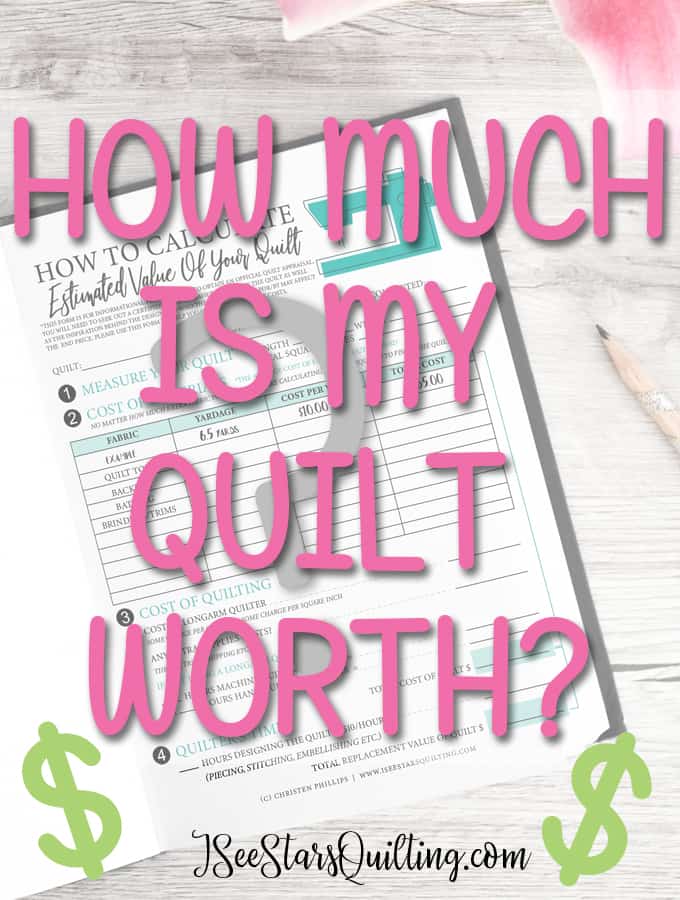
      Hey if you want to know the easiest way to calculate the worth of your quilt, check out this blog post that I wrote! I have a FREE download sheet for you that walks you through and details out every step!

      FREE Download Worksheet to calculate just how much your quilt is worth so next time you get the question... "How much would you charge for..." you'll know exactly what your time and resources are worth!

      When you have already spent what feels like a fortune on fabric for the front of your quilt, going and buying even more fabric for the back… ugh… it can be tempting to find whatever is cheap and easy… because no one will really see the back will they? (*ahem* Read the above section, please!)

      One way that I like to save a little money on quilt backings is to check the sale racks when I’m shopping for other fabrics. Always. every single trip… because you never know what you’ll find.

      I even wrote a whole post on How I find cheap fabrics – (Let me clarify real quick. When I say “cheap” I mean in price. It is best not to mess with cheap/low-quality fabrics when quilting.)

      You might also find this post helpful for quilting on a tight budget… or just making sure that you’re using your crafting money wisely.

      Figuring out that quilting is not a cheap hobby? Here are 8 PROVEN amazing ways to save a little money while continuing doing what you LOVE!

      I’m a bit of a treasure hunter. I really like finding bargains and I feel triumphant when I find a good one. I’ve even found good quality quilting cotton for $2 a yard! – And it was pretty! It has been used for many of my quilt backings.

      Quilting can be an expensive hobby, but it doesn’t have to break the bank… even when you are shopping for quilt backing fabric.

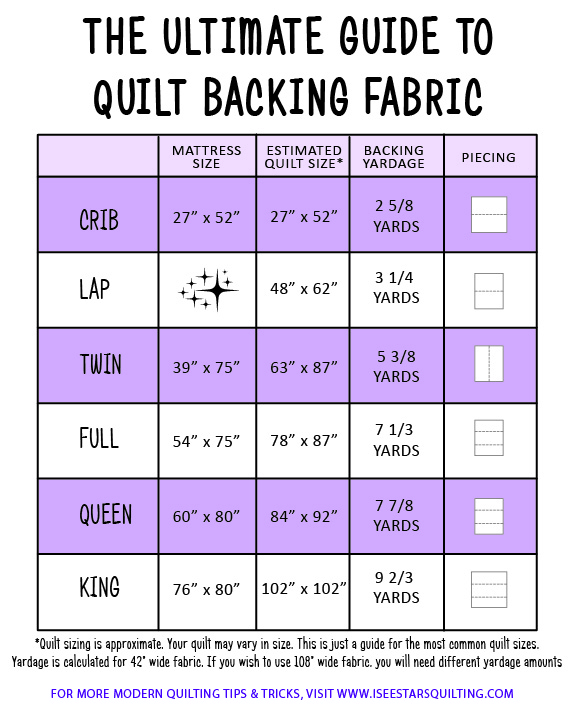
      How much fabric will you need for a Quilt Backing?

      Perhaps your pattern didn’t specify the fabric requirements? Or didn’t specify how you should arrange/piece your backing fabric?

      Here is a general chart that is helpful to keep on hand!

      Remember to PIN this image so you can refer back to it later!!

      The Ultimate Guide to Quilt Backings! - All you need to know plus a FREE handy download sheet to print out so you'll always know the most efficient way to piece your quilt backings!

      To make even more information available to you, I created a FREE download with more tips for when you’re thinking about or planning your backing.

      I tried to pack as much useful content as possible into the one-page download sheet!

      Should I still use a 1/4″ seam measurement?

      Actually, it is recommended on the back of your quilts to use a 1/2″ seam measurement.

      Using a 1/2″ seam allowance instead of a traditional ¼-inch allowance on the backing helps reduce bulk at each seam and makes it lay flatter.

      Also as with piecing, it is recommended to use a shorter stitch length of 10 – 12 stitches per inch for a sturdy seam that will hold up well over time. I usually keep my stitch length on a 2.2 for piecing.

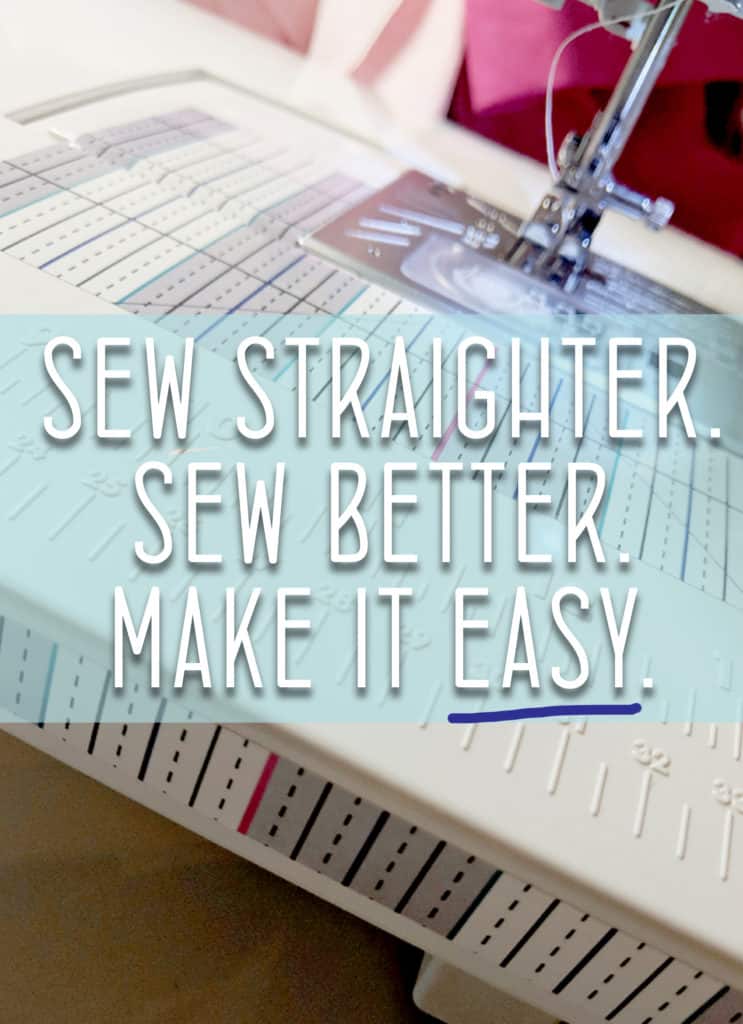
      If you have a hard time keeping your seams straight when you sew, I created something just for you! This is a really popular add on to your sewing machine… and I’m offering FREE shipping!

      Are there any other specific requirements for sewing backing?

      Actually yes… I mean with everything in quilting there are guidelines… and you can choose to follow them or… do your own thing, but general things to keep in mind are:

      • Take off the selvage edges BEFORE you baste or put together your quilt sandwich. – just trust me.
      • Your backing should be at least 10″ larger than your quilt top (5″ per side) if you are planning on giving it to a longarm quilter to finish. They need the extra wiggle room.
      • If you are doing the quilting yourself, you should be safe with 4″ extra per quilt side.
      • When piecing the backing together use a 1/2″ seam allowance instead of your general 1/4″. It is just a little stronger.
      • Press my backing seams open so that the fabrics lay flatter.
      • Give your backing fabrics a good press before you assemble your quilting layers. You don’t want a rogue wrinkle to come up that you have to go back and fix later or accidentally quilt over.

      Lastly, try not to sweat it too much 🙂 Quilting is fun, right?

      For more tips on what to do on the back of your quilt, check out this post. I tried to keep the above post more on the technicalities of your quilt backing, but I went into a lot more about the design of your quilt backing and how you can use up fabric scraps in this post!

      The Ultimate Guide to Quilt Backings! - All you need to know plus a FREE handy download sheet to print out so you'll always know the most efficient way to piece your quilt backings!
    • 10 Free Jelly Roll Patterns!

      Ready for some really fun and easy FREE patterns that use pre-cut Jelly roll fabric? That is exactly what I have for you today! I’m rounding up my favorite free Jelly roll projects to share with you from around the internet!

      In quilting terms… just what is a Jelly Roll?

      A Jelly Roll is a collection of forty fabric strips that are pre-cut at 2 ½” height x 44″ long. The strips usually consist of a variety of fabrics that are already coordinated and matchy matchy to make your project look amazing!

      The strips are layered, rolled up tight, and tied with a bow. – They are nearly irresistible in the stores!

      I am sharing 10 free Jelly Roll Patterns with you today that are my favorites from around the internet. Beautiful patterns that aren't complicated!

      Jelly Rolls are wonderful and save so much time on cutting and coordinating fabrics! You can pretty much guarantee your quilt or project will be amazing when using them!

      This is a fun project that doesn’t really need a pattern even!

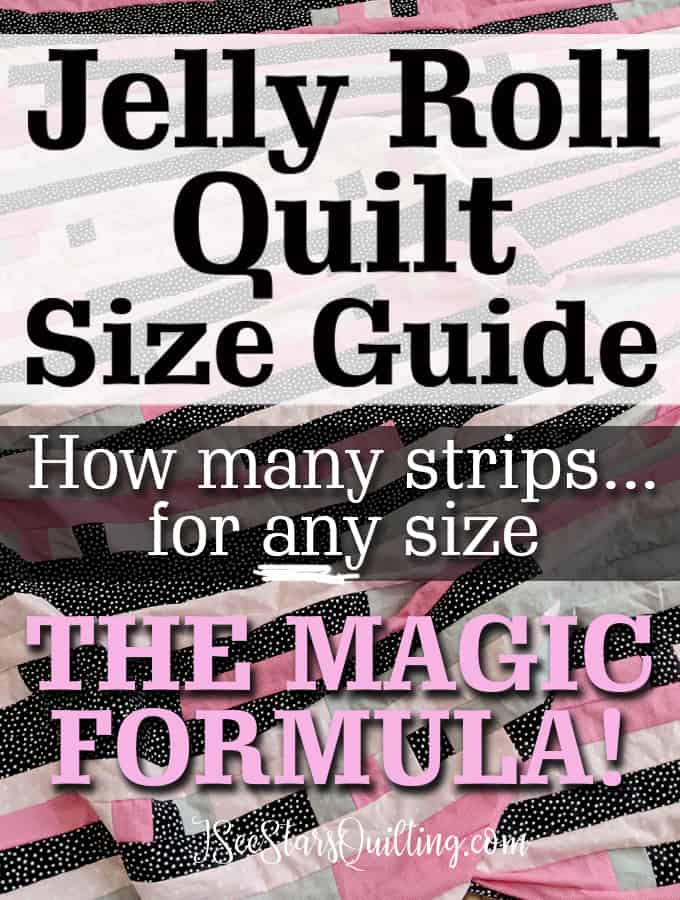
      I wrote a guide to making traditional randomized Jelly Roll quilts a while back and it has been a super popular resourse for quilters in calculating the fabric requirements for their Jelly roll quilts.

      Make sure you take a moment to check it out here!

      Custom sized jelly roll quilt? Here is the magic formula I use! Works every time and is so simple! + a look at the queen sized jelly roll I made with a design twist

      The following is by no means the only patterns/tutorials out there… but I tried to round up my favorite projects that give you the most amazing results!

      10 Free Jelly Roll Patterns & projects

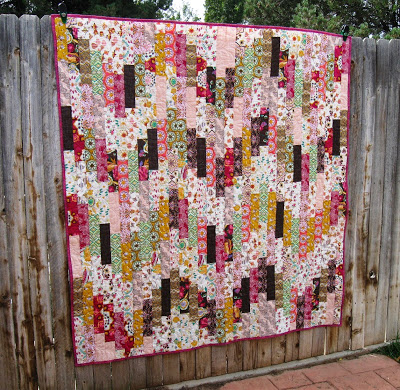
      1. This Cute Zig-zag Quilt Pattern!

      I am sharing 10 free Jelly Roll Patterns with you today that are my favorites from around the internet. Beautiful patterns that aren't complicated!

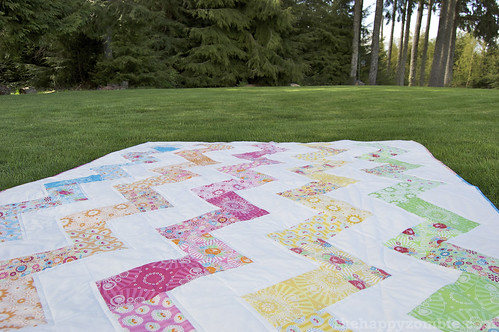
      This “Super Zig” Quilt pattern is a free download over on The Happy Zombie. You can get it here.

      I love how versatile the pattern is for every occasion and combination of fabrics!

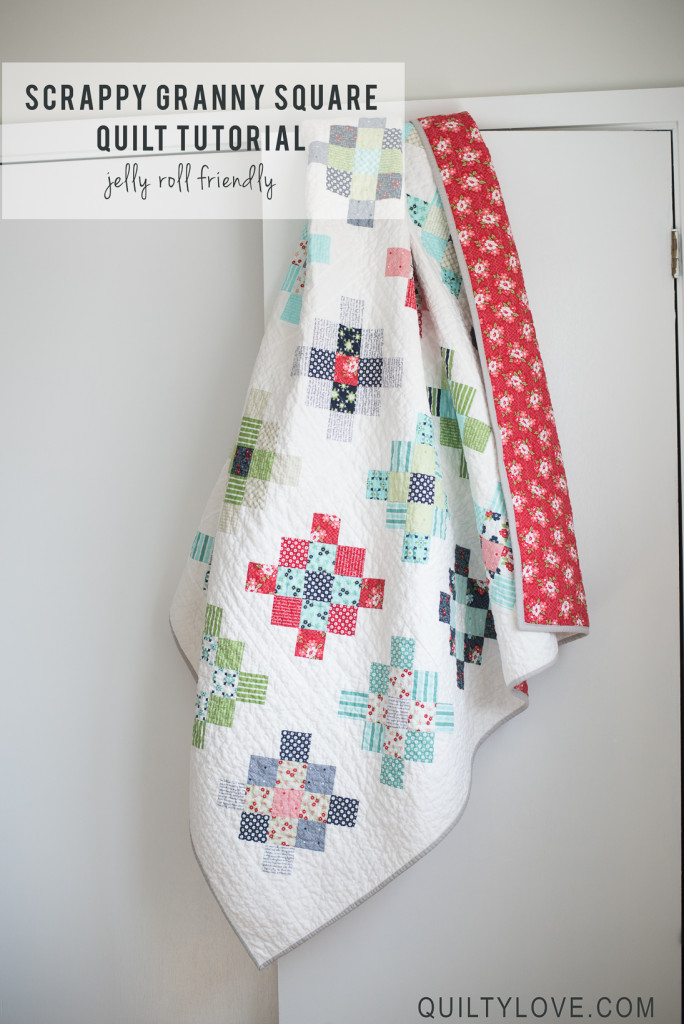
      2. Scrappy Granny Square Quilt Pattern

      I am sharing 10 free Jelly Roll Patterns with you today that are my favorites from around the internet. Beautiful patterns that aren't complicated!

      This might look complicated and tedious, but really… it is a breeze! 🙂

      The tutorial is also super easy to follow. Emily over at Quilty Love is one of my favorite quilters . I’ve yet to meet a pattern of hers that I didn’t just completely fall madly in love with. <3

      You can get the granny quilt square pattern that uses jelly roll fabrics for free here.

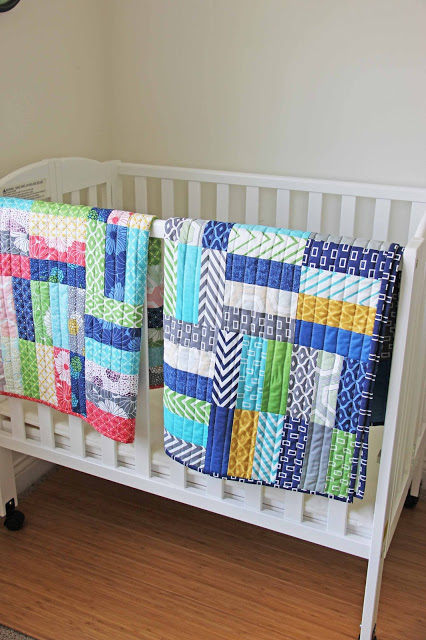
      3. One Jelly Roll, Two Quilts!

      I am sharing 10 free Jelly Roll Patterns with you today that are my favorites from around the internet. Beautiful patterns that aren't complicated!

      One Jelly Roll, two quilts?… Yep! Baby quilts, but still! These are precious and fast sews to please all the little ones in your life.

      You can download the pattern and check out the tutorial from V and Co here.

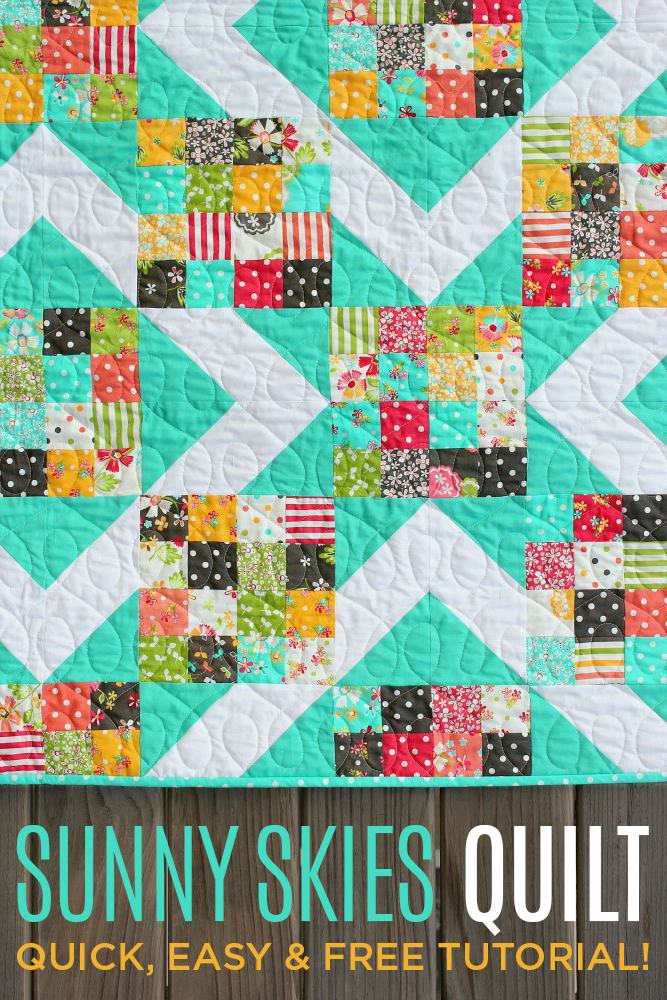
      4. Sunny Skies Quilt Pattern

      I am sharing 10 free Jelly Roll Patterns with you today that are my favorites from around the internet. Beautiful patterns that aren't complicated!

      This quilt pattern is so fun and so easy. OK so you might need a little more fabric than just 1 jelly roll, but it’s absolutely worth it to get this beautiful boxed block look!

      You can download the Free Jelly Roll Quilt Pattern from Missouri Quilt Co. here.

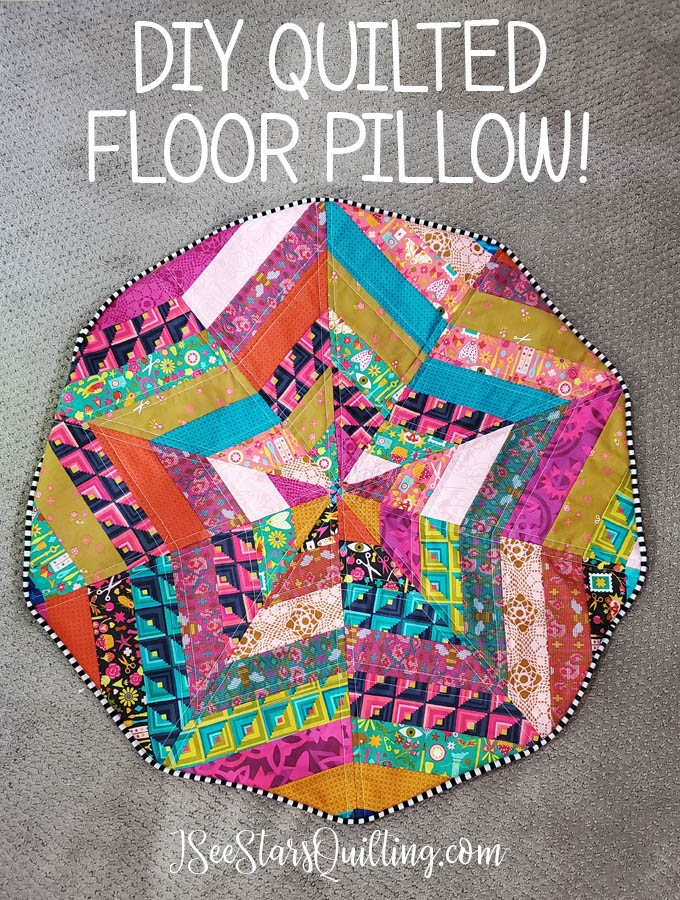
      5. DIY Jelly Roll Floor Pillow

      I am sharing 10 free Jelly Roll Patterns with you today that are my favorites from around the internet. Beautiful patterns that aren't complicated!

      *ahem* Shameless self promotion here… but I’ve had amazing feedback on this pillow that I created… Due to the number of requests that I recieved after I posted it, I created and easy to follow FREE pattern for your to make your own pillow!

      You can check out the post here with more pictures and download the pattern here.

      If you’re looking for more free downloads, make sure you visit my Freebie Library! I have several other FREE quilt patterns, worksheets, and useful downloads!

      6. Playing the Scales Quilt Pattern

      I am sharing 10 free Jelly Roll Patterns with you today that are my favorites from around the internet. Beautiful patterns that aren't complicated!

      A slightly different version of the zig-zag pattern, but still stunning with such pretty fabrics! I love the play on the dark and light fabrics with this one!

      You can download the pattern and measurements from Happy Quilting Melissa here.

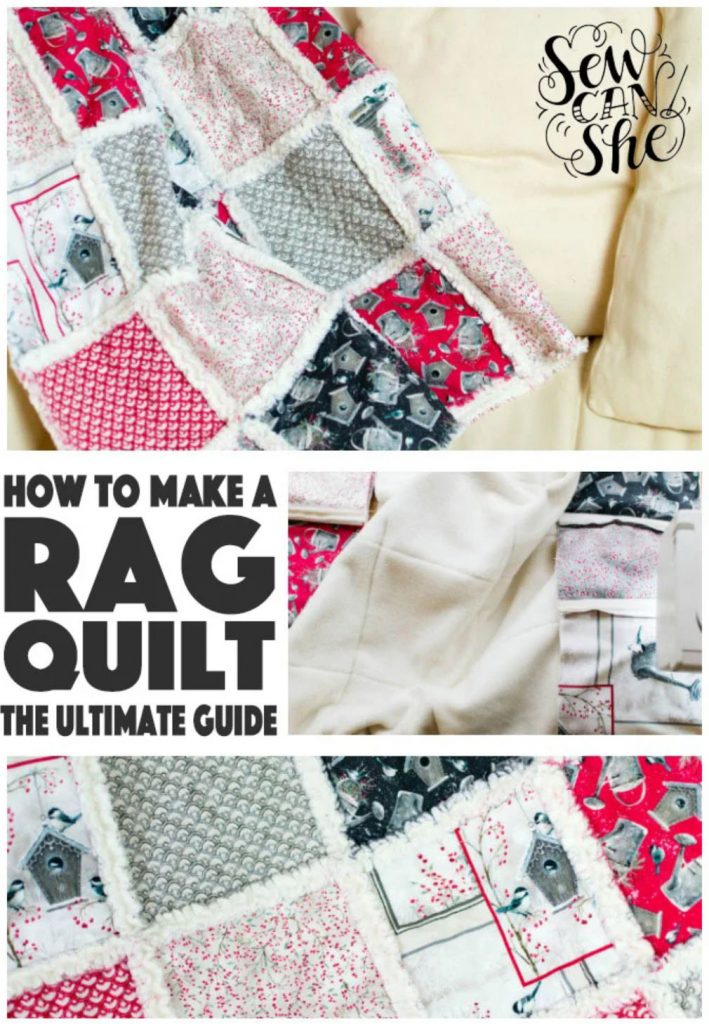
      7. Fabric Strip Rag Quilt

      Doesn’t this quilt look so cuddly and snuggly? SoCanShe has a really wonderful technique to get the soft ruffles on the edges of the jelly roll strips!

      Check out the Free pattern here.

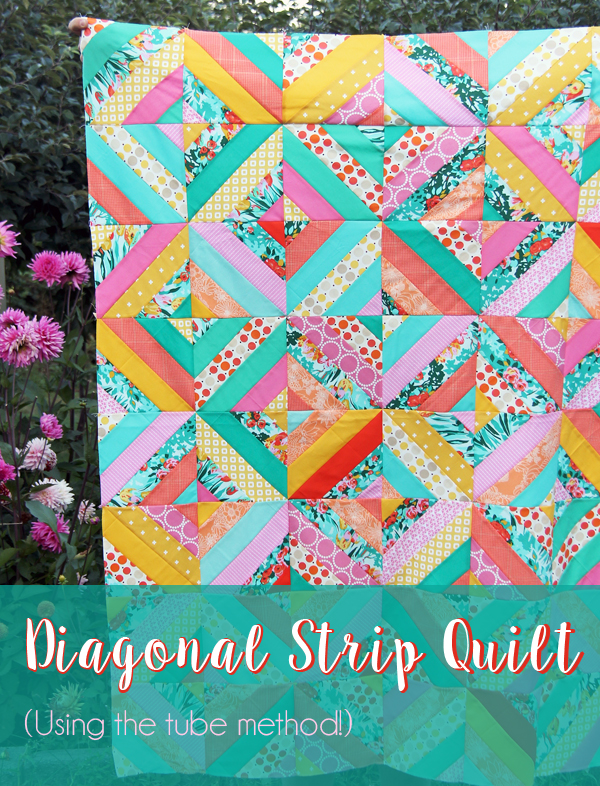
      8. Diagonal Strip Quilt

      I am sharing 10 free Jelly Roll Patterns with you today that are my favorites from around the internet. Beautiful patterns that aren't complicated!

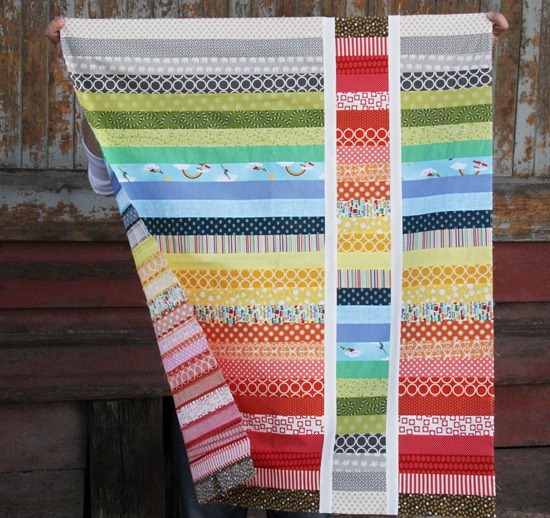
      This is one you really need to check out because I promise you… however you think this quilt is made… it isn’t correct. This borders along with one of the smartest tricks I’ve seen in a long time.

      Check out CluckCluckSew’s pattern and genius ideas here.

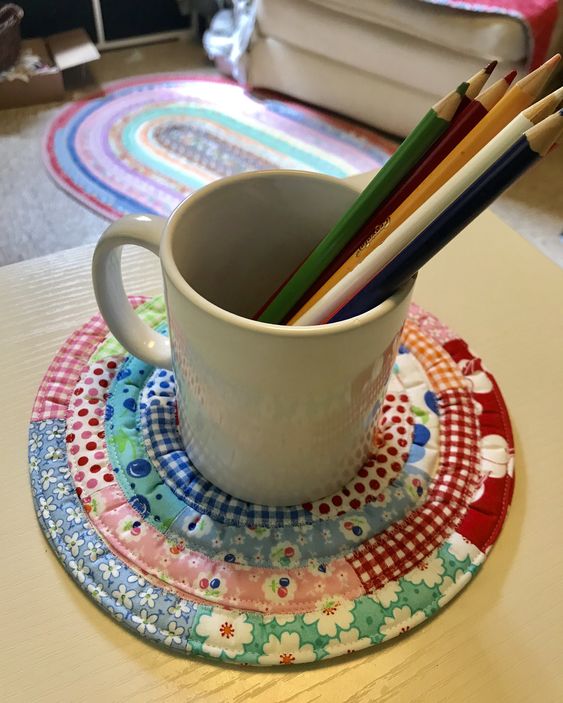
      9. Jelly Roll Coasters and Mug Rugs

      I am sharing 10 free Jelly Roll Patterns with you today that are my favorites from around the internet. Beautiful patterns that aren't complicated!

      Hello handmade Holiday gifts! I could make these for all over my house right now. Aren’t they precious?… and do you see the matching jelly roll rug in the background of the photo above?

      Check out more info from Quilting Digest.

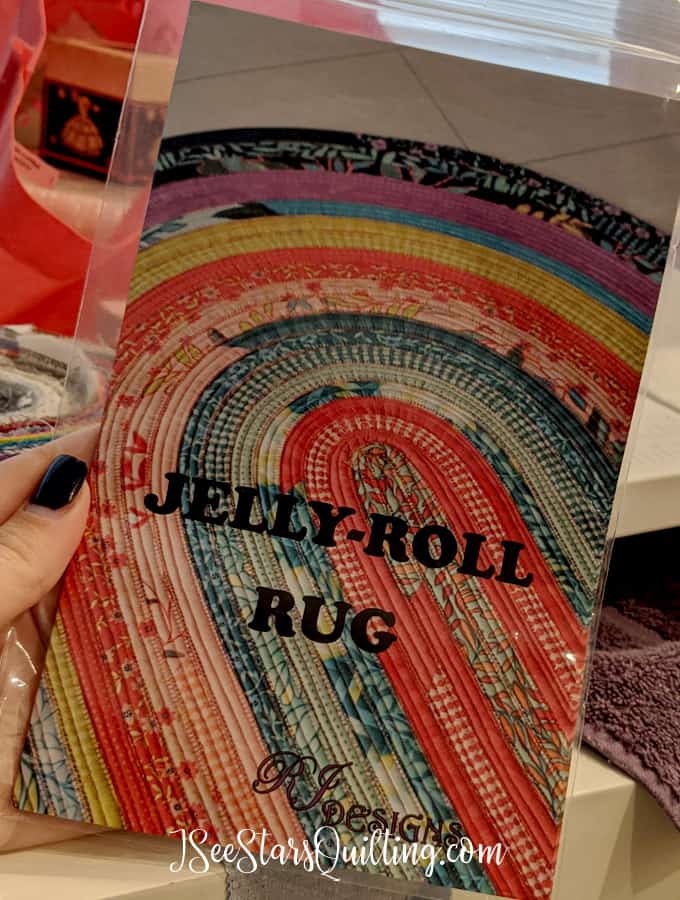
      I recently made a jelly roll rug for the first time and I fell in love with the process… well… if I’m being honest, I liked some of the process, some… not so much… but what I did LOVE was the end results!

      You can check out more photos of my rug as well as the mistakes I made along the way. (I share so that you can learn from my experience and fast forward through the learning curve moments!)

      This is the progress I've made so far on the Jelly Roll Rug pattern. Has it been a fun pattern? yes. Has it given me challenges? Yes! I'll fill you in on my learning mistakes here...

      10. Strip & Flip Quilt

      I am sharing 10 free Jelly Roll Patterns with you today that are my favorites from around the internet. Beautiful patterns that aren't complicated!

      Level = Easy, but I will never tire of how beautiful this quilt top (or back!) looks! Sometimes, I feel myself drawn to the really complicated patterns that make me want to pull my hair out and sometimes I find myself swooning over the patterns that really let the fabric shine in a simple yet stunning pattern.

      This quilt by CluckCluckSew is one of those patterns. You can find it here.

      Do you have a favorite FREE Jelly Roll Quilt Pattern?

      I would love to hear your thoughts on what your favorite patterns are and what you plan to sew next time you’re working with Jelly Roll fabrics!

      Be sure to check out Fabric.com for a huge selection of Jelly roll starters and start getting inspired!

    • Never Have I Ever! (Sewing Edition!)

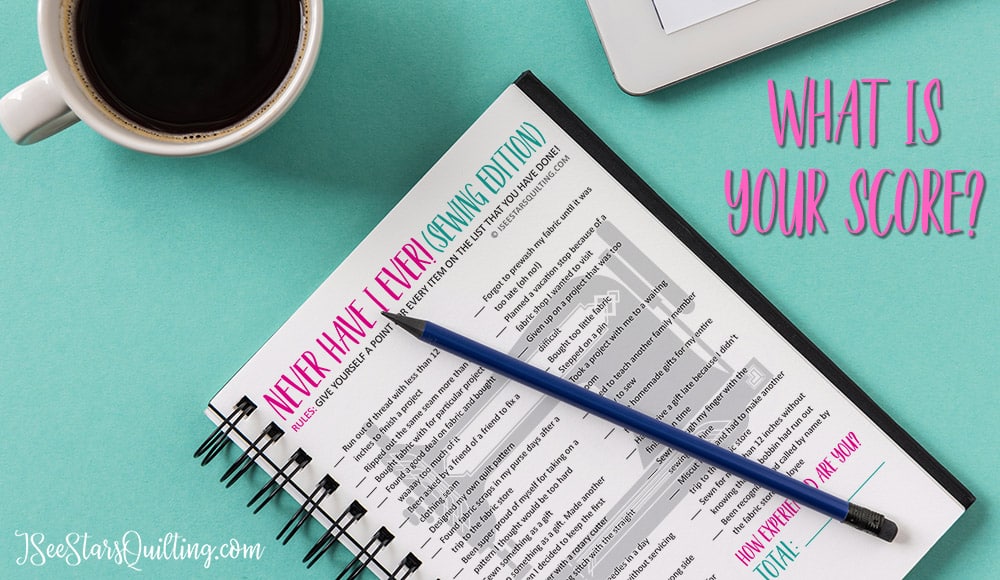
      Have you ever played the “Never Have I Ever!” game? It’s pretty fun 🙂 I started thinking about creating a sewing edition and before I knew it everything had spilled out… and below is the final version!

      This activity is perfect if you’re just curious where you stand… It’s even better if you print it out and take it to your sewing retreat or quilt group meeting and compare your score with your sewing besties!

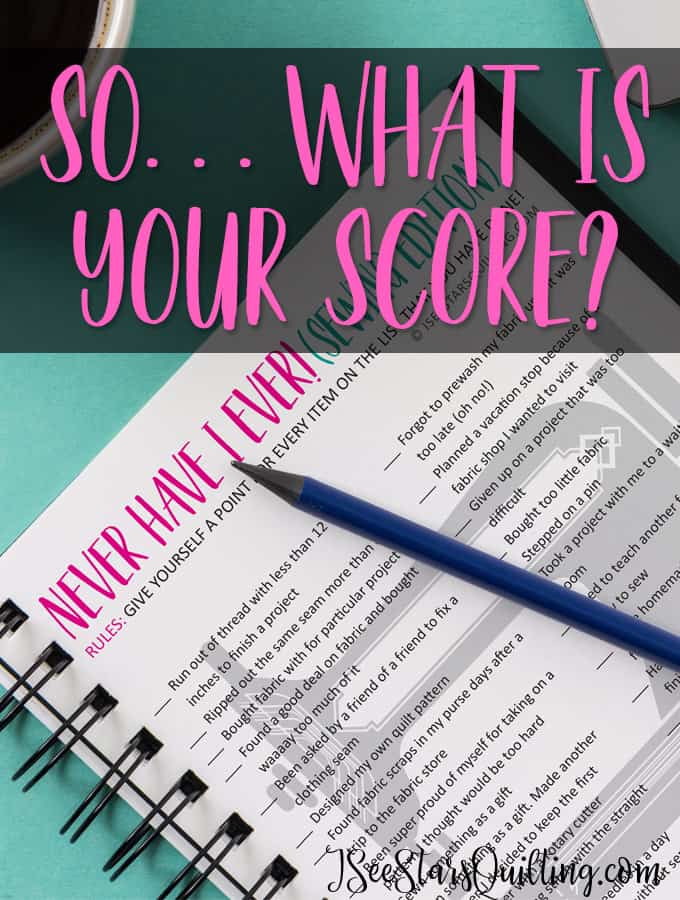
      Never Have I Ever! (Sewing edition) - A super fun game to see just how experienced you are! Great to pull out at meetings or retreat weekends! -- What is your score?

      Never Have I Ever! (Sewing Edition)

      Rules: Give yourself a point for every item on the list that you HAVE done!

      • Run out of thread with less than 12 inches to finish a project
      • Ripped out the same seam more than once
      • Bought fabric with no particular project in mind
      • Found a good deal on fabric and bought waaaay too much of it
      • Been asked by a friend of a friend to fix a clothing seam
      • Designed my own quilt pattern
      • Found fabric scraps in my purse days after a trip to the fabric store
      • Been super proud of myself for taking on a pattern I thought would be too hard
      • Sewn something as a gift
      • Sewn something as a gift, and then made another one because I decided to keep the first
      • Cut my finger with a rotary cutter
      • (Tried to) zig-zag stitch with the straight stitch food still on
      • Broken more than 2 needles in a day
      • Gone more than 2 years without servicing my sewing machine
      • Sewn something inside out or wrong side of the fabric
      • Had to stop what I was doing and look for my scissors only to realize they were in my hand the whole time
      • Entered into a quilt show
      • Forgot to prewash my fabric until it was too late (oh no!)
      • Planned a vacation stop because of a fabric shop I wanted to visit
      • Given up on a project that was too difficult
      • Bought too little fabric
      • Stepped on a pin
      • Took a project with me to a Dr. appointment waiting room
      • Tried to teach another family member how to sew
      • Made homemade gifts for my entire family
      • Had to give a gift late because I didn’t finish it on time
      • Sewn-through my finger with the sewing machine
      • Miscut fabric and had to make another trip to the fabric store
      • Sewn for more than 12 inches without knowing that the bobbin had run out
      • Been recognized and called by name by the fabric store employee

      What’s Your Score?

      Total up how many points you have and put your score in the comments! Then share this post and call up your sewing girls to see how you rank 🙂

      The more points you have, the more experienced sewist you are!

      Never Have I Ever! (Sewing edition) - A super fun game to see just how experienced you are! Great to pull out at meetings or retreat weekends! -- What is your score?

      For more free printables, join my email list!
      I have a whole library of freebies!

    • How to Print your Quilt Patterns for FREE!

      I love that most Quilt patterns are available online for instant download. Isn’t it just great?! What a time to be alive right? …Well… I love it until I realize that the amount of ink that I’ll have to use for the pattern! Yikes. Today I am going to tell you how to print your quilt patterns for FREE!

      Yes! I said FREE!

      FREE: As in, give me all the high-quality full-color pages you can throw at me! I have been printing all my quilt patterns and pages for the total price off FREE! Did you see that? That was FREE, nada, zilch, nothing!

      I used to be such a scrooge with my ink cartridges. It is perfectly ok to admit that you have a problem when you’re looking hard at your PDFs and wondering just how much of the material specs you can remember in your head to avoid having to print it out and waste that liquid gold, right?

      I even used to print everything in “economy mode” and picked which of the pages I absolutely NEEDED to print.

      It seemed like every time I turned around we were out of ink. And every single time I was spending $50-$60 to replace the ink.

      It was slowly driving me crazy.

      I started shopping for laser printers (holy cow that’s an investment). Then, I dove into research mode and weighed out the costs over time… switching to just black and white all the time (boring!) and different printer brands (so so many)… I even looked at commercial office printers! …I was in deep.

      So what did I do to fix my problem!?

      (because you know I fixed it AND you KNOW I’m going to share my hack with you so you can know how to print your quilt patterns for FREE too!)

      I ran across a program from HP called HP Instant Ink.

      And it totally changed how I use my printer!

      I’m going to share with you a little about the program and then I’ll jump into spilling my secrets on how I get it all for FREE!

      If you’ve never heard about it, here’s what HP Instant Ink is:

      HP Instant Ink is a by-mail ink cartridge replacement service. You decide from several HP Instant Ink plans. The plans vary in their monthly service fee based on the number of pages you print each month.

      Your printer sends ink level information to HP, and when ink levels get low, HP automatically ships ink replacement ink cartridges. You can save up to 50% on ink that’s ordered by your printer and delivered to your door before you run out. All included in the monthly rate. How cool is that?

      To sign up for this service you need a printer that is HP Instant Ink eligible. They have eligible printers that fit all budgets.

      If you don’t have an HP printer, I’ll explain to you how in the long run when compared to your current printer and ink costs, A new printer from HP is really are quite affordable and make a lot of sense.

      Printing get expensive! I'm going to share this simple trick I use for how to print your quilt patterns for FREE! It is so easy!

      Why I LOVE using the HP Instant Ink program

      When you sign up for HP Instant ink you can get several months for FREE immediately

      I got 6 months of FREE HP Instant INK when I signed up. 6 months!

      And because you can change your plan level at any time… you better believe that I took advantage of those free months and set it at the highest level right away. 300 Pages/month! 6 Months X 300 Pages = Up to 1,800 for FREEEEE! And it is whatever quality page I want to use!

      I could keep going on and on about it because I love it, but I bet you want to know how to print your quilt patterns for FREE too, right?

      The first thing you need to do is:

      • Get 1 month FREE by signing up with a referral link/code :
        You can get 1 month free by signing up with my referral link try.hpinstantink.com/BfDsr or code BdDsr to get 1 free month. (Just so you know, I’ll get a free month too if you sign up using my link, thanks!)
      • My new printer came with a 3 months free trial – most new printers do I believe. Look for any promo code that would be included with your printer, or contact HP Instant Ink customer service if you can’t find it.
      • After that, I tried out every discount code I could find online and managed to score an extra 2 months of Free HP Instant Ink. I’m going to list the codes that I know of right now for you.

        You’ll want to stack as many of these on at the beginning as you can!

        Discount codes often change, so it is anyone’s guess what will work and what will not. You just have to try them all out one after the other (you can use multiple coupon codes on your order). You can also google for more if needed.

        I definitely recommend you try these promo codes:

        FREE INK
        3FREEINK
        SAVE50PERCENT
        HPINSTANTINK4U

      What happens after the free months are up?

      After you’ve used the program for a little while, you should have an idea of how many pages/month you actually use and can downgrade (or upgrade) your plan from there to find one that fits your budget more.

      HP Instant Ink offers several plans to fit everyone’s printing needs. And I think they’re super affordable. You can also change your plan at any time.

      Here is what I did: I signed up for the Frequent Printing Plan (up to 300 pages) during my free trial/free months to take full advantage of the free months, and then switched to a cheaper plan (moderate) that more fits our actual printing needs.

      Below are the Instant Ink plan costs:

      My best guess is that most people will be totally fine with the occasional (50 pages/month for $2.99) or moderate (100 pages/month for $4.99) printing plans.

      I spend that amount going through the drive-through coffee place ONCE (you know the one!) So, for less than the price of a fancy coffee, you can always print as much as you want, using the best printing quality every time, and never worry about running out of ink!

      How do I know how many pages I’ve used?

      HP thought of everything because you can log into your Instant Ink account and see immediately how many pages you’ve printed this month so far.

      What if I don’t use all my pages for the month?

      If you don’t use every single page allowance, it’ll roll over to your next month and you’ll have a little bit of a cushion so you can print what you want when you want it. Absolutely NO worries!

      What if I go way over and print too many?

      And if you go over your plan limits, you’ll only pay $1 for every 15/20/25 additional pages (depending on your plan). $1!

      Still so much cheaper than taking it down to the copy shop!

      Is it hard to cancel?

      You can totally cancel this service at any time (on your last free month for example) if you’re not convinced by this system… but I doubt you will want to cancel. 🙂

      My favorite part about the whole program is I don’t have to sit and think “is it worth it to print this and waste my precious ink?” It has completely erased my fear of running out of ink and having to spend more money as well.

      Printing get expensive! I'm going to share this simple trick I use for how to print your quilt patterns for FREE! It is so easy!

      Want to earn more months for FREE?

      Here is the best part, there is no limit to the number of FREE months that you can earn!

      Once signed up, you’ll have your own referral link and codes that you can share with your friends and family or anyone who will listen. They will get a FREE month thanks to you and you’ll get an extra free month too! Every single time someone signs up using your referral links.

      It’s that easy.

      So, essentially, you could keep on using HP instant ink for free for a long long while!

      I mean, you share your favorite products with people anyways, right? Why not spread a little love and get a little love in return?

      When you checkout, make sure your total due is $0 and you see (at least) the referral code for a free month from me in there! With any luck, you’ll be able to start off with 4-6 months of completely FREE printer ink! Woah…

      How does that sound? Hit me up in the comments section and let me know if this awesome hack answers your questions on how to print your quilt patterns for FREE!

    • ‘Through the Window’ Easy Quilt Pattern

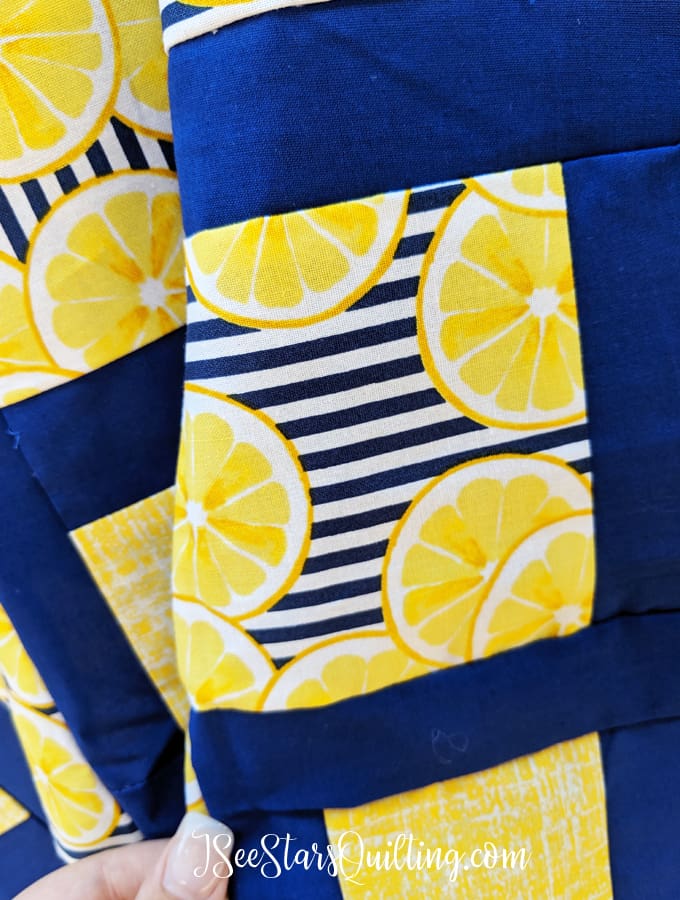
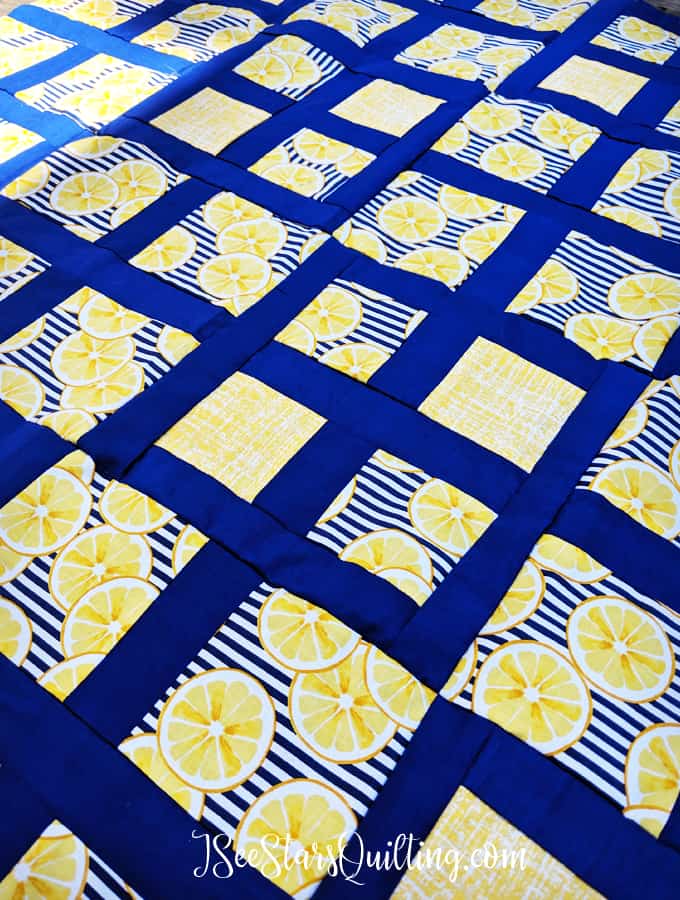
      Hello Sunshines! I’ve been tossing around ideas and sketches for a new quilt pattern lately and I finally just decided to quit drawing and start sewing! Today I’m going to share my Lemon Quilt with you! Its a super easy quilt pattern!

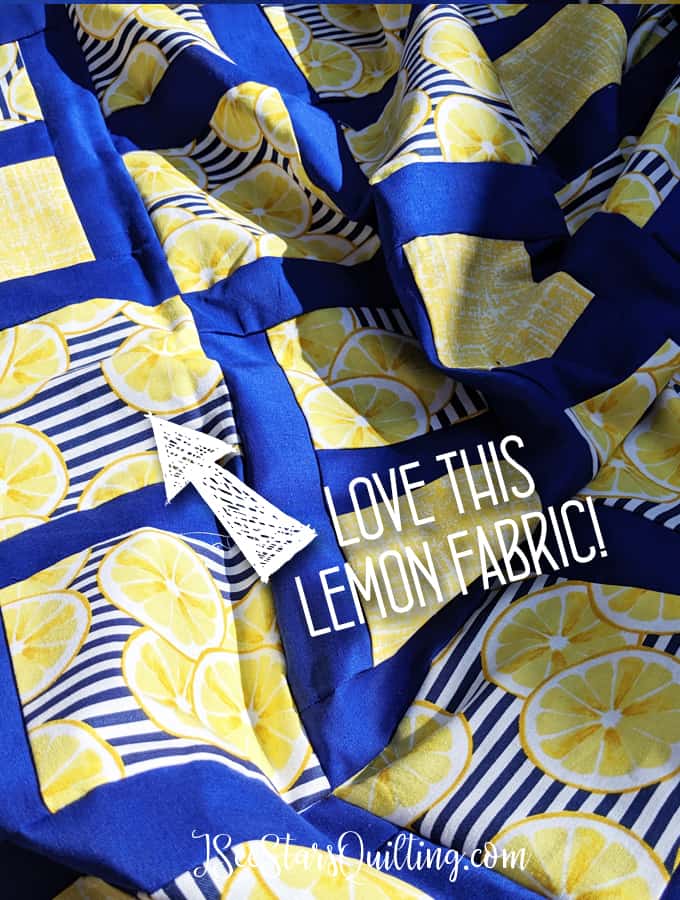
      I found this lemon fabric a while back on clearance and I didn’t know what I was going to sew with it… but I knew it was made to be mine!

      For more tips on finding good deals on fabric, check out this post: FABRIC SHOPPING – THE SMART WAY TO DO IT IN 6 STEPS

      Lemon drops are my favorite candy. I love a big bowl on yellow lemons on my kitchen counter and I like lemon in my sweet tea too. They just speak summer to me!

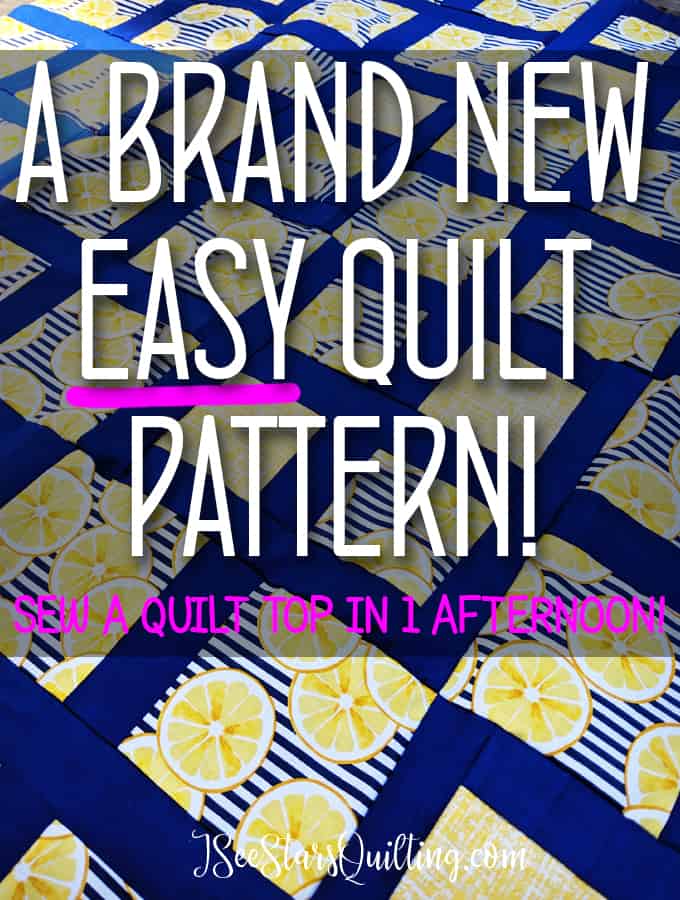
      A Brand New Pattern! This 'Through The Window' Pattern is created to be a fun and easy pattern that is comfortable to sew again and again!

      I’ve also been hinting at releasing a new pattern this summer and because things have been non-stop busy, here it is August already. oopsies.

      What I wanted to create in an easy quilt pattern:

      I had some specifics for this pattern that I really wanted to include:

      I wanted to create a pattern that was easy. Like wash, rinse, repeat easy.

      I wanted it to be a quick sew. Like quilt top in an afternoon, quick. Sometimes we don’t want to have to ‘learn a whole new language and culture’ just to sew a quilt top.

      AND I wanted it to be as few cuts and sizes as possible. Sometimes simple really is the best way.

      A lot of my readers are new to quilting and the last thing that you want is a big confusing mess to discourage your shiny new passion!

      I really think I got all that I was wanting (and then some) with this one!

      I LOVE how fun it turned out! And guess what?! I made a small throw sized (aka baby size) quilt – from the first cut to the last stitch it only took me ONE afternoon. Amazing, right?

      I need to add that this was an afternoon in which my kids still came by to talk to me every 10 seconds and ask for snacks or what I was making for dinner, if I could read them a story or draw a dinosaur (I’m pretty good at it apparently) etc etc. It was NOT solid sewing or “me time”.

      A Brand New Pattern! This 'Through The Window' Pattern is created to be a fun and easy pattern that is comfortable to sew again and again!

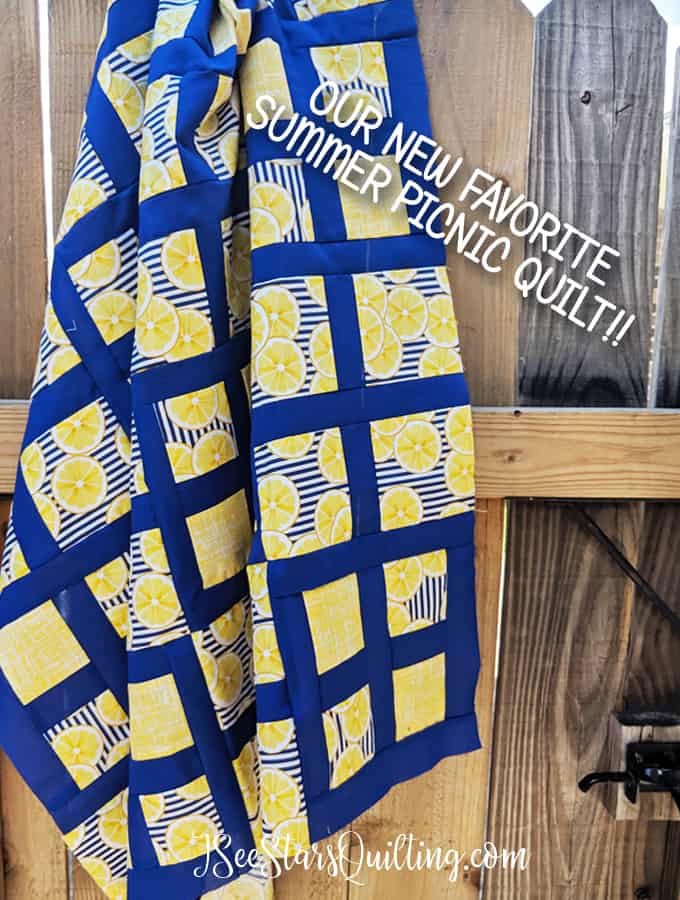
      Ta-da… This is my newest quilt pattern, Through the Window! I included size alterations for throw size, twin, queen and King too.

      A Brand New Pattern! This 'Through The Window' Pattern is created to be a fun and easy pattern that is comfortable to sew again and again!

      You can find it in my shop here.

      I think you’re really going to love how easy this quilt pattern is and also how versatile it is.

      Scrappy quilt friendly?! Yes.

      Charm Pack square friendly?! yep yep!

      Here are a few more eye-candy pictures of my new favorite picnic quilt!

      A Brand New Pattern! This 'Through The Window' Pattern is created to be a fun and easy pattern that is comfortable to sew again and again!
      A Brand New Pattern! This 'Through The Window' Pattern is created to be a fun and easy pattern that is comfortable to sew again and again!

      For more sewing patterns by ISeeStarsQuilting, check out my shop!

      So that is what I’ve been working on lately 🙂 What do you think?

      I always find it so fascinating what people look for in an easy quilt pattern. Tell me in the comments what you look for!

      Is it a quick and easy sew? a challenging pattern to learn something new? Something that isn’t going to make you go cross-eyed while working?!? Tell me please so I can create more patterns tailored to your desires!