Today I’m going to share with you a fun little trick! You’re going to love it. It works every single time without fail. Here is how to get really flat seams when you sew!
I bet you even have everything you need in your house right at this very second…
*announcer voice* Are you tired of those wonky seams that will not stay where you put them? Pressing and pressing with your iron can stretch and pull your fabric throwing off your measurements and eventually ALL your hard work of extra precise cutting!
[*Insert really bad infomercial lady struggling with even the simplest of tasks*]
When you’ve had enough, you’ve had enough!
There has to be a better way, right?
*ding ding ding* YES! There is a better way!
Ok ok… no more bad infomercial… just simple practical advice from here on out! …I think I might have had too much Coke Zero today?
First, I’m going to show you the easiest way to press your seams. You can probably start doing as soon as you reach the bottom of this post…
…And then I’m going to give you some of my recommendations on tried and true products that can help ease your fabrics into submission and make you their Queen.
The Easy Method
Here is what you need:
- Iron (This one is my favorite!)
- Ironing board (or this really really amazing wool mat)
- Your pieced fabric
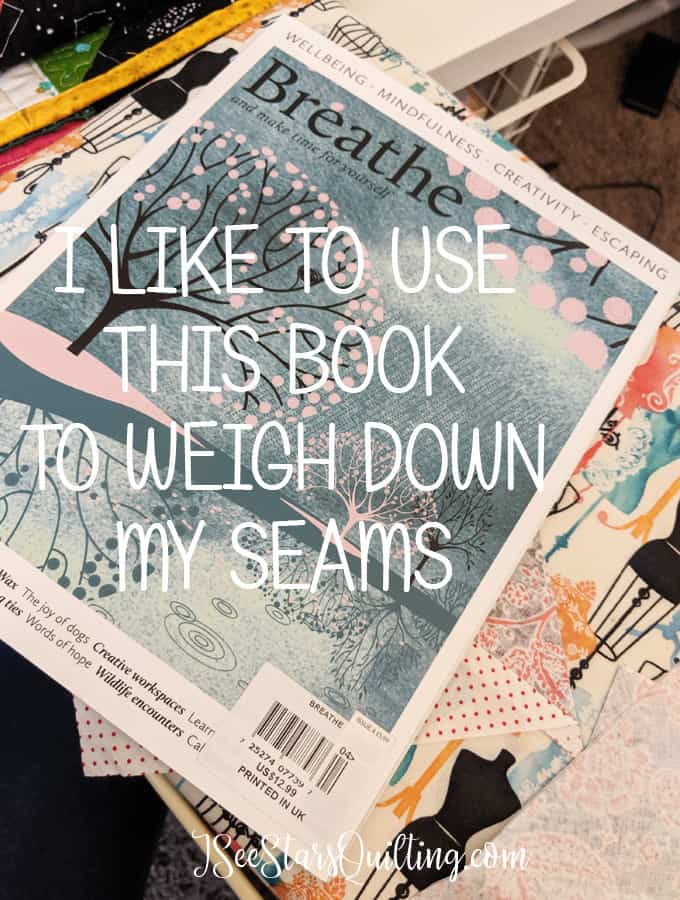
- And a really thick magazine
Wait, what?…
Yes! Think like… Ikea Catalog – thick and heavy. A phonebook will work (if anyone even still has those?) but it is a little over kill. You don’t have to go that heavy. Just thick enough to have some weight to it. A Time Magazine will not do the trick.
A good hardcover book will work as well, but please be aware that you’re going to be laying it on top of really hot fabrics, over and over and over again. I haven’t personally experienced any damage over the years, but I wouldn’t trust it with my favorite books, ya know?

Pressed To One Side or Open?
Choose: Do you you want to press your seams to one side or open? Ah, that is a good question that will leave any new quilter scratching their head.
Is there a right way? Is there a wrong way?
Personally, I like to press my seams to one side. BUT if you take a poll of other quilters, you’ll get all kinds of answers and some will even dare say that I’m a crazy fool!… we quilters can get pretty heated when it comes to the big stuff…
I think it is a choice you have to make for yourself and depending on the fabric and project as well. There isn’t a wrong way, I can answer that for you.
From here on out, I don’t care what you do with your seams, the steps to follow will be the same if you want to know how to get really flat seams when you sew!
Here is what you’re going to do:
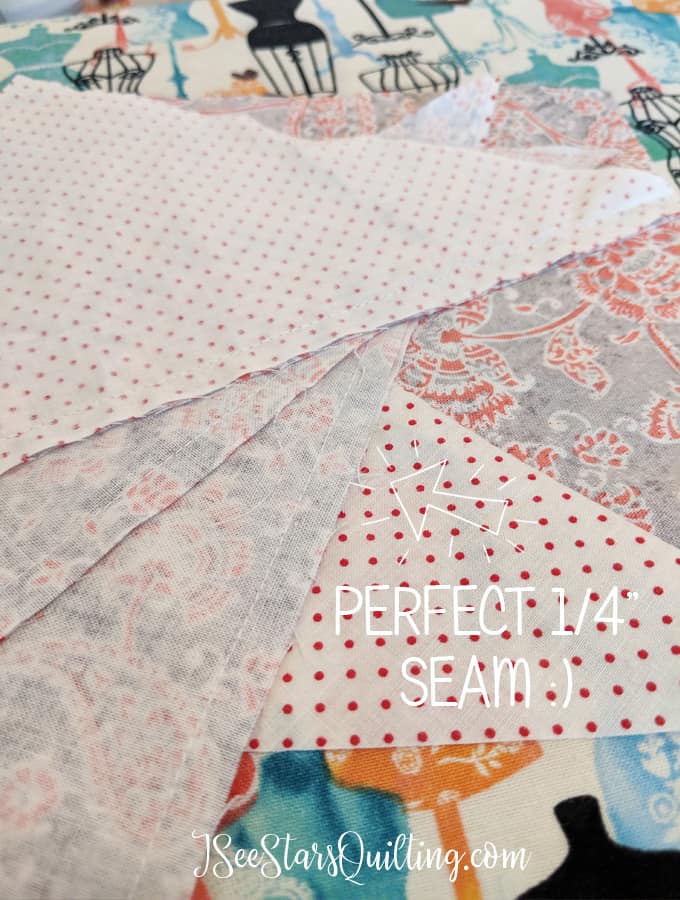
Start by getting your iron to the right temperature for your fabric.
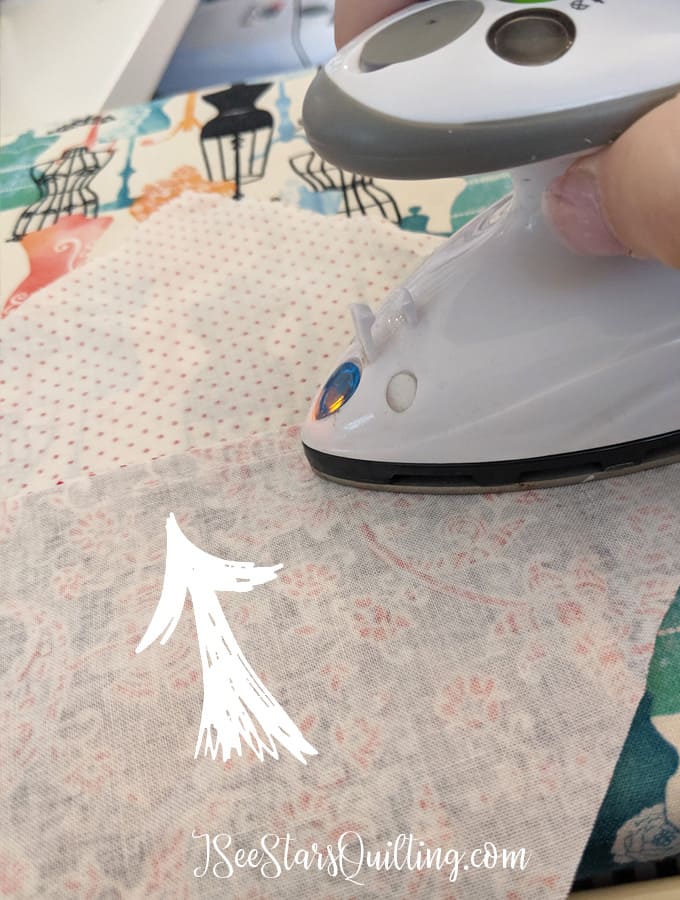
Press on the backside of your fabric piece first to get the seam to lay flat.
Press your seams however you like.
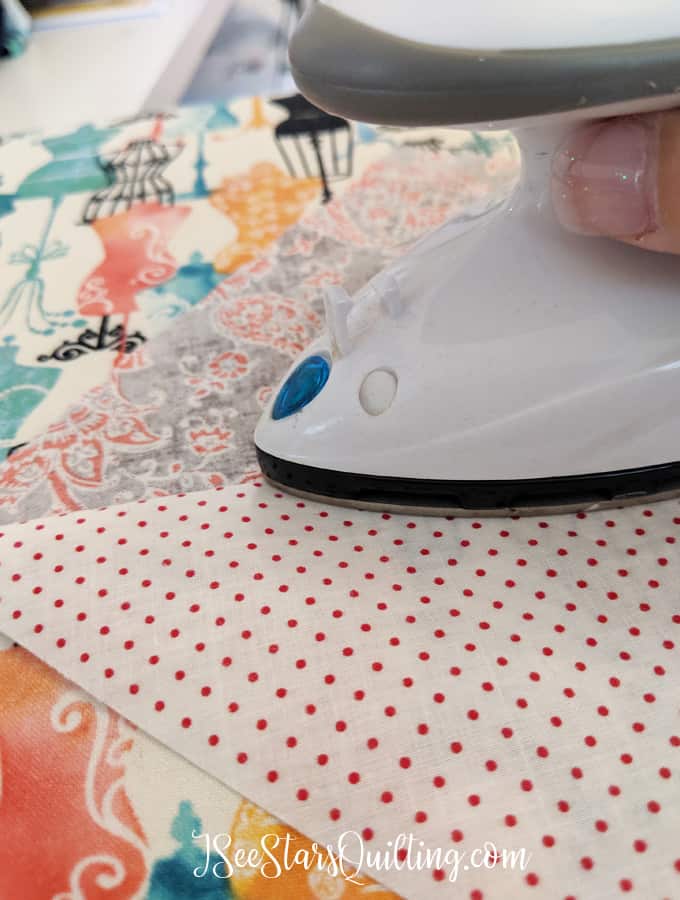
Then turn your piece over and give it a light pressing on the front side of your seam as well. This will set the seam from both sides.
A quick note about fabric: It expands when it gets hot. That is why sometimes, you can iron it all out and then when it cools, there is some curly/warped situations that can happen. It is a form of fabric rebellion.
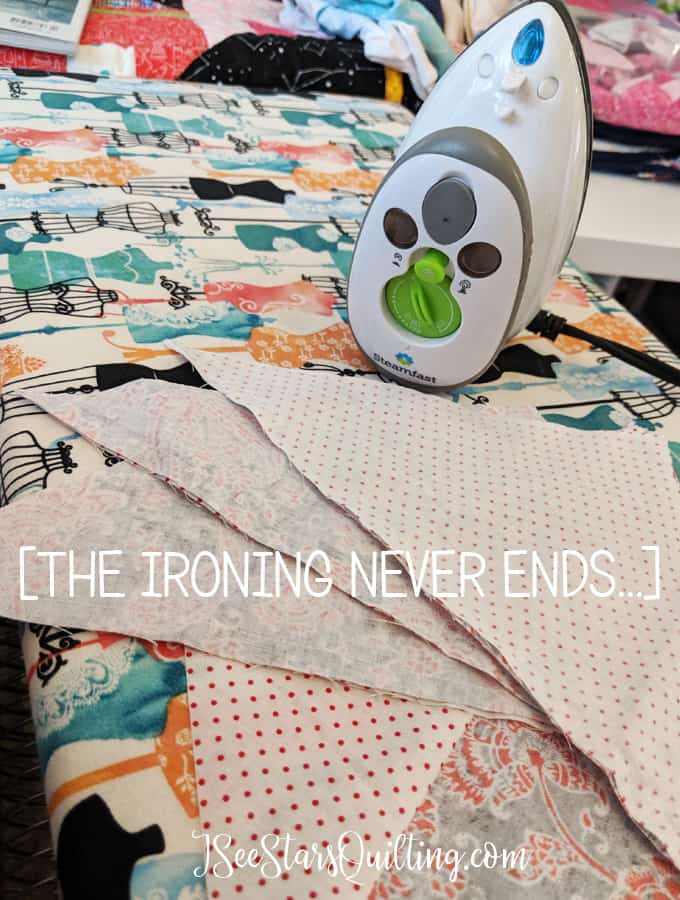
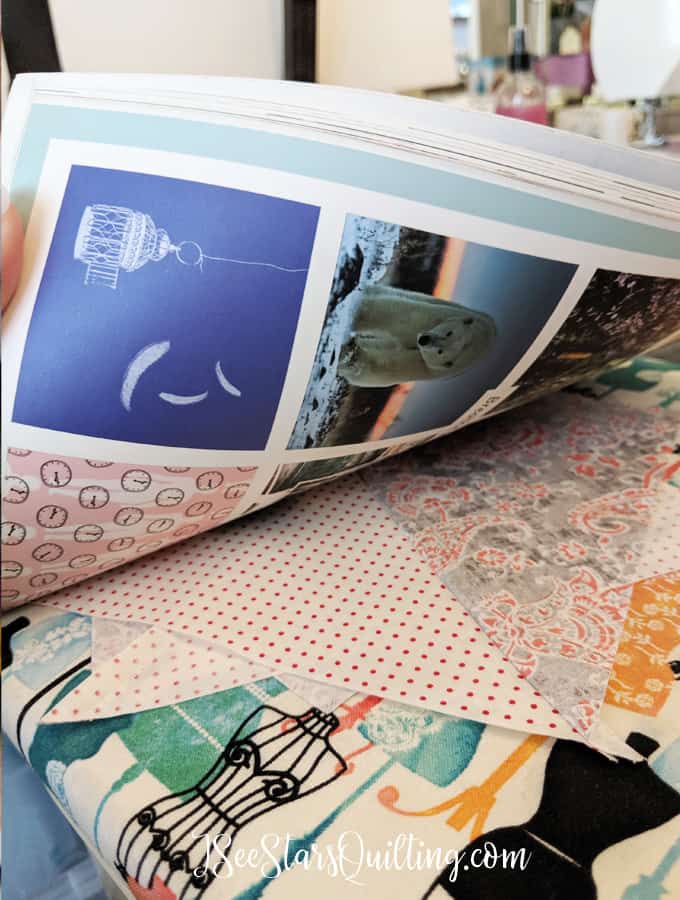
After you iron your seams and before it can cool all the way, place it under your magazine/book.
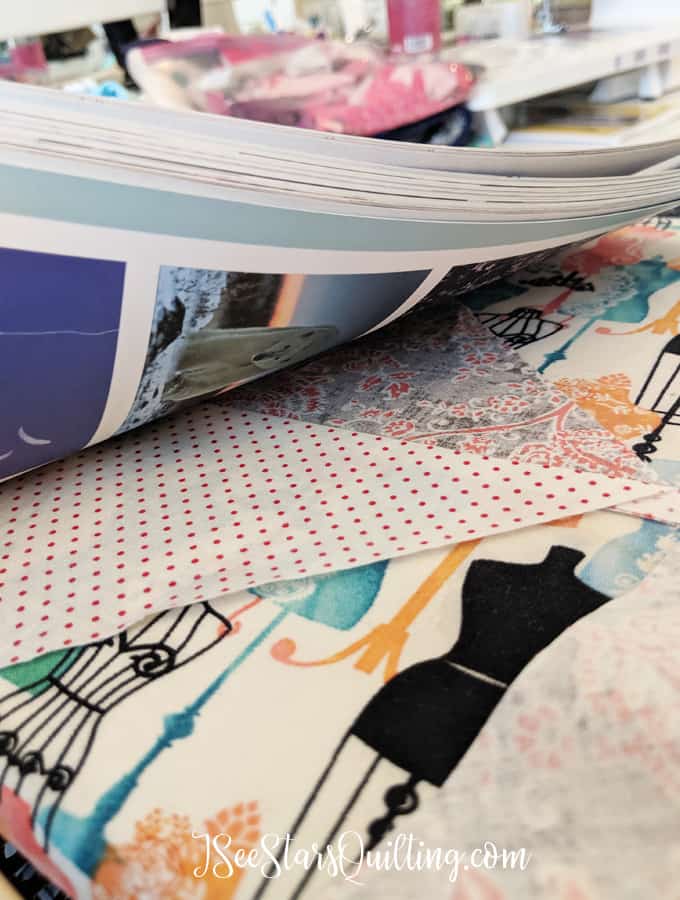
The weight of the magazine will ensure that your seams stay put and as the fabric cools off, it will stay perfectly flat. So simple, yet amazing, right?!?
I usually will have a few layers of fabric cooling in a stack under the magazine at a time. Then I swap them out for fresh hot ones every 4-5 layers so that I know they are cooling nicely and really really flat.
…Other tools I like to have up my sleeve to make the chore of ironing less of a pain.
1. Magic Sizing
I don’t know what this stuff is made from, but if you have a fabric warp issue, this stuff will fix it. When you want that quilt to lay flat and the fabric just isn’t cooperating… magic sizing is your answer.
It is a fabric starch that makes all the fabric fibers step back in line like the day it rolled off the machines in the factory. Ta-da… magic!
2. Mary Ellen’s Best Press
Best Bress is absolutely loved by quilters everywhere. It has been around for ages and is a really great product. I’ve owned several bottles over the years and if you’re looking for a good spray with bang for your buck, you won’t be sorry!
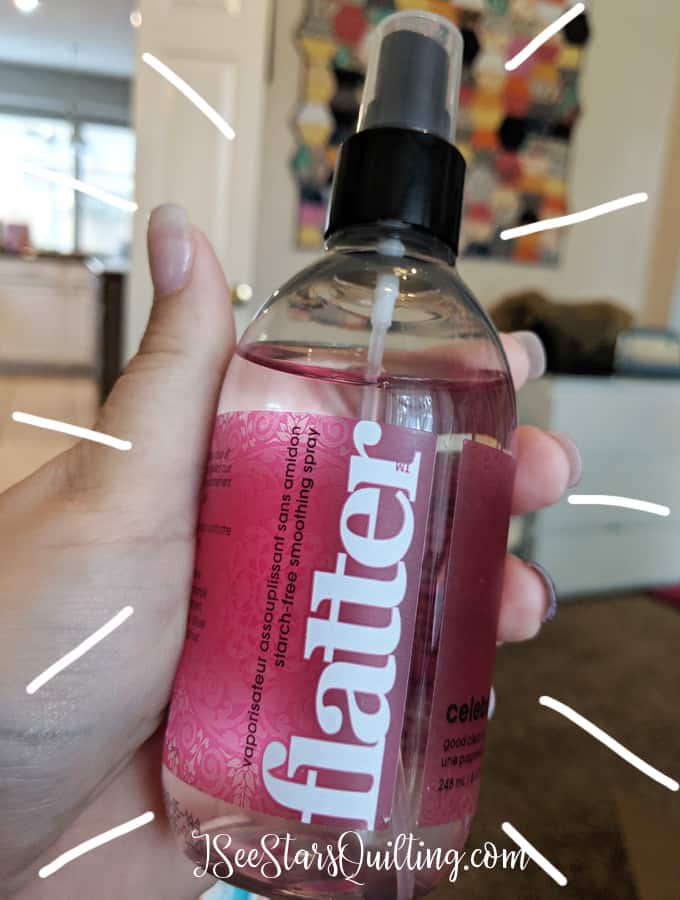
3. Flatter Spray
This one is relatively new to me, but… I love it so much. First of all, flatter spray smells lovely. (I have the pink one… because well… pink!) It doesn’t leave any feeling of stiffness to your fabric but you won’t see a single wrinkle in sight when you use the flatter spray prior to ironing! No white flakes or crusty bits either!
I use this when I really want perfection beyond the grasp of this universe. And my flatter spray always delivers.
4. Wool Ironing Mat
Maybe I’ve been in a cave for a while or something, but I’ve really taken notice lately to these wool ironing mats. I assume they must have been around forever though. Have you seen them?
When you iron with them, the wool maintains the heat (not enough to scorch your fabric) so it kind of warms the underside of the fabric as well and you have good even heat all around and lovely lovely pressed fabric.
Genius!
By following these tips, you will be well on your way to discovering how to get really flat seams when you sew! Easy Peasy, right?
If you have any questions, feel free to comment down below and I will do my best to answer your questions!