I just had to share this pretty queen sized jelly roll quilt with you that I recently finished.
Here is the front of the quilt. It is a quilt for my daughter’s bed. She is 10 and *loves* unicorns… I mean, who doesn’t, right?
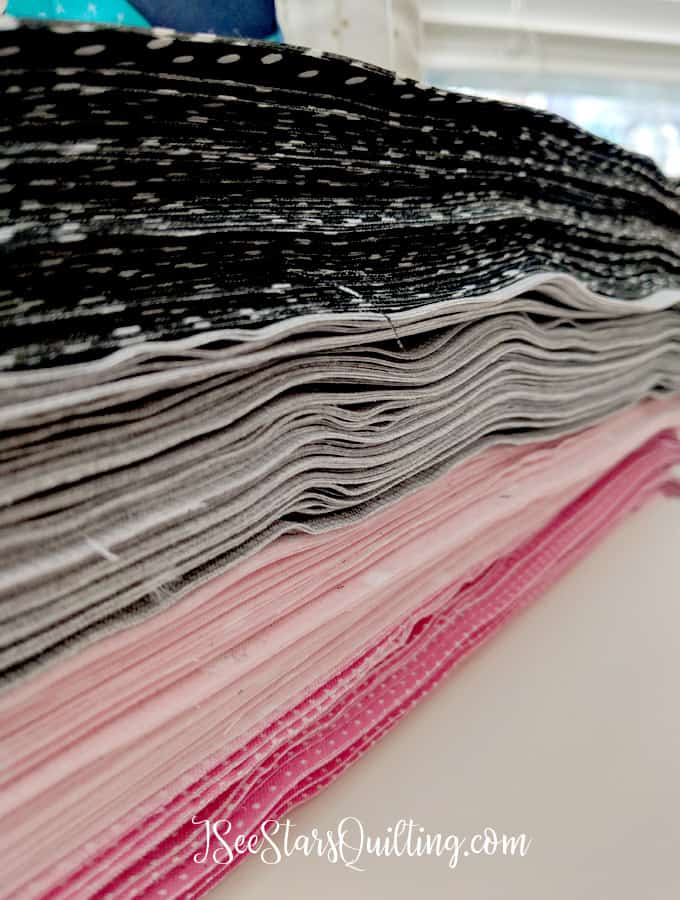
I’ve been collecting Unicorn fabric for about a year now… not just any unicorn fabric though, neon like the sunset sky, neon pink! Needless to say, I ended up with way more than I needed, but a healthy collection to choose from. FYI: Most of the neon fabric came from different Cotton + Steel Fabrics.
So… I could keep going… Quilts are super fun to take pictures of! 🙂
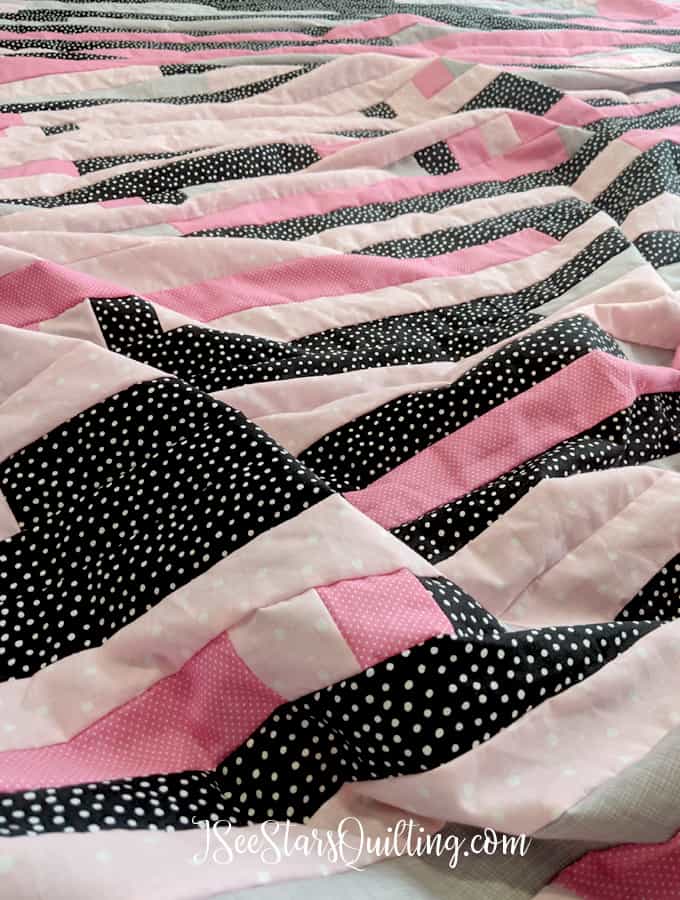
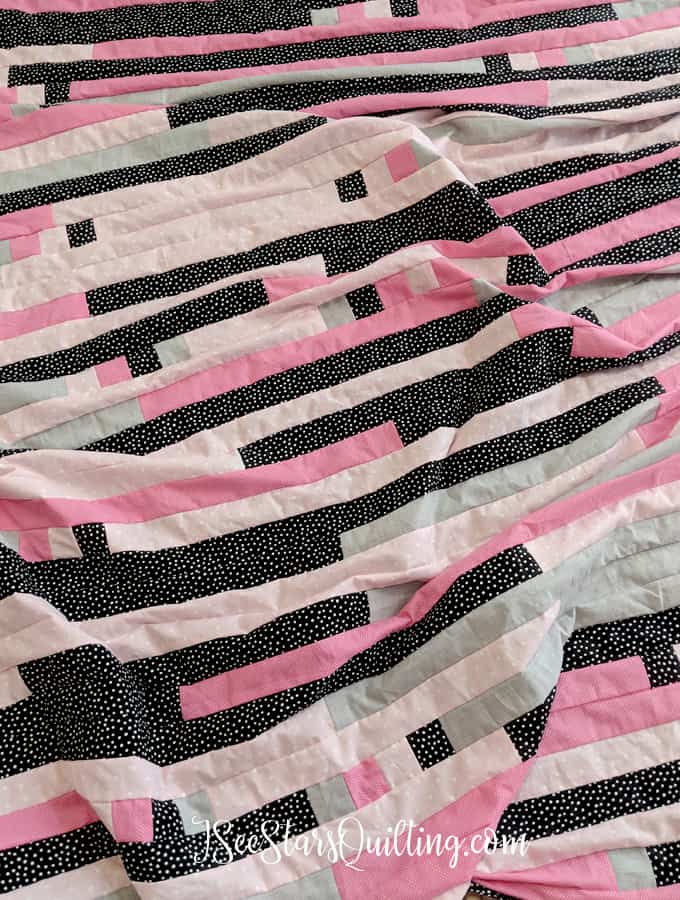
But the real star of today’s post is totally this queen-sized jelly roll quilt that I made for the back of my unicorn fabric quilt!
Just look at how lovely all these colors look together!
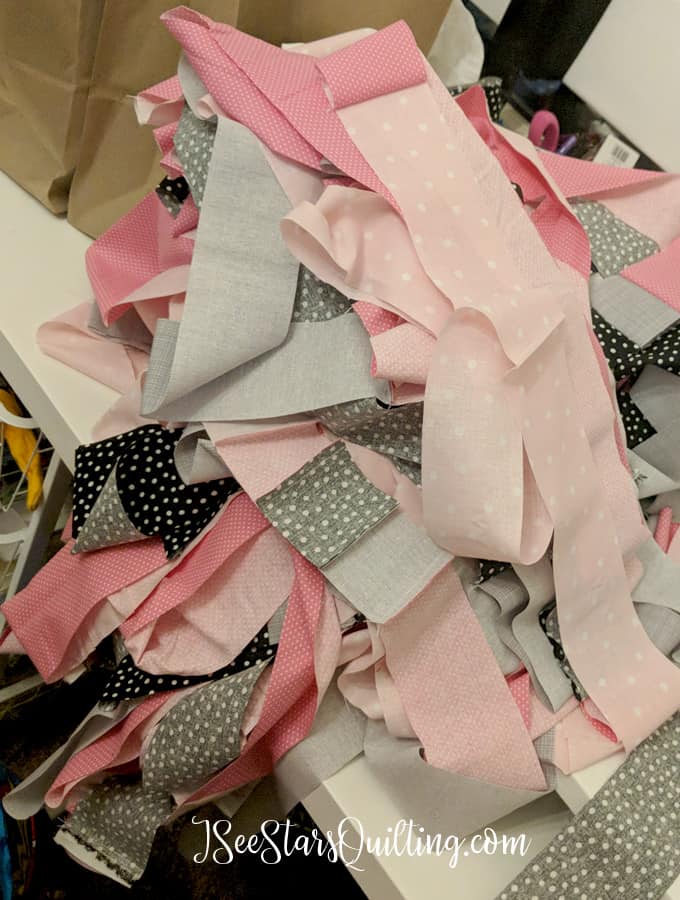
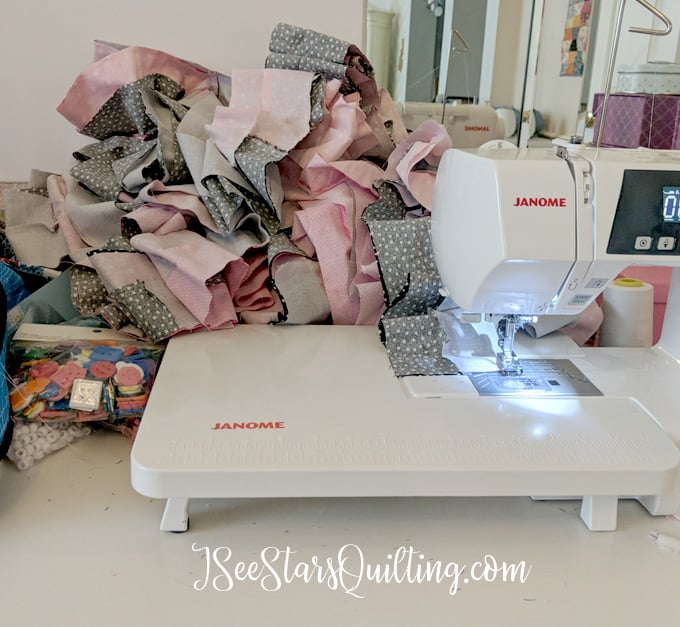
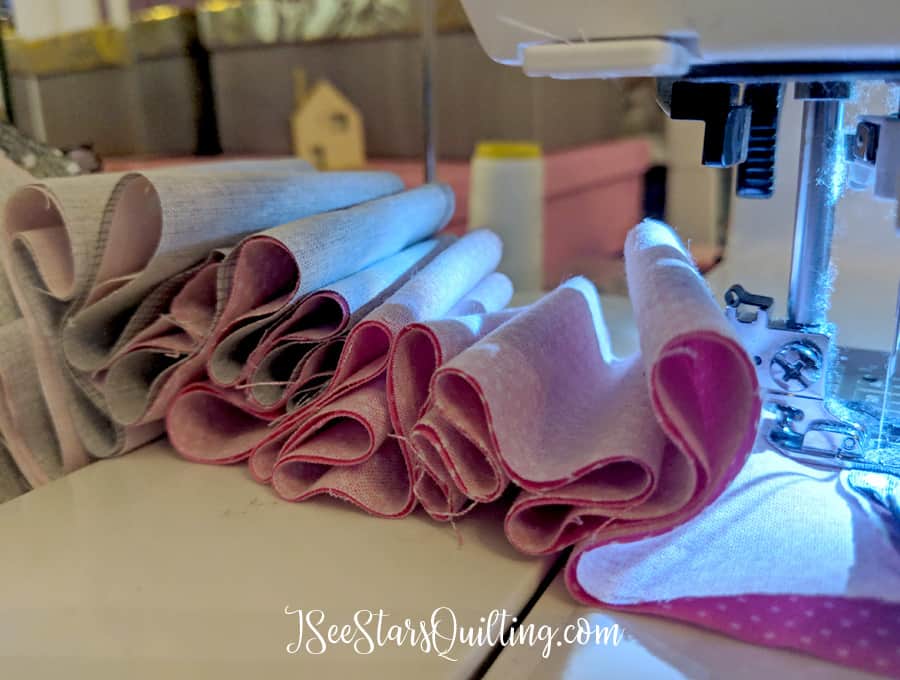
I made my strips 2.5″ wide x 40″. It is a TON of strips!
I love the way it turned out! It’s a tough call to say if I would do them at 2.5″ again or not if I decide to jelly roll another quilt.
In hindsight, I SHOULD have made them a little larger, maybe 3.5″ or even 5″… There is a LOT of fabric wasted in the seams of this quilt.
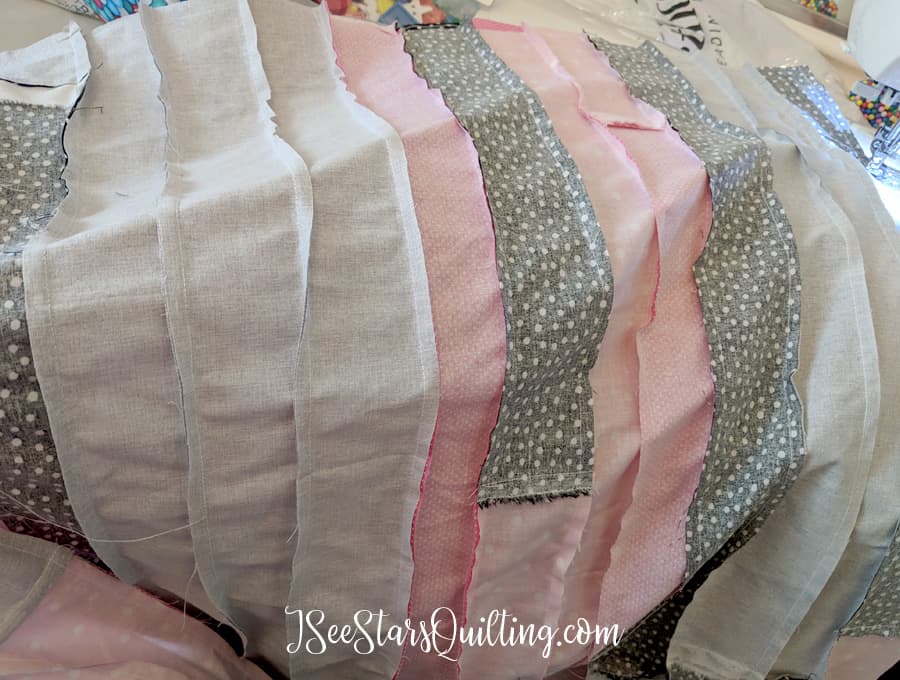
Also, this long initial piecing strip of fabric went on for at least a few miles, I swear 😉
I was inspired to create something fun and different with this quilt… a little off the normal ‘jelly roll’ method! And look what I did!
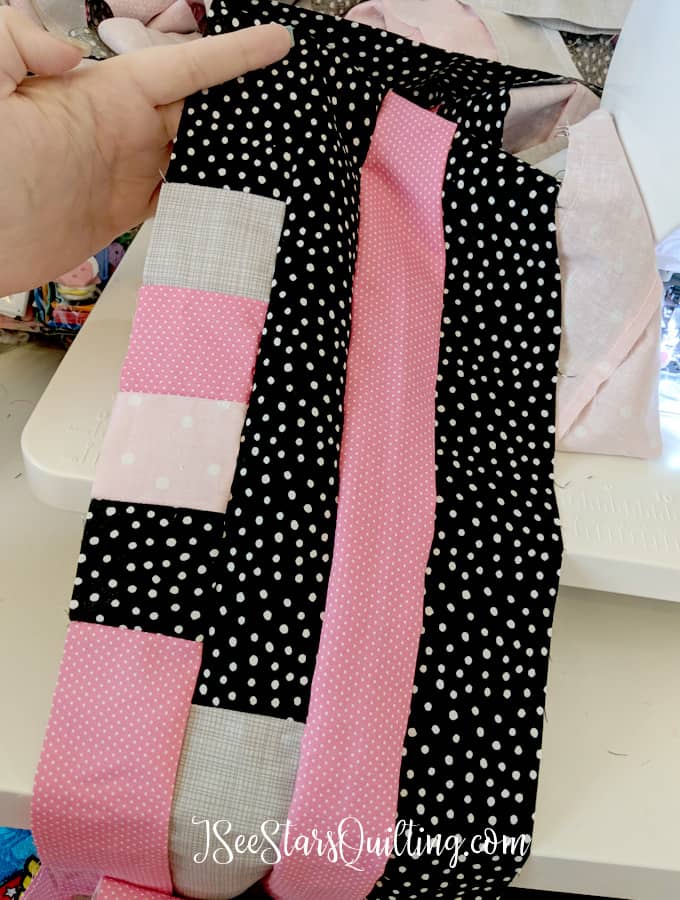
Do you see the little smaller blocks? This is probably my most favorite detail to the quilt back. I cut some of my strip up into 2.5″ squares and randomly placed them in with my longer strips.
When I say randomly, I really mean randomly! Always in groups of 4 to give it a little more visual interest and tried not to let similar fabrics “touch” (when I say this I feel like a toddler who can’t have the peas on her plate touch her pasta or the ketchup touch the chicken without having a meltdown”) I just see no point in putting the same fabrics next to each other because it will look like one continuous piece of fabric!
The result is this beautiful mix of long strips in traditional jelly roll fashion with some confetti of smaller blocks to jazz it up and make it fun!
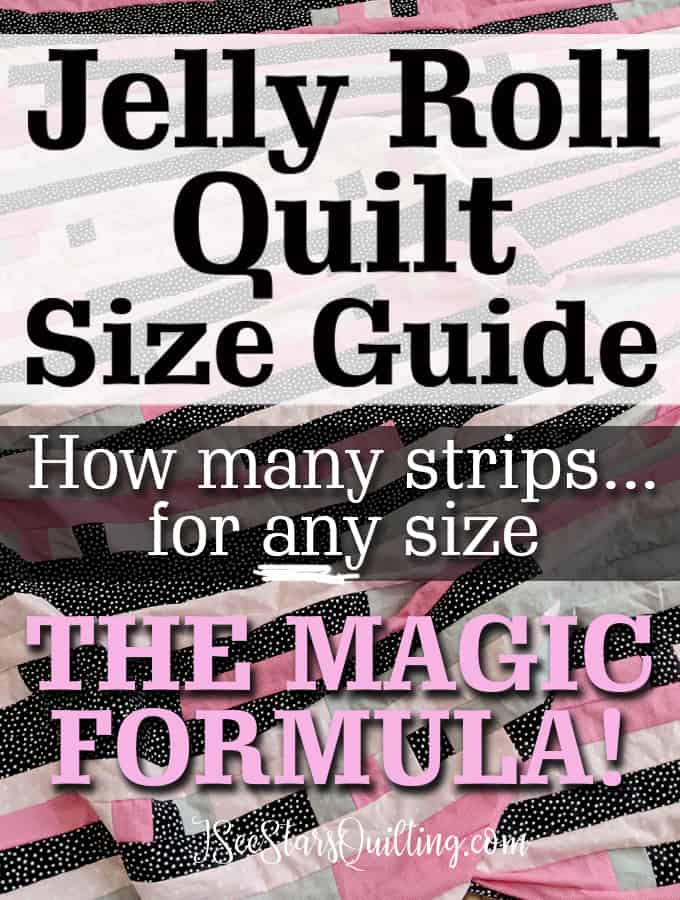
Here is a formula that I used to determine the sizing for my Jelly Roll Quilt…
I suggest you take a moment and do your math properly because what I did was just jump in and I ended up doing a little more figuring out in the middle than I probably should have. — Live and learn, right?
The Jelly Roll Formula (AKA Do this first!)
A formula to just figure out how many strips you need for your Jelly Roll Race Quilt is:
(inches wide x number of rows) / 40″ strip = number of strips needed
*Number of rows is your quilt height divided by the height of your jelly roll – ex: a 2.5″ jelly roll strip will be a 2″ height strip with the seam allowance taken out.*
*Also, while your fabric may be a little wider than 40″, remember that you’ll take out the selvage and you’ll also take out a bit for seam allowance.*
Remember, the length will be determined by the number of rows and that is a set number. Only the width is completely flexible.
To add to your length you will have to make two separate pieces and sew them together.
If you think you could run a little short, just add in a few extra strips to be safe!
Other Jelly Roll Size Guides
Maybe you don’t want to make a queen sized quilt? Here are other guidelines for Jelly roll quilts!
Baby sized Jelly Roll Quilt
(20) 40″ strips – Your finished top will be a little bigger than 32.5″ x 50″. You can also cut those strips in half ‐ from (20) 40” strips to (40) 20” strips so your small quilt will have a more mixed stripe look. Shorter strips = more busy colors and fabric variation.
Lap Sized Jelly Roll Quilt
(40) 40″ strips or (80) 20″ Strips – This will yield a lap quilt that is about 50″x 64.5″.
Twin Sized Jelly Roll Quilt
(70) 40″ strips, or (140) 20″ strip – Your finished size will be close to 64″ x 88″.
Note: Make this by creating two sets with 35 strips. This will make two quilt tops that are approximately 87.5″ x 32.5″, and then sew them together to make your 87.5”x 64.5″ top.
Queen Sized Jelly Roll
(105) 40″ strips, or (210) 20″ strips – Standard Queen size is 86 x 93.
See the method used in the twin sized quilt – Use 3 sets of 35 strips to make 3 segments measuring 87.5″ x 32.5″ and then sew together side by side. Your finished top size will be approx. 87.5″ x 96.5″. You can trim down or you can leave it a little larger for maximum snuggle quilt size
King Size Jelly Roll
(120) 40″ strips, or (240) 20″ strips ‐ Standard King size is 104″ x 93″. We can create one that is 100″ x 96.5″ using the jelly roll method and then you can add borders or sashing to make it a little larger.
Make it in 3 segments – 40 strips in each. Stop when each segment is 100″ x 32.5″. Sew all three together and you’ll have your king sized top!
To make a custom sized jelly roll…..
This is the general formula you should use…
[(Length/2) x Width]/40 = number of strips you’ll need!
I hope that helps you create your very own custom sized jelly roll quilts!
Let me know if you use this formula and if you have any questions!
Happy Sewing!