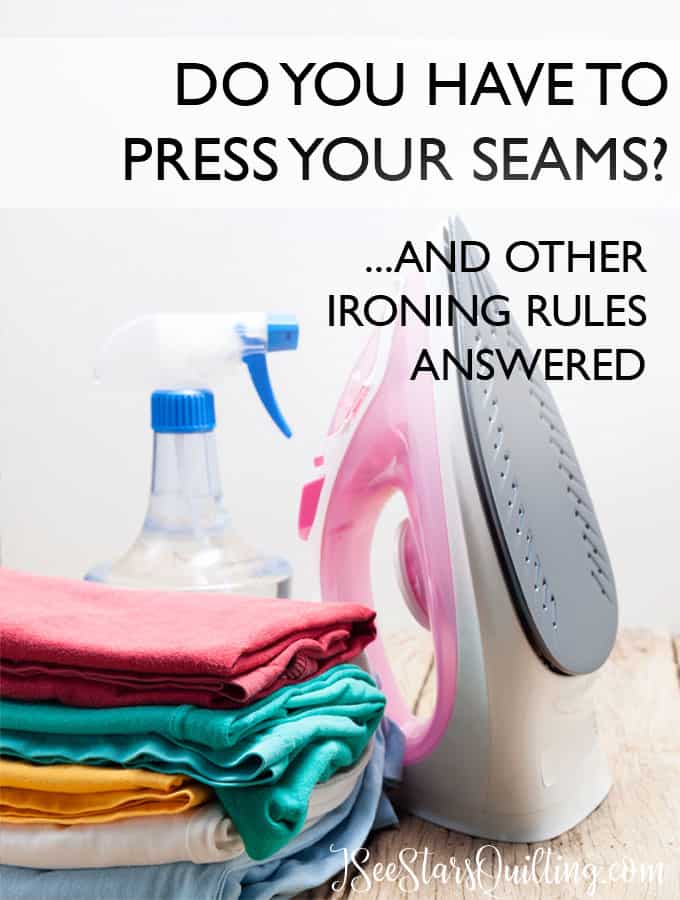
Raise your hand if you’re busy! Uh huh… I’m not about wasting time or doing things a certain way just because “that is how they are done”. I need to know why. I need reasons and facts and usually visual proof as to why it has to be done that way. So when it comes to Pressing/ironing… Do you HAVE to press your seams as you sew?
Meticulously detailed quilting is beautiful… but so is the crazy free spirited quilt-as-you-go quilts! And the latter has a lot less fuss to it… If you’ve come here with those same questions in mind, I got you covered. Let’s figure this out together.
First, Ironing vs. Pressing
Let’s get this straight so as not to confuse the two later within this post, shall we?
IRONING is what you do when you have a piece that has already been made, like a shirt or a blanket, and you want to get the wrinkles out. When you IRON you press down with the iron onto the fabric, and you move it back and forth slowly until all the wrinkles are gone.
PRESSING is what you do when you’ve got a project in progress that isn’t finished yet. You move the iron up and down, lifting it and setting it back down (usually over a seam) and then raise it to move it again. There isn’t much side to side motion going on.
Got it? … Good!
So, Do you have to press your seams?
A lot of patterns will instruct you to “press” your seams. If it tells you to…. you gotta do it. I’m sorry. There’s not really a cheater method to get around this step. (*insert tough love hug*)
You can ignore the instructions or do the “finger press” method to coax your fabric into a half-pressed position that is … let’s face it… good enough, sometimes.
I was such an impatient child in the beginning stages of quilting… “But I just want to sew!” I’d almost scream if I saw the word ‘press’. I get it.
I had a dear friend look at my quilt and right after complimenting me on my fabric choices…. she pointed out all my flaws… I guess I wasn’t the only one who could see them after all. Talk about tough to swallow. Ouch.
The thing is, they were all simple mistakes that could have been avoided but actually doing the prep work instead of deciding I would just skip over what I didn’t want to do.
I know it seems tedious and a lot of effort, but it is almost impossible to make your items look polished without pressing the seams.
The seams will not lie flat unless you take the time to press them in quilting, and you can’t achieve clean lines if your seams are a bubbling and bumpy mess.
…And who wants to spend all that time and effort (and money) on a quilted piece that looks like something you worked on while on Ambien and Mr. Pibb at the same time?
My highest compliments come from people who see one of my quilts and ask where I bought it from… Bought. As in, they would expect it to be sold in a cute boutique store… and they totally want one too. (score point for self-confidence!)
Not like in the early days where I would hold up my quilt and have someone ask “Oh… hey… yeah, that’s pretty… did you m-make it yourself? (I have honest girlfriends, y’all… get you some that are fiercely honest but love you just as fiercely too. It’s amazing.)
I don’t tell you this to toot my own horn on my improvement on my own skills over the years… but to tell you that the only difference between those two moments was that I actually did all the steps and practiced (a lot) in between.
Practice consistency and it won’t seem like a chore.
Pressing has become second nature now and I can’t stand it where the seams get fussy and won’t sit right without pressing… something that would not have bothered me several years ago… my how times have changed.
Have I convinced you that pressing is important yet?
This post contains affiliate links. You can read my privacy policy.
How to correctly press your seams in sewing
If you’re new to sewing or new to realizing that yeah… its kind of a must to do the whole pressing thing… there is a right and a wrong way to press.
Here are some tips on how to press the right way when sewing to get the best-finished product possible. I promise you’ll be so proud that you stuck with it and did this.

Use good tools
Get a good iron. For actual ironing (see above at the beginning of this post for the difference between ironing and pressing) you’ll want something like one of these.
For pressing, you can use the same irons… personally, I LOVE this little itty bitty iron (I call him Steve) He is very helpful in my sewing room. I actually wrote a whole post on the mini iron last Tuesday if you missed it, you can check it out here.
You’ll also need some type of pressing board or ironing board. I used a big clunky old-housewife board for a long time. It’s a little too precarious and unstable around the little ones for my taste. I switched to a heavy blanket on my kitchen counter (they’re granite countertops, but don’t try it at your house if you aren’t sure).
Use the Correct Settings
With quilts we mostly use cotton fabrics… but if you aren’t using cotton or you do your own thing and switch it up… MAKE SURE YOU USE THE RIGHT HEAT SETTING. If you don’t head my warning, I swear you’ll only do it once because you can absolutely ruin a fabric by using the wrong setting on your iron. So much for all that work… Test on a scrap piece if you aren’t sure.
The Actual Pressing
When you’re ready to press a seam, remember that you are not ironing at this point. You shouldn’t be tugging and pulling at the seams. No sliding around on your fabric either.
Your iron should be working like an elevator, up and down, up and down… You can pause on the ground floor a bit to really set the seams, just not too long or you’ll scorch the fabric. If you move around and wiggle, you will end up with crooked seams and make the fabric stretch and warp. Press the iron down and then lift up and move it to the next section.
The first thing you do is press your seam with it closed. Just like when you sew it on your machine. This sets the seam in place and helps shrink up the threads.
(It sounds tedious, but you won’t even notice it after you put this into practice. Do you notice a recurring theme in this post?)
Then, use your fingers to open the seam and press again.
What if you want to press your seams to one side instead of open?
If you decide to press your seams to one side, then follow your preference.
There’s a great debate among quilters on the right way to do this. I dip my toes in both of the waters from time to time depending on the fabric I am using and the finished results that I desire (shhh… don’t tell anyone ok?)
This is mostly an issue when you are working with dark and light fabrics where your seams could potentially show through the layers of lighter fabrics. Always press your seams toward the darker fabric.
This is simply for aesthetics. There is no right or wrong way to lay your seams.
Do you have any other questions about pressing?
What do you think about it? Is it like brushing your teeth to you and you just do it without even having to think about it… or do you loathe it? Maybe somewhere in between? Let me know down in the comments and I will get back with you.
Happy Sewing!