We’ve been in our “new house” for just under a year now. So it is safe to say we’re mostly settled in and everything has found it’s place… (for now at least). We’ve completed a few projects here and there… but my sewing room has been in need of a facelift.
When we moved in, I made things work because this is my sanity safe haven. I needed to set up shop fast and make it work.
I love this room and everything in it.
Here is something to know about me… I move around furniture… a lot. I think there is a perfect arrangement that makes the sunbeams shine down and everything aligns for perfect productivity… It can be a challenge sometimes, but when you find that perfect melding of function and beauty *cue angels singing* you’ll forever be chasing it in the other rooms of your home as well.
I thrive on order and a clean workspace to think.
I’ve been relatively happy with making things work for a while… but in the back of my mind has always been the adjustments I wanted to make…
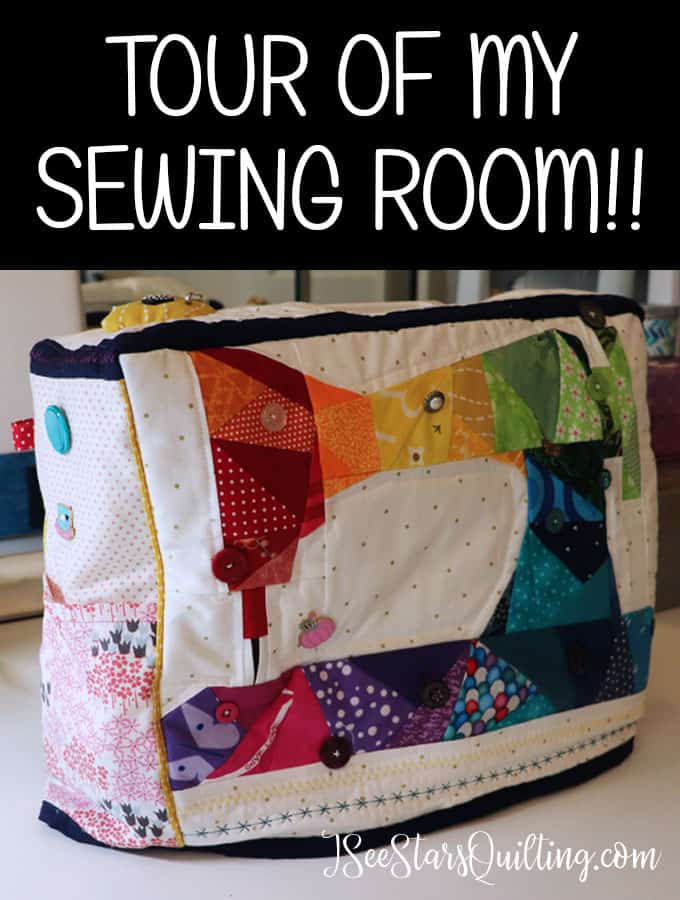
Current Sewing Room Tours:
You can see my other sewing room tours in the links below.

The next post has pictures from the sewing room in my old house, but I go a lot more into how I organized my tools and my methods for organizing. Though slightly outdated for what I sew with now, it is still a good read and full of information!
Back to current planning stages… Recently, I’ve decided to give my sewing space/home office a bigger facelift.
In the past, I do all this work behind the scenes in the late-night hours and then I choose to write a reveal post about it when it is all complete and lovely. 😍
I do still like to show you all the ugly behind the scenes photos because… I’m not HGTV and this can get ugly, right?
But this time... I decided to go a little bigger… Ok, so a lot bigger and more complicated than just a simple room rearranging.
I decided to take you along for the ride with me and document the process in a series of posts. You’ll get to see the whole process… the conception, ideas, nitty gritty ugly bits and hopefully sooner rather than later, the finished product!
You can also check out some current pictures on my Instagram page!
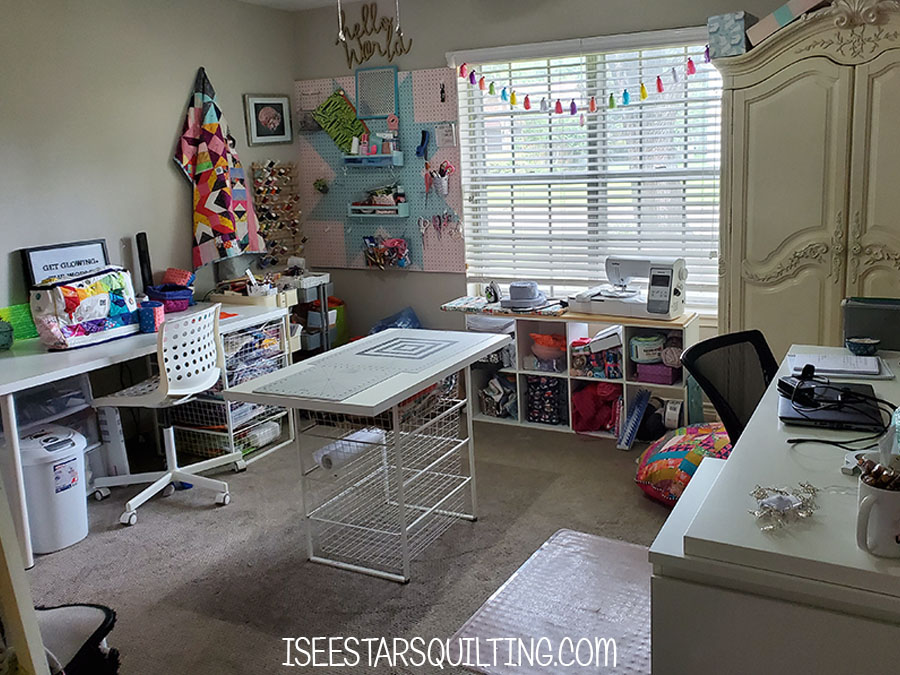
The Starting Place
Here is what I’m working with right now. A little messy? Yes!… Functional and a joy to sew in? Absolutely. I’m very blessed to have this space in our home to create. (You’ll notice that it is different from my “official” tour post because well… things change a lot around here lol)
The Purpose Of The Room
First off, when you want to make a change, you can’t just jump on the internet and start ordering new things. You really need to hone in on what the purpose of the space is.
For me, this space is…
- A sewing/quilting and craft space
- also embroidery things
- A home office where I run my business
- A safe haven and should feel peaceful for me to be in
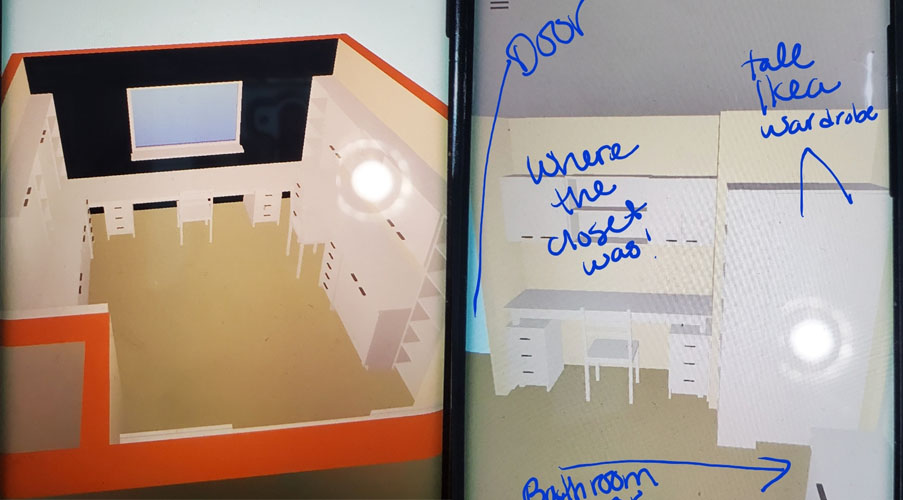
- It also has the only access door to the half bath that guests use
- A pretty space that I can be me in
Let’s dissect the problem areas that I have with my current room.
Some of these are nit picky remarks, but thats the beauty of creating a new space… you get to be picky!
I like to make a list of everything. I call it my “If I had a million dollars” list. If money was no object and I could have everything I wanted, here are the things I wish I could fix…
- I have a lot of hobbies that happen in this room… I want to maximize my space.
- I lack hidden storage areas – most everything I have is easily seen when you walk in the room. It feels cluttered and even when the room is clean, it looks like a creative explosion went off in here.
- The closet in the room is nearly unusable. I have no idea what they were thinking when they built it. The measurements are 22″x76″ with only one normal-sized door on one end. access is really awkward
- When a guest comes over, they have to walk through my mess to use the bathroom. I need to be able to maintain a clear pathway from door to door.
- I could use more desk/workspace.
- I don’t have an ironing station/area.
- I need a place to store my photography equipment/lighting.
- My fabric storage is maxed out and I need to clean out the fabric I have that I will not be using – Maybe I should plan a future de-stash sale?
You can see that there is an overall pattern of my storage solutions that could use some work.
An important note about the “if I had a million dollars” list:
Just because it is on the list, doesn’t mean that I am going to get everything I want. So, while it is something that I would fix “if I had a million dollars” it doesn’t mean that I get to go broke making it happen.
With a little planning, thought and ingenuity… you usually can make things work with a much much MUCH smaller budget!
Planning Some Solutions/Ideas
My favorite planning tool to get inspiration from is Pinterest. Obviously… they’ve revolutionized internet searches and being a visual person… it is my first go-to for ideas.
PS – You can follow my Pinterest boards here!
I created a vision board with some of my ideas to give myself a little further inspiration. It helps pull together a lot of ideas and really help to clarify the vision for the final product.

The planning stage for me is always the longest because I resist just jumping in and spending the money on something that I don’t feel like I’ve completely thought through just yet.
It can be a good thing, but also… I really have a hard time pulling the final trigger… which brings me to my next little bit of advice…
Involve a friend – It’s more fun with two!
If you have the opportunity, involve a friend who understands what you do in your crafting space!
They can not only help you come up with a plan and inspire you… but can help you make sure you don’t chicken out before the dream becomes a reality!
A friend created a group board on Pinterest for her and I to contribute ideas to and she came up with so many solutions that I wouldn’t have even considered… she is a sewist as well… so she understands we need storage, and lots of it!
She also gave me great advice when I was thinking that I was in over my head.
Don’t limit yourself based on what you think you can’t do. Design your dream space and then make it work within your budget.
My parents gave me some great ideas, because they are really good long term thinkers. My mom is amazing at making things look like a model home. (Seriously, Better Homes & Gardens has nothing on her) And my dad is amazing at home remodeling projects.
Making a Plan
Excuse the length of this post… This is like a months worth of thinking, formulating and planning all rolled into one post…
I have a really good idea of what I want everything to look like, how I want things arranged.
I found an app on my phone called “Floor Plan Creator”. It is a free app, but you have to buy it if you want to export or send any of your creations. The free version worked really well for what I wanted to do.
You can add in all your measurements/dimensions and it makes a 3D model of your room. You can add all the doors, windows and architectural features you need, plus it has a lot of stock furniture that you can change the dimensions on as well.
Here is a very rough layout of what I want to work towards…
Again, please excuse my messiness… this was texting pictures back and forth to my mom and I hadn’t decided at that point to share them with you just yet!
Also, almost everything I currently own is from IKEA… so… obviously, we will be taking several trips there to add more of the same style to the room! woohoo!
Shopping Trips
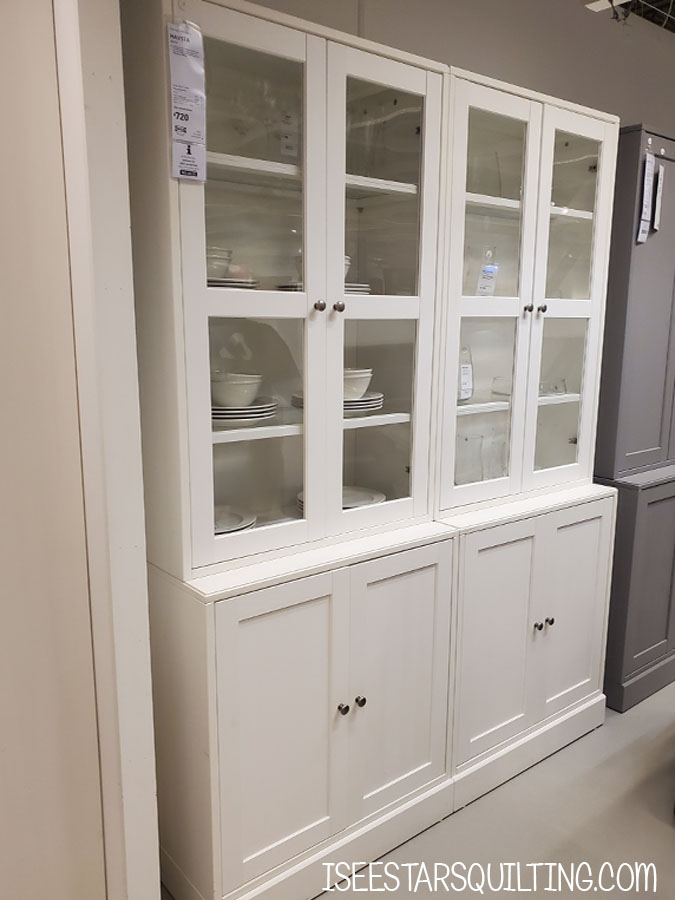
I saw the Havsta line while shopping at Ikea and fell in love with the glass doors. It is also a solid wood line so the quality of the overall piece is higher than the standard budget pieces.
Can’t you just see it full of beautiful fabrics? 😍🥰🤩
Unfortunately, IKEA stock is really varied right now with the pandemic (like everyone decided to re-do their home office, but didn’t want to spend the big bucks?) so I will be closely stalking monitoring their stock to see when I can pick up my other items as they become available.
I was able to get the glass cabinets, and have already built them, but I will have to wait on the lower cabinets a little longer… This is what I have so far…
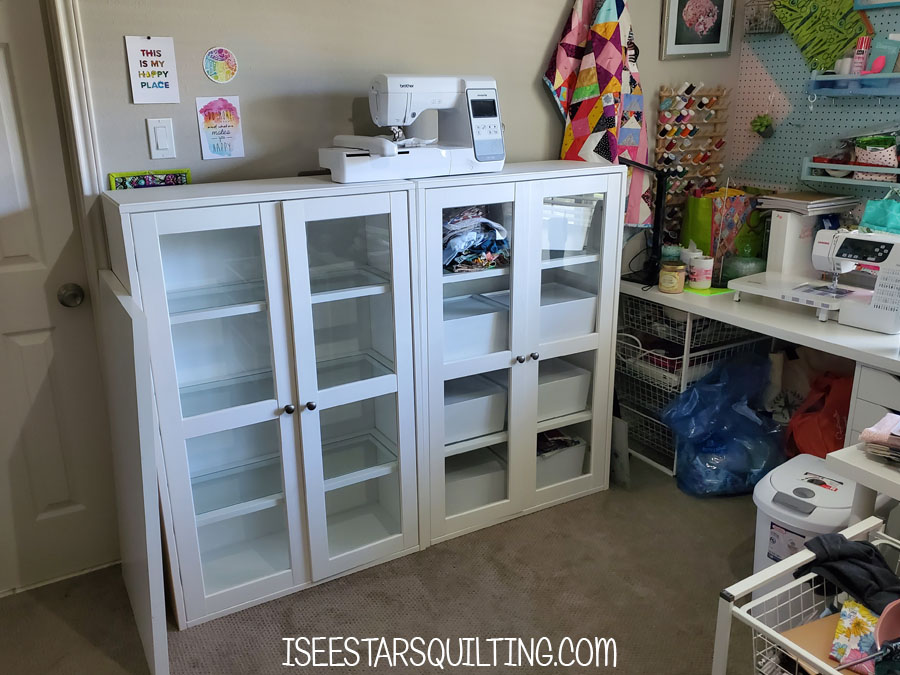
Can you see my vision? lol no? well… it is a work in progress…
That is where I will leave you today because I really don’t have much else to show but a very messy space… I’ll keep you updated as it unfolds though!
I think I am most looking forward to going all #demoday on my closet wall. I’ve always wanted to knock down a wall like some powerful goddess of destruction.
I have no idea if that is how it will be in real life, but I’ll be able to check that off my bucket list at least! 🤣
…more to come!
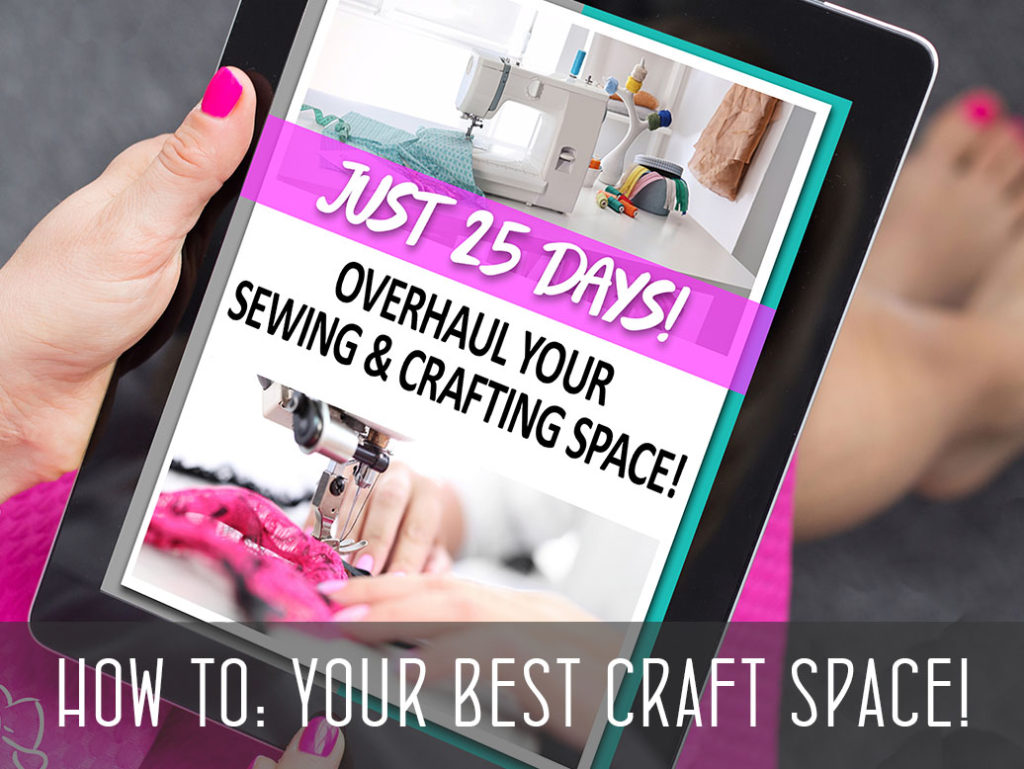
If you’re interested in the step by step methods I use to determine what my needs are, you can check out my very popular ebook that tells everything!
I walk you through the planning stages and show you how you can transform ANY space into the space of your dreams, PLUS I share a bonus budget guide with you!