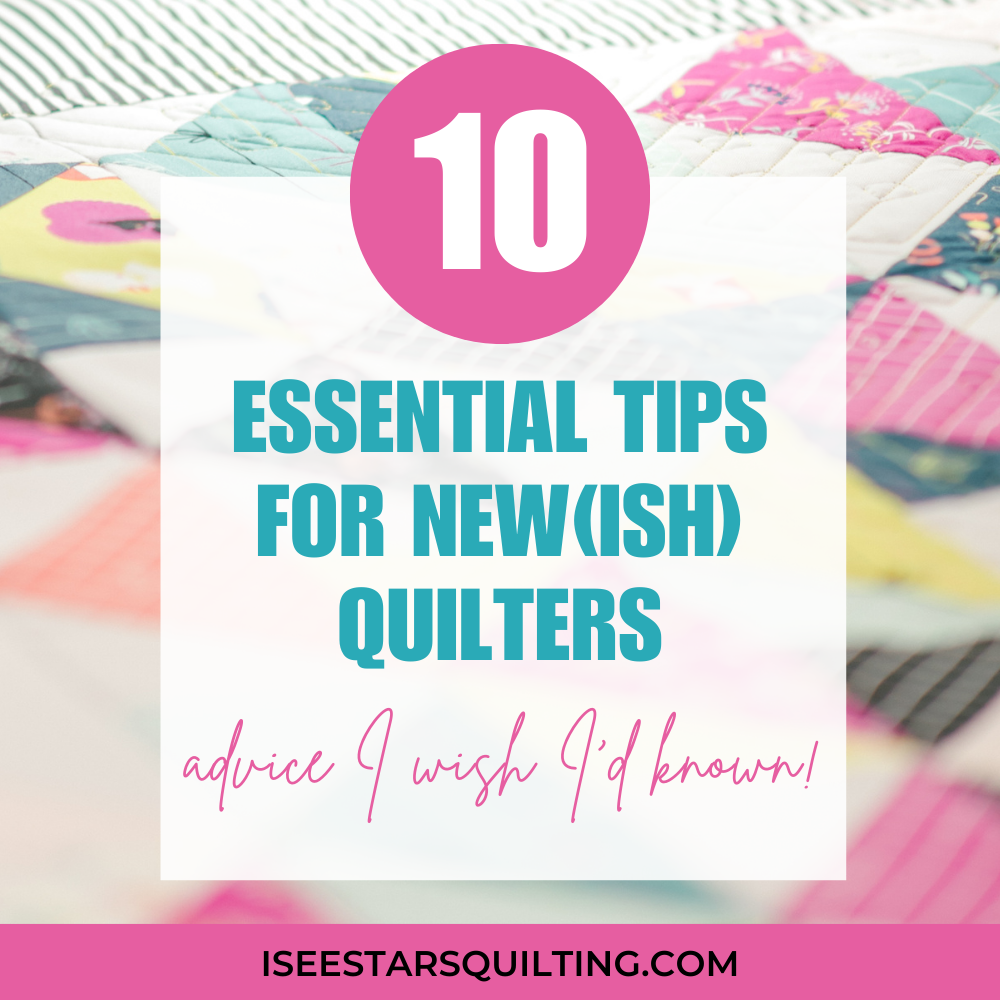
Quilting is a wonderful craft full of creativity, learning, and joy. Today, I’m sharing my top ten tips for new (or new-ish) quilters, based on everything I’ve learned over the years.
These are the tips I wish someone had told me when I first picked up a rotary cutter and thought, how hard can this be? Spoiler: It’s not hard, but there are definitely some things that make it a whole lot easier!
1. Start (and Continue) with Simple Projects
When you’re just beginning, focus on beginner-friendly patterns. Simple patchwork quilts, baby quilts, and placemats are fantastic starter projects that help build your confidence without overwhelming you.
Even as you grow more advanced, these quick finishes can serve as palette cleansers between larger, more intricate quilts. Trust me, there’s nothing like the satisfaction of completing a project in a short amount of time—it keeps your creative momentum alive.
Pro Tip: Avoid jumping straight into a king-sized quilt as your first project. It can be a bumpy road that dampens your enthusiasm. Start small, build your skills, and enjoy the journey.
2. Invest in Quality Tools
Quality tools make a world of difference. Essentials like a rotary cutter, cutting mat, rulers, and a reliable sewing machine are worth the investment. While it might be tempting to opt for cheaper tools and upgrade later, starting with decent-quality basics can save you frustration (and money) in the long run.
If you’re looking for reliable recommendations, check out online retailers, local quilt shops, or even second-hand marketplaces for deals.
My not-so-secret secret: I swear by The Fabric Hut’s titanium-coated rotary blades, which last significantly longer than others I’ve tried. They’re a game-changer for heavy cutting sessions! And I have a coupon code just for you – check them out here.
3. Measure and Cut Accurately
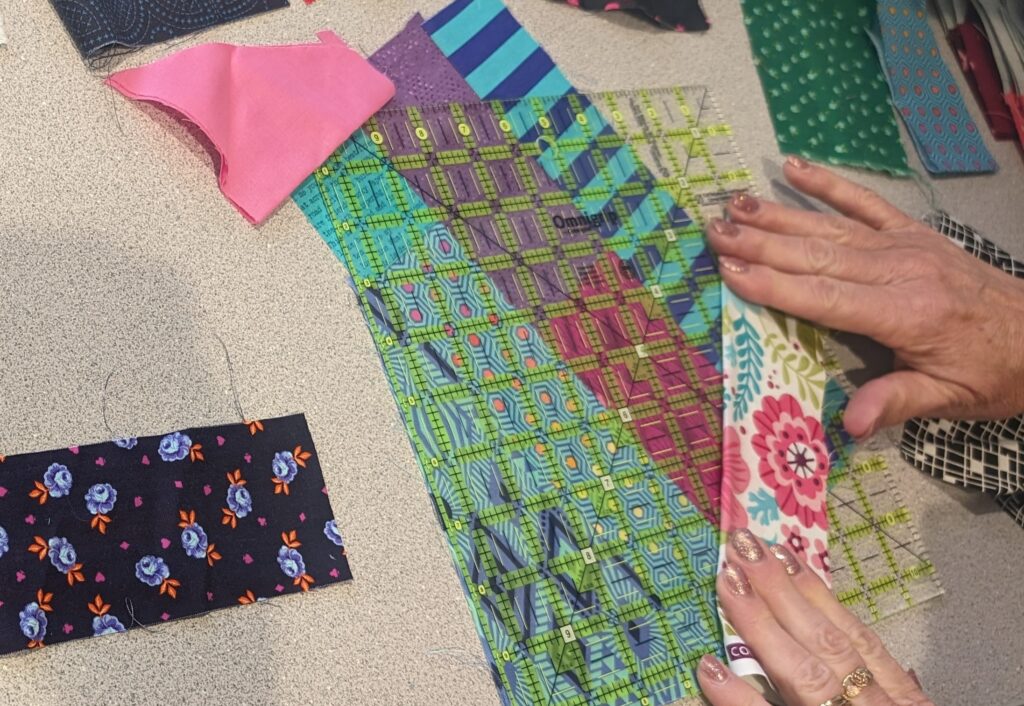
Precision is everything in quilting. If your pieces aren’t cut accurately, things won’t line up, and then you’ll wonder why your blocks aren’t behaving. Take your time when measuring and cutting because it’s worth it to avoid frustration later.
Use a sharp rotary blade and a sturdy ruler to get crisp, clean cuts. Always double-check before slicing! Taking those two extra seconds is the difference between realizing your 4-inch block should have been 4.5 inches!
4. Practice Your Quarter-Inch Seams
Consistent seam allowances are critical for a quilt that fits together seamlessly. Many sewing machines have quarter-inch presser feet or add-ons to help you achieve precise seams, but even painter’s tape or washi tape can work as a simple guide.
Pro Tip: It’s the little details, like perfectly matched corners, that elevate your quilting skills. Practicing quarter-inch seams will pay off in the long run. Save those scraps and practice, practice, practice!
5. Embrace Mistakes
Every quilter has had that moment: realizing a block is sewn upside down, seams don’t match, or you cut an entire stack of fabric the wrong size. Guess what? Mistakes are part of the process! The beauty of quilting is that every mistake is a chance to learn something new. Quilting is about learning, experimenting, and sometimes challenging the norm.
Some of my favorite quilts came from “mistakes” that led to creative solutions. Embrace the imperfections because they make each quilt unique. Don’t be afraid to step out of your comfort zone. Remember, perfection isn’t the goal. Progress is. Embrace your messy moments and enjoy the ride.
6. Find Your Quilting People
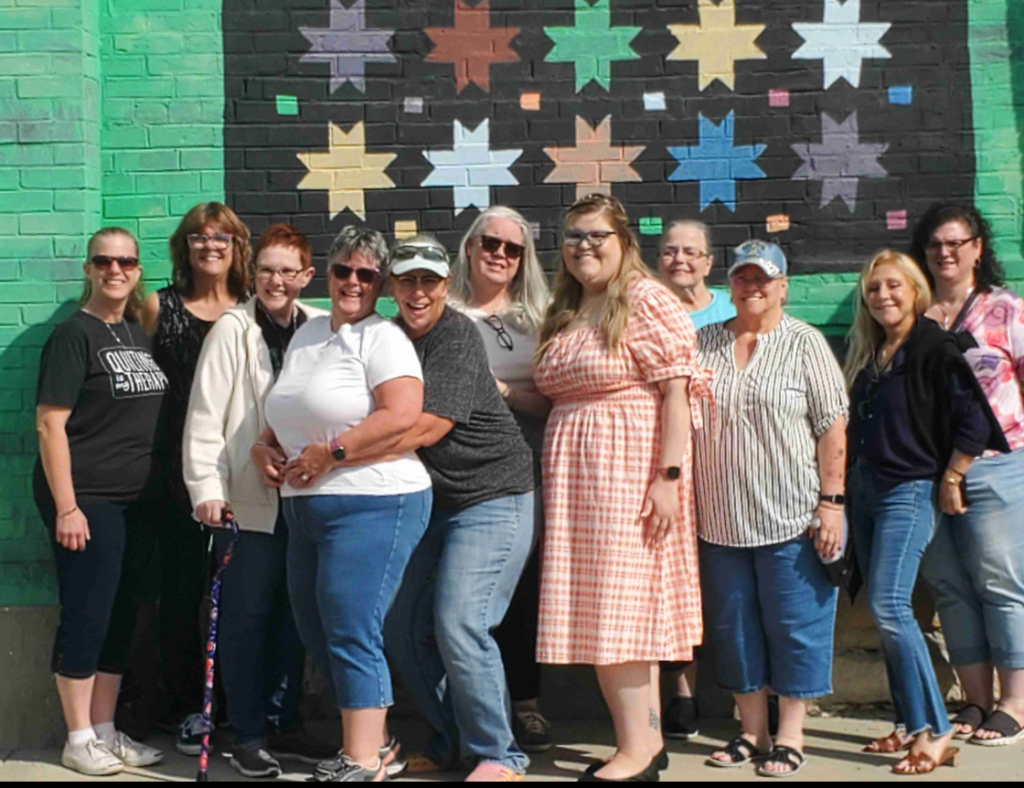
Quilting doesn’t have to be a solo activity! Whether online or in person, connecting with other quilters enriches your experience. You can share advice, seek feedback, and celebrate each other’s successes.
If you’re looking for a supportive group, consider joining my Stitch Sister Inner Circle. It’s an online community of quilters who inspire and uplift each other. No matter where you are, there’s always a place for you among like-minded friends.
7. Stay Curious: Take Classes and Watch Tutorials
Quilting is a craft where there’s always something new to learn. From local quilt shop classes to online tutorials and sew-alongs, the resources are endless.
Continuing to learn keeps you inspired and prevents burnout. Don’t hesitate to attend quilt retreats or events—they’re great opportunities to meet fellow quilters and deepen your skills.
8. Stay Organized
Keeping your supplies and workspace organized can save you time and frustration. Knowing where everything is ensures you’ll actually use the tools and fabrics you’ve invested in.
Check out my YouTube playlist on quilting organization for tips to simplify your space. Even small steps, like using rolling carts or labeled bins, can make a big difference.
9. Label Your Quilts
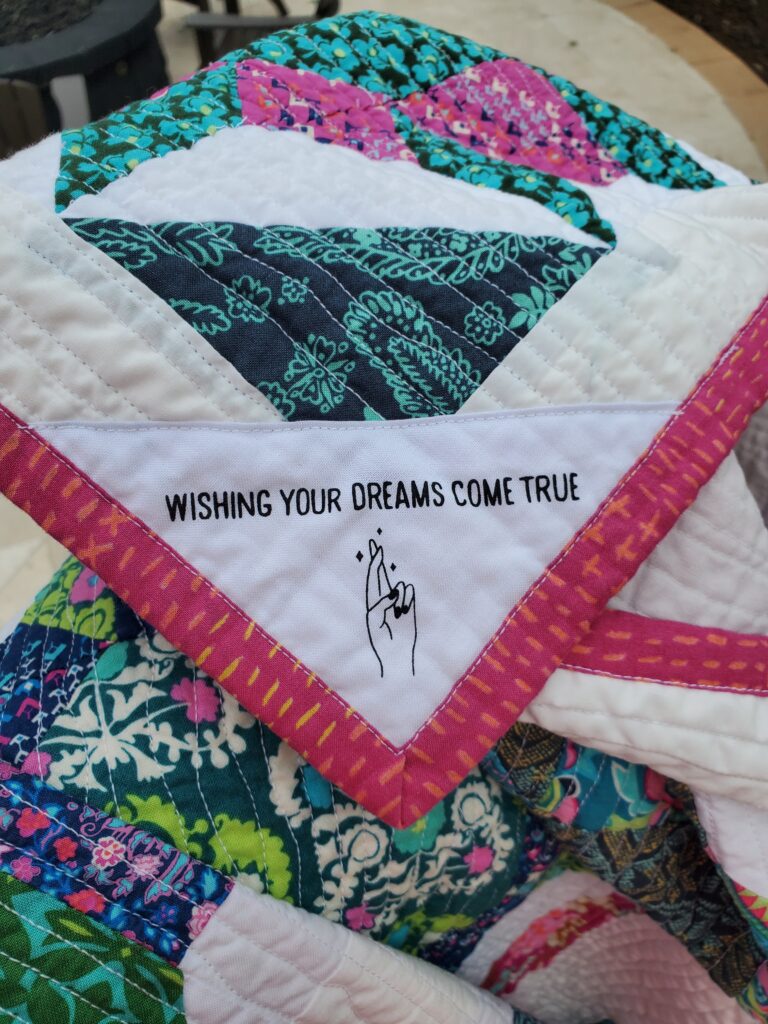
Your quilts are works of art, and every piece tells a story. Label them with your name, the date, and a message or dedication. Not only does this preserve the quilt’s history, but it also adds a personal touch for future generations.
You can purchase premade labels or make your own, the options are endless! And you can get as fun or as sentimental as you’d like.
Creative Idea: Write special messages along the binding or include meaningful quotes. It’s a small detail that transforms your quilt into a one-of-a-kind treasure.
10. Enjoy the Process
Above all, quilting should bring you joy. It’s not about perfection or rushing to the finish line—it’s about finding fulfillment in creating something with your own hands.
Where you are today is just a step in your journey. Six months or a year from now, you’ll look back and see how far you’ve come. When frustration creeps in, take a breath and remember: quilting is a privilege and an outlet for creativity. Let it make you happy.
I hope these tips inspire you to embrace quilting with confidence and joy. Whether you’re just starting out or revisiting the basics, there’s always something new to discover in this craft.
If you have tips or advice for other quilters, I’d love to hear them in the comments below. And don’t forget to check out the resources and tools I mentioned—they’re linked in the post to help you get started.
Thank you for joining me on this journey. Let’s create something beautiful together!