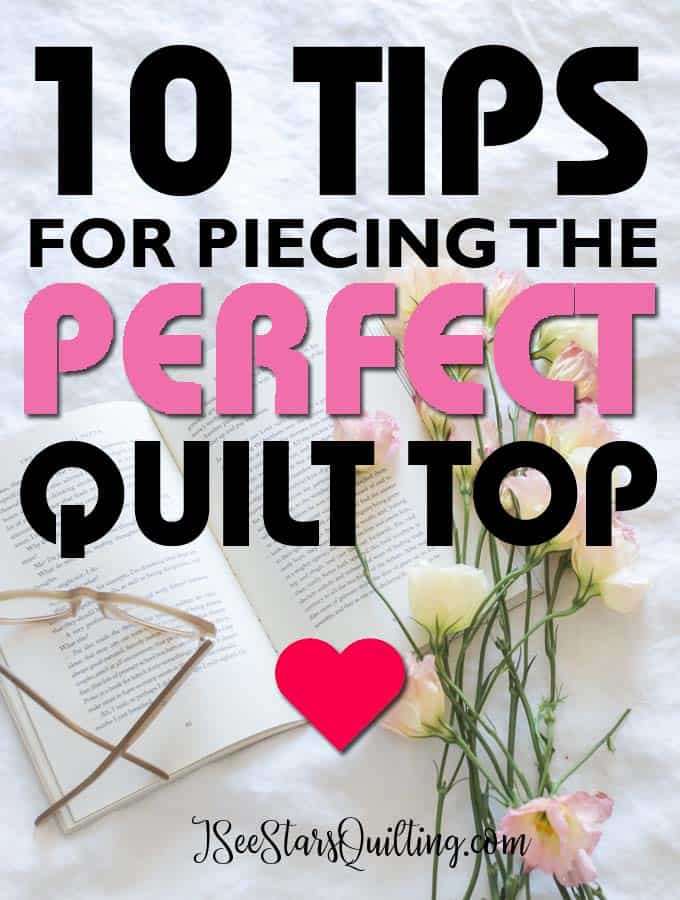
Today I’m going to share with you some tips for piecing the perfect quilt top. If you’re looking to improve your quilting skills there are a few things you should keep in mind. With these 10 tips, you’ll be on the road to better quilting in no time!
The very first quilt you make will be full of flaws and many moments of learning along the way. This is to be expected… but how do you improve when you’re ready to take your quilting from “wow, you’re just starting out quilting, aren’t you?” to “Wow, you made this?!“
10 Tips for Piecing the Perfect Quilt Top
*ha, say that 10 times fast*
1. Make sure that your pieces are cut to the exact right size.
I know I am guilty of fudging it in the past and “close enough” was good enough for me for a number of years, but when I really wanted to take quilting to the next level, I had to realize that quilting involves a lot of math. And math is exact. It isn’t up for discussion.
If you want to all those pretty seams and corners to line up without any fuss, make sure you trim your pieces to the right size before you sew them together.
Take those extra 10 minutes and square up your pieces and trim off any little sliver of fabric that could cause you headache later.
2. It really helps to have the right tools on hand.
It can be a bit of an investment, but it doesn’t have to cost a fortune. With a few essential items, you can create a quilt that rival the pros. – What it will cost you in time and frustration without the right tools is a far greater cost in the end. (at least this is what I tell myself when I want to go shopping for new ones!)
For me, these tools are an absolute must – bare minimum, every quilter should have…
- Rotary cutter – with a good sharp blade (don’t even get me started on the dangers of a dull blade.)
- Self Healing Cutting Mat – to protect your tables and surfaces
- Cutting ruler – something wide and comfortable – see through
- Sharp Sewing Needles – Did you know you’re supposed to change your sewing machine needles about every 10-12 hours of sewing? It really helps keep your machine in tip-top shape.
- Sewing machine – It doesn’t have to be a top of the line fancy model. Most home sewing machines will work. As you get more into quilting, you can
upgade your machine as budget allows.
Here are a few other recommendations of mine if you’re wanting to make sure you have the essentials.
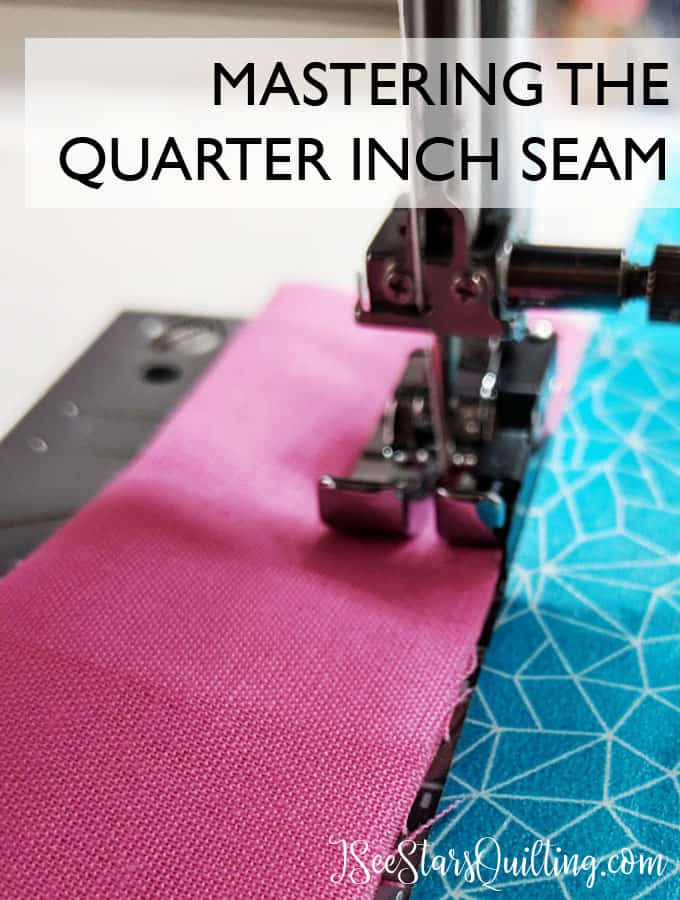
3. Master your quarter inch seam
Do it, practice it on scrappy fabric until you can do it in your sleep. Quarter inch seams are an industry standard in professional quilting. For more tips on how to master it, you can check out the post I wrote. How to Master the Quarter Inch Seam
4. Nest Your Seams
This is KEY to getting those laser perfect corner matchups. It’s much easier if I show you but I do not have a video (yet! –
5. Save Your Scraps!
*This is not permission to be a hoarder. (Though your definition and my definition of the term may be different)
When I first started quilting, I wouldn’t see the need for little pieces of fabric leftover from a project. I didn’t have the room to store things and I was more than happy to toss it. Then, I discovered “scrappy quilts”. Oh man, was I wrong to let go of so many pieces of fabric that had yet to live up to their full potential?
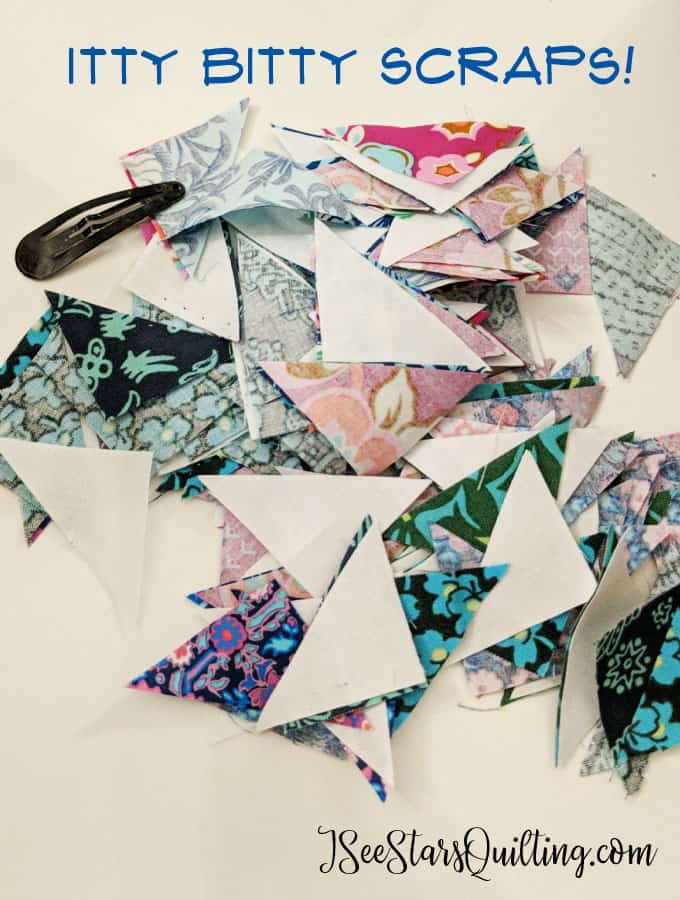
A scrappy quilt is exactly what you think it is. It is made from scraps of fabric. A scrappy quilt can be intricate and detailed. It could be wild and completely improv sewing or it could be something that takes you years to sew just a tiny bit at a time. But what it is, is beauty in what otherwise would have no further purpose.
As a DIY addict, I love that.
And when money is tight or your husband questions why you HAVE to go to the fabric store because he just doesn’t understand… you can make everyone happy by digging through your leftover fabric and creating something out of nothing!
For ideas on storing your scraps, check out this link:
Cheap Sewing Room Storage Ideas
Scrappy Holiday Table Decorations
6. Iron Your Seams
Like with a real, hot and steamy iron. not just a roller or finger press. Press that fabric into submission and make it do what you want it to. Just don’t
If you’re not sure if you have the right iron, check out this post.

7. Read through the Pattern
Yes, do it… Take 10 minutes. Prep yourself. Just do a quick read through. This isn’t a novel where you want to be surprised by little fun moments in the middle of the story.
Those little surprises will lead to moments of torment and frustration..
Go ahead and read out all the steps. Get a clear vision of what you’ll be creating and how it will all come together.
Treat this moment as a mini prep for a test. – Your test results will be your final quilt.
8. Prep your supplies
This goes with number 7 and “things you should do before you quilt”.
Productivity wise, you should cut all your pieces at the same time. I know not everyone does this but it has been an absolute time saver (and sanity saver) for this busy momma.
I like to use these wonder clips and clip each one of my blocks together.
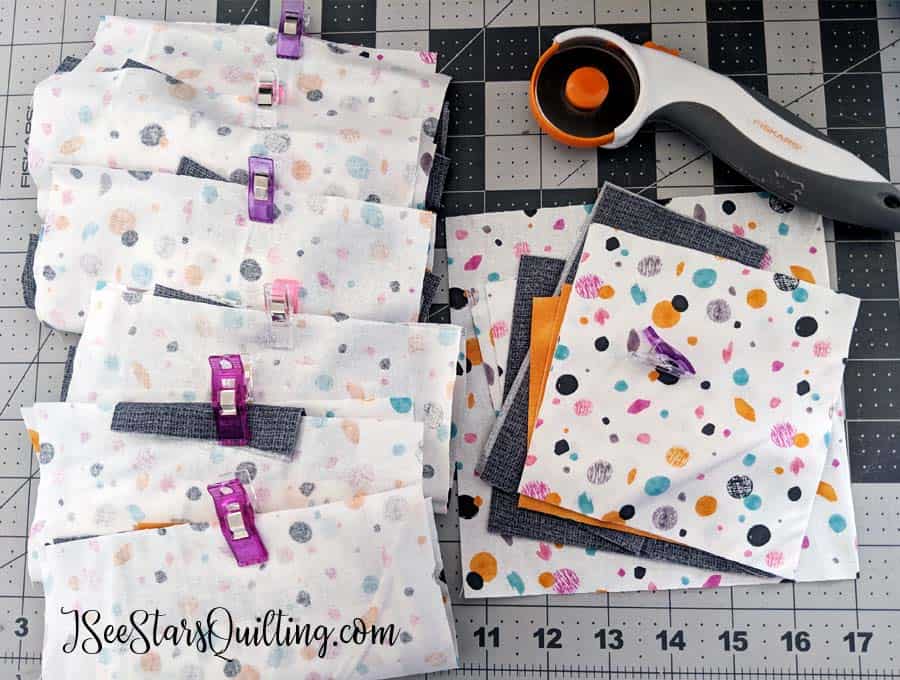
So whenever I get a few moments to sew a block together, I have everything I need in a nice neat package and ready to go. I don’t have to backtrack and try and remember how many 1×4″ pieces I need or what fabric was I using for the background again?
Basically, I’ve dummy proofed the fabric blocks for myself.
It’s all here and ready to go.
9. Do A Test Block
If you have a particularly new pattern that utilizes skills you’re not 110% confident in, don’t waste your good fabric on your first block. Grab some scrap fabric or cheap fabric and do a trial run.
You’ll be able to work out the kinks and “oooooh! I get it” moments. without having to seam rip all over your desired fabric for the piece.
10. Don’t be afraid to be picky
I am one of the WORST people I know with the phrase “done is better than perfect“. I would whip up a quilt top in no time flat. The seams would be slightly wonky, corners not perfectly met… I
Over time, I realized that I was really insecure about my quilts. I knew (and remembered) every single flaw and felt really uneasy when people would want to inspect my work.
Hanging on a chair or draped over the laps of my children were one thing, but under the eyes of another quilter was an entirely different thing. (and a rather scary thing)
I didn’t have any excuses.
I picked out a rather challenging quilt pattern and vowed that I would be meticulous no matter how long it took me. This was going to be a quilt for me and I was going to learn to perfect it along the way.
Whenever something wasn’t JUST right. I used the seam ripper and did it again. – Don’t get me wrong, I’m not selling this as a sunshine and roses experience. I was not the most joyful person to be around at that time.
But it was a tremendous LEAP in quilting skills for me to finish this project. and really helped me perfect my quilt top piecing.
I really hope that you were able to gain some insight within these tips for piecing the Perfect Quilt
If you have other advice or tips, please leave them in the comments below. I’d love to hear from you!