This project is my absolute favorite thing that I’ve ever made to take on vacation! There are many DIY Vacation Accessories out there, but this one will take you less than 15 minutes! Say What? AND it is a momma’s sanity saver! Yes, it only takes 15 minutes from start to finish.
Super quick & fun projects are my BFFs.
When you’re juggling life in suitcases (no matter if its a weekend getaway, a week-long vacay or a month-long car trip) organization is critical. Heck… even just in life in general. We could all use a little sanity saver.
The most natural organizing on vacation? Keep the dirty clothes separate from the clean clothes. Maybe not if you are a kid though… Honestly, no kid I have ever met is concerned with making sure they have clean underwear on every day. Not a single one. Why is that?
I shudder to think what would happen if I were not here every day to remind my kids. Hopefully, if I send up enough silent prayers, someday my nagging reminders will sink in, and the kids will be able to survive. They are both still young. We still have time.
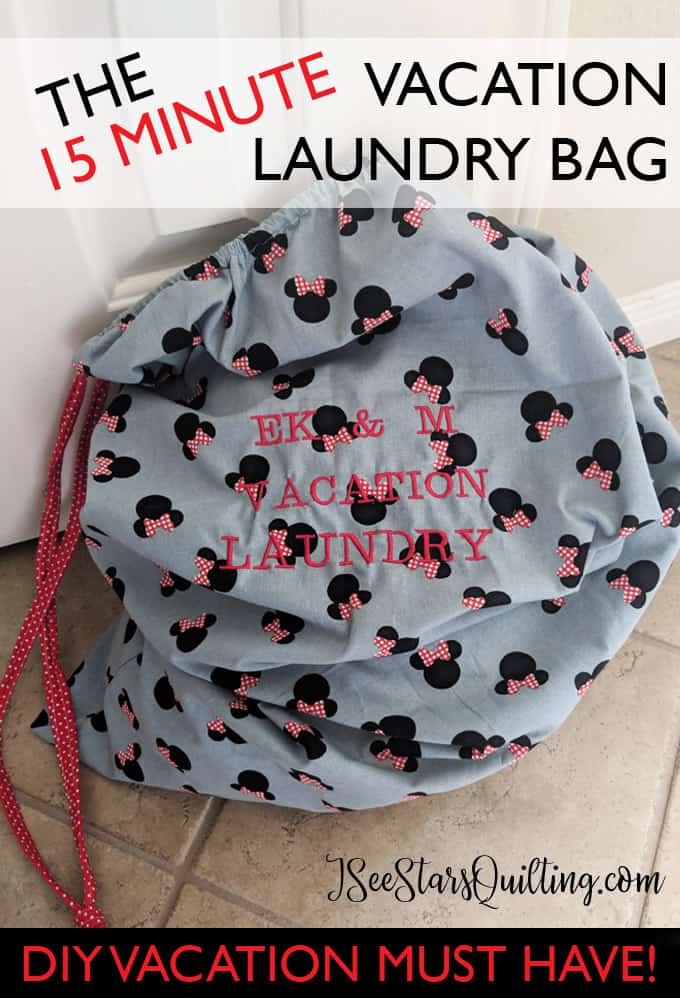
We just spent a week at Disney World (see how cute my themed fabric is?) … Disney World in July… Summer… in Florida. Not only is it blazing hot, it rained every single day. So between the rain and the sweat, our clothes every single day were disgusting.
The kids were so caught up in the sugar rush of vacation that they didn’t care how smelly their clothes were… but I did. Oh, yes… I sure did.
I guess you COULD use a trash bag or the provided hotel plastic laundry bag… but we’re not your typical people. We’re creatives and love a good use for a pretty piece of fabric. I know you get me, sewing mommas. We will make the world a beautiful place together!
This project is so quick and beginner friendly, you are going to love it… below are the steps to make your own vacation laundry bag!
15 Minute Vacation Laundry Bag
What you’ll need:
1 yard of fabric
2 yards of ribbon – 1/2 Inch Wide
What to do:
- The first thing we’re going to do is unfold your yard of fabric.
- On one of the edges that is 42″ (not the 36″ side!), fold down 3/4″ of fabric, then fold down again. Pin.
You’ll make a nice clean edge like the image below. This is where your drawstring will go through in just a few minutes.

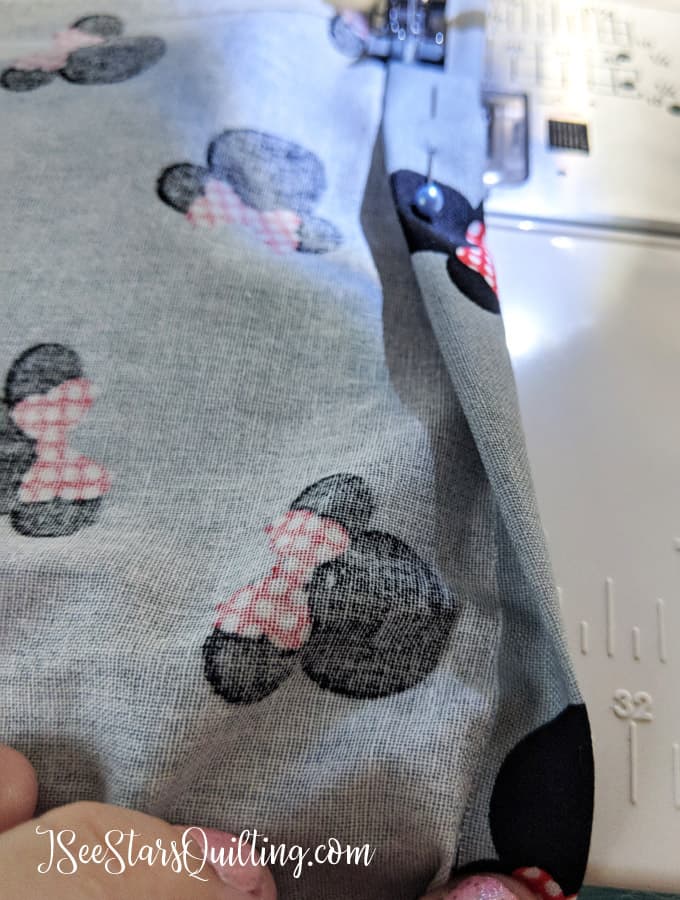
- Sew from one edge to the other just at the base of your folded fabric, just enough to hold it down. Make sure there is room enough for your ribbon to go through above your seam.
- Fold your fabric right sides together, lining up the selvage edge. If you have a thicker selvage edge that you would rather trim off, you can, but it is not necessary as long as you keep it within the seam in this next step.
- Sew along the red line area below taking care not to sew over your drawstring area. Use a 1/4″-1/2″ seam allowance.
Make sure you back stitch a few times just below the drawstring area to reinforce your stitches.

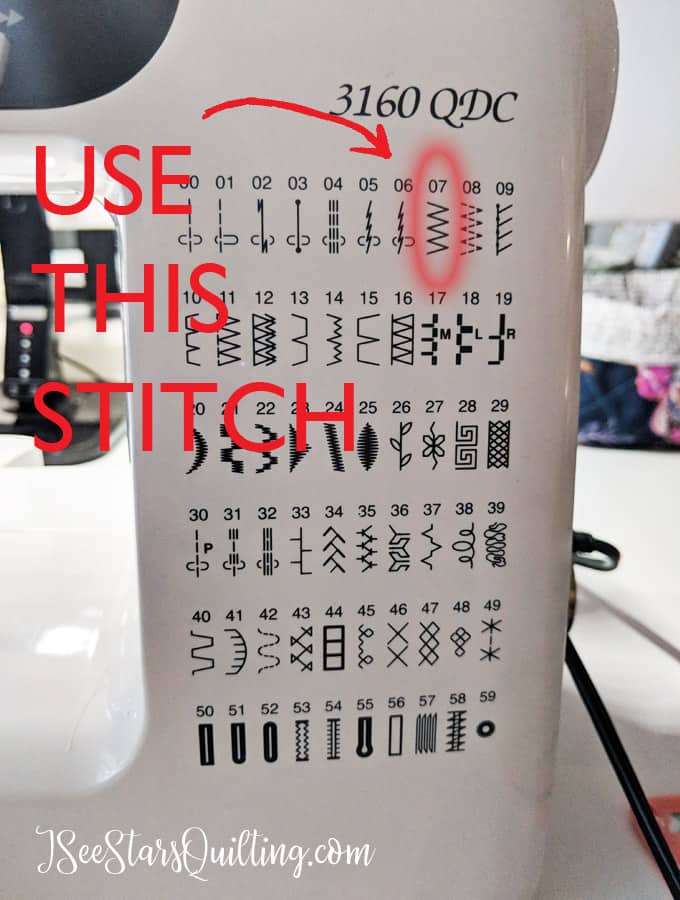
- If you chose to trim off the selvage, to keep your fabric from fraying, zig-zag stitch along the raw edge. You might want to test this out on a scrap fabric first if you aren’t familiar with this stitch.
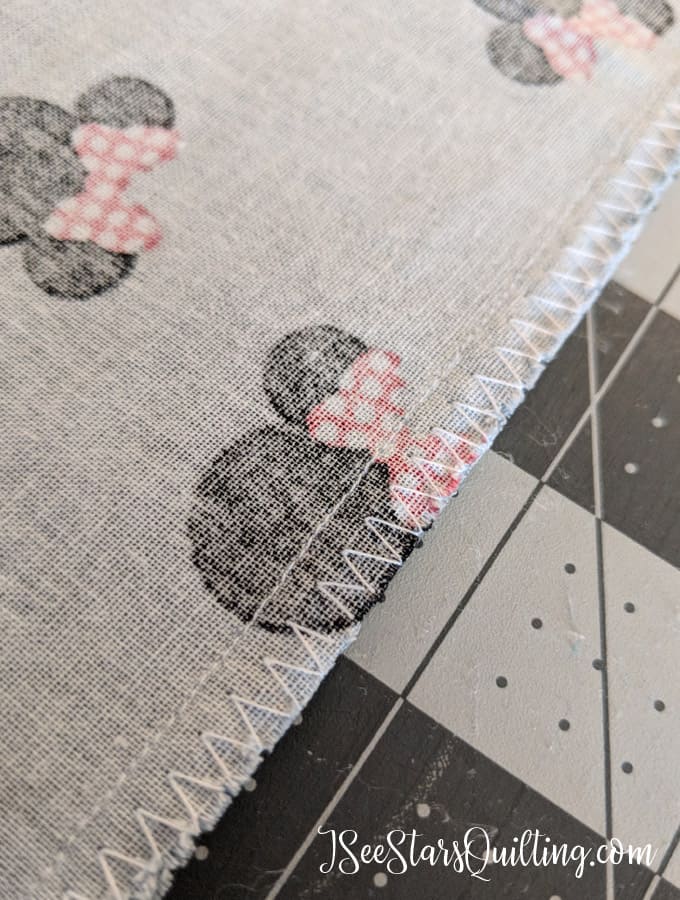
When in your machine, the raw side of the zig-zag should line up with the right point of the stitch.
- Turn your laundry bag right side out.
- The last step is to thread your ribbon through the drawstring fold. There are a few ways to do this, but the easiest that I’ve found is to use a safety pin through one end of the ribbon. Insert it into one end of the drawstring fold and work it through with your fingers until you come out through the other end. Give it less than a minute, and you’ll find a rhythm. You can also use a paper clip… whatever you can attach to your ribbon and pull through.
- Tie a knot with the two ends of the ribbons, so they do not slip back through… and you are good to go!
I went one step further and embroidered the front of our vacation laundry bag (my husbands expressed his inability to understand why I wanted to do this about nine times)

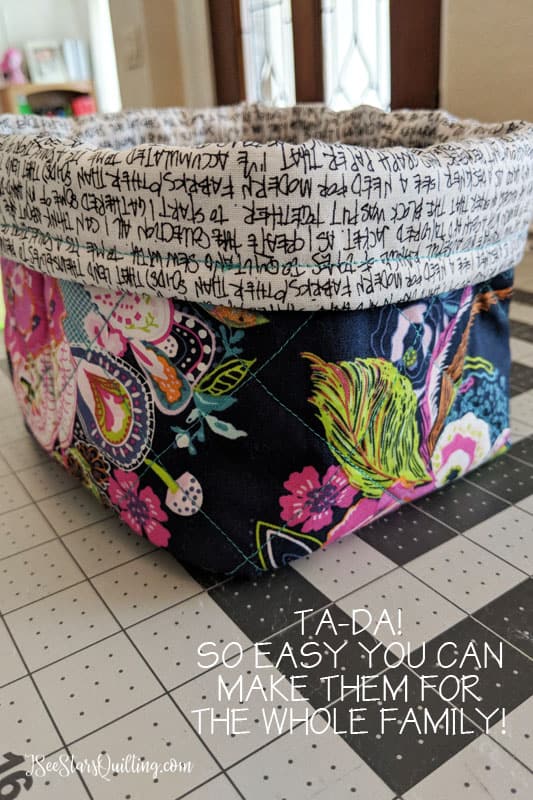
There you have it! Enjoy your cute little laundry bag and a small sliver of sanity on your vacation trip! – Or use this easy bag all around the house to hold everyday laundry, toys, stuffed animals… whatever clutter you want up and out of the way!Wishing you all the fun vacation memories you can handle! 🙂 Happy Sewing!

PS – Don’t forget to tag me in your photos! #ISeeStarsQuilting #ISeeStarsQuiltingProjects I love to see your beautiful work!
Another one of my favorite DIY vacation accessories that I brought with us on this trip was this lovely little thing. It helped keep everyone’s most essential items together every single day in the hotel room. Jewelry, Cards, Magic bands and watches, as well as any loose change or trinkets, find during our stay. It was the perfect way to make sure something didn’t get lost under the bed and accidentally left. (bonus, it doesn’t take up a lot of room in your suitcase because it folds flat!)
These perfect catch-the mess fabric bins are another super easy project. You can read my tutorial on how to make them!
What is your favorite DIY vacation accessory?