Hey there! Today we’re going to talk about this super quick and easy project I did over the weekend. It’s so simple, but I am so pleased with the results that I just had to share it with you! I even remembered to take pictures along the way to create a tutorial. (yay me!) Here is the easy way to add length to a bag strap (and make it cute too!)
This process should take you no longer than 30 minutes. It could even take you 10 minutes if you have a little bit of previous sewing under your belt. It is a super easy and fun way to customize your bag!
Just FYI, this post may contain affiliate links to products. If you purchase a product that I recommend, I will get a small commision on the sale at no extra cost to you. This just helps me keep my site up and running and I appreciate your support!
So let’s start with the bag.
I’m at the point in my mommy-hood journey where I don’t have to carry a diaper bag anymore. (can I get an amen?) I don’t even have to bring a backpack full of other people’s junk when we travel either. It is glorious, I tell you… but I still am the go-to if there is a need for any essentials when we travel (band-aids, sunscreen, chapstick, Advil, etc.)
I also love photography and am totally that girl that will be so in the zone that I wouldn’t be surprised if someone swiped my purse while I wasn’t looking. We have several trips coming up this year. (including one to Europe! squeeee!!)
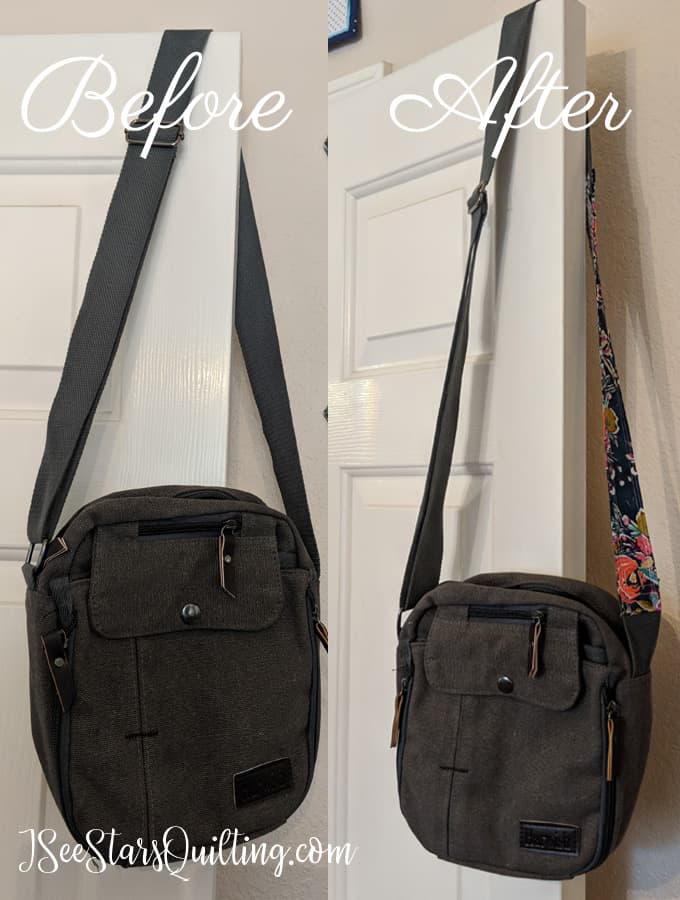
I’ve been on the lookout for a simple crossbody bag that will let me be totally hands-free and still keep the essentials. Thus, here we are full circle with me and a new bag I bought online. I found a no-frills, bag that didn’t draw a ton of attention and had all I was looking for.
Simple, but did its job.
My bubble burst when it came in the mail, and the strap was shorter than I wanted it to be. Bummer, right? — (Side note for the few curious: I am a bit on the “few extra pounds to love” body size, and I’m not an A cup in bra size. You don’t need to know any more details than that!… Strap length is a common issue in crossbody bags for me)
After giving it about 10 seconds of thought, I decided to put on my thinking cap and just doctor it up myself. I can fix this…
And I wouldn’t be writing this post if I wasn’t successful so… Tada! I’m not re-inventing the wheel here. Just jazzing it up a bit and adding a bit of color to it. 🙂
Easy Way To Add Length To A Bag Strap
What you need
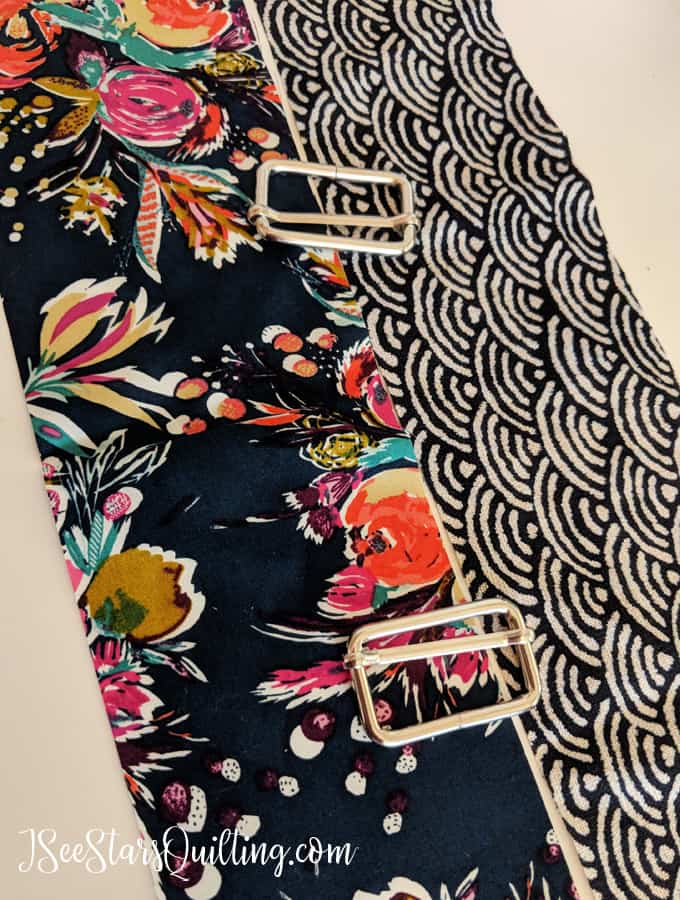
Fabric – The materials came out of my scrap fabric because what I used was so minimal. As you can see in the picture above, the strap is a thick woven material. I didn’t want my length addition to be flimsy or to wear any differently.
I chose two different fabrics to add to the sturdiness of my strap addition. The flowered fabric is a simple cotton fabric. The navy shell fabric is more of a canvas texture. Again, these were just scraps. You could get away with both cotton fabrics if you like.
Measurements – To figure out your specific measurements… measure the width of your strap that you’re adding to. Double that width and then add 1/2″. (don’t freak out – It’s math. I know. My free spirit heart sinks when someone tells me I have to adhere to mathematics standards)
Example. My strap is 1.25″ wide… so 1.25″ + 1.25″ +.5″ = 3″ width
For my straps, I cut a 3″x13″ piece from each fabric. (You may choose your length size differently based on your needs. If you only need to add 8″ ish, cut about an 11″ long piece. Make it longer as needed.) The rest of the tutorial is the same no matter what length or width of your strap is. (glad you made it through the math part!)
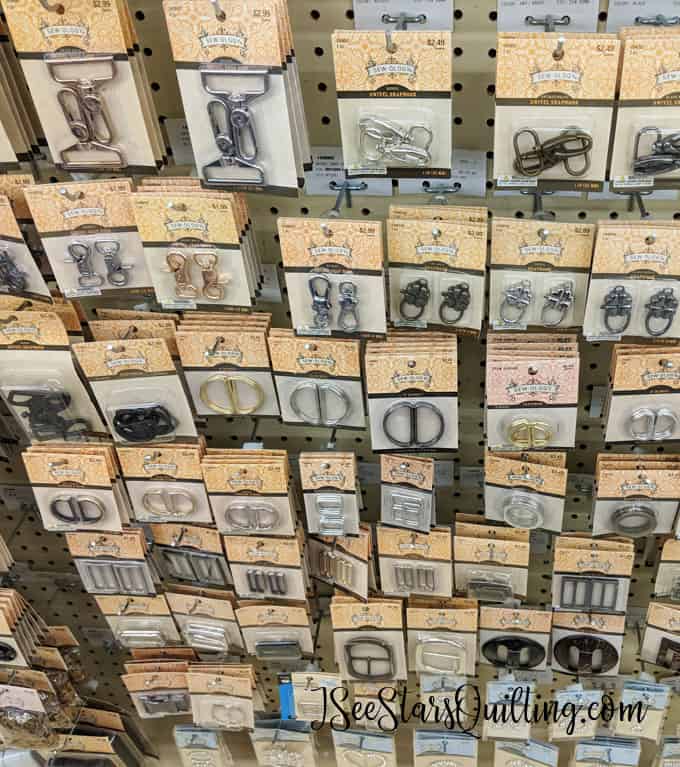
Hardware – I ended up deciding against it, but you may want to embellish a little with some shiny hardware! Ain’t no one trying to discourage your style! I went through a Hobby Lobby and took a look at the potential hardware in every finish you could imagine… Have fun with it!
How to do it
1. Take one of your fabric pieces and fold it in half lengthwise, right sides of the fabric together. (hot dog style for those that need a little grade school flashback) Stitch all the way down with a 1/4″ seam.
Do the same to your other piece of fabric. You’ll have a long tube with the pretty part of the material on the inside.
2. Next, You’ll need a way to turn your fabric right side out. I find this little tool thingy really handy in quite a few more situations than you would think. You can get one here if you want to have one on hand too. (You can also do this with a safety pin tied to a piece of string as well. It is just not as stiff so you have to work it through with your fingers a bit more.)
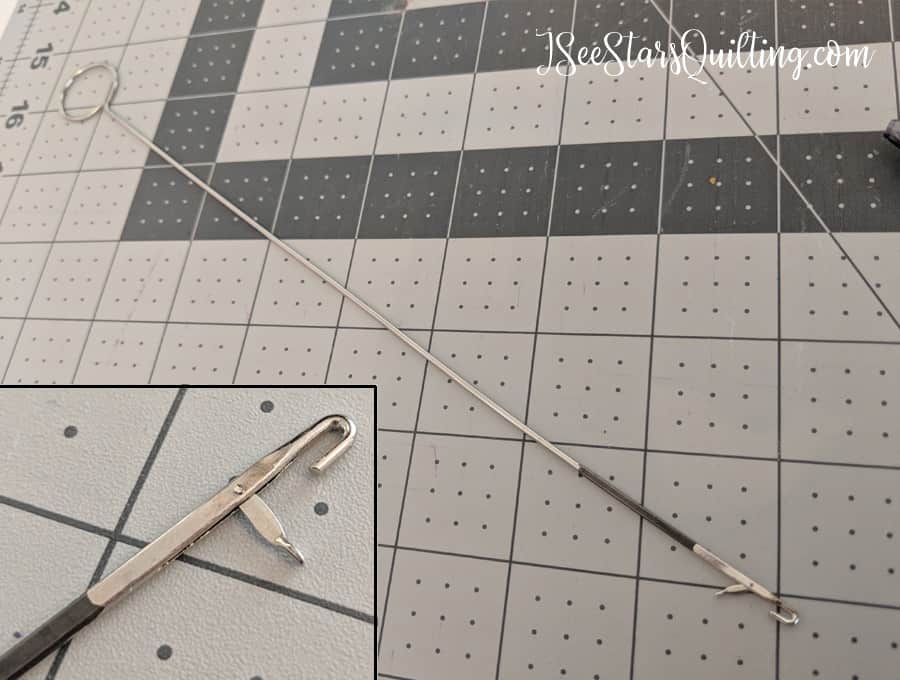
Push the hook end part all the way through your fabric tube length-wise and use the hook to latch on to the very end of your fabric. You’ll have to pierce through the fabric to get a good grip.
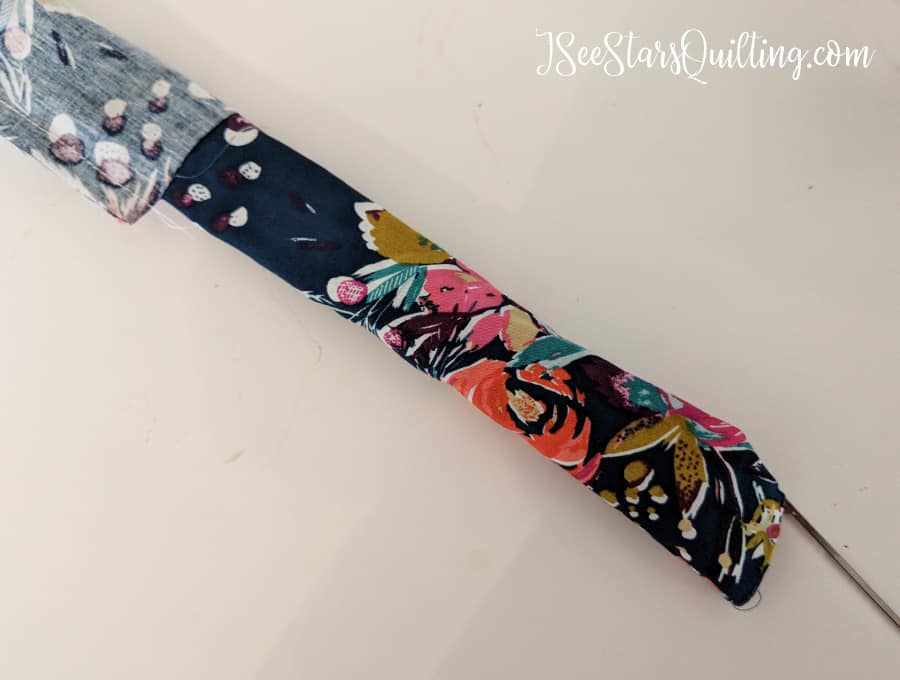
Once it is secure, put one of your fingers through the loop on the other end and pull the pole through your fabric tube. It may take a bit of working with it the first few times you do it, but you’ll end up turning the fabric inside out on itself as shown in the picture below.
Do this for both fabric pieces.
3. Press/Iron your strap fabric to be nice and flat.
Check that they match up to the width of your existing strap.
Sewing the fabric into the ‘tube’ is going to make for a much sturdier strap because now you have four layers of fabric vs. 2. They also won’t want to curl up as you get more wear out of them.
4. Place the two pieces on top of each other making sure they align all the way down and pin in place so they won’t budge when you stitch them together.
Time to assemble!
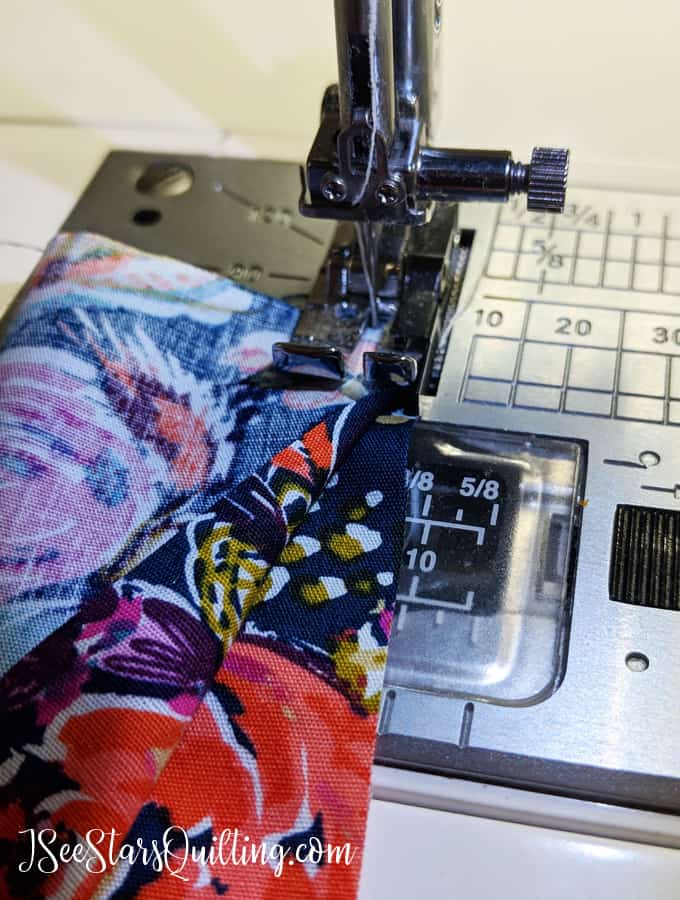
5. I did a seam at 1/4″ in and another at 3/8″ in, down the length of both sides (again, I want this to be sturdy and wear well when we travel so I’m doubling up. I don’t know what type of trip accident I’m preparing for, but I believe I will be covered if I do the double stitching, right?)
This is important – Leave about 2-3″ inches open at the top and the bottom so you can attach it to your existing strap! See the image below.

6. Snip snip – Choose the place where you are going to cut your strap. There is no going back after you make that cut. Make it neat, make it straight and choose carefully. One side of my bag has an adjustable strap already set up; I decided to leave that alone and add my fabric strap to the other side. Strategic? Maybe… Lazy? Most definitely.
7. Attaching your strap – This is easier explained with the image below, but you’re going to make your strap sandwich now. Take the two ends that you left open and fold them in, so no raw seams or edges are sticking out.
Slide the cut end of your strap in the middle. It’s the meat of your strap sandwich.

8. Secure/Sew – You can pin things in place here if it makes you feel more comfortable, but I found the area too tight of a space to work with pins. Also, the fabric is many many layers thick, and that made pins difficult. A wider strap might lend itself to pins, however.
I got things where I wanted them to be and held it really tightly while I fed the fabric through the sewing machine. It didn’t move around or budge.
I chose to continue with the 1/4″ and 3/8″ stitch lines for continuity and added a few horizontal lines to make it extra secure. (yes, I’m aware one of my lines got wonky. My primary goal was security not for it to be judged by the quilt police. Make yours as perfect as you like.)
Do this to both sides of the cut strap. (Be careful that nothing is twisted wrong, that would be an embarrassing mistake.)
9. The final test – work it! Try on your new bag with fashionable strap and pat yourself on the back. Who says you can’t have function and flair? Usefulness and beauty?
Yay! Thanks for making it all the way down to the bottom of this quick tutorial. If you have any questions, you can contact me or leave me a comment at the bottom here. I’m happy to help and love to chat.
If you added a little flair to your bags, I would love to see! Tag me in #iseestarsquilting or on Instagram @iseestarsquilting so I can see 🙂
Until next time, happy sewing sweet friends!