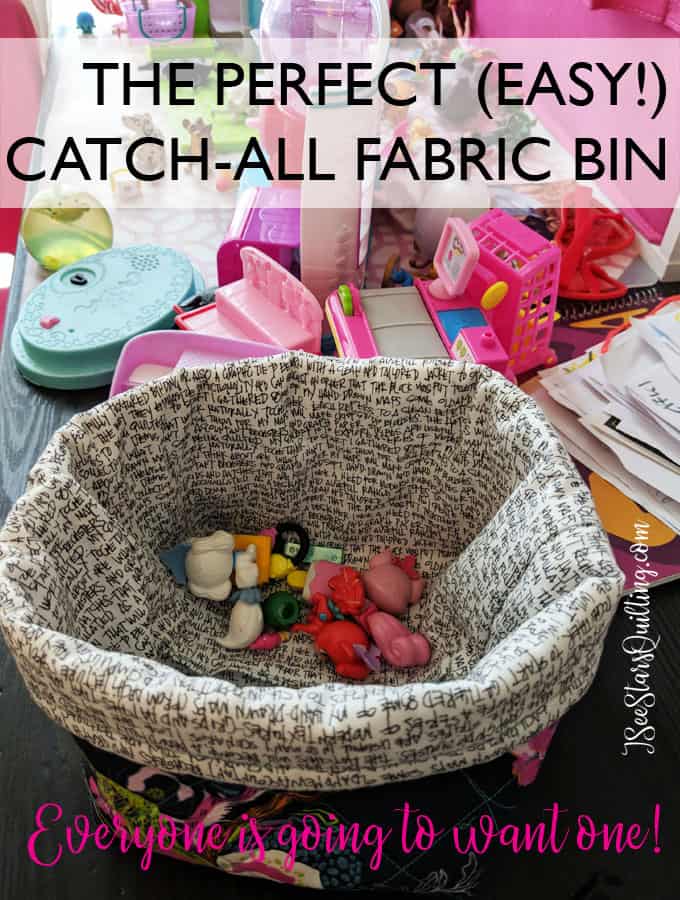
Are you up to your ankles in tiny things? Toys, Legos, and shopkins (why oh why?) from the kiddos, sewing supplies and thread from you, oh who knows what piles from the rest of the family!… Let me introduce you to…
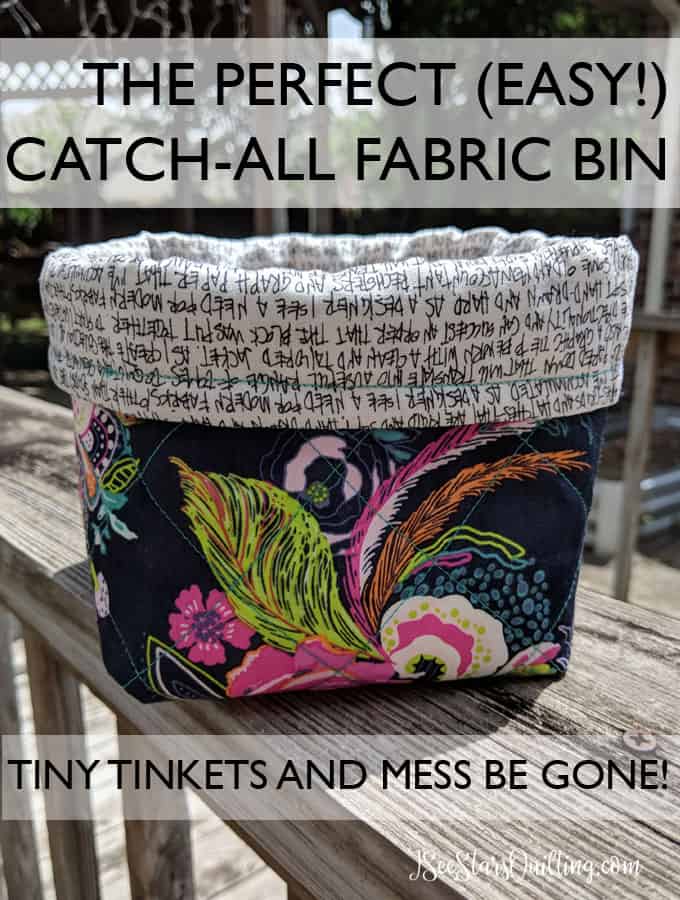
The Perfect (Easy!) Catch-the-MESS Fabric Bin
I have a way to contain the mess and make it pretty! I do! And do you have to spend a fortune?… you do NOT! I bet you already have all the supplies in your house right now.
Do I have a fun little easy project for you today! I’ve been a bag making fool the last few weeks because, well, I honestly didn’t know how much I needed these in my life until recently. And I’m going to tell you that you totally need them too.
This tutorial is an easy one. And the perfect little project to make for everyone in your family. My kids love these bins, and it’s easy to make them custom too. Batman fabric? Rainbow kitty cats? Favorite sports team? Beachy? — Make it classy and cohesive with your home decor or use random weird themed fabric because your kid literally thinks he is THE Iron Man and needs everything to reflect this obsession. Whatever floats your boat.
What can a momma make in less than an hour and not want to pull her hair out?
I’ve been testing theories and patterns and deciding if zippers were worth the hassle. I love pockets and the more storage organization, the better… but I wanted to streamline this fabric storage bin idea!
I wanted it to be quick and fun to make and not leave you scratching your head in confusion. The end result is a project that can be accomplished in one nap time. Start to finish.
Yes, I’m serious. [Unless you have a kid that takes power naps. In that case, ugh… I’m so sorry.]
Dig through your scraps or go to that sacred stash of fabrics that you bought because you LOVE it but you’ve been holding back on using because you wanted to wait for the PERFECT project. Not just any project will do. uh-huh… you’re not alone. I have that stash too.
It’s time to use it and love it even more!
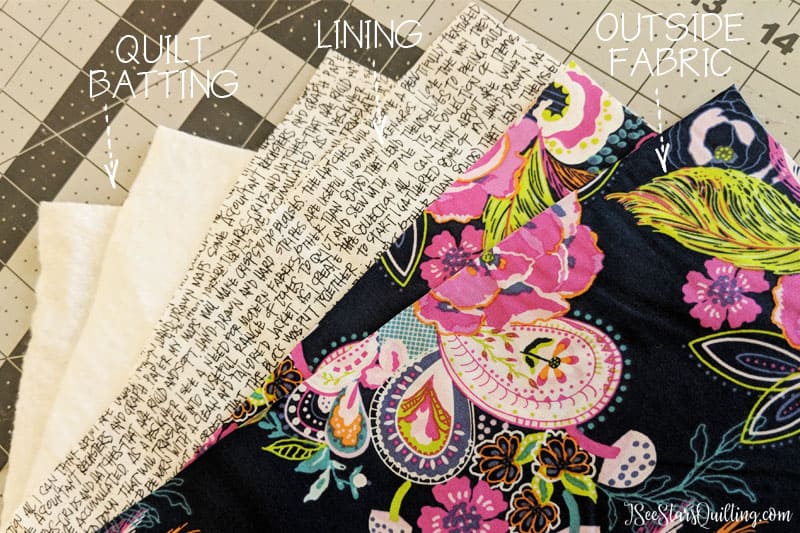
Here is what you will need:
(2) 12″x10″ Pieces of Fabric for the outside
(2) 12″x10″ Pieces of Fabric for the Interior
(2) 12″x10″ Pieces of quilt batting (told you I would make it easy, right?)
Rotary Cutter, Cutting Mat, fabric marker, Ruler, Pins
Here is how to make it:
- Once you have all your supplies and your pieces cut to their proper size, line up one piece of the outer fabric on top of your quilt batting. *You will do the following steps for both outer fabric pieces* (right side of the fabric down, then batting on top.) If you are using a directional fabric, make a note which side you want the top to be.
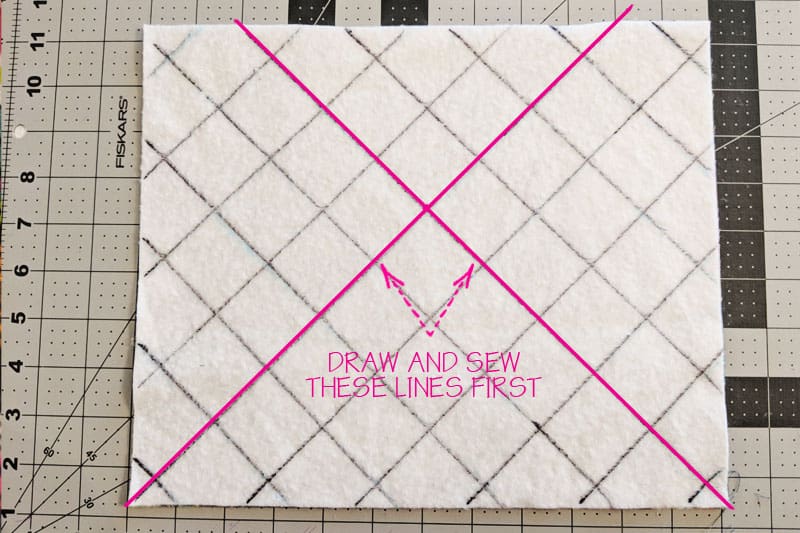
- Use a fabric marker (I used a sharpie because the lines were too faint to see on camera. You can do this also if neither one of your fabrics is light enough to see through)Starting in the lower corners, make a 45-degree line. Note: Your line will not go corner to corner (see below). Using a 45-degree mark ensures that your ‘quilting’ won’t be wonky on your bag and the points on your stitching will run parallel to the bottom of your bag.
A helpful tool for the exact 45-degree line is to use your cutting mat. Mine has a few added lines to it and I’ve seen many others with this as well.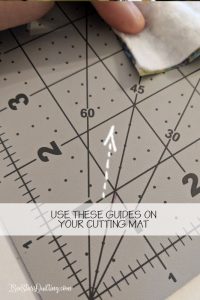
- Continue making lines that run parallel to your original lines. You can make them as close together or as far as you like. I did mine at 1.5″ apart.
- Being careful not to move or let your fabric slide (pin if you like), stitch along each line.We’re not about wasting time here. You don’t have to worry about sewing a knot or backstitching at each end. Just get as close to the edge as you can and all your ends will be inside the seams later.
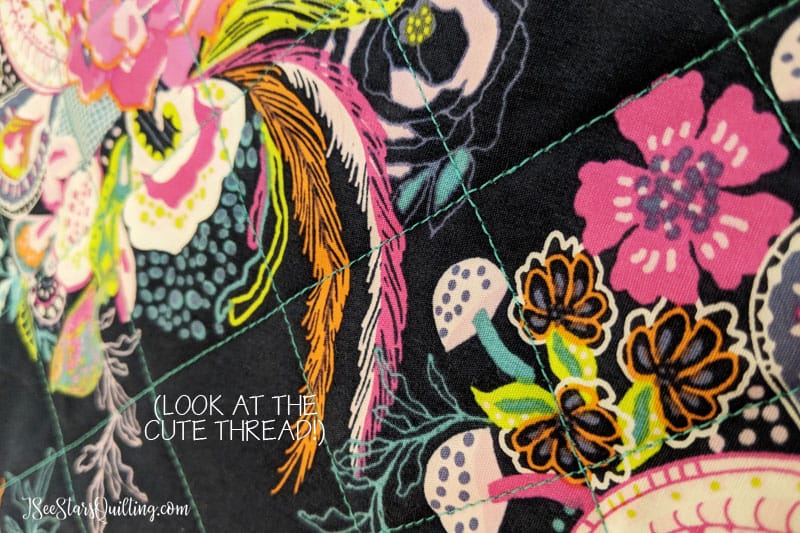
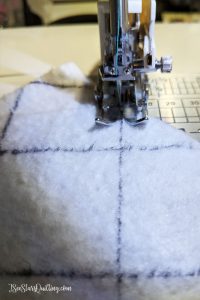 Modern Quilting tip: Use a fun coordinating thread! Modern quilting is the perfect venue to just go wild and have fun. I personally have lots of pretty thread colors that don’t get near enough use. This detail will add a touch of personality to your finished piece. Your outer pieces should look like this when you’re finished stitching. FYI – I used a 2.6 stitch length.
- Do you have both outside pieces stitched up with their own layer of batting? Good! Place them together. Right sides facing each other.If things aren’t lining up juuuust right… don’t sweat it. Things are bound to shift just a bit. Use your rotary cutter and trim off the littlest sliver of fabric that you possibly can to get things nice and cleaned up square again.

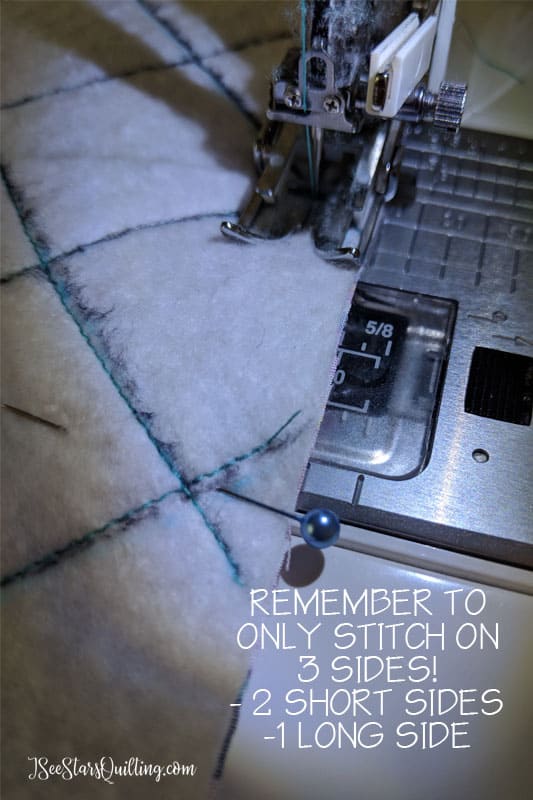
- Pin your pieces together to keep them from shifting and sew along three sides of your bag. Sew along two short sides and one long side using a 3/8″ seam allowance.Note: This is where you need to pay attention if you are using directional fabric! Do NOT sew along the top of your bag. duh.
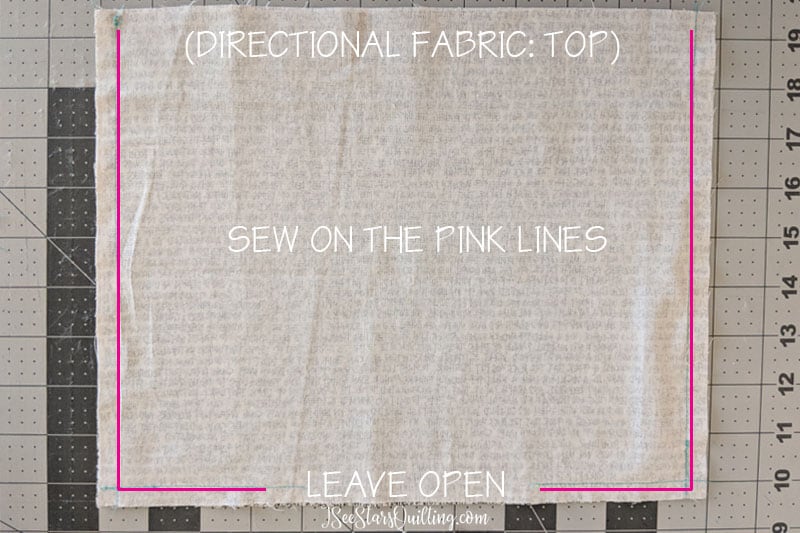
- Grab the two pieces of lining fabric and place right sides together. Sew them according to the picture below and make sure you leave about a 5-6″ gap along the bottom.
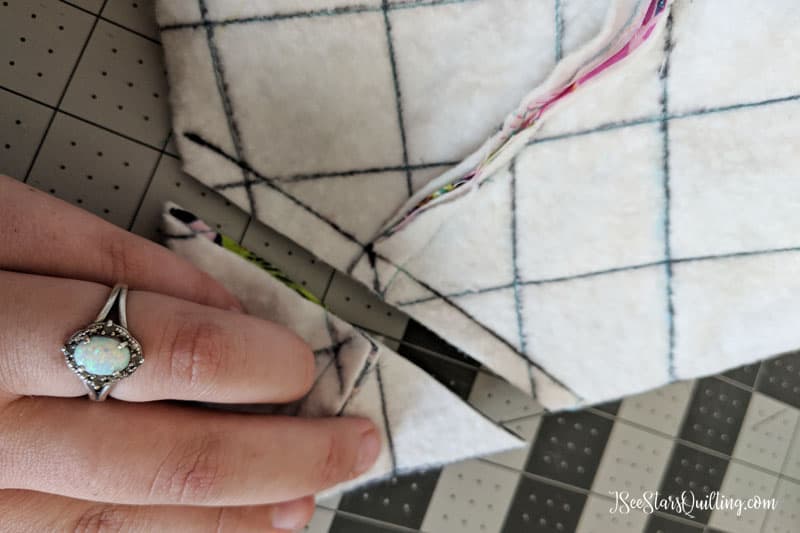
- Next, we’re going to make the bottom of our fabric basket. (Keep everything wrong sides facing out for this part.)Start at a corner and pinch your fabric until you can make your side and bottom seams line up inside of your bag. You can feel this when you roll it between your fingers. It is a little tricky at first, but it’s easy to catch on.
Put a pin in it. Do this for both corners on your outer fabric layer and your lining.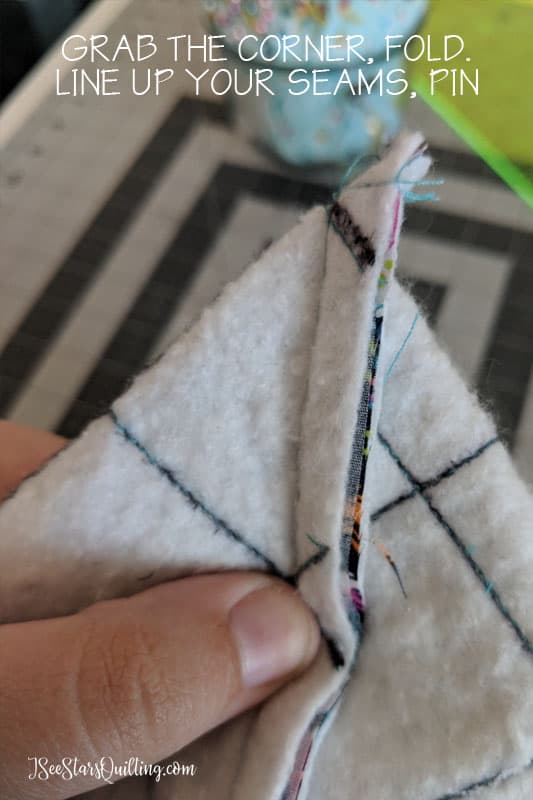
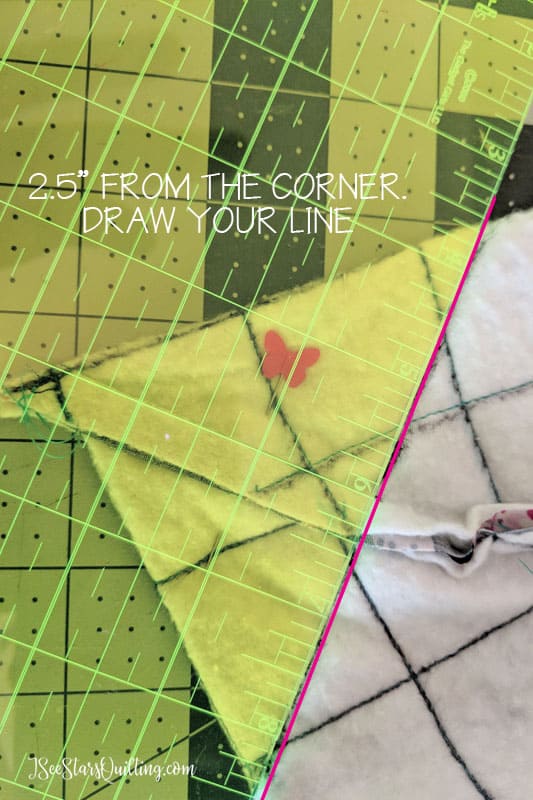
- If you have a see-through ruler, this is going to be a cinch. You want to make a line that is 2.5″ from your corner that runs perpendicular to your seam line. Do this for all four corners that you’ve pinched.
- Stitch across each corner line you just made. Make sure you knot or backstitch these lines to keep them secure.
- Trim up up your sewn corners with a 1/4″ seam. Turn your outer fabric with the batting facing inside. Pretty side out!
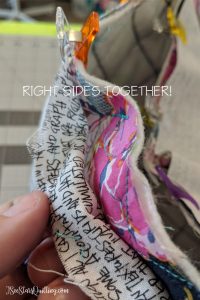
- This is the fun part! It’s starting to look like a cute little bin now!… Keep your lining fabric with the right side facing inward. Place the outer fabric inside the lining fabric. The right sides of both fabrics should be facing each other. (I added a picture below)It takes just a little bit of fussing with to get it to sit nicely inside but shouldn’t give you too much trouble. Line up the side seams first and use a clip (I LOVE these ones) or a pin to keep it in place. Then place a few more clips/pins around the circle to make sure the top of both pieces is aligned.
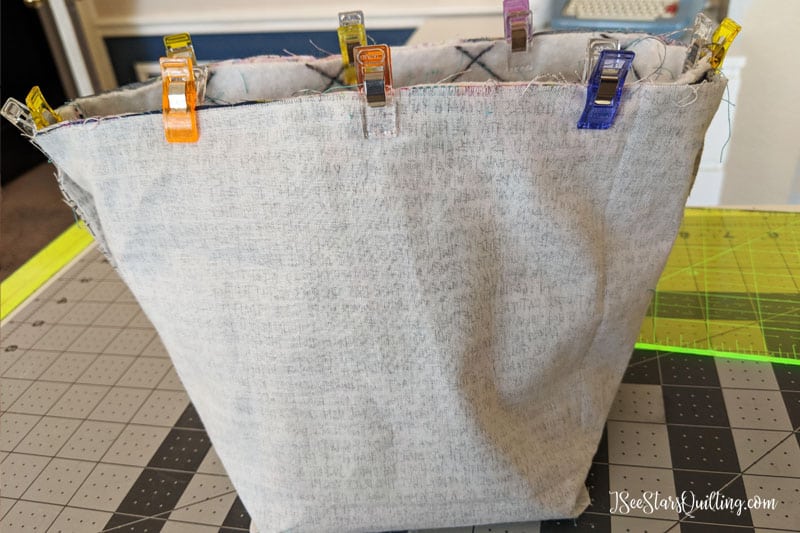
- Stitch with a 3/8″ seam allowance all around the mouth of your bag.
- Remember that weird 5-6″ gap we left at the bottom of the lining piece? It’s time for it to come into play now.Gently pull the bottom of your outer fabric through the lining fabric hole.
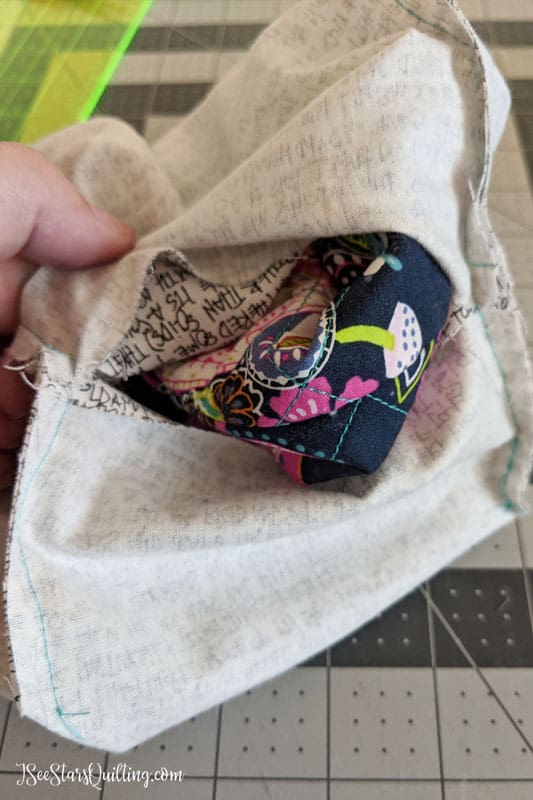 It should look like this when you have it all pulled through. It is still without a lot of shape at this point and really soft. But, oh! that quilting! 😉
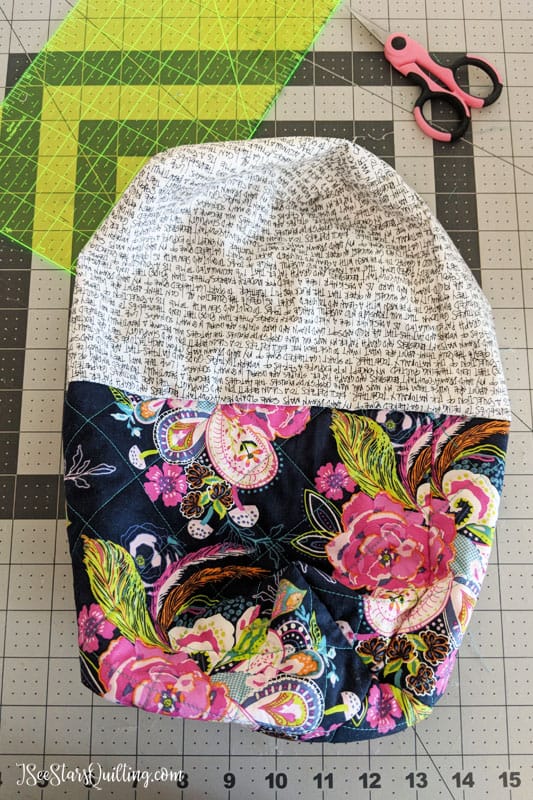
- Closing off the gap in the lining fabric – You can do this by machine, or you can ladder stitch it by hand to hide your seam. Personally, the seam is so slim, the little ridge you get from a machine stitch doesn’t bother me.Use your fingers to get the seam just right where it feels like the fabric would be if it were already sewn.
Then using your sewing machine, stitch as close to the edge as you can to close the gap. You can even do this in a coordinating thread to your lining if you want it to blend in a little more.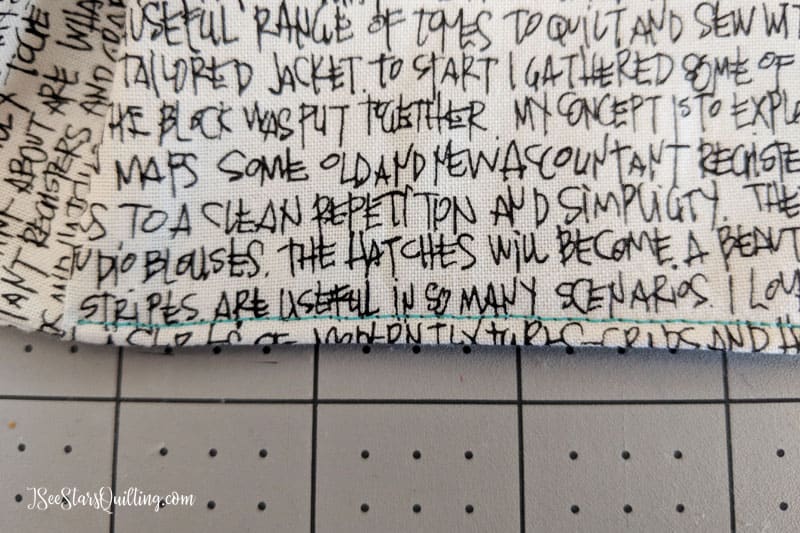
- Tuck the lining into your outer fabric and use your fingers to push everything in its place inside. Corner to corner. It doesn’t have to be perfect. The lining will be loose in your bag.
Use clips or pins to secure the top, just like we did before.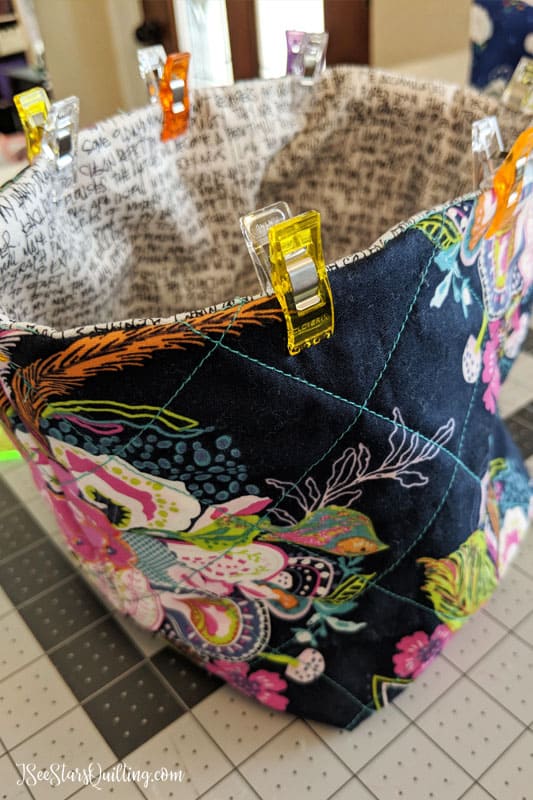
- Stitch all the way around the mouth of your bag again at a 3/8″ seam allowance. This will keep the top of your bag looking nice and crisp and add a finishing touch.
And you’re done! Fold down the top edge of your basket to expose the inner lining and give the corners a little pinch with your fingers to shape up your bin. It will be soft but should hold the shape just fine.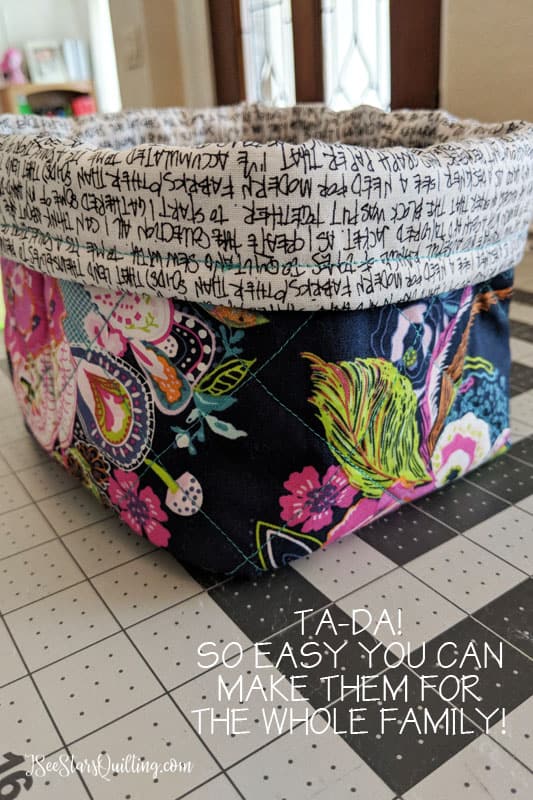
These fabric bins come together so quickly once you get the hang of it. Just after I made the one for this tutorial, I turned my back for 5 minutes to make lunches and came back to a disappearing bin!
Two minutes of searching lead to a very guilty little girl who said she couldn’t help it because it was just so pretty! – She likes to hoard all the pretty things… just like her momma 😉 I can’t blame her… but this one is MINE!
What do you think? How cute would these be to help catch all the tiny clutter “messes” in your house?
I tried really hard to cut out all the unnecessary or complicated steps so this is something you can make for your family, for yourself or to give away to a friend. Something from the heart that didn’t cost you weeks or months of time! win-win!
Did you have any questions along the way? You’re welcome to contact me. I’ll respond asap.
I’m curious how long it takes you to make this fabric bin. If you get a chance, comment with your time below. The race is on!
Also, please tag me on Instagram @iseestarsquilting or send me a picture of your finished bin! I’d love to see it!