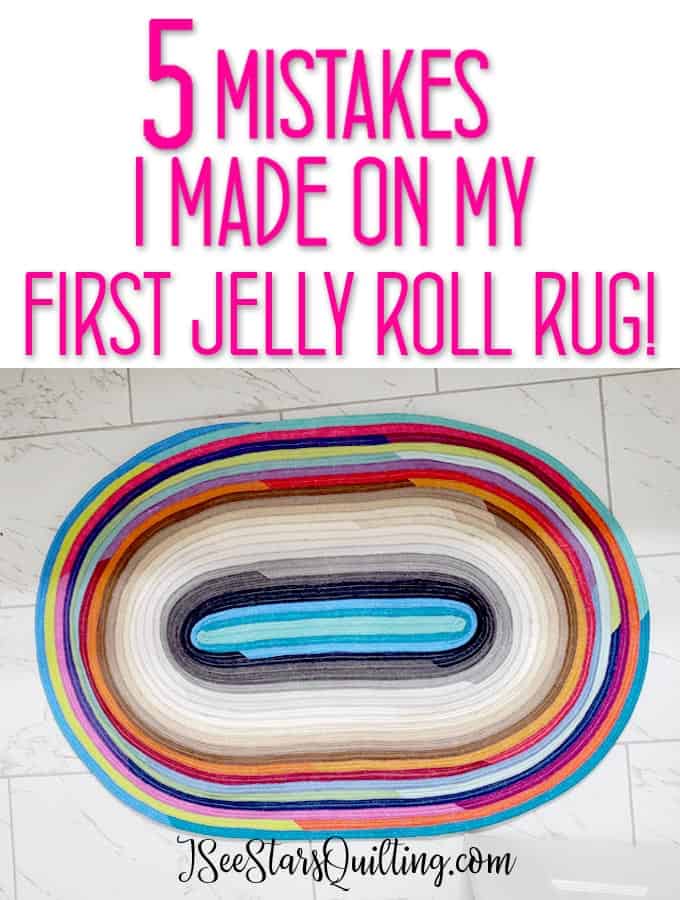
Since I’ve been showing you my progress on the Jelly Roll Rug Quilting project I have been working on, I thought it only fair that I show you the messy and struggle parts as well. Read on for the 5 Mistakes I made on my Jelly Roll Rug!
I like to call my “mistakes” my “learning moments”… as in “oh, I guess I had to learn the WRONG way to do it before I learned the right way to do it“. Uh-huh, I’m special. I have a lot of learning moments in the sewing room. Part of that due to the fact that I like to briefly read through the instructions, decide that I totally got this with the confidence of a woman who has been to hell and back again and then jumps in with both feet like I know what I’m doing.
*cue seam ripper* I usually only vaguely know what I’m doing with new projects.
It used to bother me when I would have to pull out the seam ripper, but apparently not enough for me to stop being so fearless in the sewing room and slow down, I guess.
I love to just go forward and problem-solve as I go.
And thus, I am happy to share the tricks I learned along the way while I was working on my Jelly roll rug! You can get the pattern here. I highly suggest buying the pattern because it has really good steps as well as materials and measurements that you will need to refer back to.
If you want to see my tips for what you should do: read this post! Current Project: Jelly Roll Rug – I share the tools I recommend and loved using as well.
The 5 mistakes I made while making a Jelly Roll Rug
Hopefully, by shining a light on my mistakes, I can give you an idea of what to watch out for when you make your jelly roll rug!
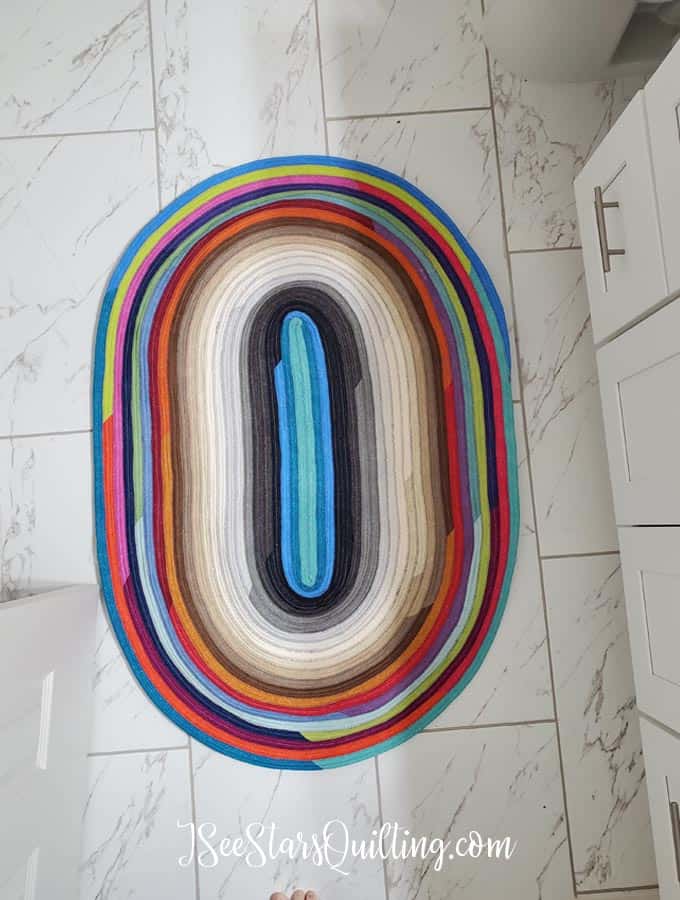
Just FYI – Here is my finished rug (mistakes and all) and I LOVE the way it turned out. It’s perfect for the little half bath that is attached to my sewing room! And I’m totally making another rug as my next project – that will be a little more ‘mistake’ free and over all cleaner.
So no pressure when you make your own rug…But you can learn from my mistakes and save yourself the trouble of having your own “learning moments”! 🙂
1. Practice your tension and stitches until you get it right before working on your rug
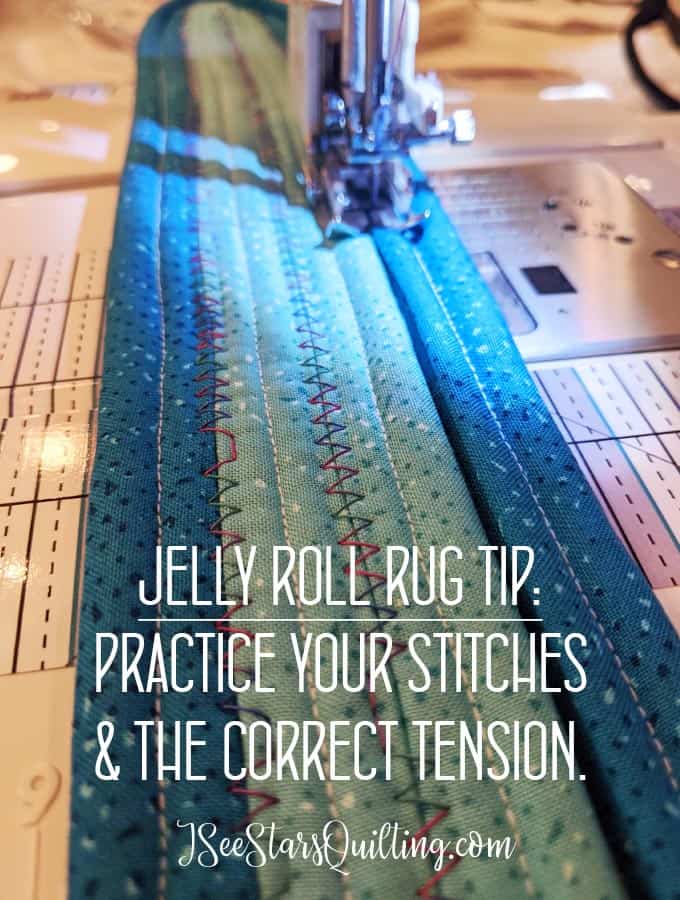
Heads up: You and your sewing machine are not used to going through 4 layers of fabric AND 4 layers of batting.
It’s like… a lot, ok?
So practice and get your zig-zag stitching to perfection before you jump in on your rug.
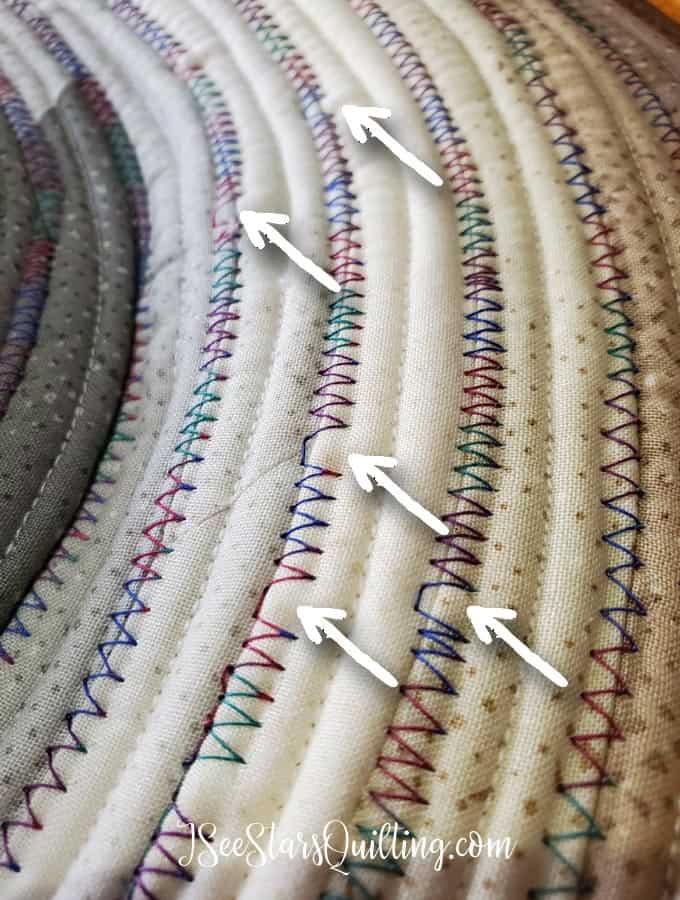
My machine had some issues skipping stitches occasionally as I went as you can see in the photo below.
I kept working and adjusting as I went and towards the end finally figured out a good setting. RIP to the middle stitches.
2. Go S.L.O.W.
It is so much fun to floor your sewing machine pedal and go all in while you watch this beautiful rug come to life.
However, go slow anyways! I went about 1/4 of the speed I usually sew.
This helped a lot with the stitches skipping issue that I had. You just have to tone it down on speed because there is a lot to consider and keep in mind while sewing. Give your machine the chance to keep up with it and get through all the layers.
3. Pick The Right Needle
Sharp. Brand New and of good quality. That is what you need.
Your standard Universal needle will not work to your favor in this situation.
A lot of fabric and layers need something tough!
I used a denim needle… below are a few suggestions of needles you can order from Amazon, but you should be able to find them at your local quilt shop or craft store as well.
4. Relax around those curves!
It’s a little tough at first when your rug is still taking shape and you’re excited… but if you don’t, your rug won’t lay flat and there will be a weird hump in it that will make you frown and step on it every time you walk over it in effort to smush it into submission… or something of the like?

Here is what I mean… Again, another “learning moment” for me!
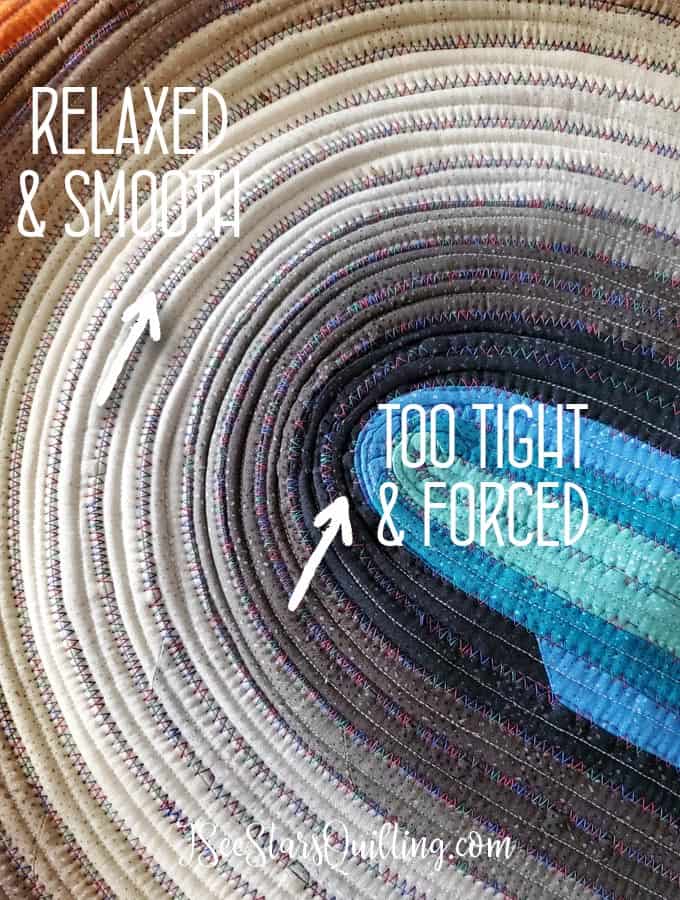
The fabric around the tighter area tends to bunch up and want to squish together while the outer edges (when I had practiced and kind of found my groove) lays flatter and looser.
The straight edges of my jelly roll rug lay flat easily. It is just the curved edges where you are coercing the fabric around the curves that you have to remember to relax and just let the fabric guide itself around the previous row.
5. Be mindful of what is going on on the BACk fo your Jelly Roll Rug!
Finally, live and learn! This view below is of one of the curved edges of my jelly roll rug and it was the worst of it. There were only a few other areas where I have to go back and fix my mistakes.
When I was doing my zig-zag stitch to join the rows together, the backside flap of my rope didn’t get caught in the zig-zag. Oopsies…
See? You can tell where the brown and orange meet up is smooth and the red/purple joint is just… not ok. 🙁
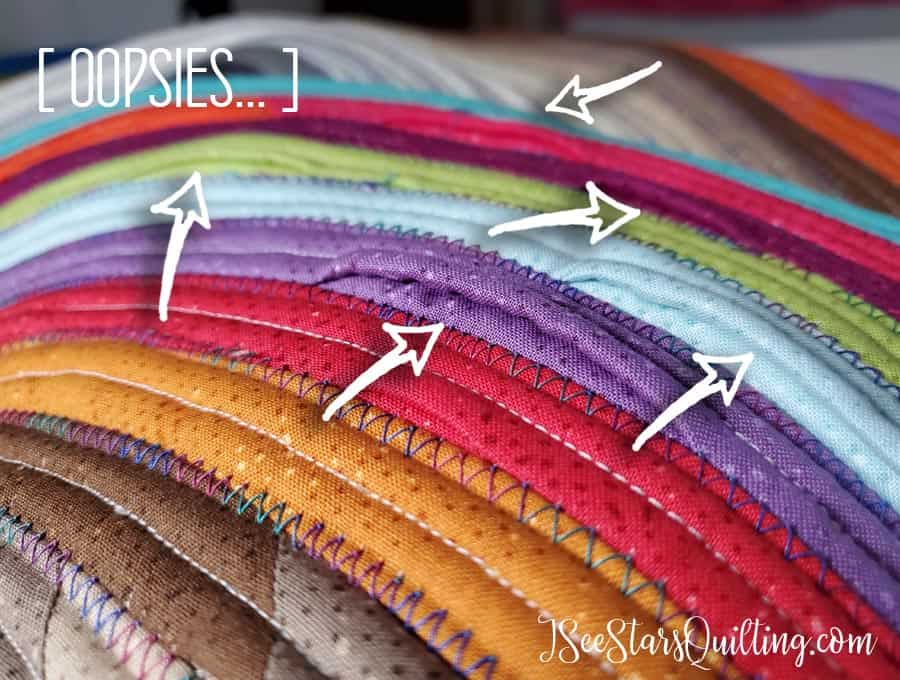
While this is an easy fix… (hello again hand sewing and a little clear thread!) It would have been nice to notice what was happening earlier on in the process and take the steps needed to make sure it didn’t keep happening.
Still, it is fixable and no one will know!… except for of course me, and now you because I told you about it.
Lessons Learned…
There is kind of a lot to focus on at one time the first time you make one of these jelly roll rugs.
I still really enjoyed the process and can’t wait to sew my next one. I expect it to go much easier as I have worked through the mistakes and “learning moments” during my first jelly roll rug, right?
Have you thought about making a Jelly Roll Rug?
Do you feel like these “mistakes I made” posts help you or make it easier for you to jump in and make your own projects that maybe you were on the fence about before?
I would love to hear your thoughts in the comments below! 🙂
Happy sewing!