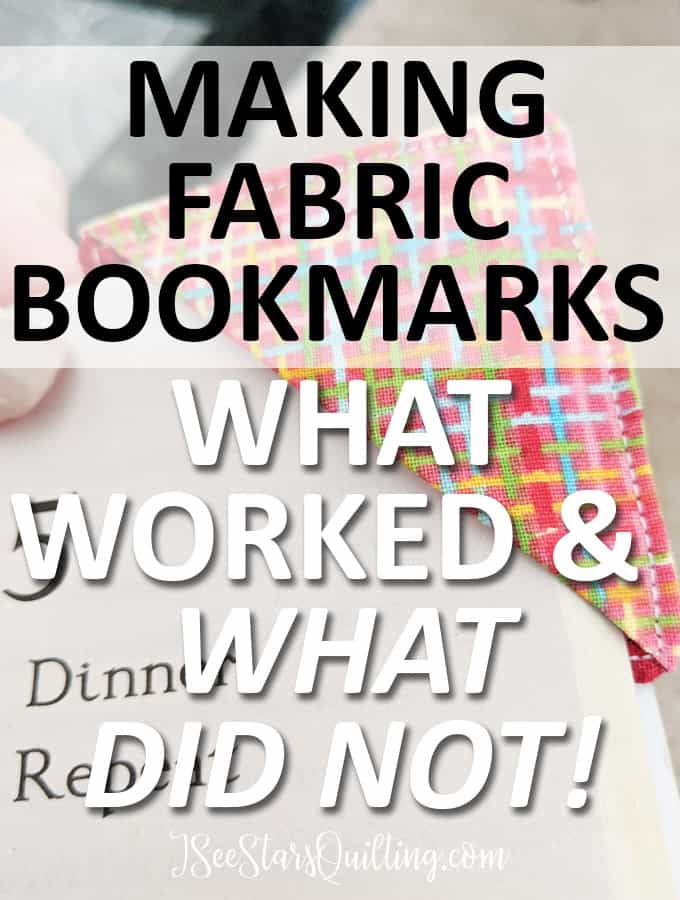
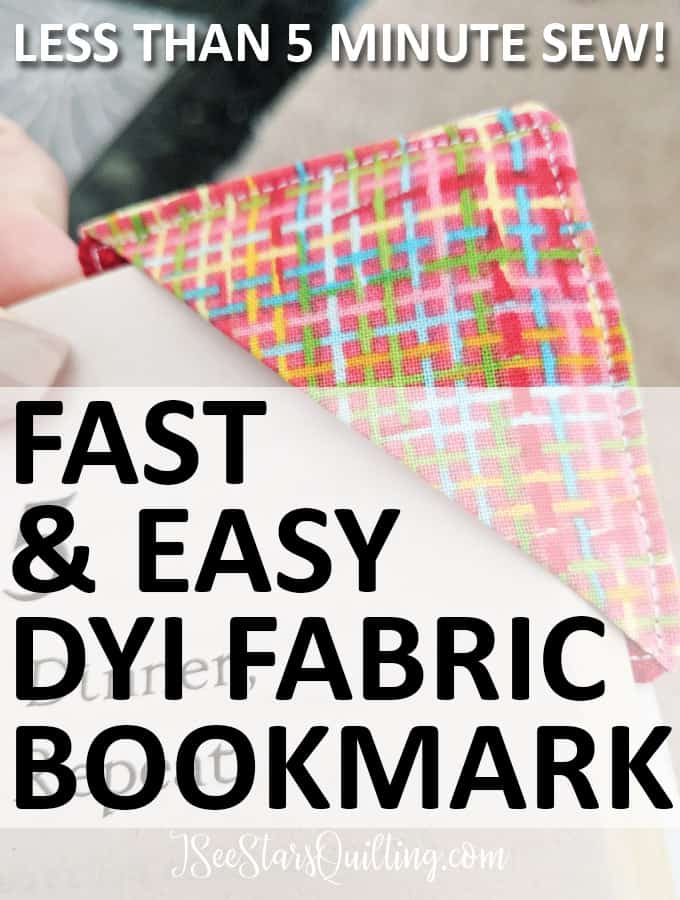
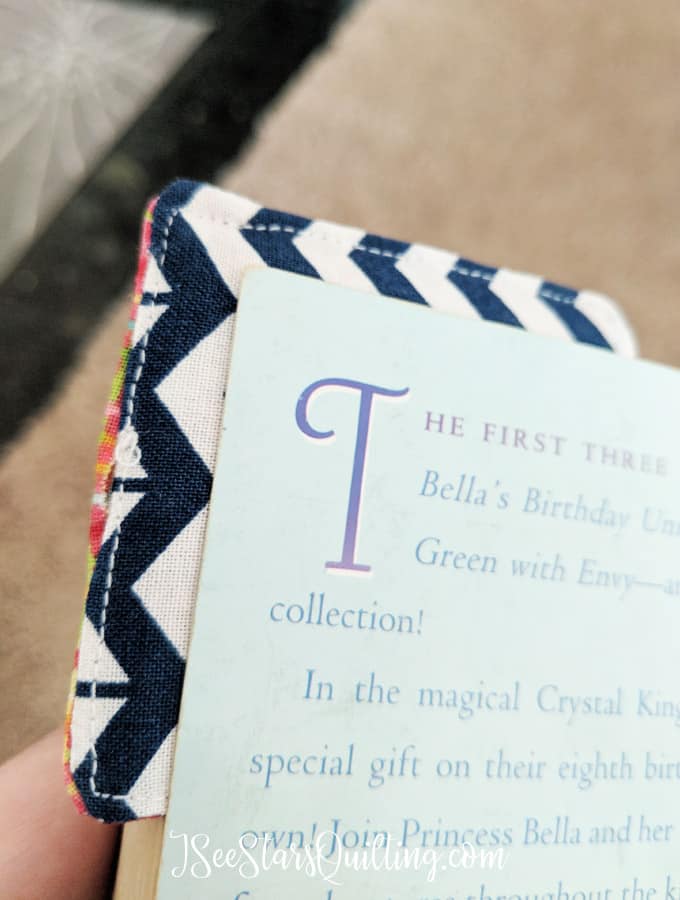
I made something fun yesterday. *Spoiler alert* It’s not a quilt! (gasp, I know) and I just had to share it with you because it is so simple and so quick that you just HAVE to block off your schedule. There I said it. Forget your adulting responsibilities or whatever you have and make these DIY fabric bookmarks tonight! … no really, you’re going to love them!
I went into this cute little boutique shop the other day – you know the one… where everything is handmade by amazing artisans and you instantly desperately wish you could afford to take it all home with you? Yeah… I was smitten by some earrings that spoke down to my very soul I tell you… But the price tag and I did not see eye to eye. Cest la vie.
At the register, they had these cute little fabric bookmarks for the corners of your books. I immediately wanted to buy them all… but the DIY-er inside me got the best of me and I said: “I can make that, and make it cuter too.”
DIY Fabric Bookmarks
Scrap Fabric to the rescuuuuuuuueeeeee!
Side note: My family needs bookmarks. Like, thousands of them… We love to read. I don’t know why none of us can just read one book at a time. It is one of the great mysteries in life.
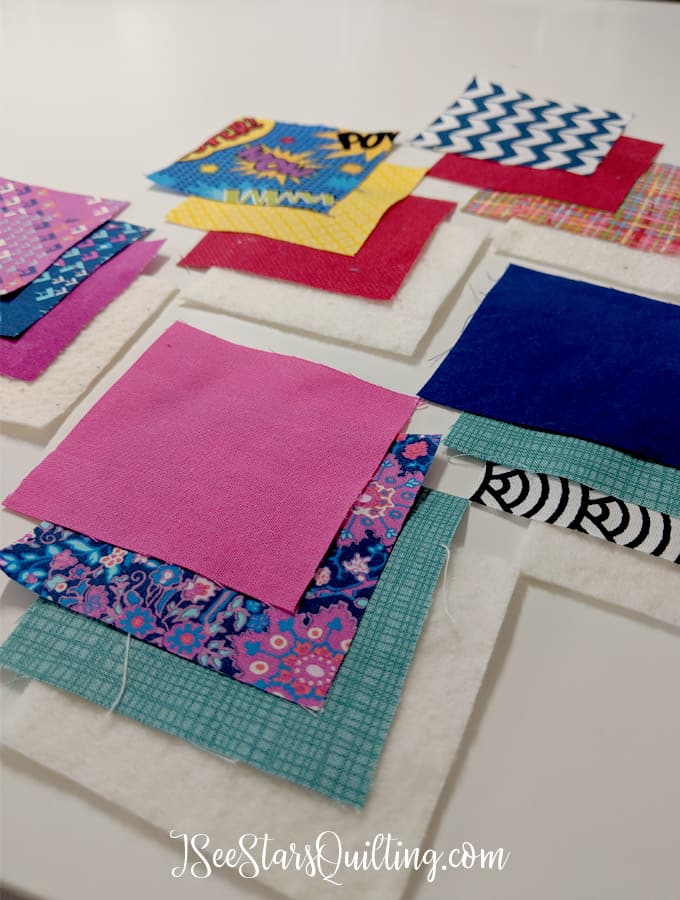
First, I went and I found all the tiny of my most favorite scraps that I stashed away for a “one day I’ll use this” project. (This was my favorite part! finding uses for pretty fabric that would have otherwise just stayed in my drawer forever)
Just look at the pretty fabrics!
Step by step – How I did it
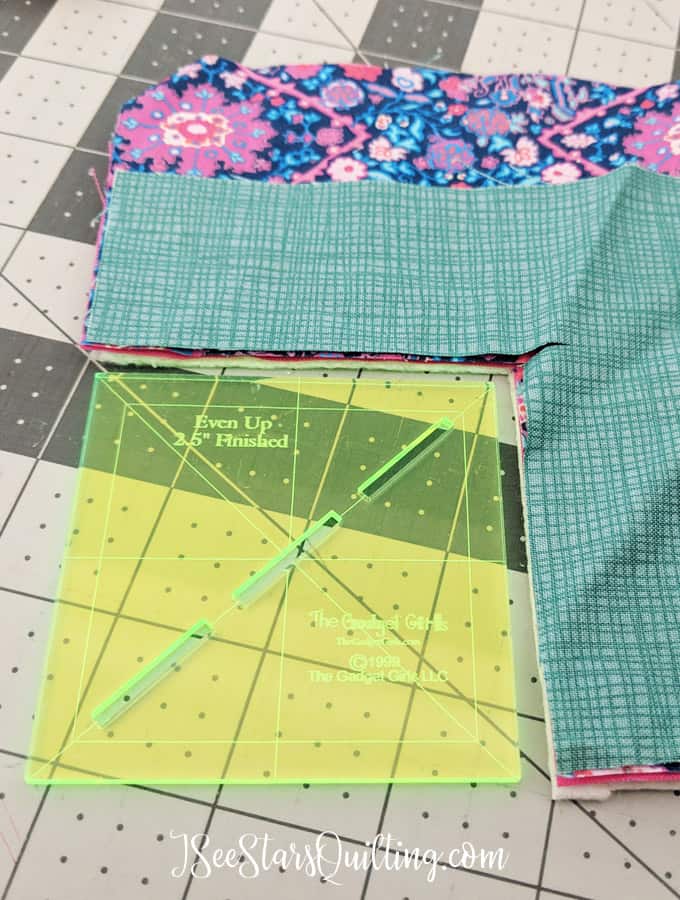
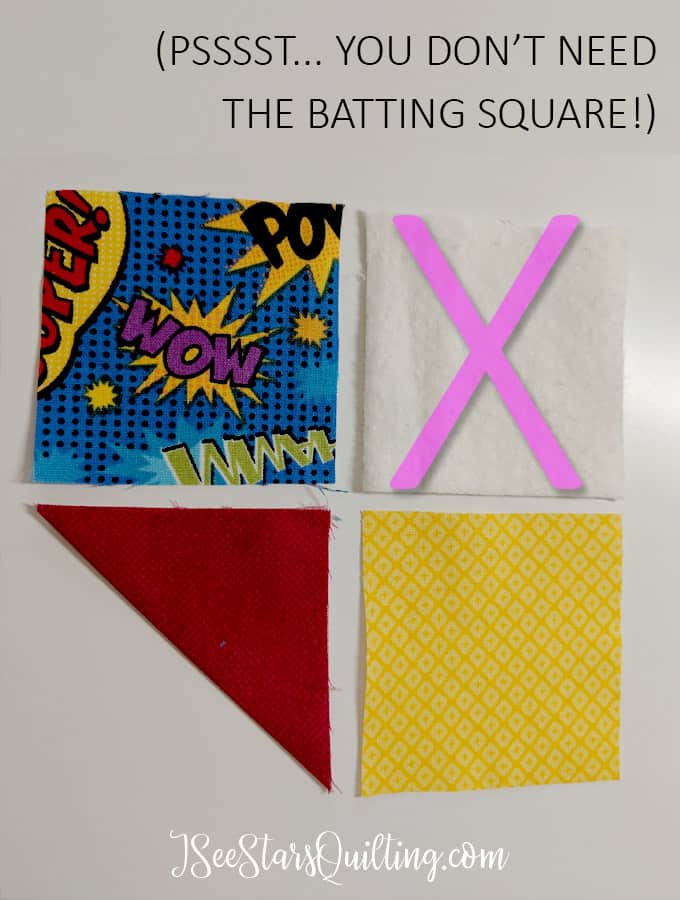
I started with little 2.5″ squares of random (but oh so cute!) scrap fabric.
I thought perhaps it would be precious to make the bookmark look quilted… (I’m a quilter to my very core, you know) but it didn’t prove to be my best idea as it was a little too thick between the book pages and made the corners harder to square.
So ignore the batting squares in the photos… that is just when I THOUGHT I knew what I was doing 😉
To make the angled piece:
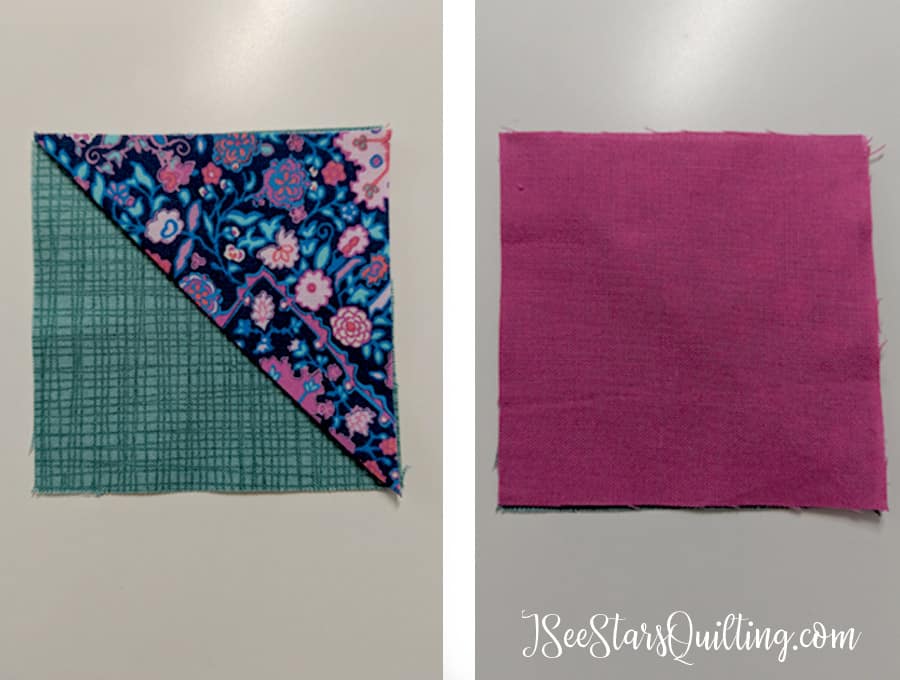
For the angled piece, I folded the 2.5″ square (wrong sides together) along the diagonal and pressed with my iron. Easy peasy.
There is no need to sew it as the next few steps will keep everything in place in the finished product.
How to layer your fabric pieces:
Layer your fabric pieces in this order…
- Fabric 1, Right Side up.
- Angled/corner fabric
- Fabric 2, Right side down.
All sides should match up evenly.
Get ready to sew!
Up until this part, everything was grand! Here is where things were a little unclear and I had to make it up as I went.
Let’s first go over what didn’t work and then I will share with you what ended up being the winning process!
What not to do…
I tried stitching at 1/4″ from the edges of the square because I LOVE my 1/4″ sewing foot (read more about it here) and I found that the corners were too bulky when I turned the piece right side out.
I couldn’t get the nice crisp square corners that I was looking for… See below how round the sides ended up being?
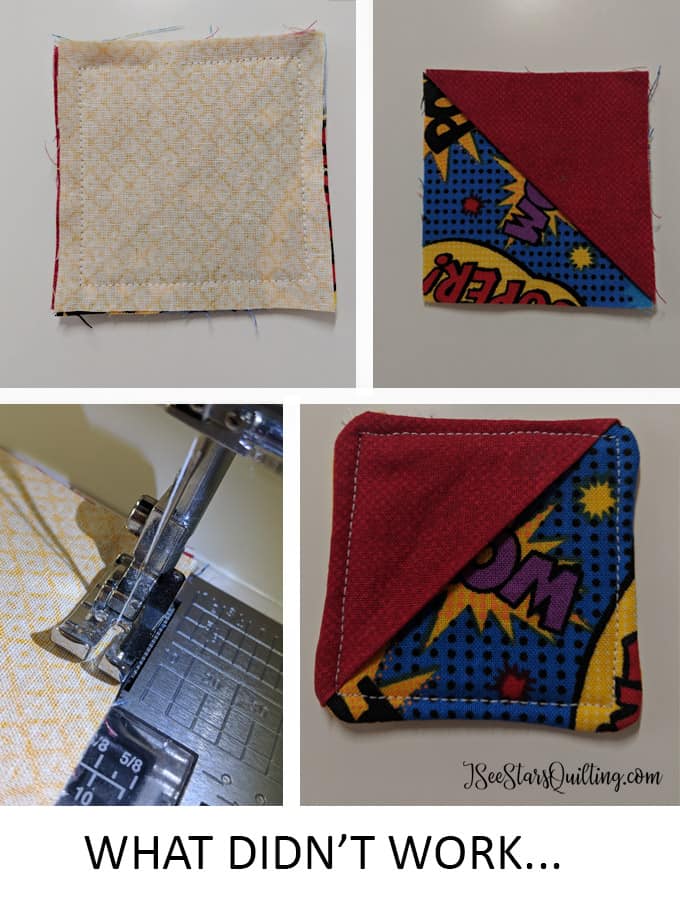
Another mistake: I did not leave a large enough hole to turn the piece right side out the first go-around. This made things a little more difficult than they needed to be. (I’m totally stubborn so still made it work)
What DID work…
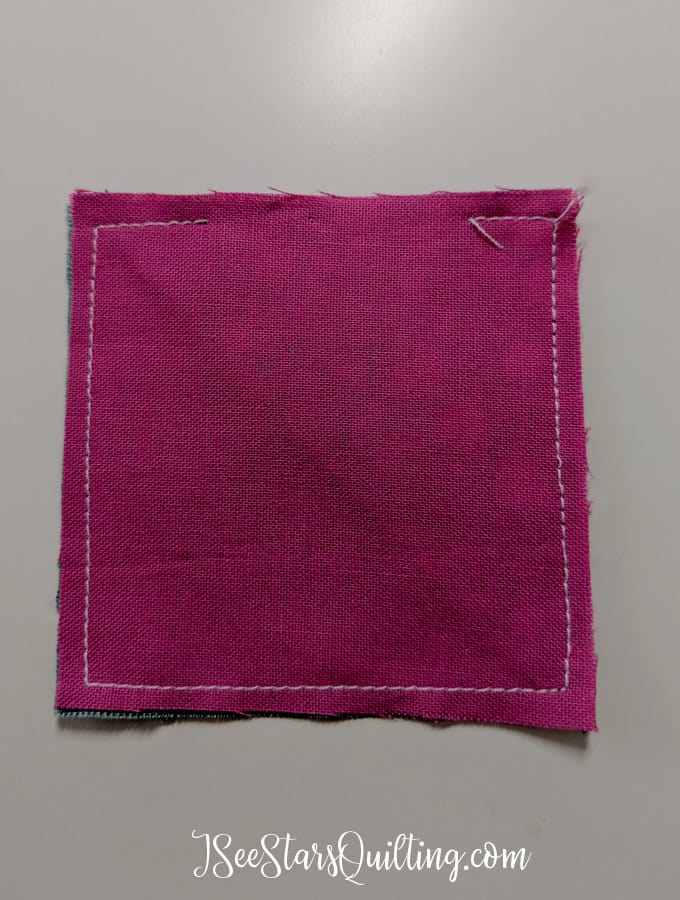
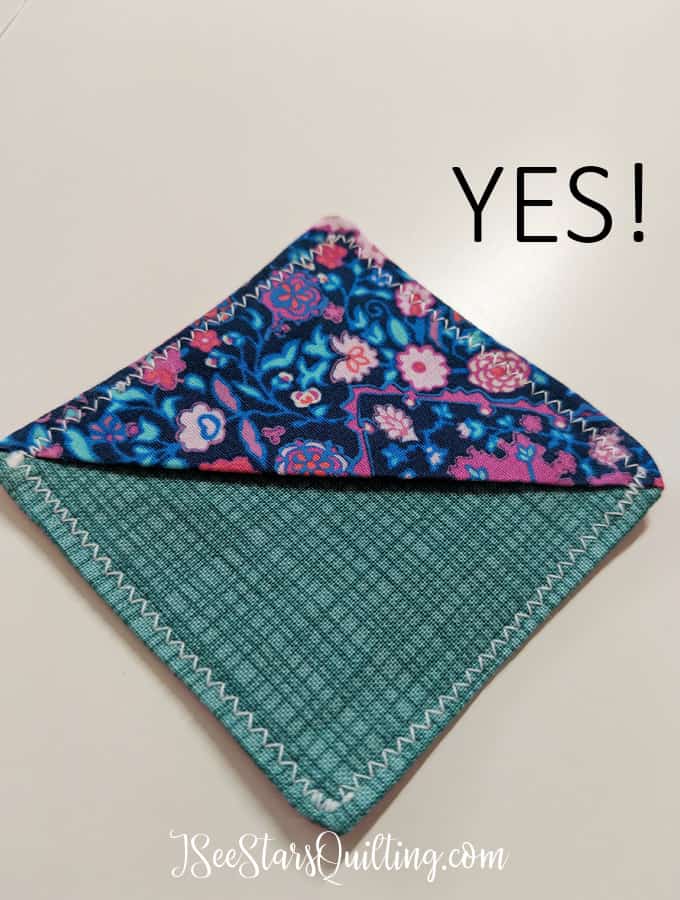
I tried sewing 1/8″ from the edges and it was juuuuuust right 🙂 Perfect solution to those bulky corners!

I also left a little larger section un-sewn so I could turn the piece right side out a little easier too…. this really made things less cumbersome.
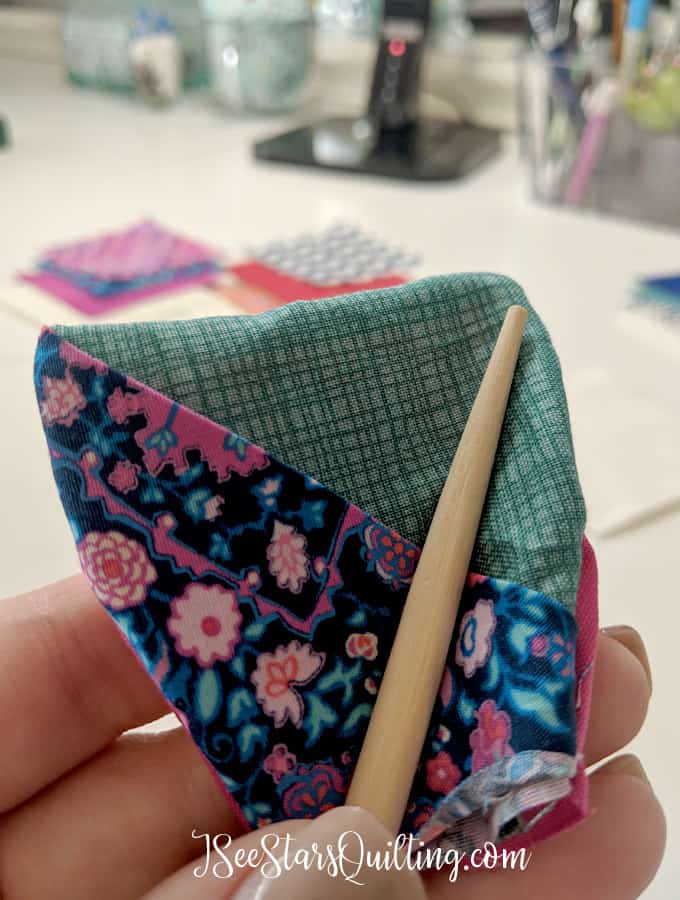
To get those nice square corners, I pulled out one of my favorite weird sewing tools… a Chinese take-out chopstick! Unused on my general tsos, of course. These work great for shaping the corners.
It really helps to push it up into those corners and move the fabric around to where you want it to go.
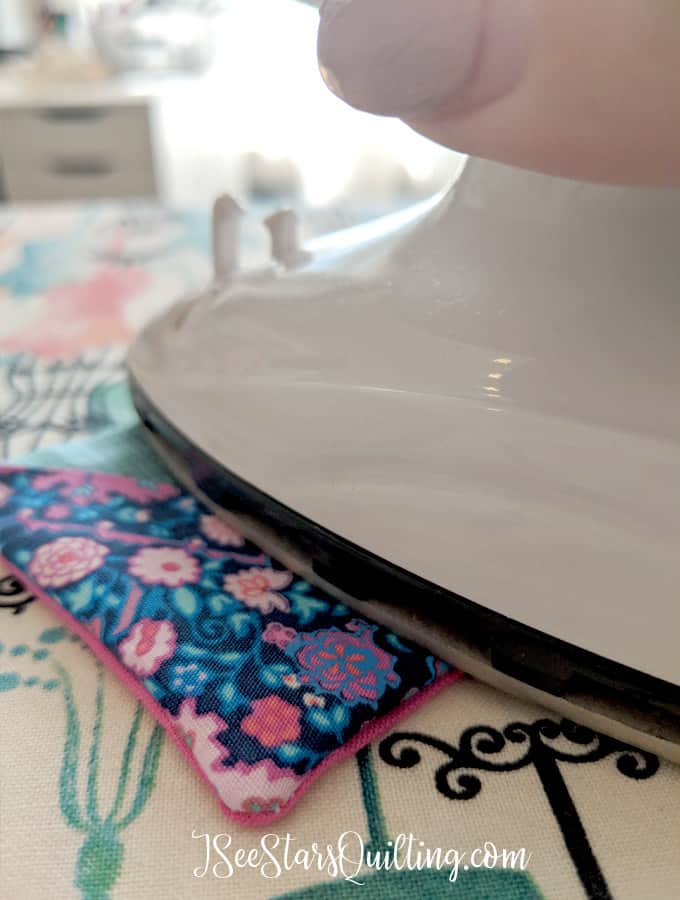
Next, I pressed the piece to get those corners and seams even more crisp, because I knew that after the next step… there was no going back!
We still have to deal with the open side that was used to turn our DIY fabric bookmark right side out.
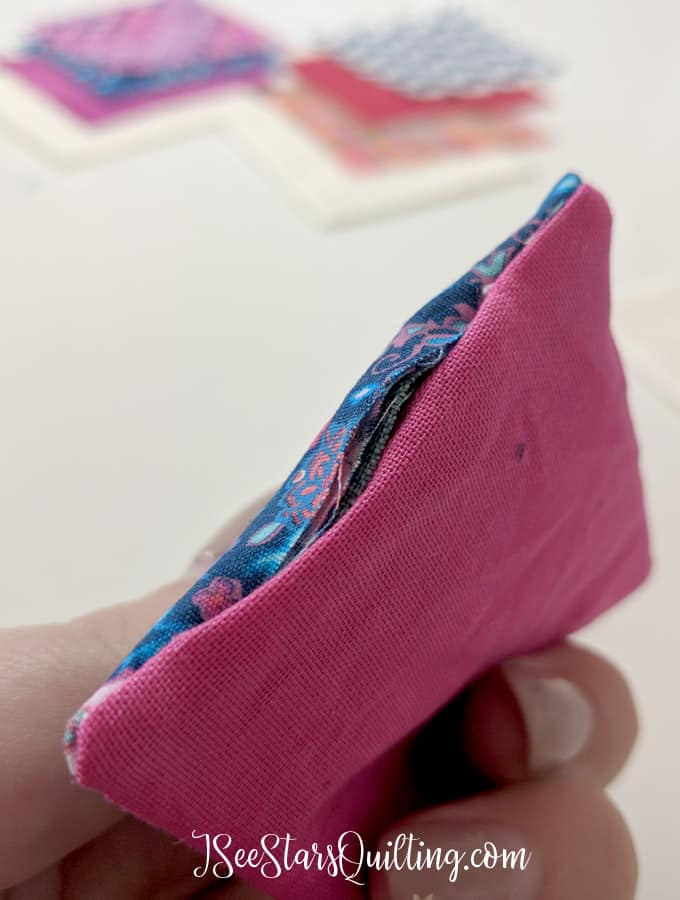
You can deal with this one of 2 ways.
- Get out your needle and thread and ladder stitch it closed by hand… or
- Tuck the ends in, press it and make sure you catch the raw edges in when you sew! (duh, I chose this one because… obviously faster, right?)
Last step! How to finish the edges:
What didn’t work…
The first thing that I tried was a zig-zag stitch because I love that look… Yeah yeah, it looks terrible. I know. I’m not that great at it because I have terrible patience in letting it do its thing and it usually ends up looking like a mess.
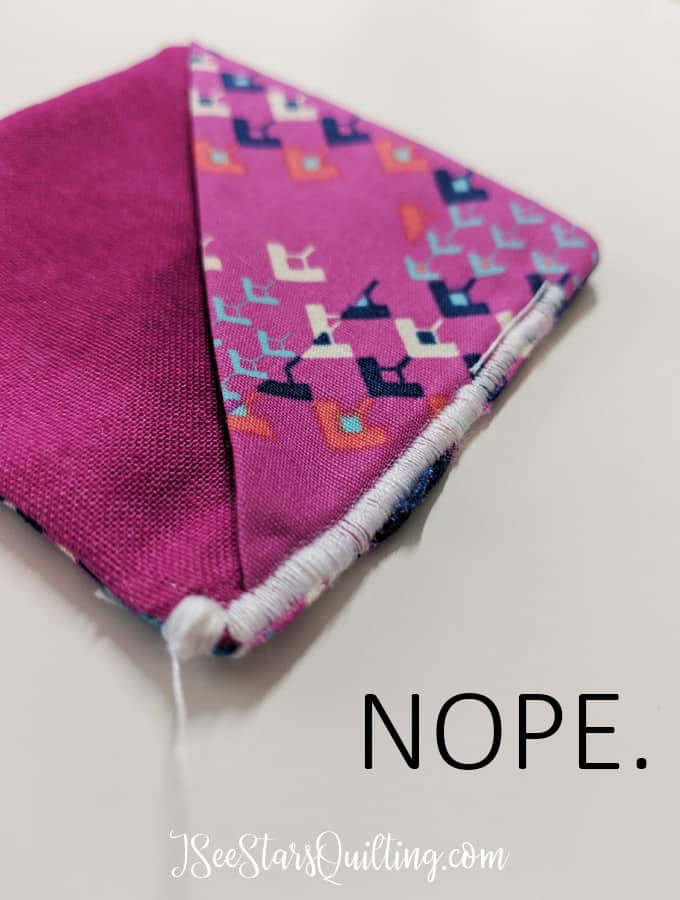
So even though I like that look, I decided that THIS was not the project for it if my focus was quick and easy…
What DID work…
Next I tried a smaller zig-zag and kept my needle about 1/8″ in from the edge to make sure I caught the unfinished edges of the opening.
I really liked this one – but the corners are a little awkward for me on the zig-zag stitch.
I feel that unless I perfect that… it is always going to look a little more “amateur” DIY-er and not polished professional sew-ist, like I was going for… but It did the job just fine and even added a little decorative look to the bookmark.
Simple really is sometimes the best solution!
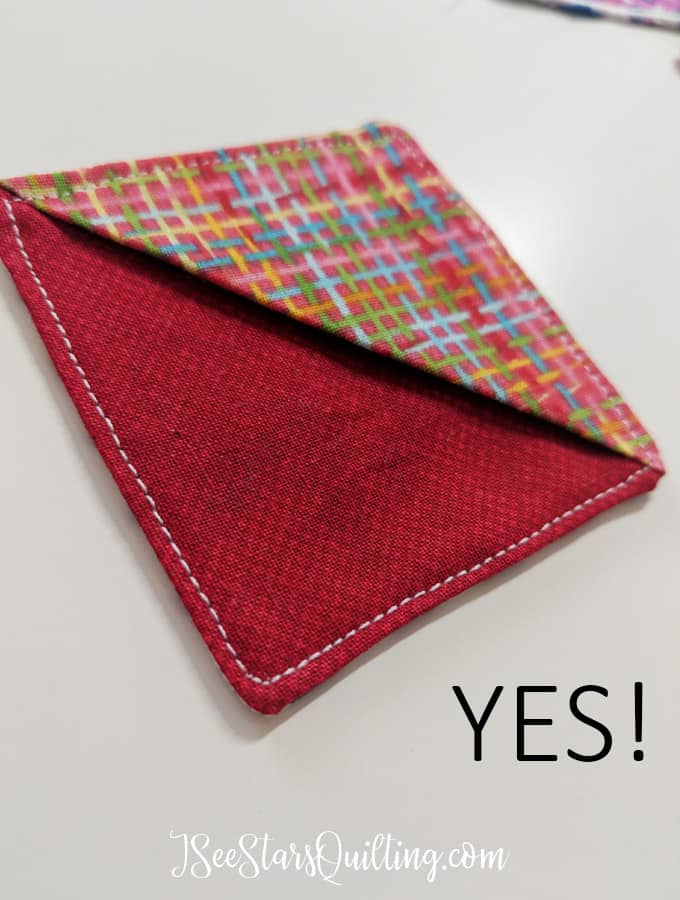
Lastly, I just stuck it through with the plain old boring standard straight stitch. (Like I should have done in the first place)
I made several more after I finished this one and I have squares cut for dozens more (yes, I told you we’re crazy people over here!)
You could seriously have yourself a HUGE stash of these in just a few hours one afternoon.
My most favorite part about these is how many people I know who would LOVE these… I’m thinking just about everyone will get one of these for Christmas or a birthday or… arbor day perhaps? …I don’t know!
I could see these being a peppy addition to guild swaps, cooking classes, book clubs, Kid’s gifts, classroom party gifts etc…
These DIY fabric Bookmarks are just FUN and the fabric possibilities are endless to customize!

These DIY Fabric Bookmarks were such a fun project to play with.
I went through a few different ideas trying to find the best way to make them with the least amount of time. I feel like I came up with the real deal… with all the kinks worked out.
My wish is for you and your loved ones and lucky friend enjoy them. Let me know what you think in the comments!