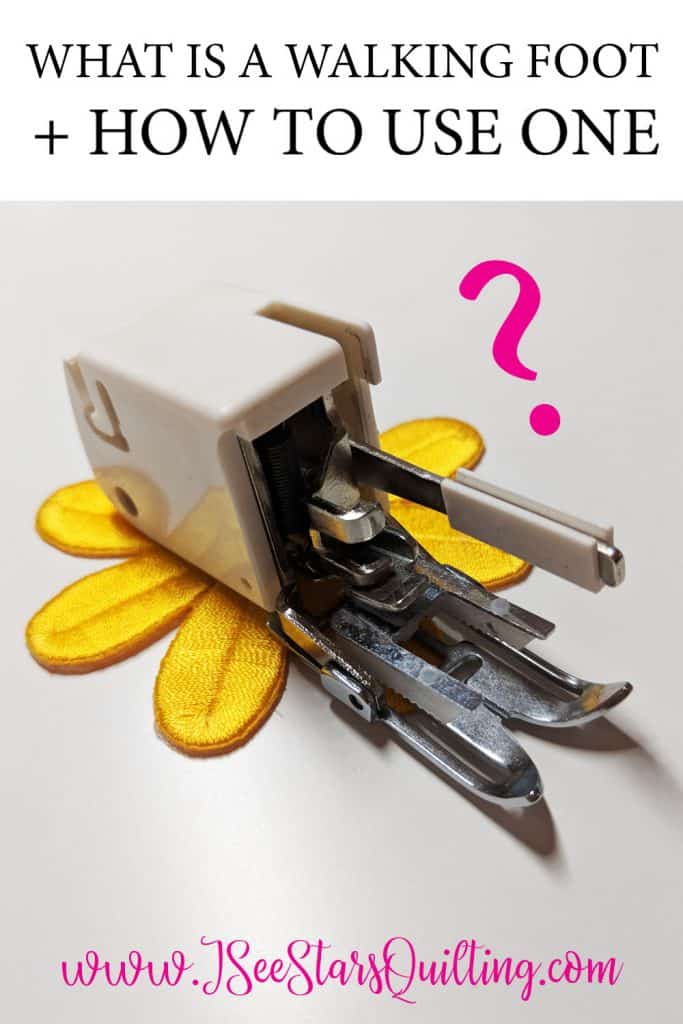
What the what? Yes, a walking foot (also known as an even-feed foot). I’ve had questions about this tool before. Why I use it and if it is truly a necessity for beginner level quilters. Here is a bit long, tell it all, post on the Walking Foot.
Answers to your Walking Foot Questions
Is it a standard sewing foot? – No, your sewing machine (most of the time) does not come with this attachment.
Do you REALLY NEED it? – I honestly did not start out with one. I used the same sewing foot on everything (yes, everything. I’ve moved on, thankfully. Being self-taught has its drawbacks, ok?) It wasn’t until I was struggling with more advanced quilting techniques that I upgraded to a walking foot and man… It was like night and day. I’m not going to say that I’m not dramatic or anything but I swear I could hear the angels sing. ‘So this is why people enjoy quilting’… If you’re serious about quilting, I highly suggest looking into getting one. It will be the grease to your quilting gears.
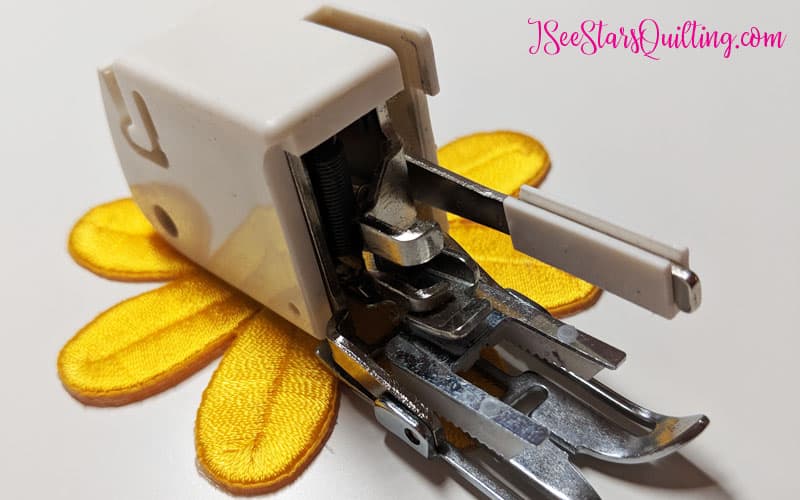
How much does it cost? – It is more expensive than most of the sewing feet but you can find one for anywhere between $10-$70 depending on brand and where you buy from.
Some walking feet are brand specific models designed for you machine. There are also generic one-size-fits-most models. As you can guess, generic is a little cheaper.
There are a few on Amazon for around $8. I personally have not tried those and can not either recommend or not recommend those products. I suggest going with a middle of the range tool unless you’re just curious for a bargain. Sometimes you really do get what you pay for and I would never ever steer you towards something that could be a waste of your money.
These are a few models I have personally used and DO recommend:
Singer Even Feed Walking Presser Foor for Quilters – $22.79
Janome Even Feed Foot (Open Toe) – $59.99
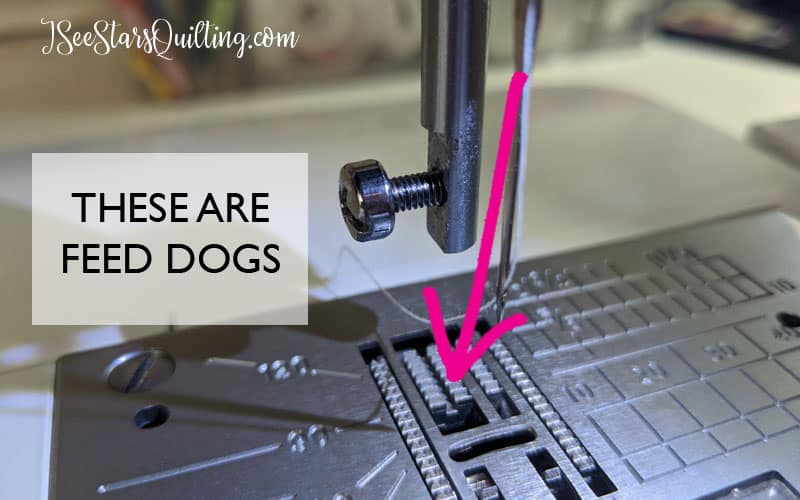
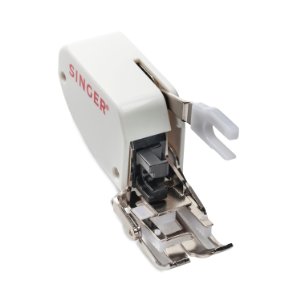
What does a walking foot do? – A walking foot makes sewing thick layers easier because of the presser foot on top of your fabric moves (or walks) too. It moves with the feed dogs underneath. In theory, this means that the top layer will move at the same speed as the bottom and middle layers.
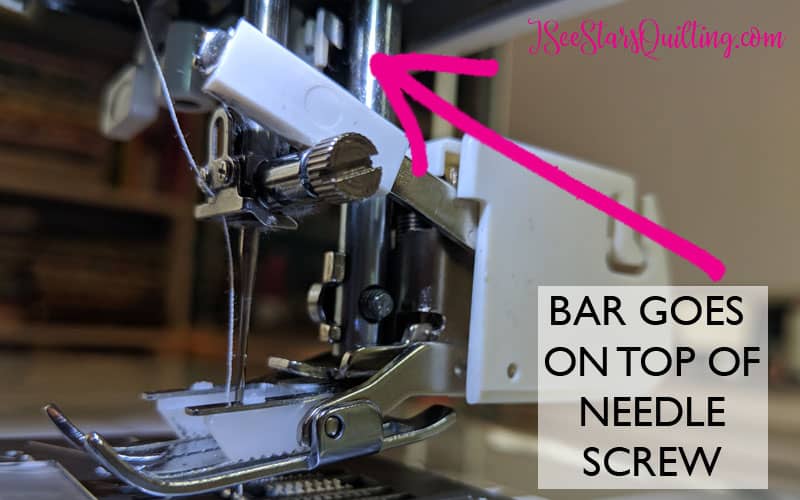
How do you put on the walking foot? – It is a little different than your regular sewing feet. It takes a little practice, but if it wasn’t worth it, I wouldn’t bother with it myself. It’s totally worth it, trust me. There is a little bar that fits over (or on) the needle tightening screw. You’ll know if you don’t put it on the right way because your machine will make a terrible noise when you go to sew but rest assured because once you install it right, you’ll know what to look for!
Here are some close-ups of the walking foot on my machine and what to look for when you put yours on.
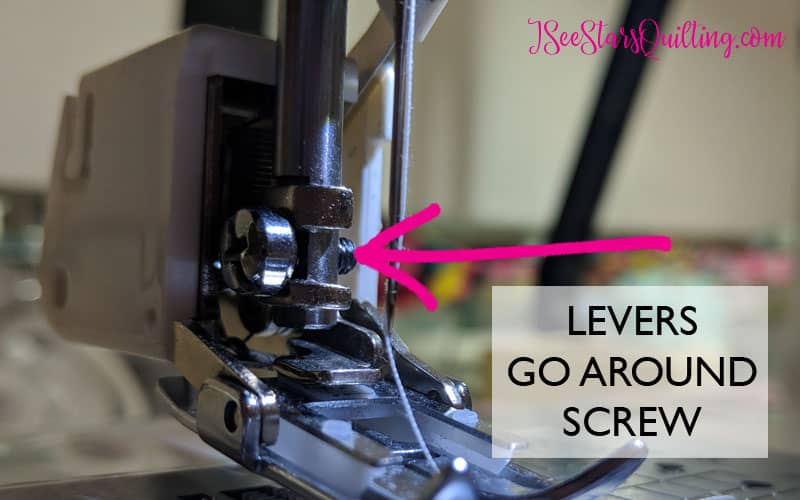
When do you use the walking foot? – It is a must-have accessory for straight line quilting. It keeps the layers together and prevents the top layer from getting pushed ahead of the middle and bottom layers. This prevents puckering and tiny pleats from occurring when you change the direction of your quilted lines. I use the walking foot whenever I am straight line quilting, which is what most beginner quilters will be using.
You can also use it when sewing on your quilt binding. It will keep the top layer of the binding from shifting ahead of the bottom layer. Essentials, you’ll want to use your walking foot whenever you are sewing multiple layers and feel like the layers are not moving at the same speed. Your walking foot will solve that problem.
Do you have a walking foot yet? What is your opinion? Do you just love yours? Did you notice a huge difference when you switched to a walking foot for quilting like I did? Let me know your thoughts in the comments. I would love to hear from you!
This post uses affiliate links. I wouldn’t recommend products that I didn’t own and love. If you make a purchase using my links, I get a small commission at no extra cost to you. Thank you for allowing me to continue to provide you with patterns and tutorials!


Thank you. This has great tips. I’m a beginner at quilting but fairly comfortable sewer. Quilting is like my 1st sewing lesson in Home Economics class….I know. I feel old. Judy
Hi Judy! We all start somewhere. I’m sure you’ll pick up on quilting rather quickly 🙂