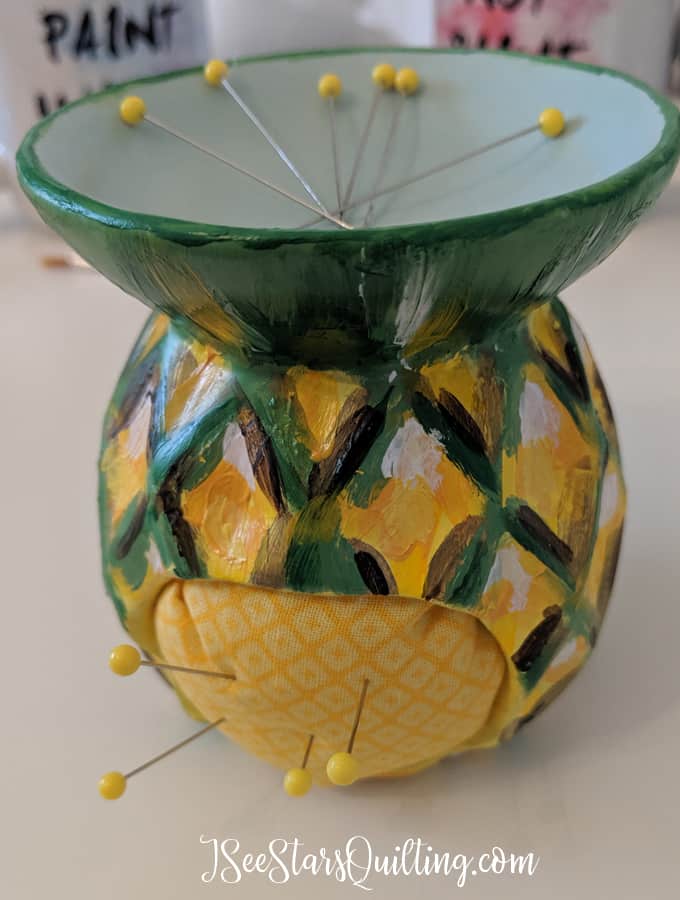
I didn’t really NEED a new Pin Cushion. What I really wanted was a fun creative DIY project and the satisfaction of turning one cheap thing into a completely different and useful other thing… the result was this DIY Pineapple Pin Cushion from the dollar store!
And know what? I LOVE it turned out! A win-win! I’m sharing a step by step tutorial today so you can make one too!
I’ve seen this saying floating around Pinterest…

…And I really love it, but it feels too cliche to just print it out and frame it for myself. I’ve been looking for a way to add it into my decor somehow as a reminder without being quite so blunt about it.
I created this pincushion that will be a visual reminder of the sweet (pun intended) message whenever I use it!
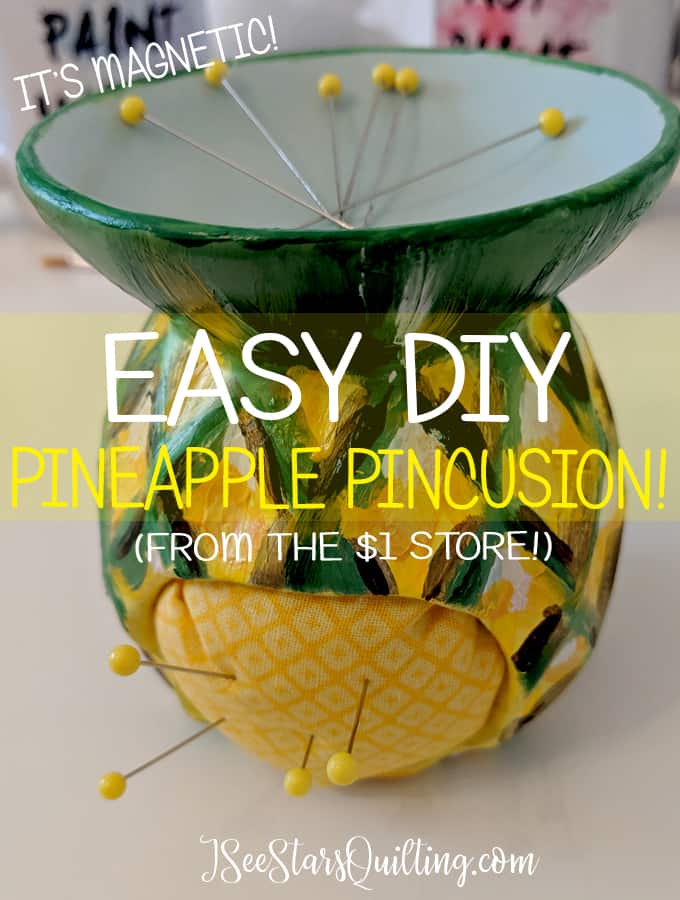
First off… I have a confession. Above is a picture of the finished product. What it started out as, does not look at all like a pincushion or a pineapple.
It takes a bit of imagination to see the whole project though.
In our family, we shop the dollar store a lot. It seems like there is always something we need from there. When you’re on a budget and looking for something to transform, it is a total crafter’s playground!
I looked in the plates and dishes isle but couldn’t find anything worth transforming there. I went over to the arts/crafts/candle aisle and I came across this item:
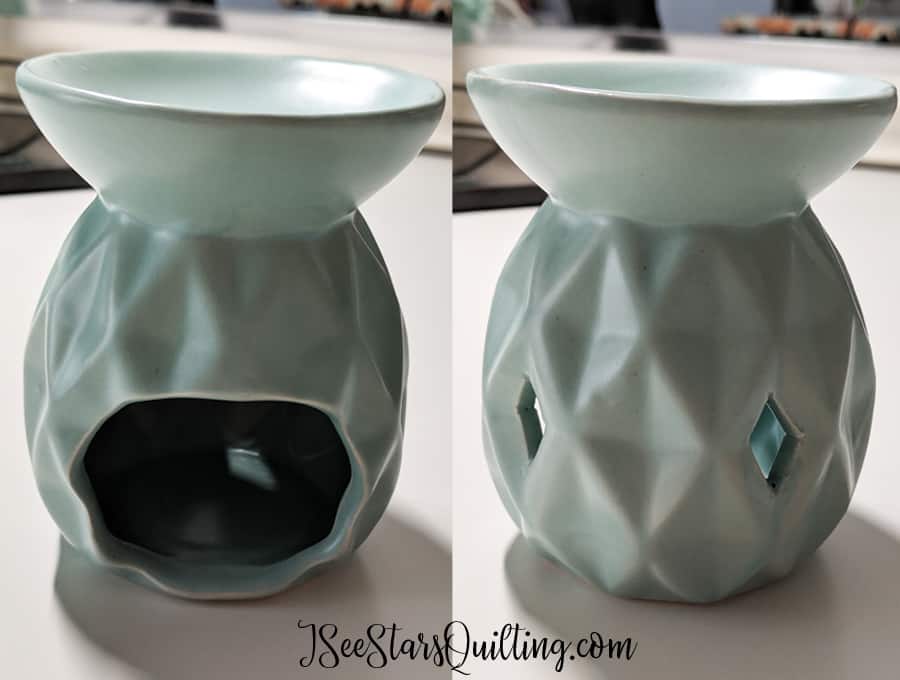
It is a wax melter? I don’t know the official name for it… but you put a little tea light in the open part and a few scented wax cubes at the top. It slowly warms to wax and voila… beautiful smells!
The more I looked at it, the more the patterns on the sides drew me in and I could slowly see my symbolic pineapple piece emerging!
The pineapple was going to happen!
DIY Pineapple Pin Cushion Instructions
After you have your dollar store treasure, you’ll need just a few more things…
I really wanted a magnetic spot to drop pins. The easiest way to DIY that is to glue your own magnets on the underside of whatever you want to drop your pins in!
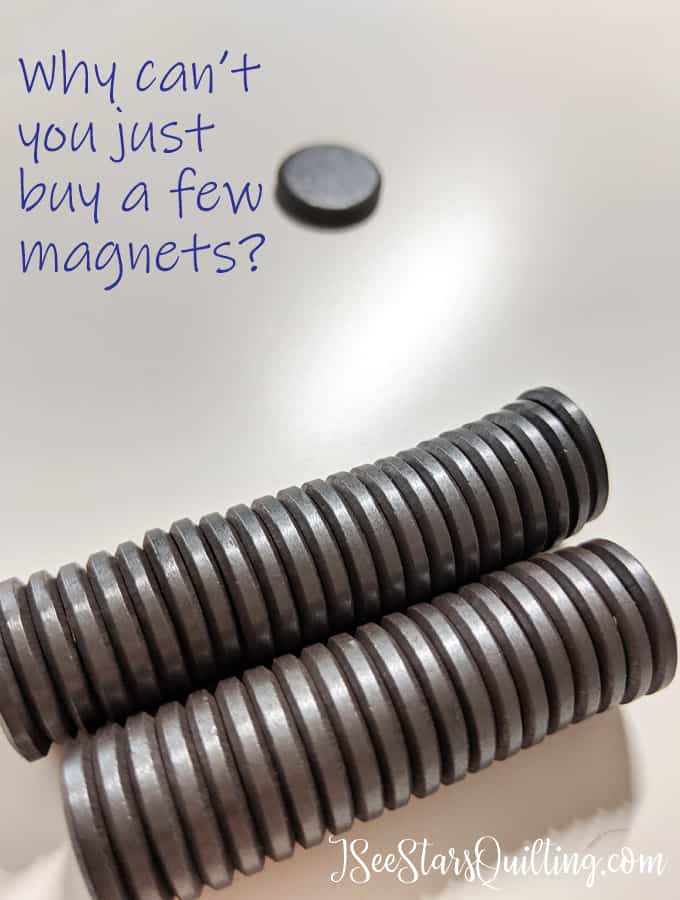
They come in packs of like 50+ so you could easily make a bunch of these for friends or split a pack with a friend.
Gluing the Magnets
What didn’t work & what did:
On every single other occasion (except today!) I recommend this glue. It is amazing! It is my favorite. If you don’t have a go-to craft glue, I highly suggest this one.
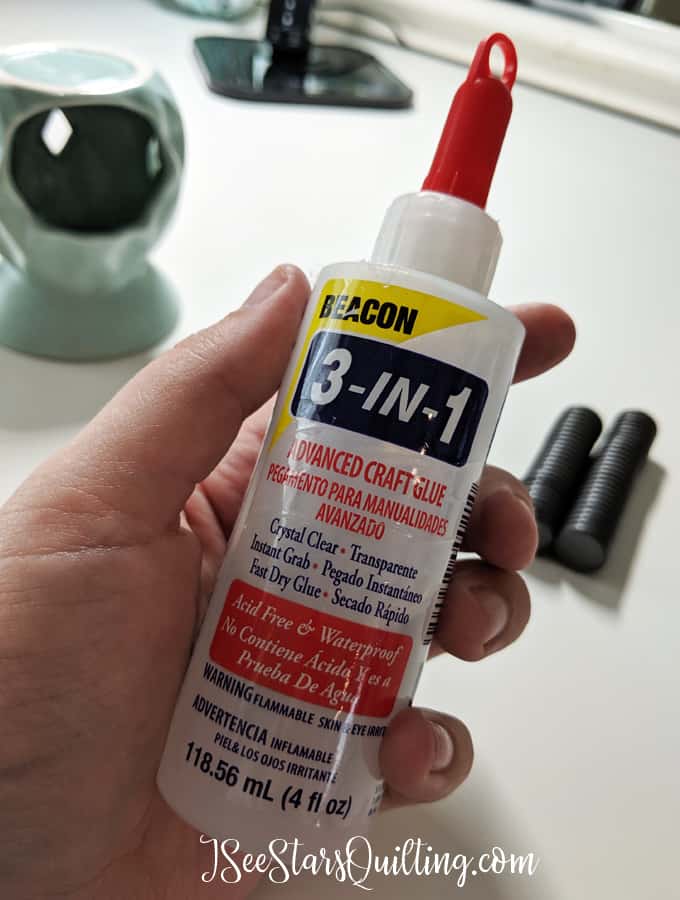
BUT again… NOT today… Perhaps I was just impatient and wanting instantly dry glue instead of waiting the 4 minutes for it to set up?
I went to add a second magnet to the inside of my piece and the magnets popped off and stuck to one another quickly.
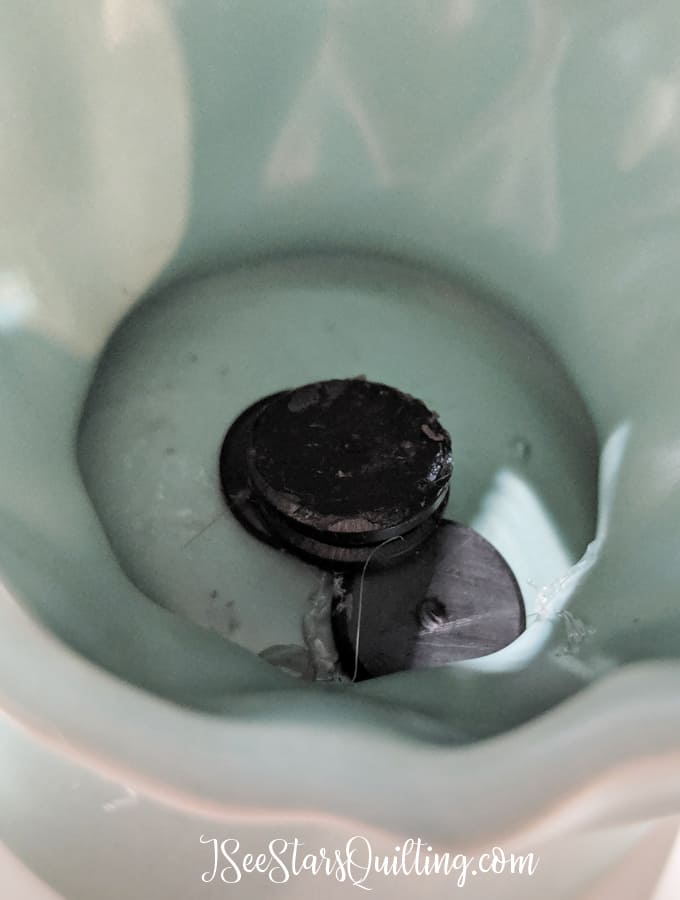
That is why today, I suggest going with the trusty craft glue gun. Instant hold. Instant gratification and no waiting for your glue to dry or making a mess (see above…)
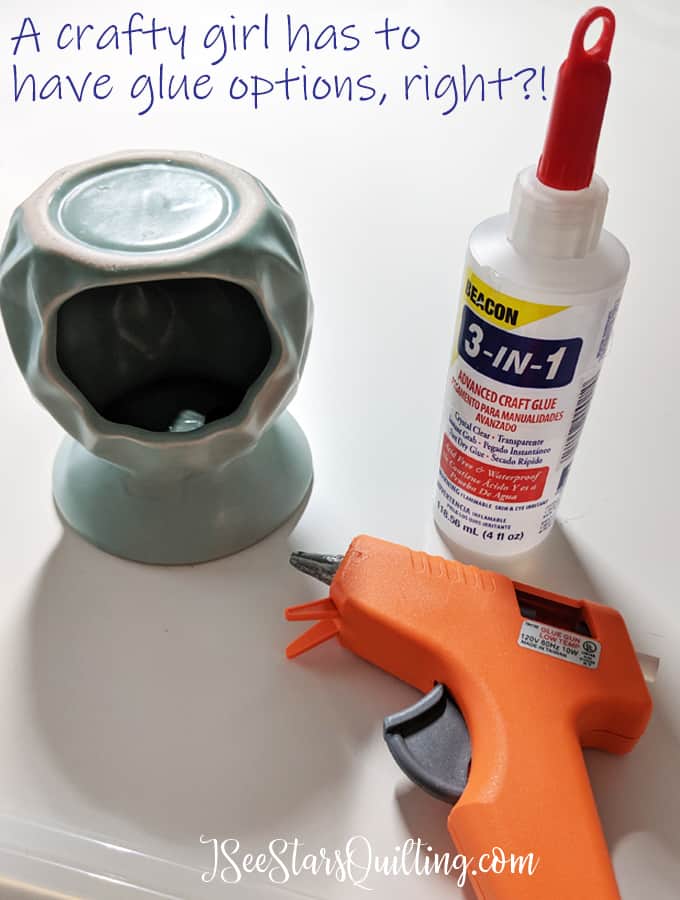
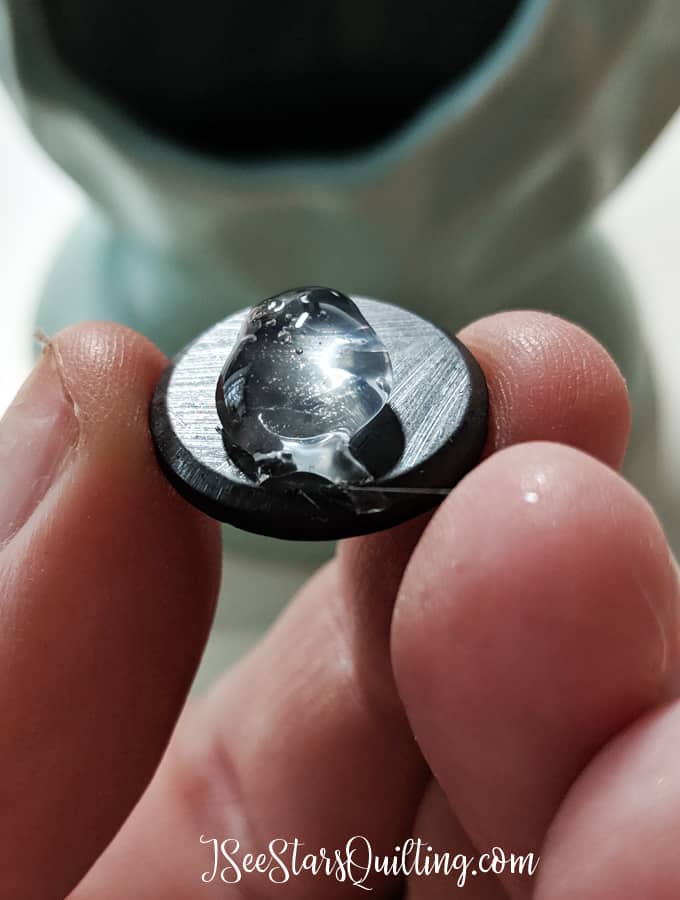
I put a nice big glob of glue on the magnet and it held really nicely on the underside of the “wax melting plate”
Once you glue your magnets on, flip your soon to be pineapple back over and test out the magnets with a few pins. You should have a pretty good hold.
Painting your DIY Pineapple Pin Cushion
If you aren’t the best at painting… don’t worry! I did a really sloppy job at this pineapple and it still came out looking like a pineapple. I’m just going with “abstract pineapple”… and it’s art! Therefore, it is beautiful.
You also could get out a can of gold spray paint or glitter paint or whatever makes your heart happy and make it completely your own. 🙂
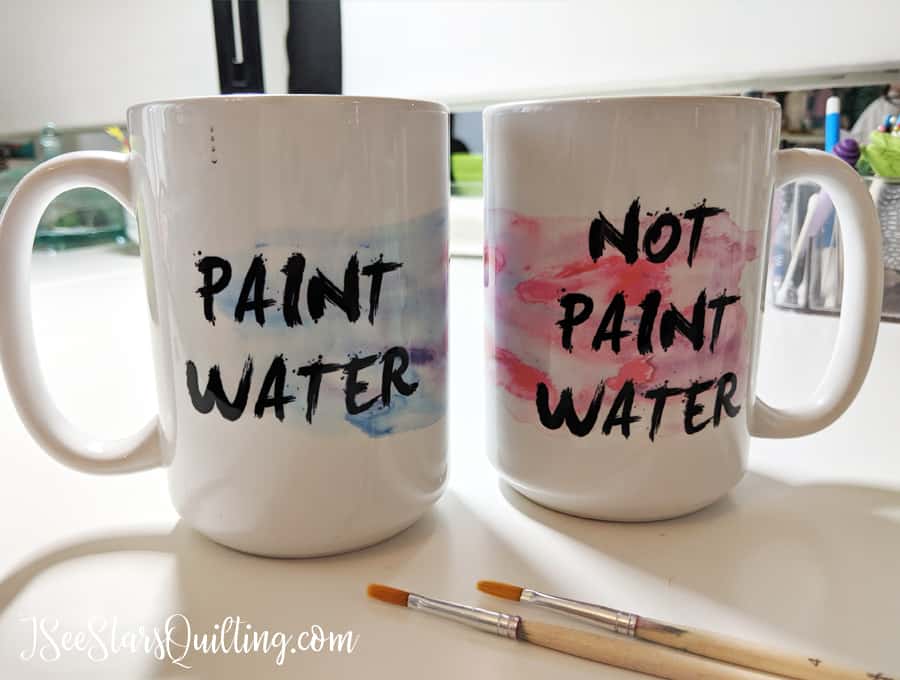
I do enjoy painting. See my 2 favorite mugs? Yes, these must BOTH be used when I paint and one of them usually has water or wine, depending on the time of day.
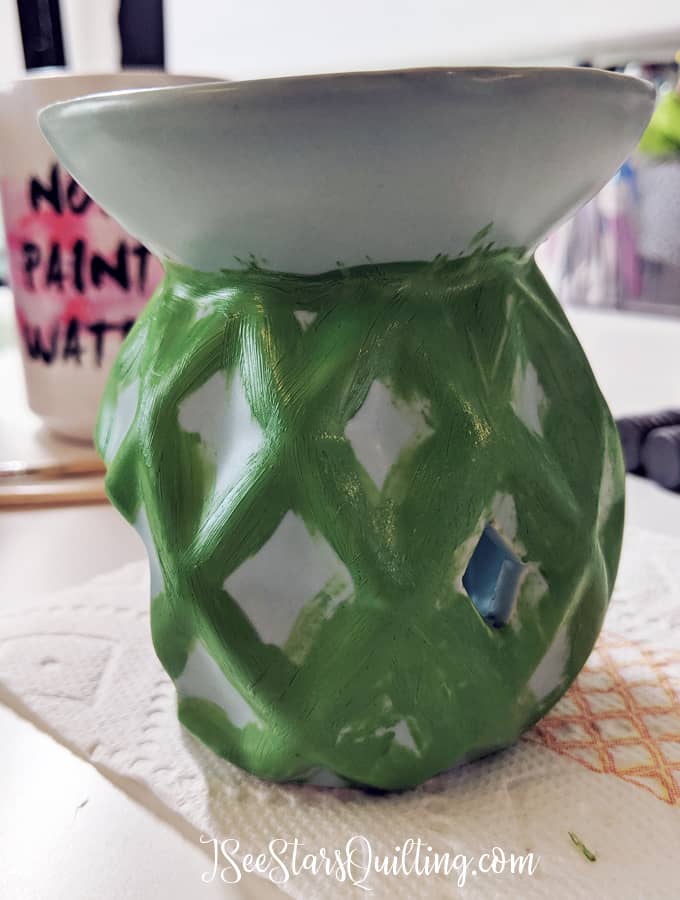
I started painting the greens in the pineapple first. Most of it will be covered up by yellows and eventually browns so you don’t have to be too neat with your painting.
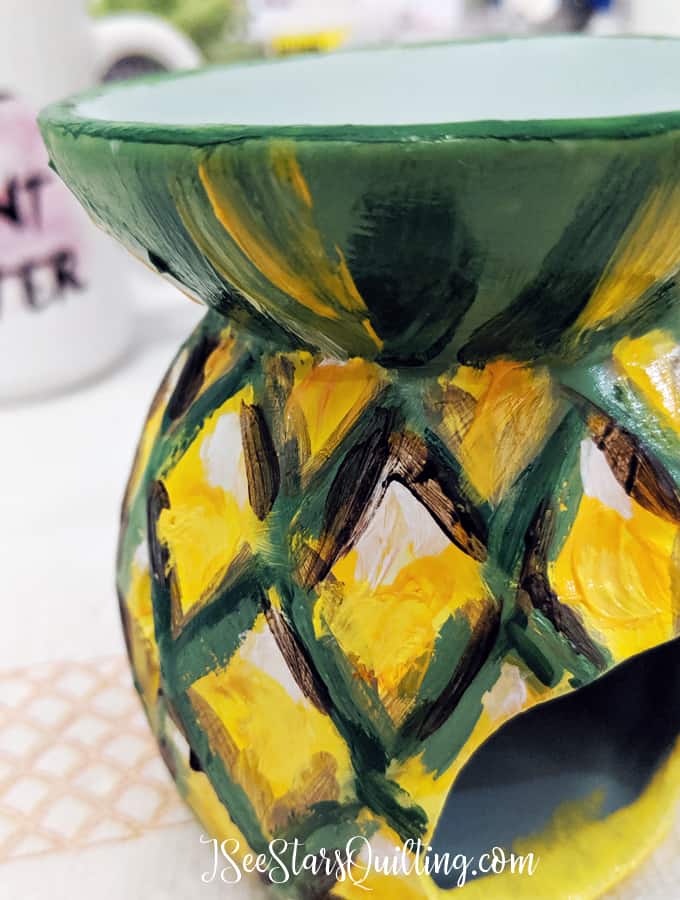
Then I added 2 different colors of yellow, white, brown and a slightly darker green strokes for a little more demention.
Let all your paint dry well before proceeding to the next step.
The Pincushion Part
I used a small scrap of yellow fabric that I dug out of my scrap pile. I really like the criss-cross lines that echo the pineapple theme.
For the filling, I used some polyester batting scraps simply because that is what I found first. You can fill your pineapple with other fabric scraps or steel wool or whatever you have on hand.
Test measure your pincushion to find the right amount of filling to put in. Check the firmness when you insert a pin. If it is too soft, add more stuffing/filling. You’ll want to make sure your pin cushion area is tough enough to hold a good number of pins.
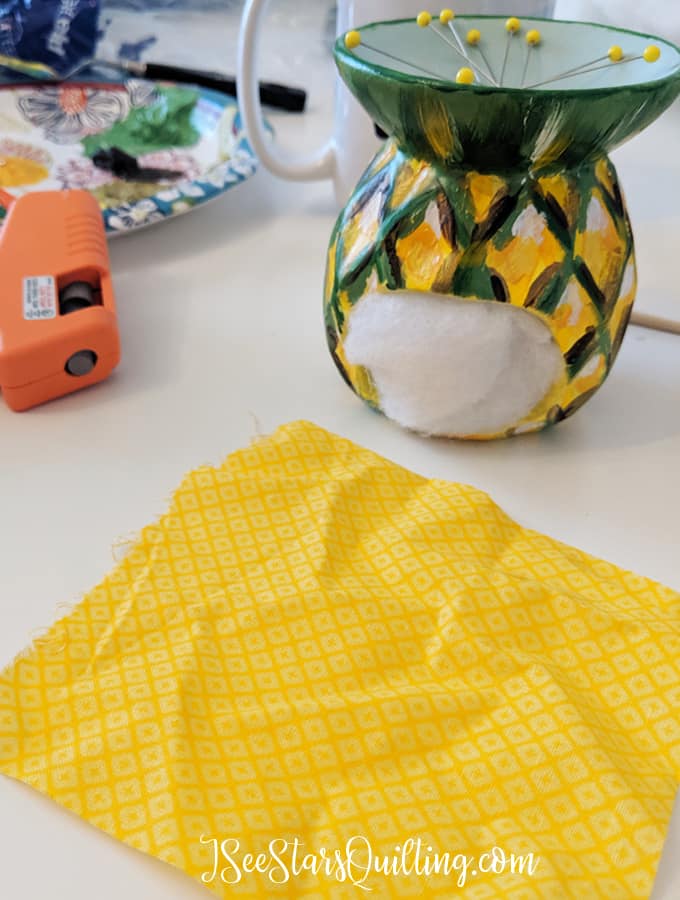
Wrap your chosen fabric around the inside stuffing or batting and tuck in all the edges inside your pineapple.
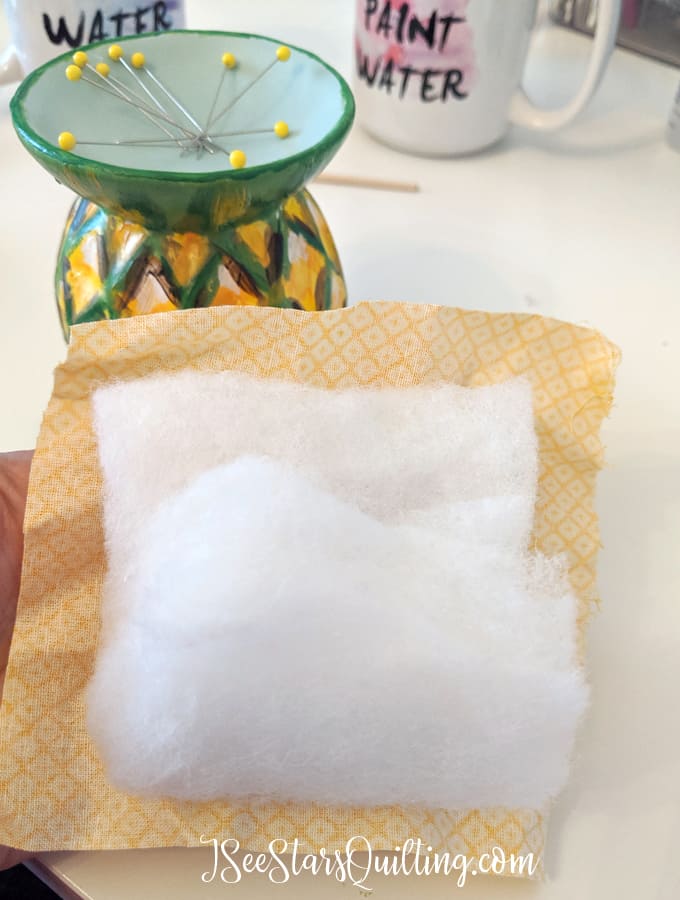
I did like the smooth flat surface that the batting gave when I stuffed it in the pineapple.
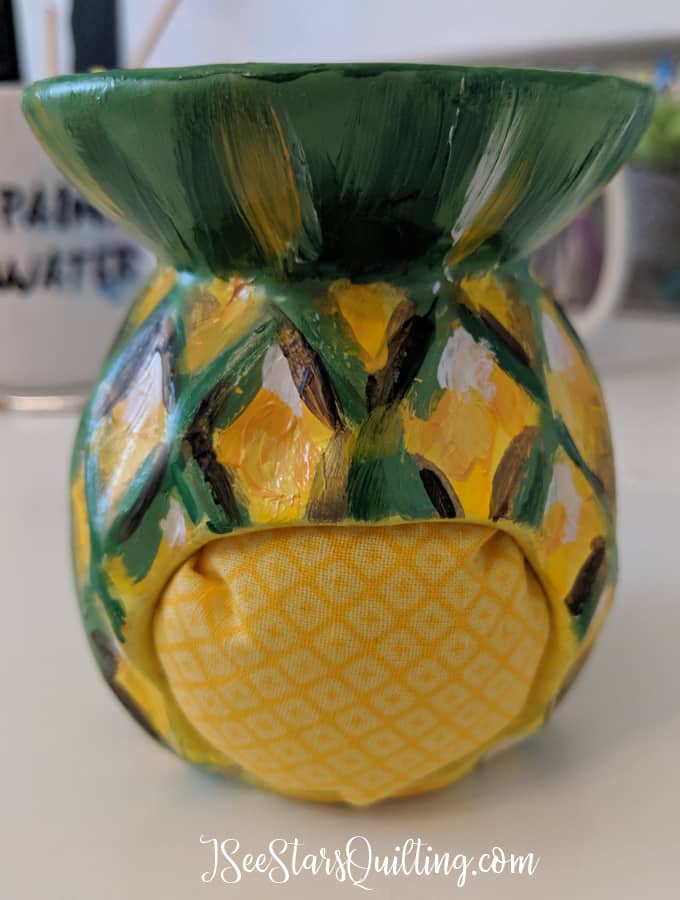
To complete the project, I didn’t find that any glue was really necessary. I just tucked in the raw edges of the fabric and called it done. You’ll have to be the judge on this part for yourself. Glue certainly isn’t going to hurt anything if you like it to be a little more secure. 🙂
Enjoy your DIY Pineapple Pincushion! If you decide to DIY this project, let me know in the comments down below.
Happy Crafting!
