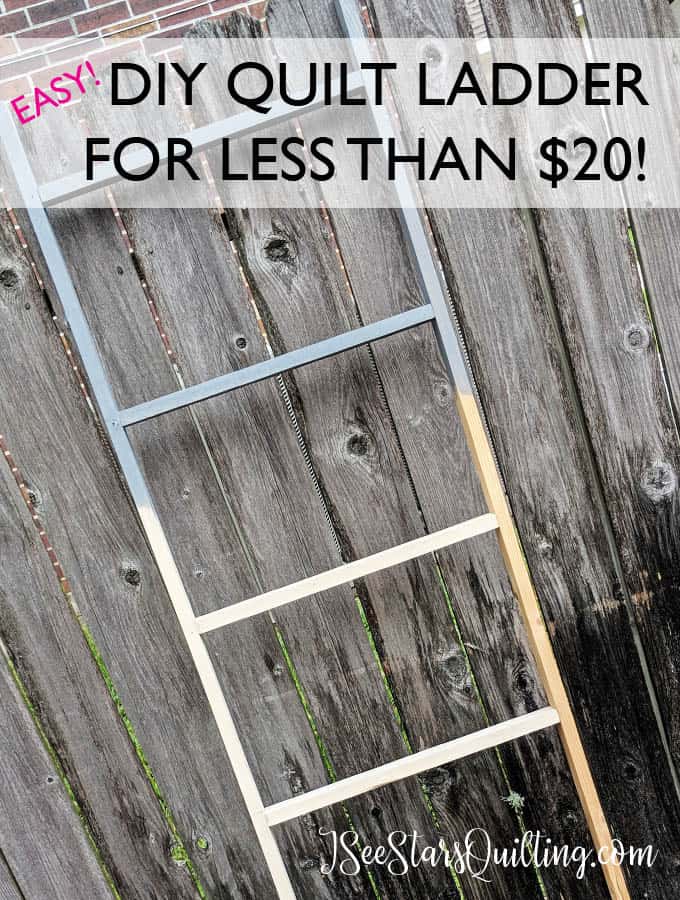
 This is how you DIY a quilt ladder. I’m going to tell you how I took a $150 Blanket Ladder and recreated it for less than $20!…
Absolutely no rocket science involved. You can do this too!
It happened the other day… I fell hard in love with a quilt ladder that I saw on Pinterest. It was everything I ever wanted and then some! Absolutely love at first sight. Perfect to display my lovely quilts and get them out of the neatly folded pile on the floor in the corner. I loved everything, that is… except for the price.

$150?! I’m going to let you stop for just a second and re-read that. Yes. One-Hundred-and-fifty-dollars! No way, right?
Let me say that I really like to shop on Wayfair. I actually have several pieces in my house from Wayfair and I love a good bargain, but not on this item. I couldn’t bring myself to do it.
My excitement was momentarily halted. $150 can buy a LOT of things. (It can buy A LOT of fabric for example.) But the heart wants what the heart wants….
I lay awake that night in bed (that’s where I think most women plan their to-do lists and figure out their mission to save the world… all in the quiet hours of the moonlight while the kids are sleeping) and planned it all out in my head.
I made a plan to go to the hardware store and get the supplies the next day. This was happening.
Side note: I’m a huge Ana White fan. Here is her website so you can check her out. I look at the amazing things she is able to create and build on a normal family budget and I always feel empowered. If she can do it, I can do it. Maybe you’re not into building your own furniture. That’s totally ok. But sometimes when a girl has expensive taste and lives on a budget, desperate times call for desperate measures. The woman is a straight-up genius when it comes to breaking things down in a way that makes it easy to understand.
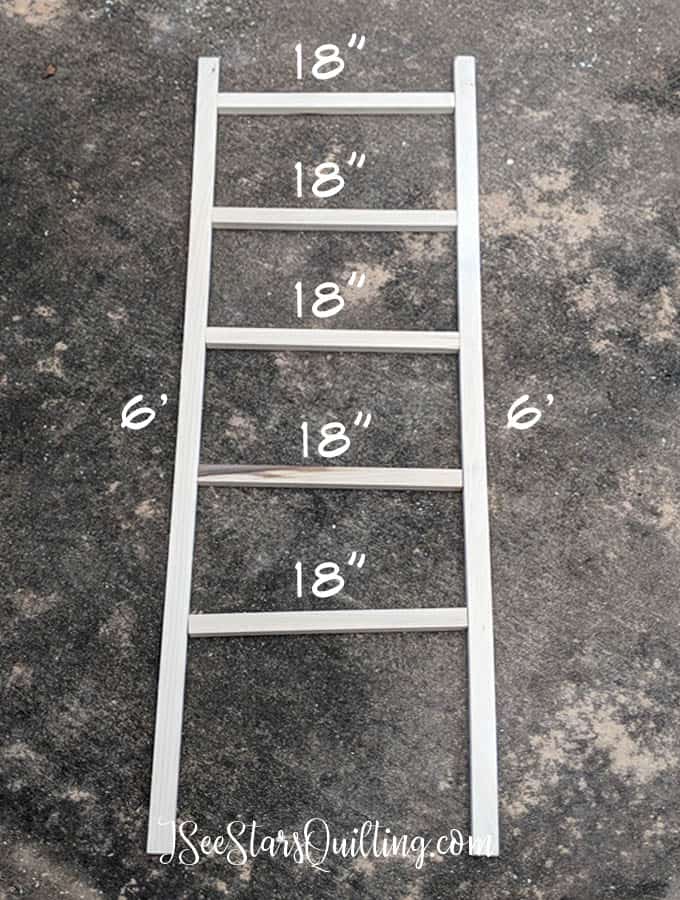
Here’s what you’ll need to make a 6ft. tall and 20-inch wide blanket ladder with 5 rungs.
What you need:
(1) 1 in. x 2 in. x 8 ft. Poplar Board – $6.82 Each – I really like the way that the poplar board takes on the stain. It doesn’t leave a streaky wood grain texture. The coverage is pretty even and smooth.
(2) 1 in. x 2 in. x 6 ft. Poplar Board – $5.66 Each
Wood Screws
Drill
Saw – If you don’t have a chop saw, you could do this by hand with a hacksaw.
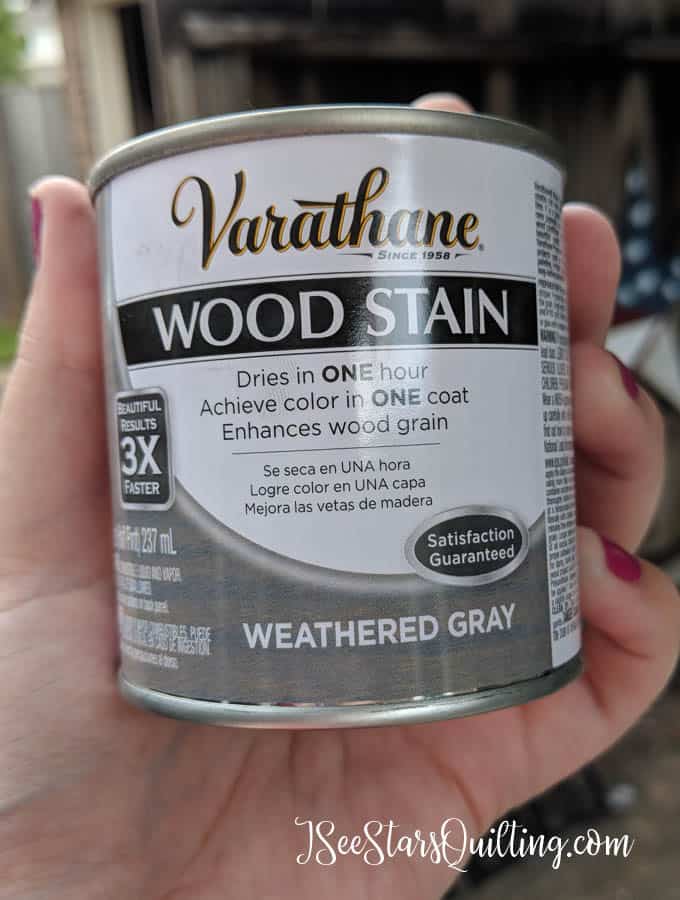
(Optional) Stain or Finishing method of your choice – See below for what I used.
(Optional) Felt pads to put at the top of the ladder where it leans against the wall so it doesn’t mark up your wall.
(Optional) Clear Coat so that you don’t have to worry about the stain getting on your blankets.
Ready for a super easy tutorial??
How to DIY a Quilt Ladder
You already have your 2 outer pieces for your ladder. Those are your 6′ tall pieces.
Step 1: Cut your 8′ long piece of wood into (5) 18″ sections. These need to be exactly the same length or your ladder will be wobbly. You’ll have just a little bit left over.
Step 2: Lay them out on the ground to make a ladder.
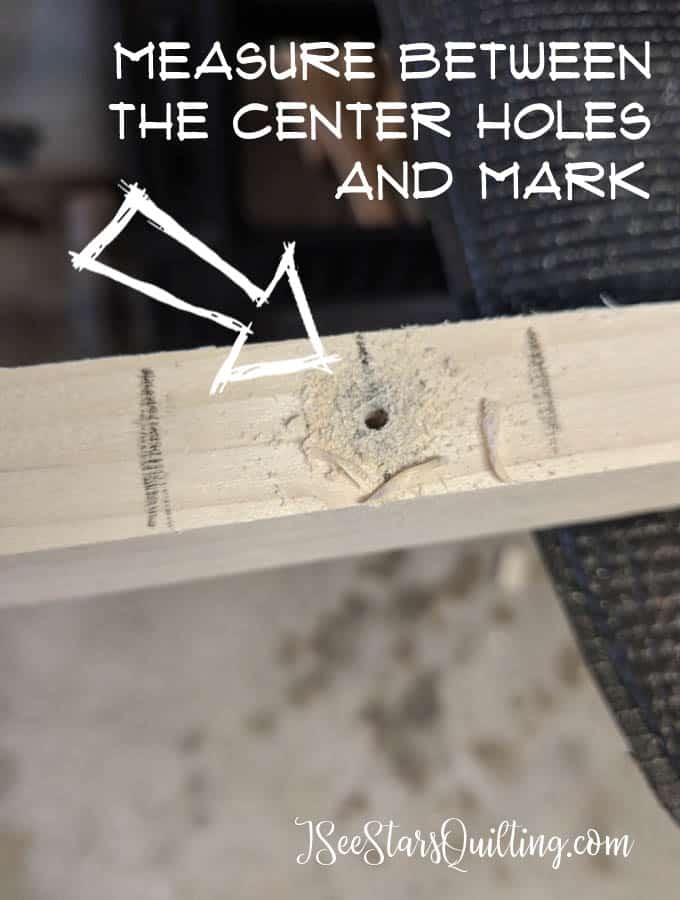
Step 3: Space our your pieces. Use your measuring tape and your pencil to mark where your ladder rungs go.
I put my ladder rungs 13 inches apart, but started 18 inches from the ground and left just 6 inches at the top so that I could actually hang a blanket on the bottom bar.
Measure from center hole to center hole.
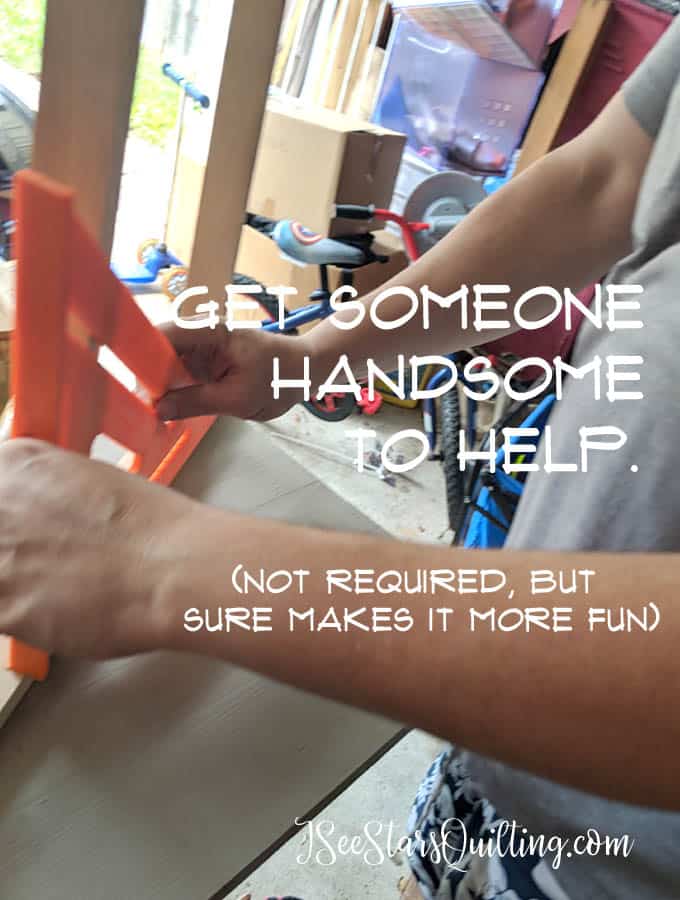
Step 4: Dab a little bit of wood glue on the end of each bar then attach with a screw from the outside of each side piece going straight into the center of the end of each bar.
Step 5: Stain it the color of your choice and let it dry and air out completely (so it doesn’t stink up your house or your blankets.)
I used this stain from home depot. It came in a tiny little can for less than $4.
I didn’t even use a tablespoon of the stain. I have enough for many more projects. You can ask around to see if your friends have any leftover stain from a project in years past.
*Staining Tip*
Make sure you use gloves every single time you use any wood stain. I got excited and did not. The artist in me should have known better. But also, seeing several of my fingers stained light grey did not even phase my husband. He is used to the messy art effects by now 🙂
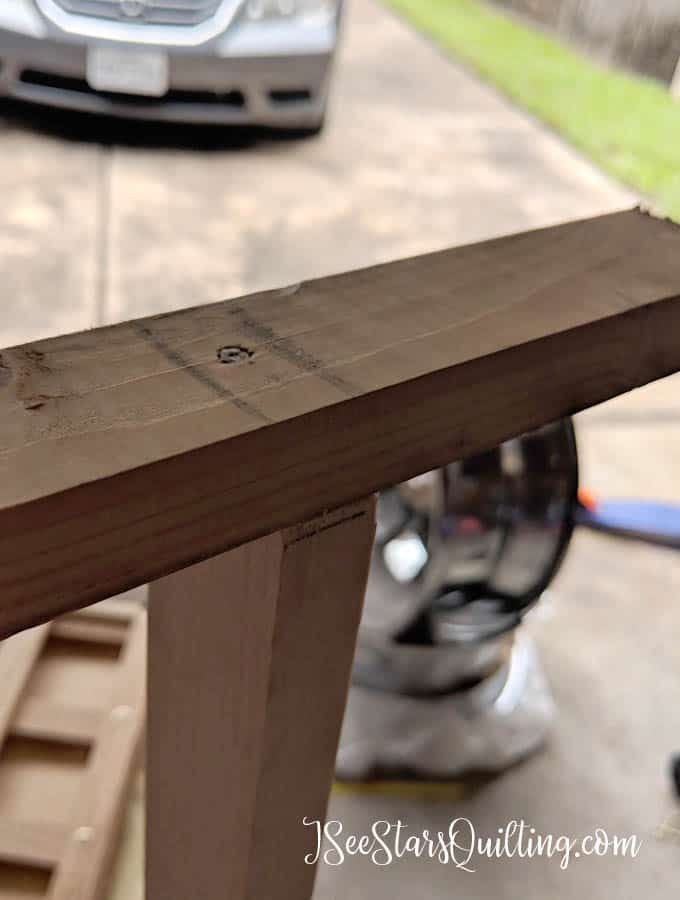
I chose to only stain the top section of the ladder and paint the rest for a ‘dipped’ paint look. I happened to have the white paint already in my garage from another project, but you can buy the “sample paint” cans for a really affordable price. It comes in a little can about the same size as the stain pictured above. They can even tint it to the color your request. You don’t need much paint at all to finish this project.
See how nice and even the wood stain took to the poplar wood? I love it.
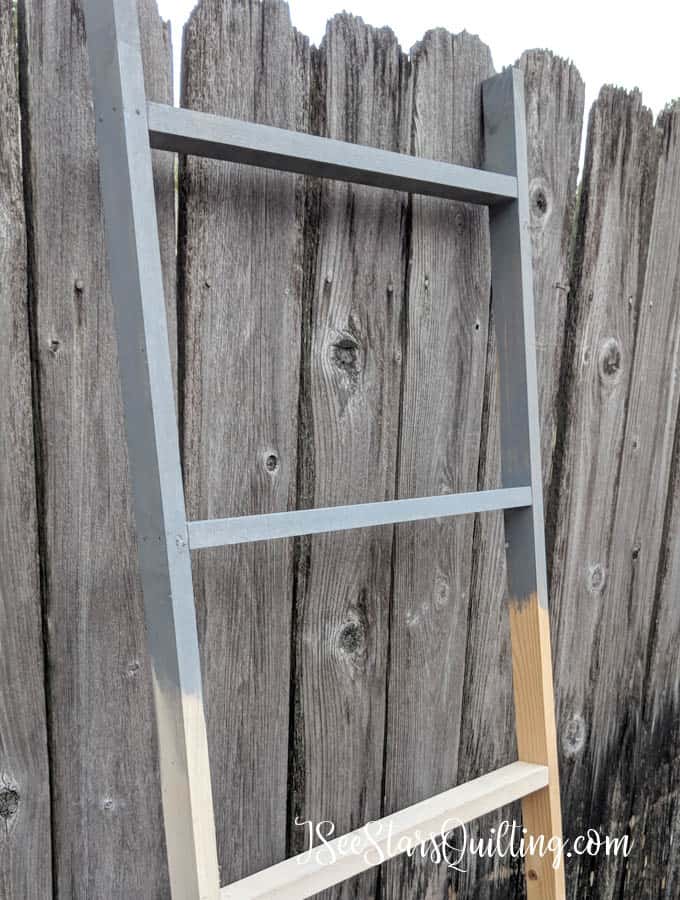
Finish with a clear coat if you think your stain may get onto your blankets.
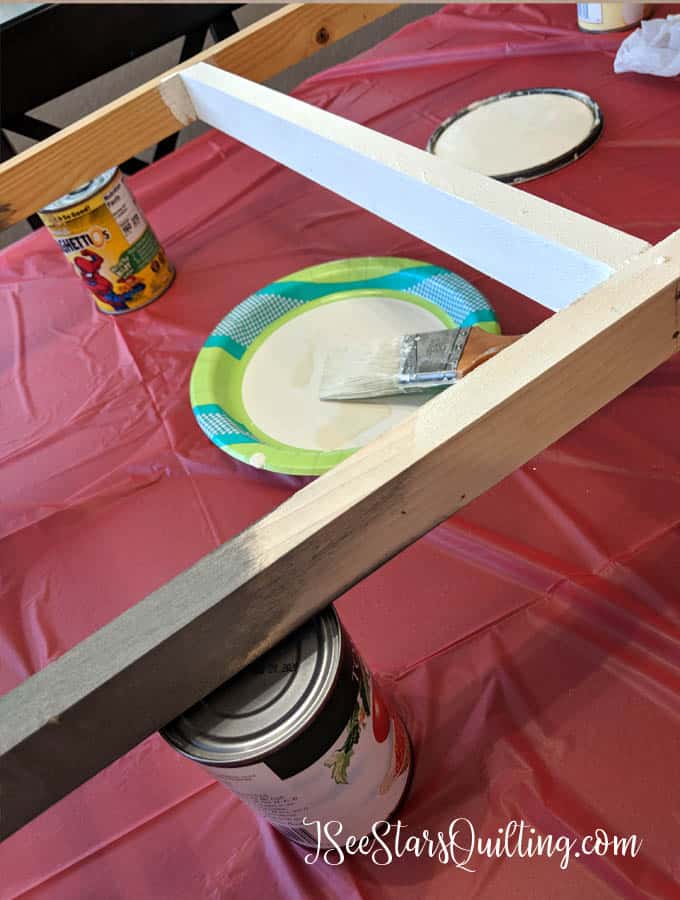
Step 6 – Paint the lower half of your ladder. It started to rain at my house and I wasn’t finished with my project so I brought it inside, put down some dollar store trash tablecloth and brought out soup cans to prop up the ladder while I was finishing it. Be resourceful!
Step 7 – Give your ladder ample time to dry. You can add the felt pads to the top of your ladder to keep it from marking on your wall if you choose to.
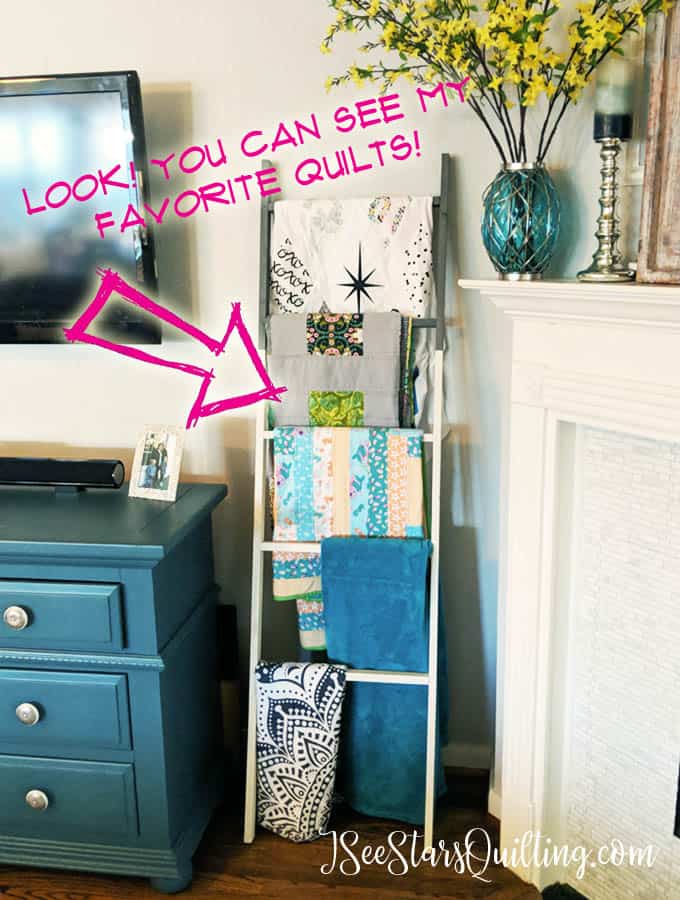
When you are sure that your ladder is all dry, load up your beautiful quilts and be happy with all the money you saved….. yes… lots of money saved. Speaking of… I think I shall go shopping for more fabric! 😉
If you have any questions, please contact me or leave a comment down below! I’d love to see your projects that you complete! Tag me in your pictures #ISeeStarsQuilting.com