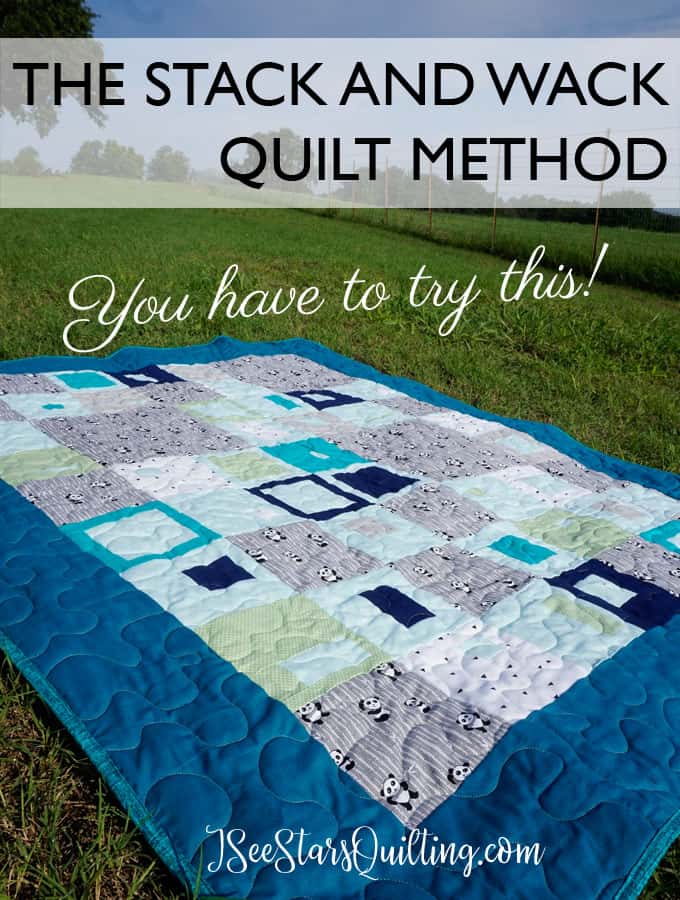
I’m going to share with you today another quilt that I’ve been working on in secret the past few weeks. It is a Stack and Wack Quilt, and it is finally finished! And I can share it with you because this one was a gift and it has now found its home, and I will not be spoiling any surprises by doing so! (If you want to skip ahead to the tutorial, I’m sharing a few pictures of the finished quilt first)
I made this quilt for my husband’s Aunt. I absolutely adore her and her beautiful spirit. She is a missionary/teacher in China. I could sit and listen to her stories for hours, and she is kind enough to send my kids little trinkets from her travels. (A notepad made from elephant poop in Thailand? Yes, we still have it!) Anyways, when I found this Panda fabric from Katarina Roccella, I had to get it and find something to make with it for her!
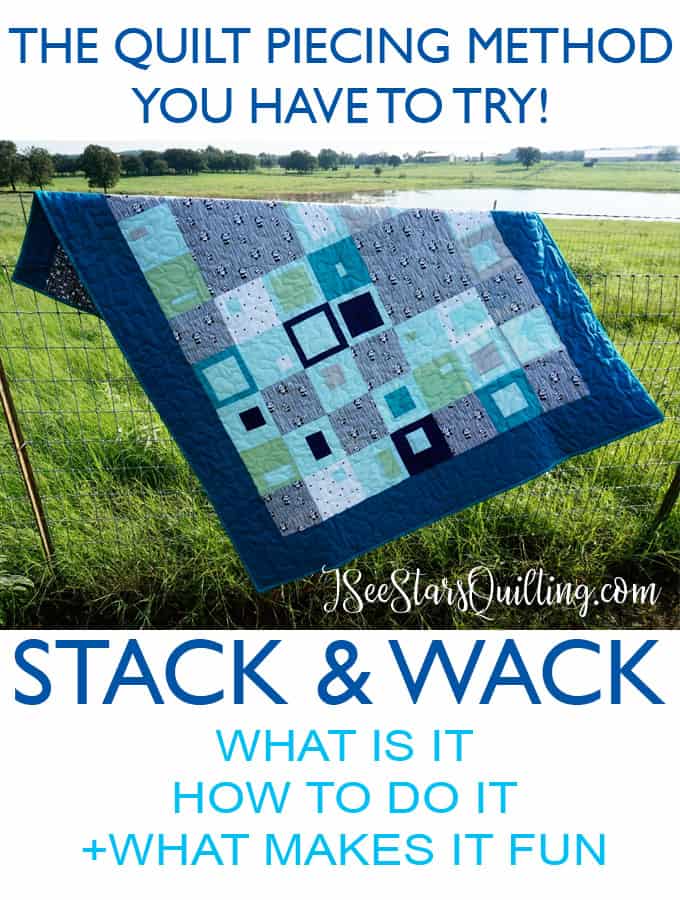
Stack and Wack Quilt
(First of all… Say What?)
Yeah, you heard me… Stack and Wack Quilt Method. It sounds reckless and exciting and simple, and it is absolutely a fun one to make!
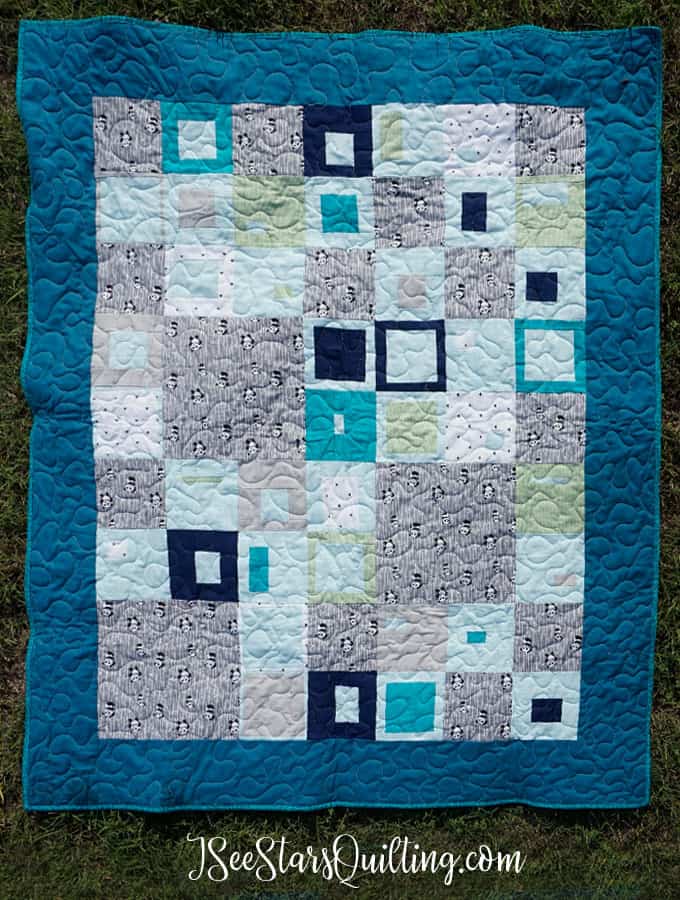
Let’s take a quick look at the quilt I made using this method and then we will get on to the tutorial!
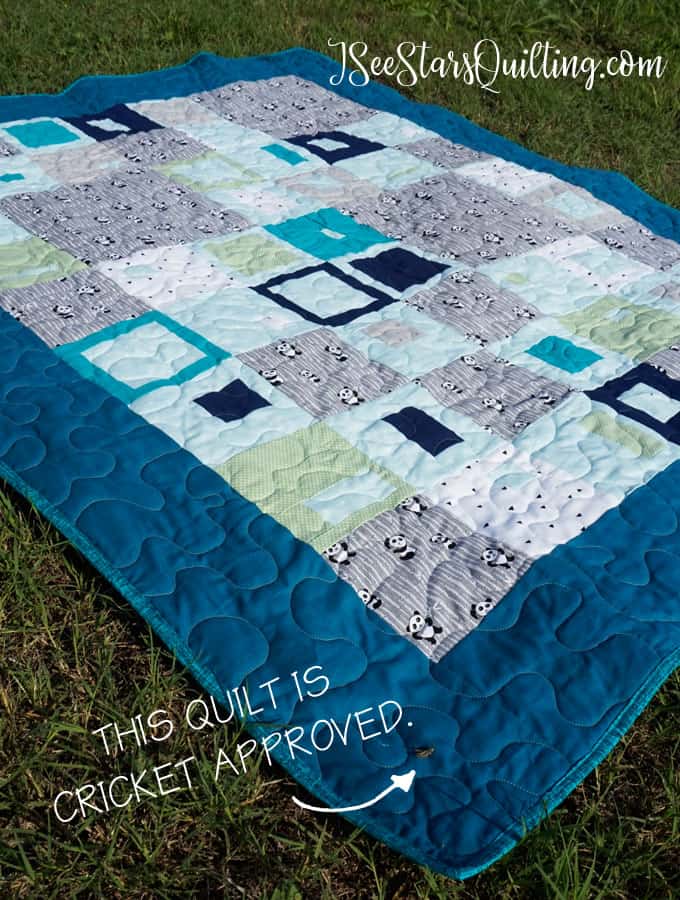
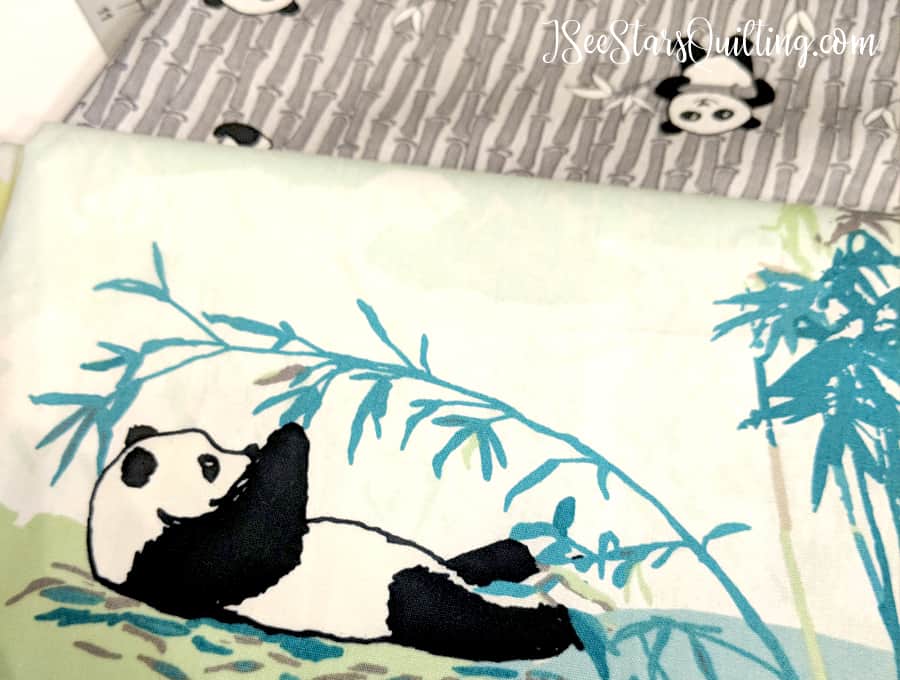
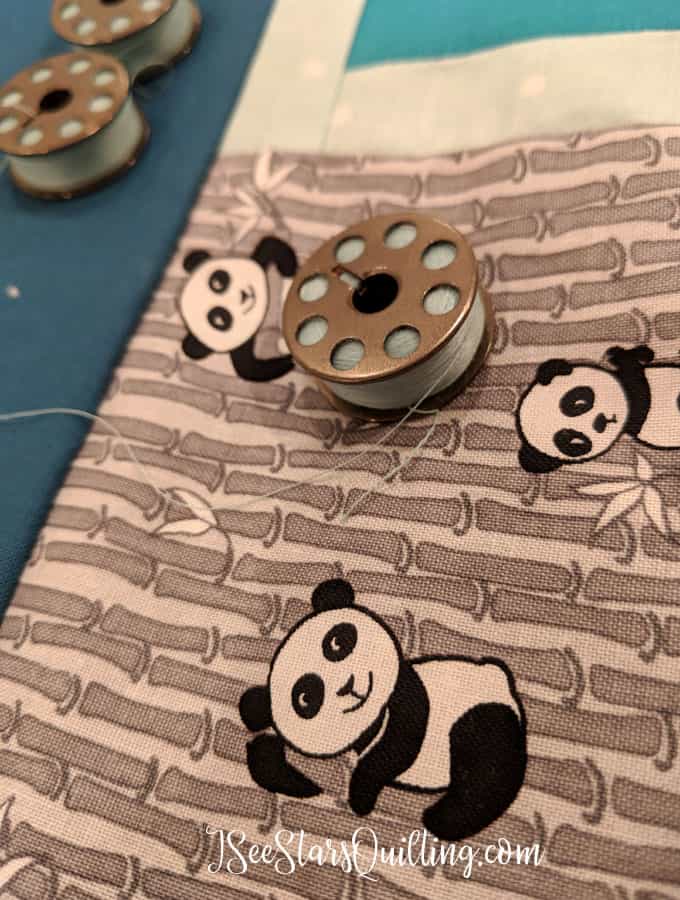
Remember this fabric from a while back? The landscape panda is from Katarina Roccella. Read more about Katarina and her designs in this fabric spotlight post. The black and white pandas are from Riley Blake and were just too fun not to include. A little whimsy is a beautiful thing!
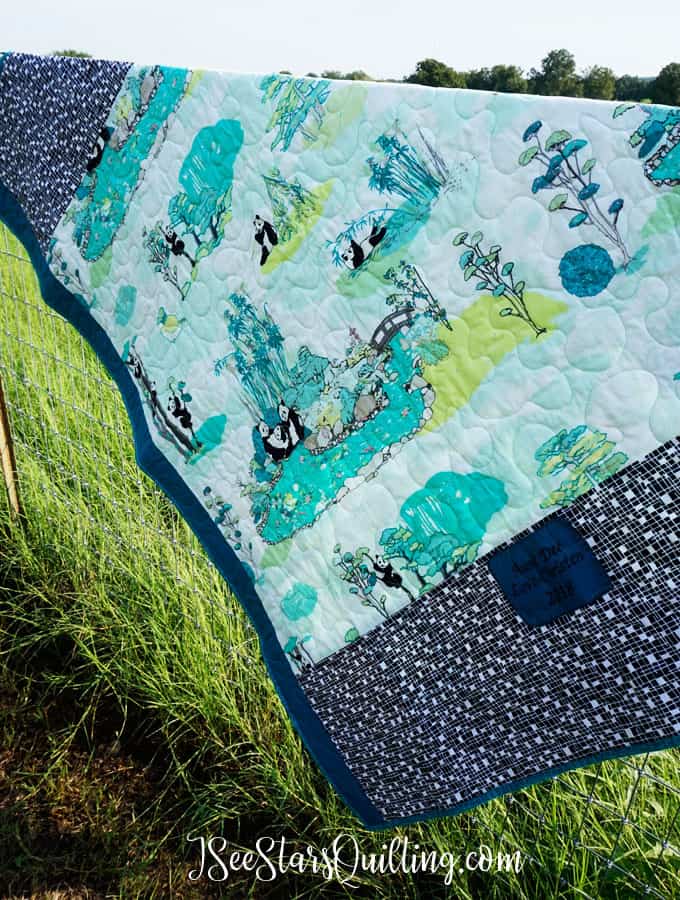
I couldn’t bring myself to cut up the landscape panda fabric… so I made it its own little spot on the back of the quilt. These pandas are having their own little block party.
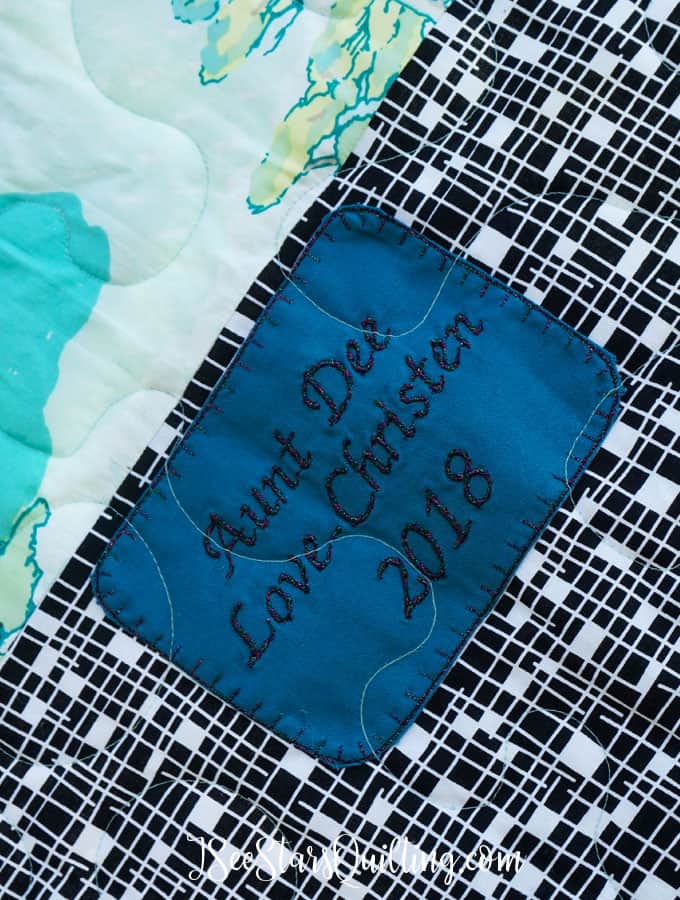
I even added my own little-embroidered label on the back of the quilt 🙂
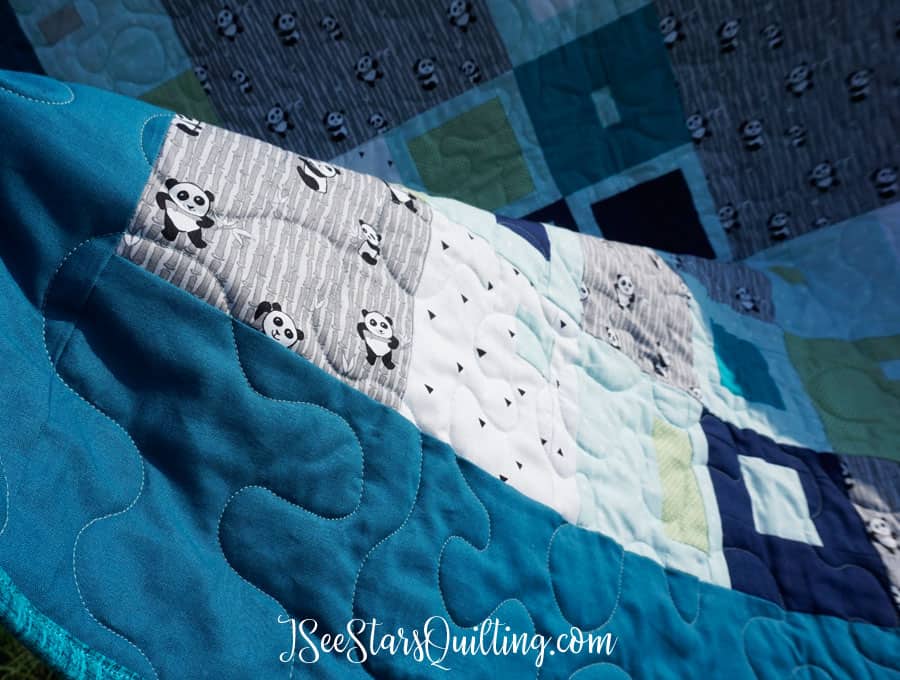
A few more detail pictures because I love the fresh and serene colors of this quilt and how lovely the blocks play with each other. 
This post may contain affiliate links. If you make a purchase using one of my links, I might get a small commision of the same at no extra cost to you. You can read more here.
The Stack and Wack Quilt Method
Ok, onto the tutorial!
What if I told you that you didn’t really have to measure everything perfectly?
That your lines don’t have to be perfectly parallel?
What if it is as easy is literally just stacking up several layers of fabric and wacking them with your rotary cutter?
Are you hooked and sitting on the edge of your chair?
YES, it’s that easy! — But don’t go slicing up your fabrics just yet!
Bethany Reynolds actually coined the “stack-n-wack” term. Her quilts have a mesmerizing kaleidoscope pattern that is achieved with her signature… you guessed it… stack-n-wack method!
If you get a chance, google her one day and get ready to be inspired. 🙂 She blows my quilt blocks completely out of the water.
You may also hear this method called by other names such as “stack and slice” or “stack, cut and shuffle”… but they all mean the same thing. (Personally, stack and wack rhymes, so it is my favorite.) The end game is simple, cut multiple pieces of fabric at the same time, mix the pieces and then sew them back together again!
What you will need
To make sure that you’re stack and wack quilt turns out right, it is best to start with your fabric sections all the same size. You can either cut them all on your own, or you can use charm squares or 10″ square pre-cuts.
I tried the 8″ precut size on the panda quilt… I think I would have preferred the 10″ starting size a little more just because you lose a lot of your fabric to seam allowances. Just a bit of friendly advice learned from the experience!
You’ll also need a cutting mat and your rotary cutter as well as a good ruler.
Before you start…
Your rotary cutter should not have a dull blade on it. Besides making life miserable, it takes more effort to use a dull blade, and you risk your pieces of fabric shifting while you’re sawing through layers of fabric.
Make sure you either have a rotating cutting mat like this one. Or you are cutting in an area where you can move around the cutting table. Whatever you do, do NOT pick up and turn your stacks of fabric when you’re changing cutting angles. You’ll end up with a hot mess of misaligned squares. Instead, move the mat you are cutting on, or reposition your body.
Go Time – The Stack and Wack Quilt Method
Step 1
Choose your fabric and stack it, making sure edges are aligned, and the right sides are facing up.
Step 2
Use a ruler and your rotary cutter to slice through your fabric stack making sure the fabrics do not shift as you cut.
Step 3
Mix and match your fabrics!
In the Panda quilt example, I sliced the fabric in stacks of 2 at a time and then swapped the center pieces as shown below.
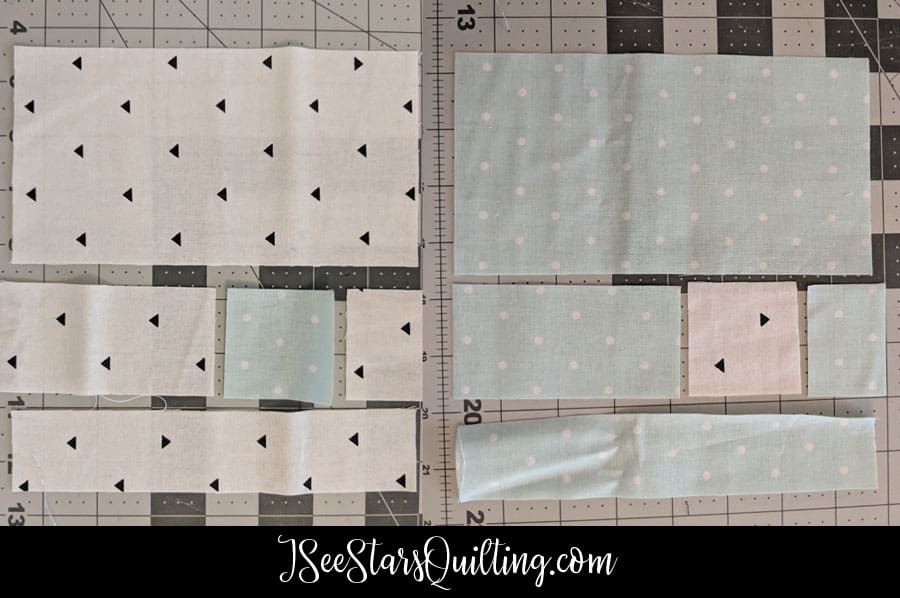
There is no rhyme or reason for these cuts. You can make them be as off or weird as you want them to be. I made some with smaller borders and some with off-center middle squares. You can make the lines relatively straight and parallel or crazy and not.
Whatever fabrics you have in your ‘stack’ are the ones that will be interchangeable. Experiment with colors and arrangement to find a pattern that works for you.
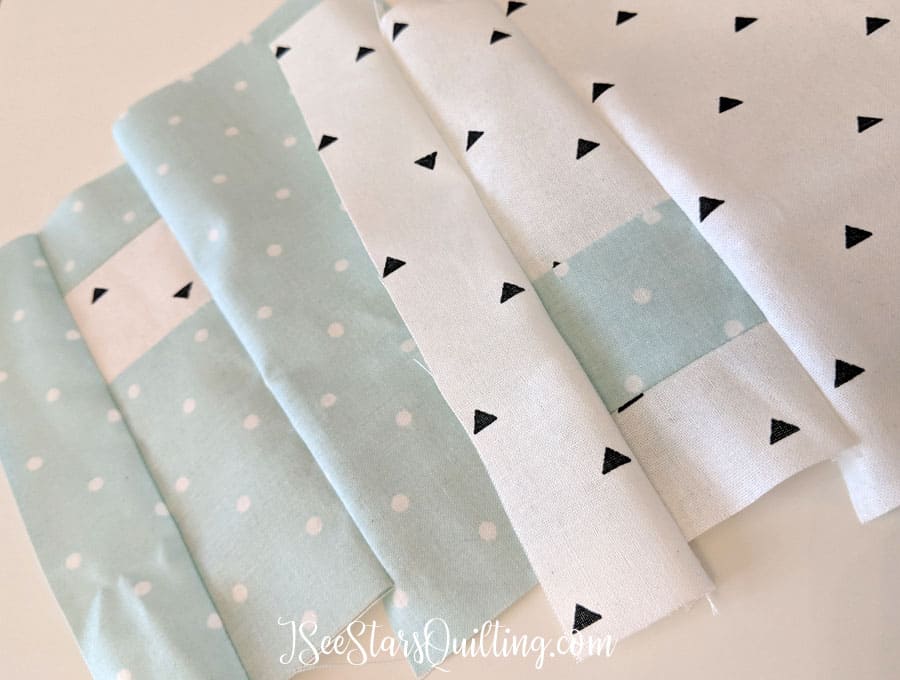
Step 4
Sew them back together! You’re going to end up with a little funny shaped blocks because you’ve lost some seam allowance depending on your design. Just roll with it till you get to step 5 😉
Press your seams open.
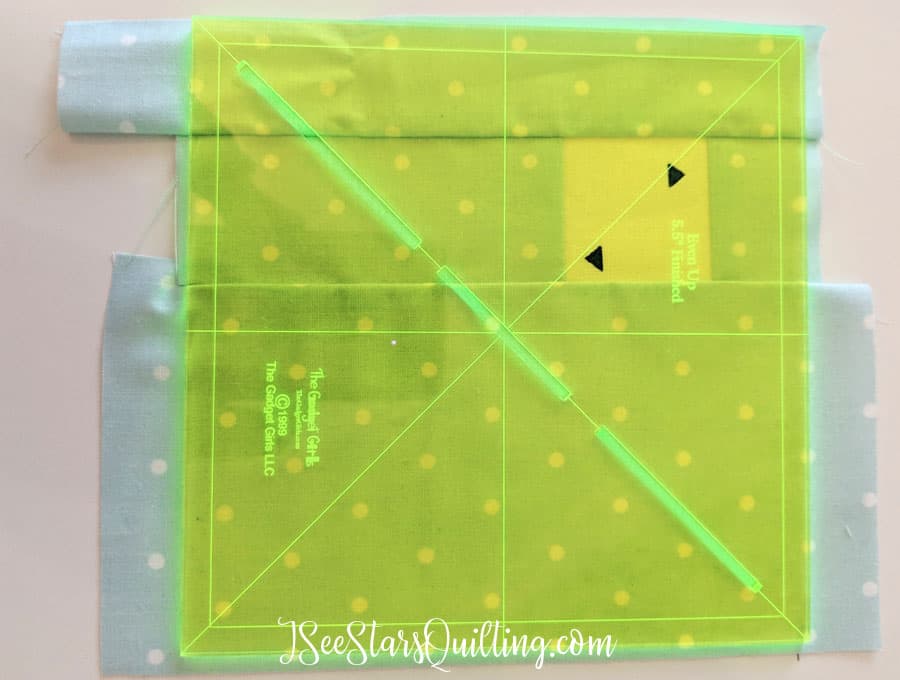
Step 5
Trim up your blocks if needed. I used this 5.5″ Even up from the gadget girls. It absolutely lives up to its name and makes ‘evening up’ everything a snap. You could also use a paper template and your ruler to trim up your edges.
You need to make these blocks square again before you assemble your top quilt.
Step 6
Time to Assemble! – Piece your squares together. I mixed in some varying sizes of a larger solid print because… pandas on bamboo fabric! That’s why 🙂
Then quilt it, and you’re good to go. You didn’t have to measure too much… and I hope you enjoyed the creative freedom that this stack and wack quilt method gave you to do what you pleased knowing it was all going to turn out just fine!
Wasn’t that fun?
You can pin the image below so that you can return to this tutorial when you’re ready to make your own stack and wack quilt!