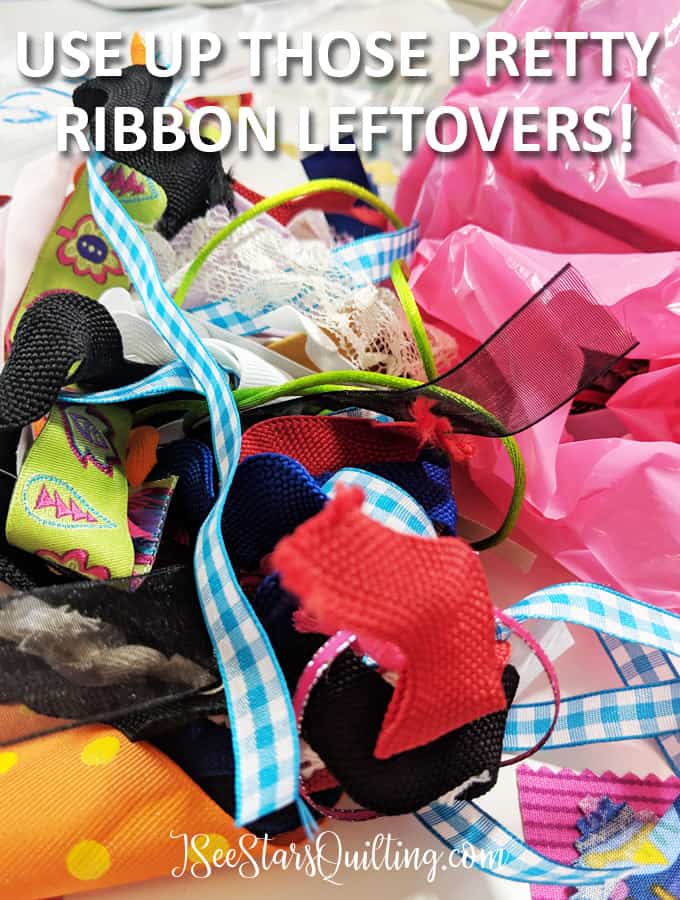
I shared a fun DIY project last week that was so successful and I had such great feedback that I decided to share another fun and easy DIY project this week again! And this one is a scrap fabric buster! – All those pretty little leftover bits can get repurposed into these lovely little easy DIY Key fobs!
We quilters LOVE fabric… one might even happily accept the accusation of a “fabric hoarder” and not even bother trying to deny it… (And by ‘one’, I mean me… we’re talking about me.)
I love fabric. Isn’t it beautiful to just keep it and stack it up all nice and pretty and display it like beautiful fine art… I just can’t help it! You can take a tour my sewing room and see my space here
I have this area where I keep all my scrap fabrics, but I also have a separate little area where I keep my tiny scrap fabric bits. (organization is not entirely insanity)
These itty bitty bits are all pieces of fabric that I just couldn’t part with but do not necessarily have enough fabric to do something really big and grand with.
I have hopes of finding their perfect project use someday… so I only save the best scraps and tuck them away until an idea like the one I’m going to share with you comes along…
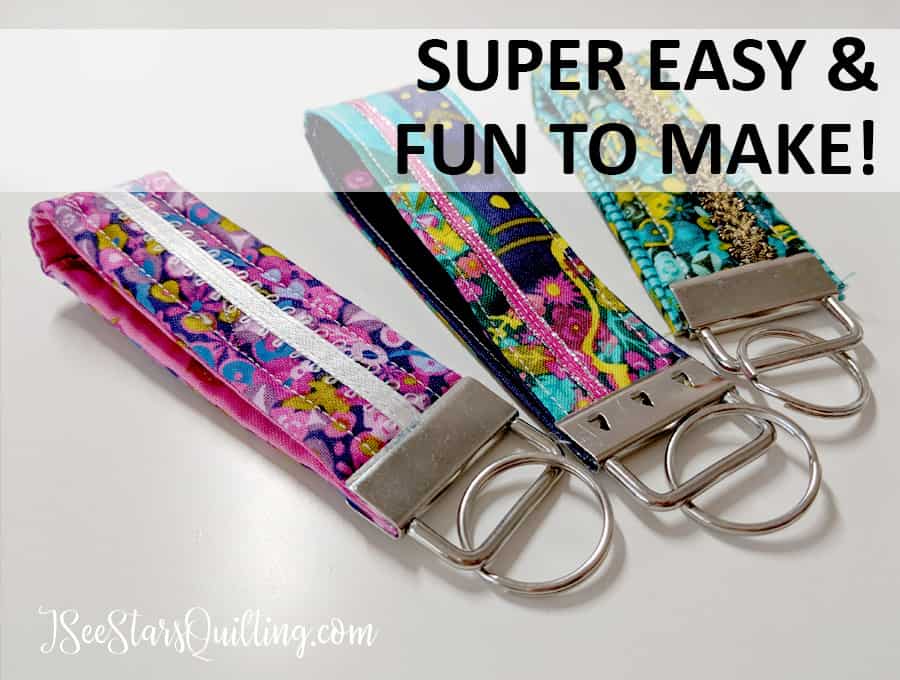
How to make your own scrap fabric DIY Easy Keyfobs
These are so so easy and so useful! They make super cute homemade gifts and are completely custom for the gift recipient.
First things first – Dig through your scraps
I looked for long and skinny strips. At least 3″ wide x 10″ long.
You an also sew several smaller pieces together and create a patchwork effect to your keyfob if you desire.
I also hit up my ribbon and sparkly things stash to add just a little touch of extra pizzazz to my creations.
Whats that? You don’t have a huge selection of craft ribbons? That’s ok… get together with your sewing friends and do a trim and ribbon exchange! See if anyone has anything they’d like to donate or offer to make them a key fob in exchange!
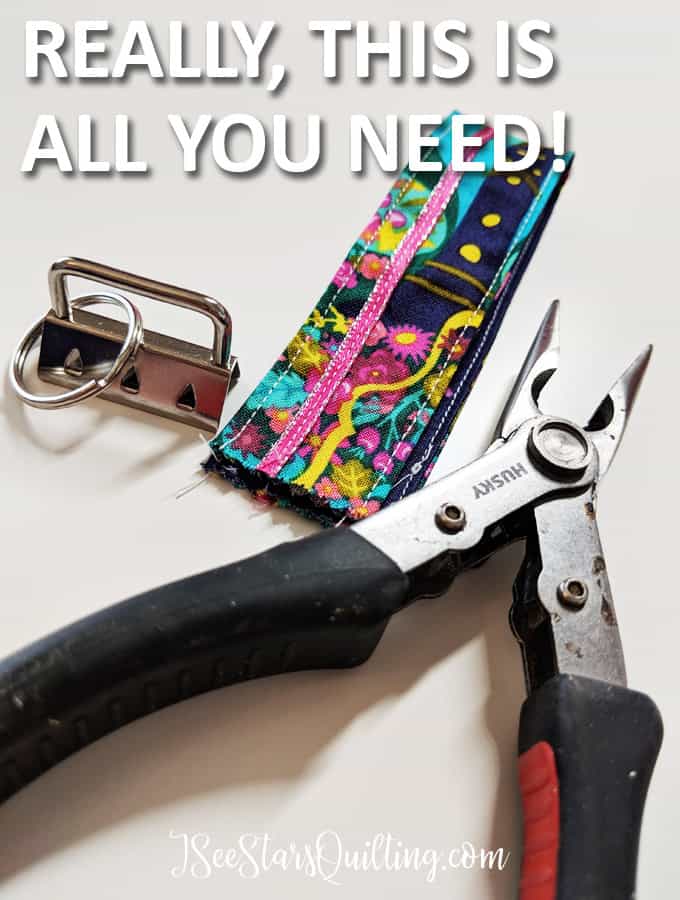
You’ll also need the keyfob hardware and a pair of pliers or something that you can squeeze the hardware shut with.
Next, measure your hardware
I used this exact brand of keybob hardware. While I imagine that they are mostly similar no matter what brand you buy, you should measure your exact piece to make sure the finished product fits as you want it to.
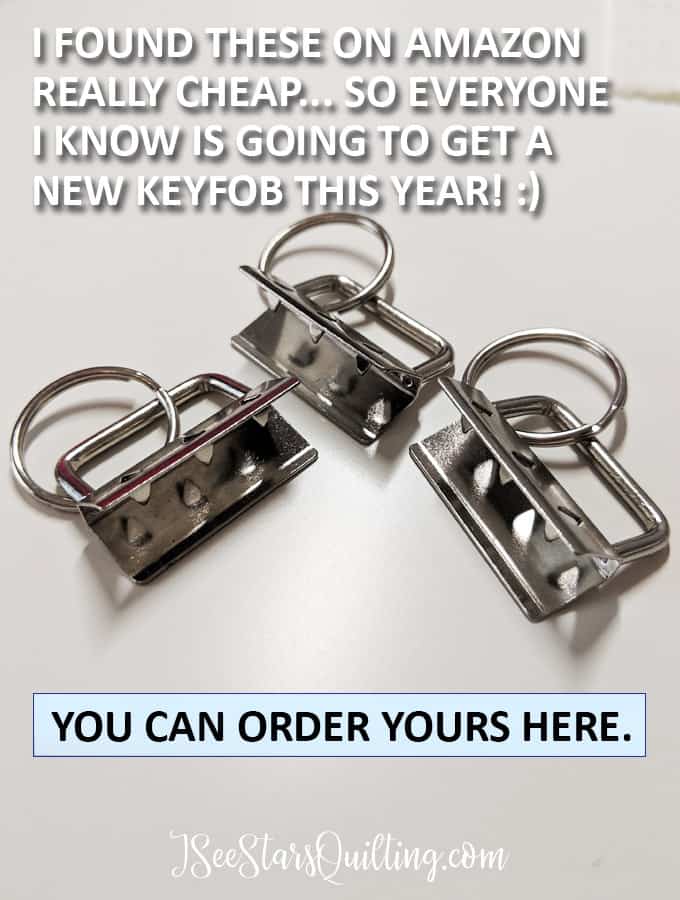
Mine measure exactly at 1.25″ wide.
Then, cut your fabrics
I added 1/8″ seam allowance for each side and cut my fabric:
1.5″ wide by 7″ long (do this for 2 different fabrics)
Why would I do 1/8″ instead of 1/4″ seam allowance?? – Simple trial and error. I did the 1/4″ seam allowance first and found it to be too bulky in the finished product. Just preference, but you can try it out for yourself and let me know what you think!
Get ready to sew
Lay your fabrics right sides together and sew 1/8″ down both sides. do not sew over either of the ends of your fabrics.
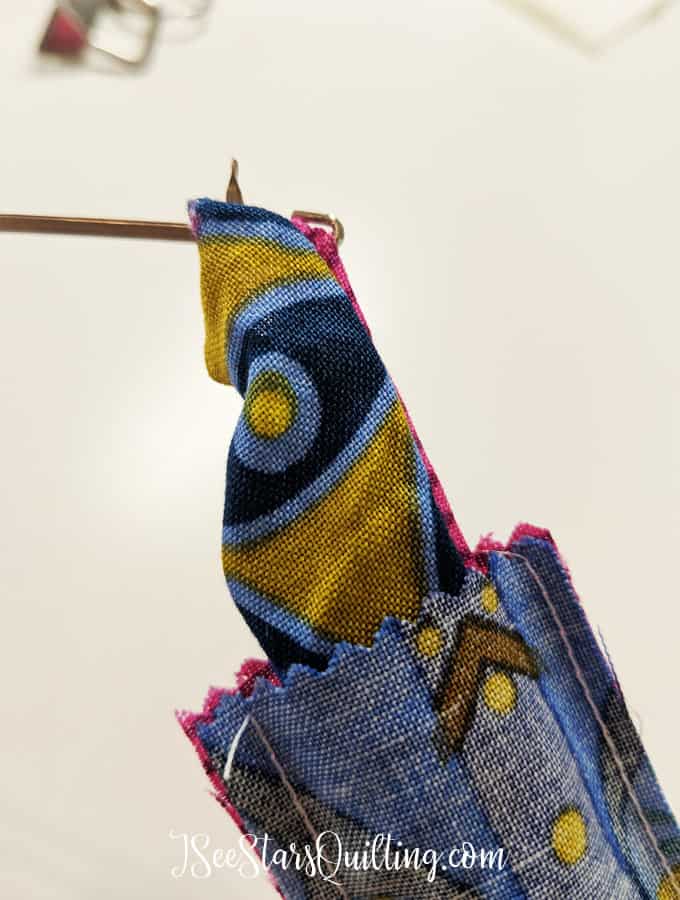
Turn the piece right sides out
This can be a little tricky. But once you practice a few times, you’ll be a pro at it.
I use this little device that is specifically for turning your seams out. it has a really fancy name and everything… it’s called a loop turner. haha We sewists really are creative folks… just maybe not in the tool naming department?
PRESS flat
Sorry, I didn’t ask if you wanted to drag out your iron. You just have to, ok? and don’t whine about it either. No one likes whine unless there is cheese with it (get it? whine? … wine?… cheese and wine?? ok maybe that one is better out loud…)
Pressing is essential in this step to get everything where it should be and where you can confidently proceed to the next step…. which is….
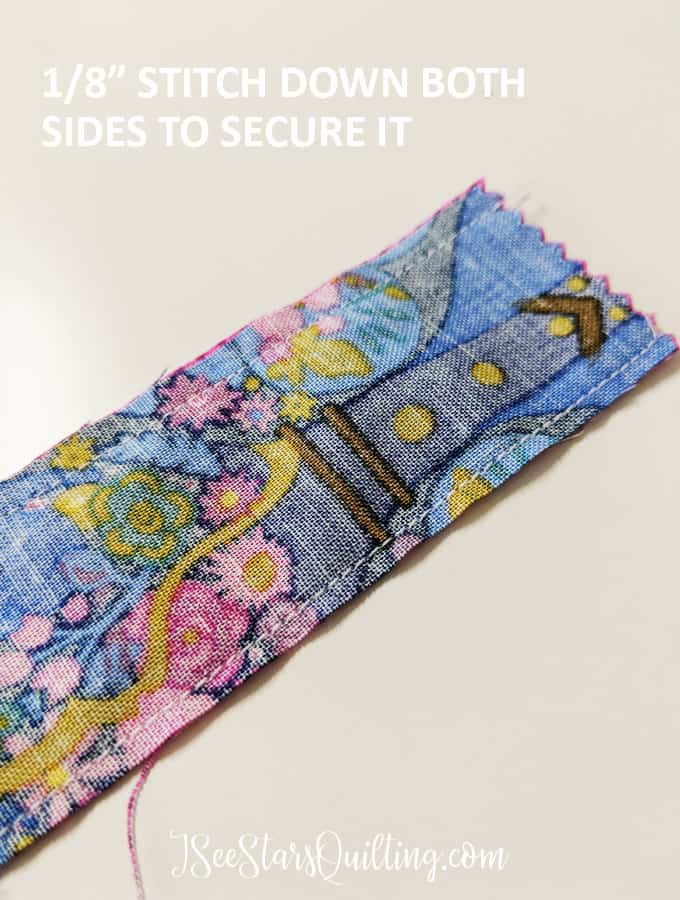
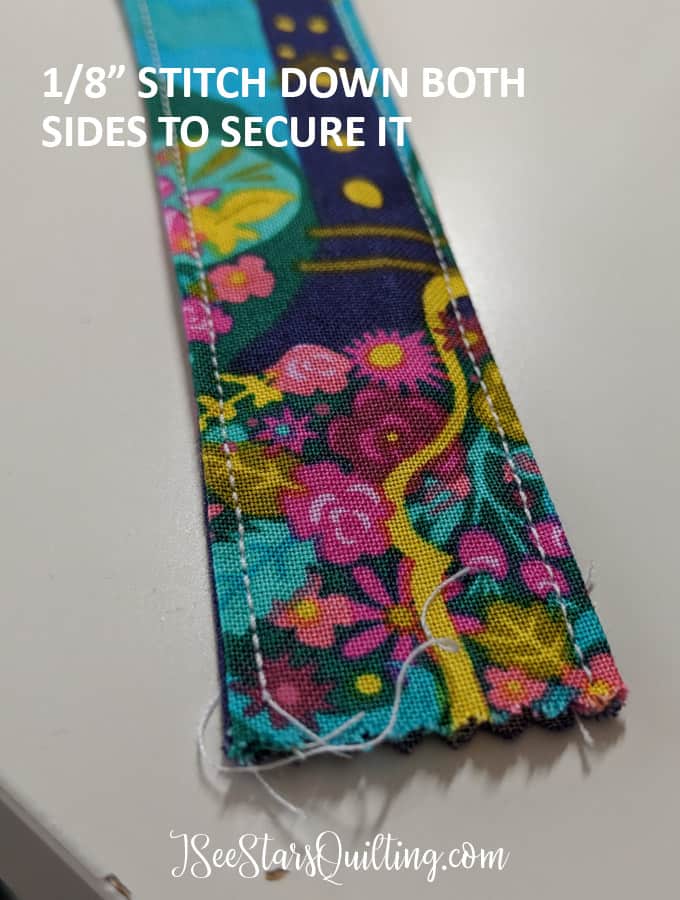
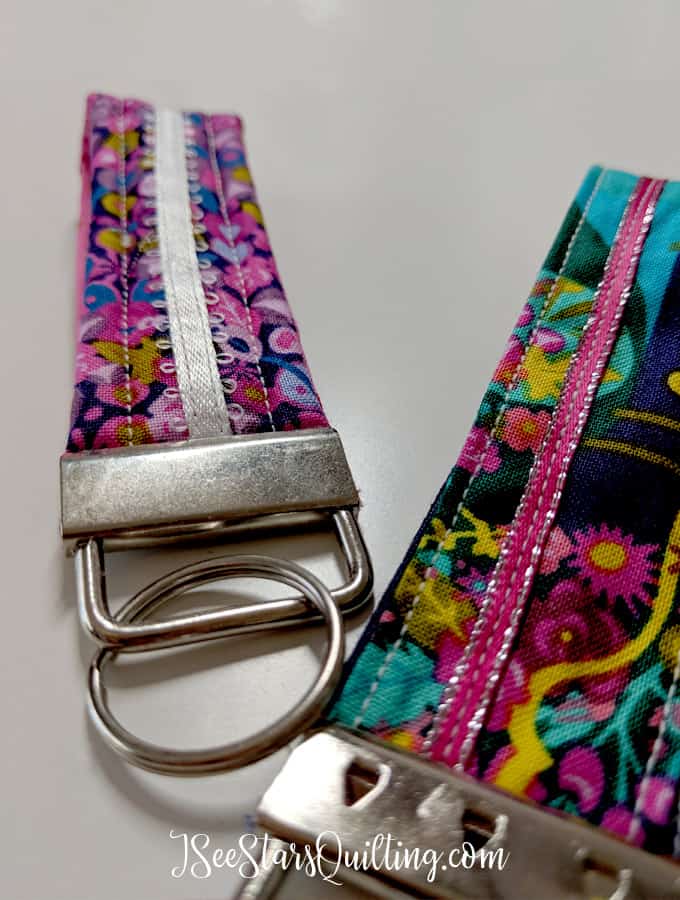
Secure both sides by stitching again
don’t worry about the ends, they’ll be tucked inside the hardware so you don’t need to do anything with them. just sew down each side at an even 1/8″.
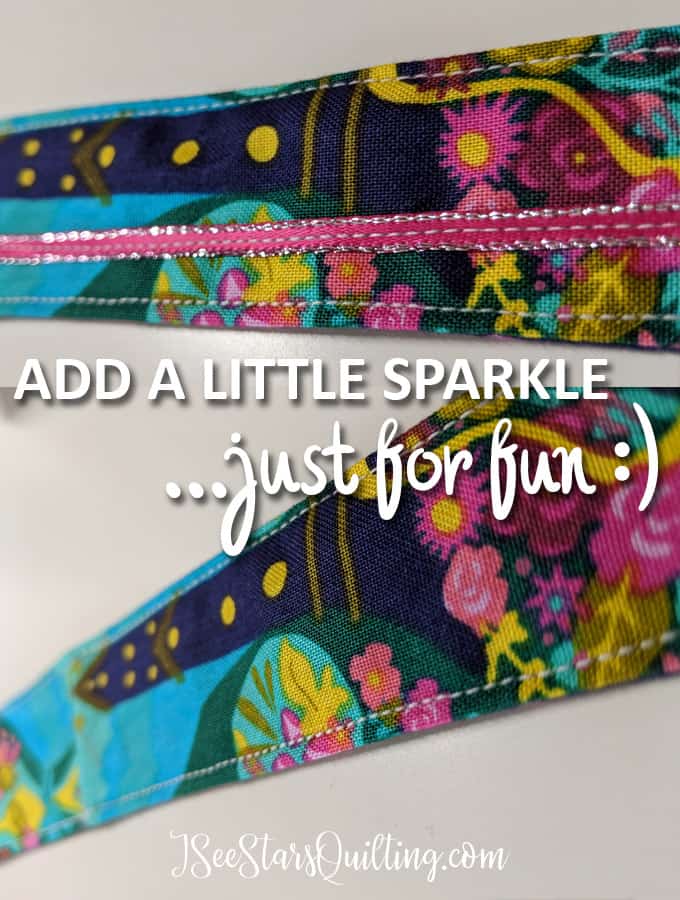
If you want to break out some of your fancy sparkly thread or decorative stitches to add some extra flair, go for it! You be you and add some of your own sparkle!
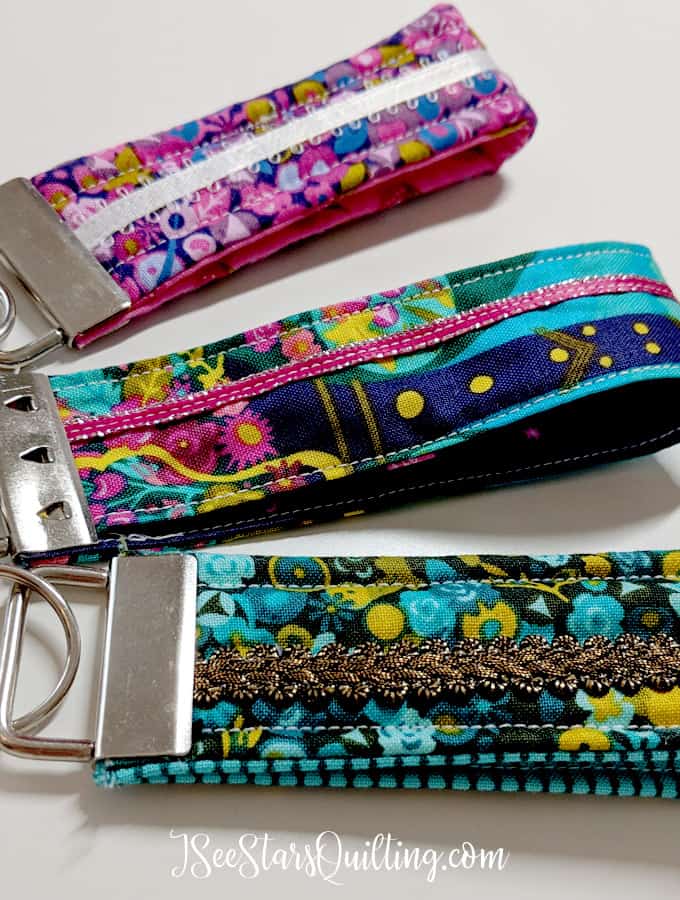
Decorate! Add even more sparkle and flair to it!
All those little bits of pretty ribbons? this is the perfect place to use them! you only need a bit… so add it in and make it beautiful!
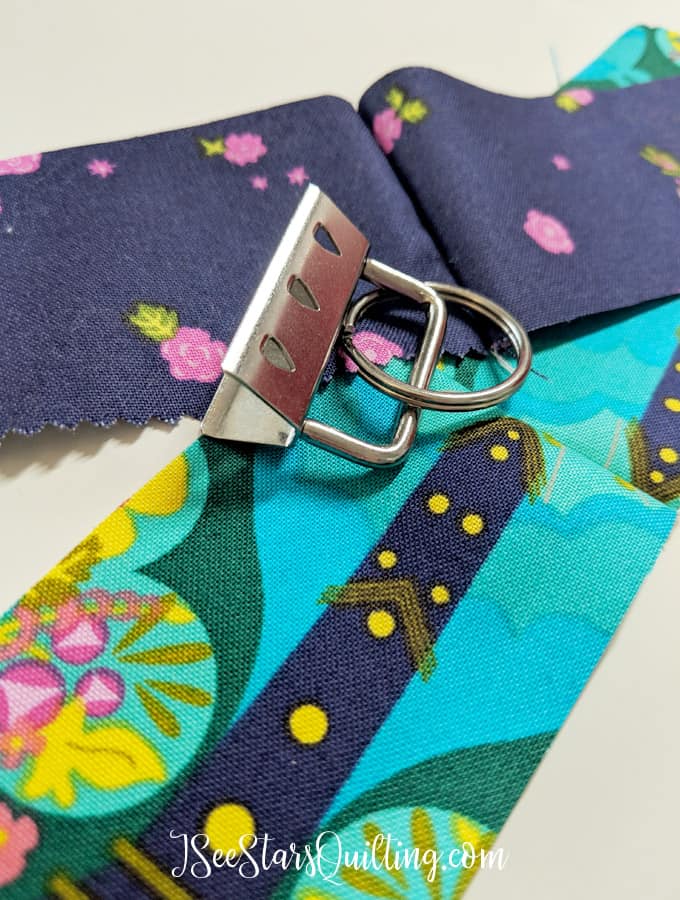
Fold in half with raw ends together
There is an actual tool that is made to clamp your key fob hardware together. I ordered it, but the hardware got to my house first and being the impatient person that I am, had to try it out anyway 🙂
My brain said that the regular set of needle nose pliers would work just fine.
I was a little afraid of scratching the shiny hardware or leaving dents with the teeth on the pliers so I just padded them down with a little scrap of quilt batting.

Place the raw edges inside your own hardware and secure it
I worked slowly, keeping an eye that my fabric wasn’t shifting out of place and worked on either end of the open clasp until it was securely shut.
Voila 🙂 … now go many another one!
While using standard pliers is a totally cheaper and do-able method… I suggest using the pliers that are meant for squeezing the key fob hardware shut because it creates a more even force to shut the jaws around your fabric. it was much easier my second time around.
Experiment
Now that you have the basics of a DIY easy key fobs project… play with it some more!
Use those decorative stitches, even if it is just playing with your zig-zag stitch. play with fabrics on the interior and exterior.
Play with ribbons and trims and sparkle, oh my!
You can embroider and embellish to your hearts content and then give to your favorite people so they can carry it with them everywhere!
Who are you going to make one for first? Let me know in the comments!
Happy Sewing!