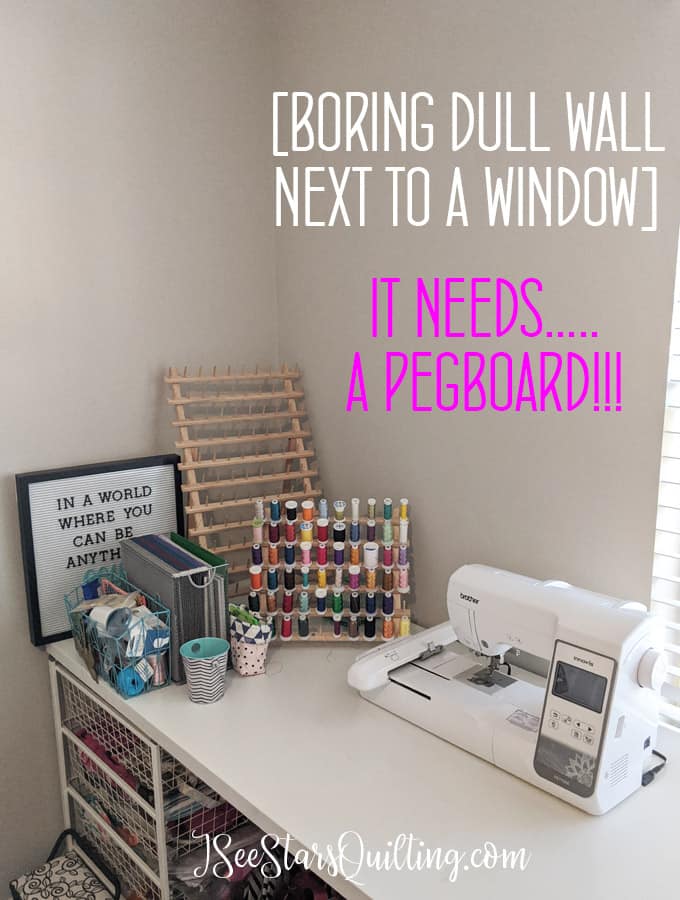
I have wanted to make a DIY Pegboard for sewing tool storage for a really long time. My sewing room in my old house just didn’t really allow for it.
But we moved aaaand… I have this empty wall and… It’s so totally going to happen this time!
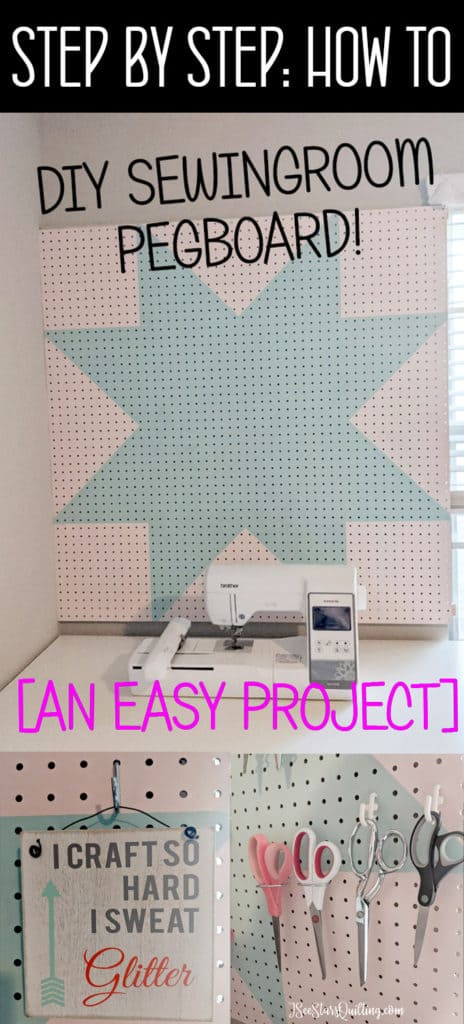
I’m going to share with you the steps and pics that I took along the way so that you can make this super easy (AND OH SO AMAZING!) DIY pegboard project at home!
If you want to tour my old sewing room (lots of ideas on modifications and using what you have) you can check it out here.
To tour my new sewing room, you can check it out here.
I am so pleased with how the pegboard works in my new sewing room space! It is exactly what I was wanting and holds SO many of my sewing tools in a neat and organized manner!
Here is the finished Pegboard for sewing tool storage!
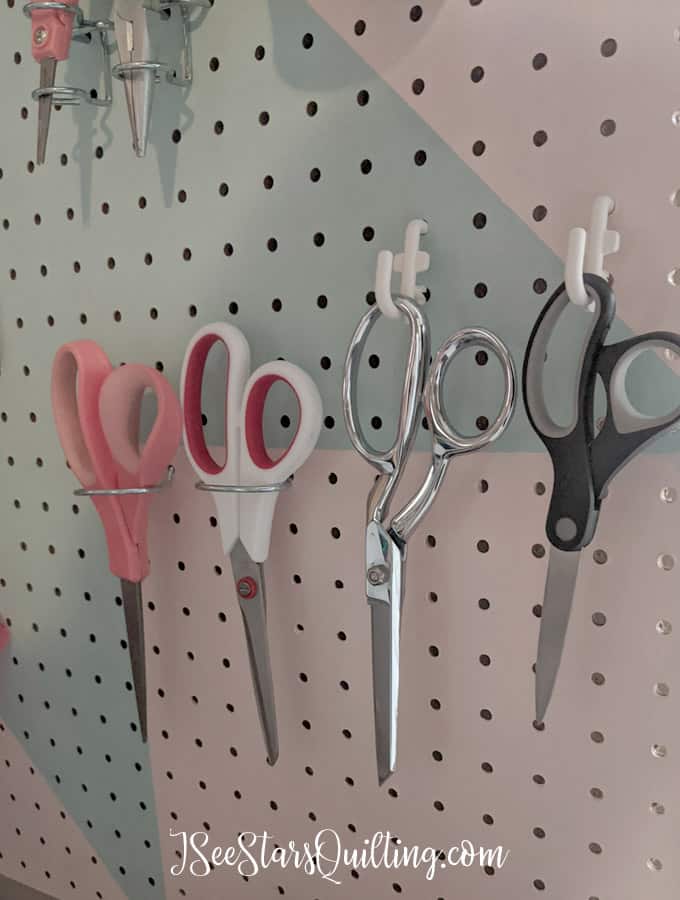
And here it is all loaded up with my sewing tools!
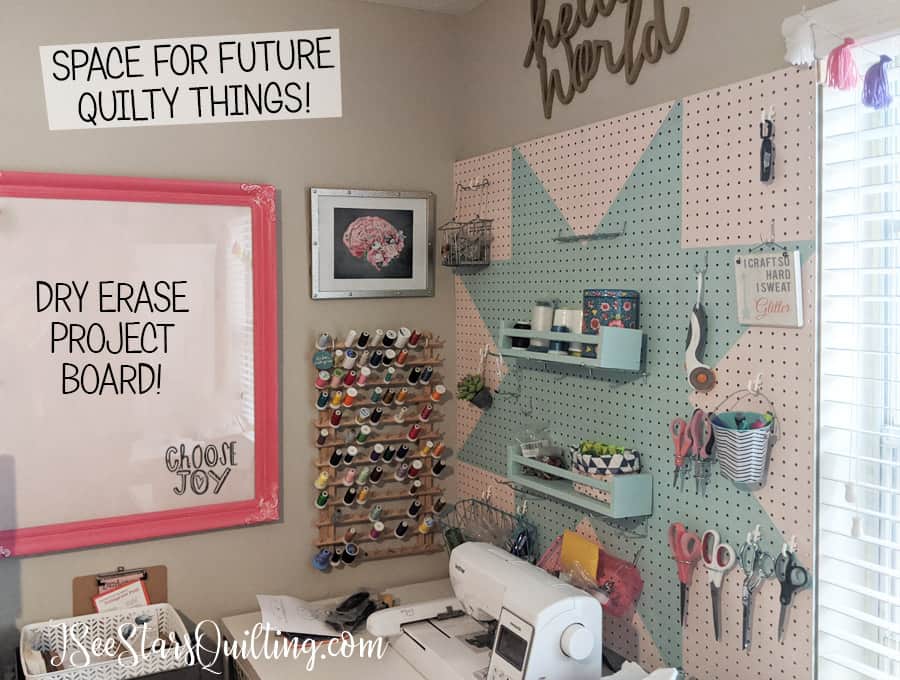
There is so much storage with my new pegboard! I could have big happy heart eyes for daaaaayyyyys!
Everything is neat and organized. All my most used tools are where I can easily see them… and I still feel like there is plenty of room to grow and add more tools or rearrange!
First of all, you don’t need to be incredibly handy to make this. It is actually a really easy project!
What you’ll need:
- Pegboard sheet
- (2) 1×2 boards that are the same width as your pegboard (maybe more if you choose to make a really BIG pegboard)
- Screws
- Paint (optional)
- Pegboard hooks like these
How I did it:
1) SHOP
I picked up a sheet of pegboard from Home Depot.
The first thing to know is that they offer several different sizes. (When I went shopping in Dec 2019, these were the prices/sizes available.) I chose a 4’x4′ size for about $10!

You can also ask them to cut your pegboard sheet to the size you want it if you have a specific area you’re looking to cover/fit. (Or you have a smaller car lol plan ahead!)
2) PAINT!
A fresh coat of paint will freshen up anything! It also adds a little personality and a pop of color if you’re looking for a fun piece of decor.
I had this pale blue-ish minty color on hand. (Pink. I absolutely love it and I was so tempted to paint it neon pink, let me tell you… but I didn’t want to get tired of the brightness or have it take away from the quilts I still want to hang on the walls.)
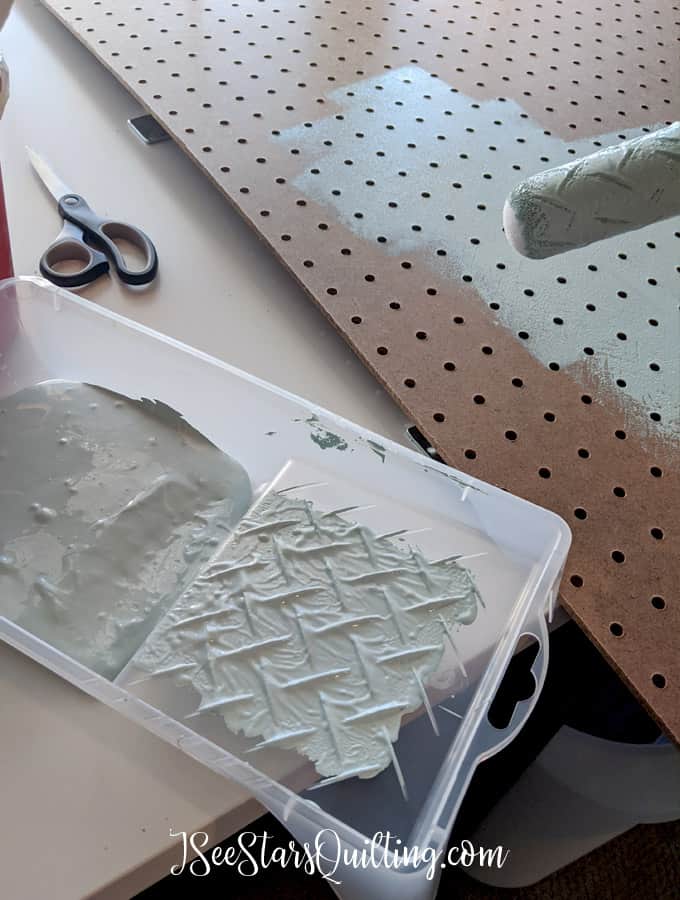
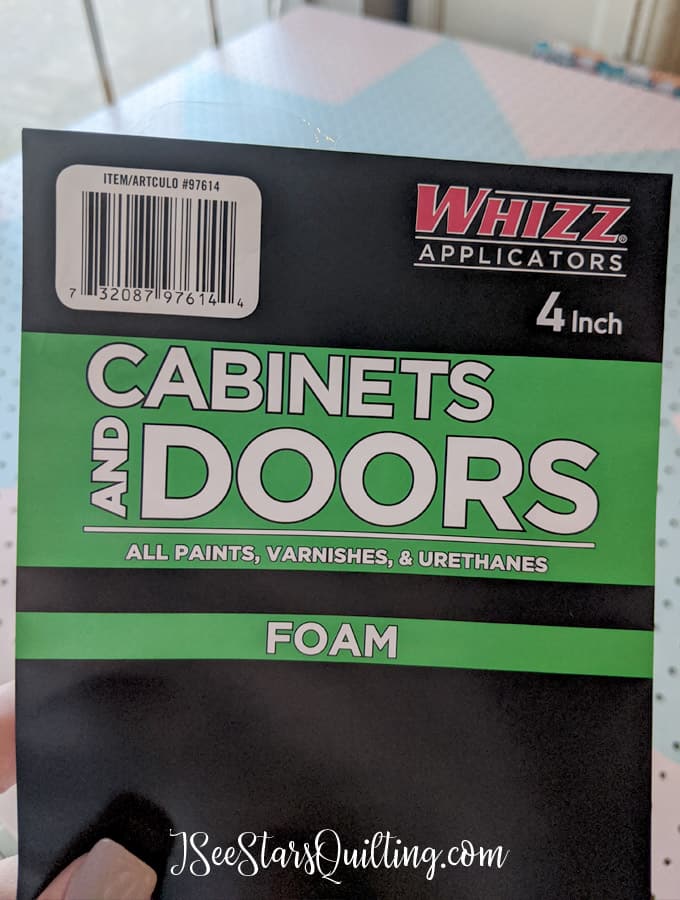
I do recommend that you roll your paint instead of using a brush.
There is much less of a chance of pushing the paint through the pegboard holes and making a dotted mess on the back.
I also focused on 2-3 thin coats of paint instead of trying to cover it in one coat.
This is the roller I used. It was perfect for the job.
3) Decide if you want to be bold…
I ALMOST just left the DIY pegboard the minty blue color… it would have been beautiful. I still would have loved it and it still could have held all my tools perfectly… BUT… I couldn’t leave well enough alone, could I? 🙂
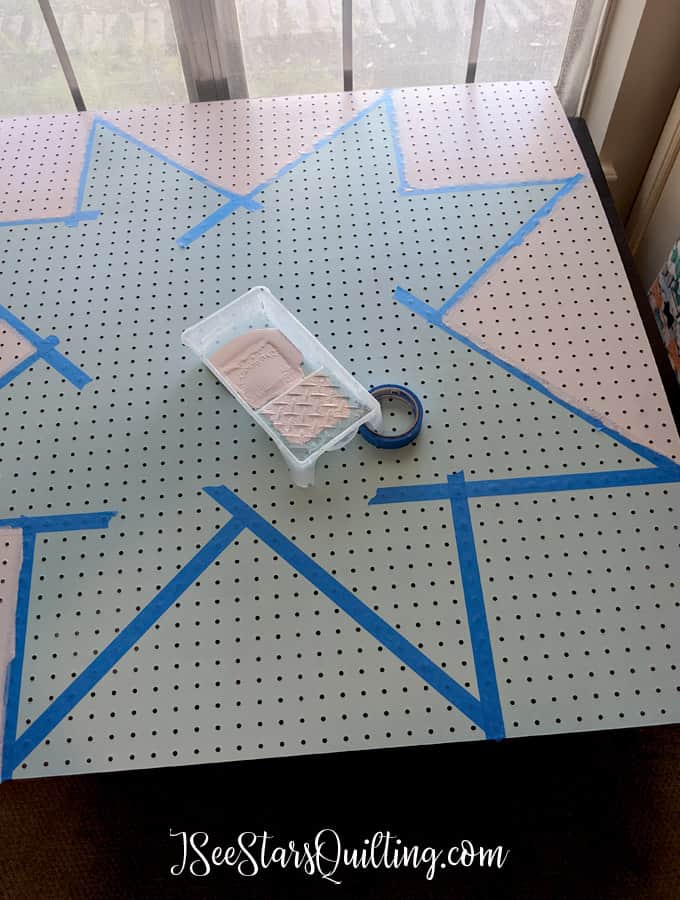
So I let it dry a little bit and then I used painters tape to mask off a big quilty looking star pattern!
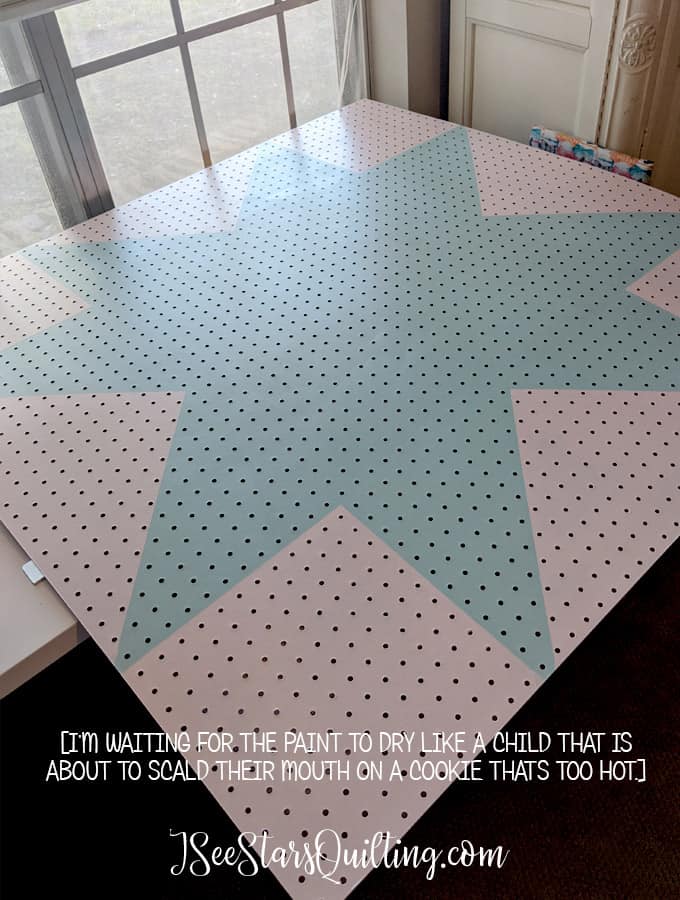
I painted in the background using a pale pink color I had on hand from another project…
And Voila! Here is the finished painted piece!
I am really happy I decided to add a little more pizzaz. Polka dots were another consideration… and so was dividing the larger piece into several smaller quilty blocks.
3) HANG
This next part I recommend having a friend or a helper assist you in putting up your DIY Pegboard.
Could you do it on your own? Absolutely… but the company and extra hands are nice 🙂
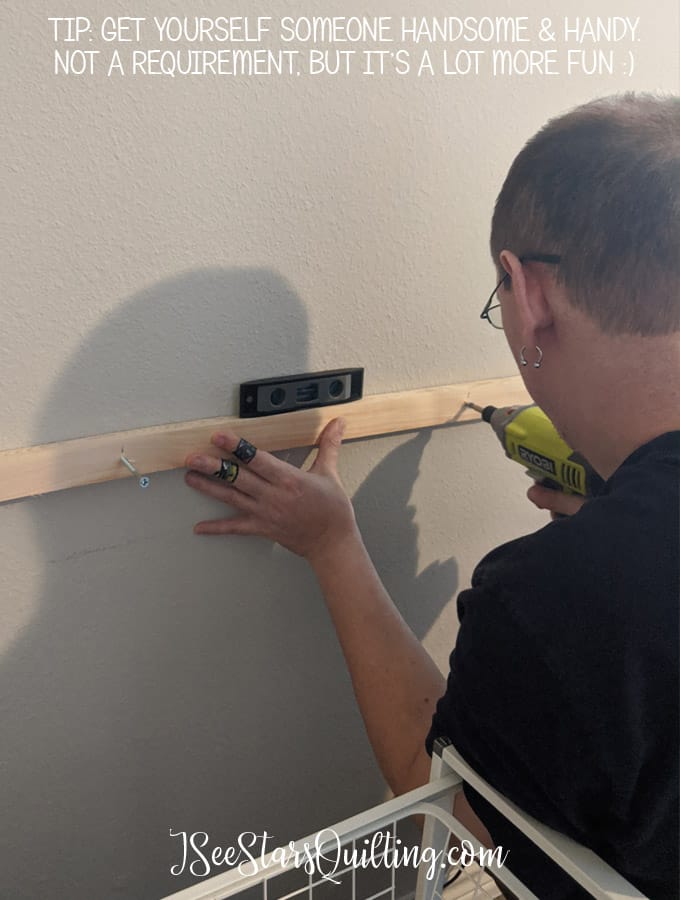
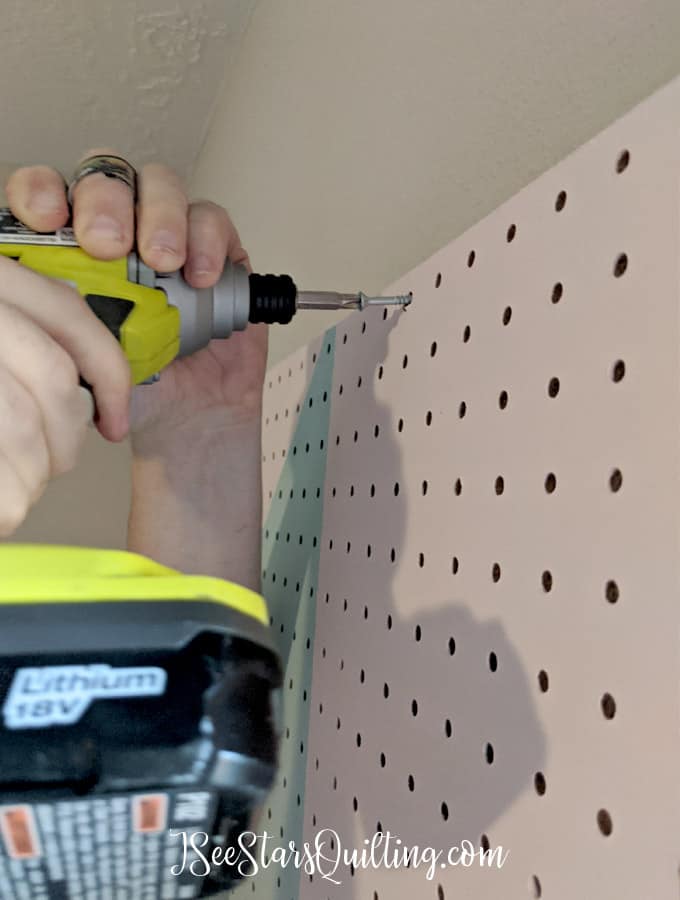
Use a level to hang your 1×2 pieces and screw them into the wall studs.
TIP: If you pre-drill your holes, it will help keep the board from splitting.
I put a piece of the 1×2 at the bottom of where my pegboard sat and at the top of where my pegboard came to.
This pulls it off of the wall so that you have room to add hooks to your pegboard.
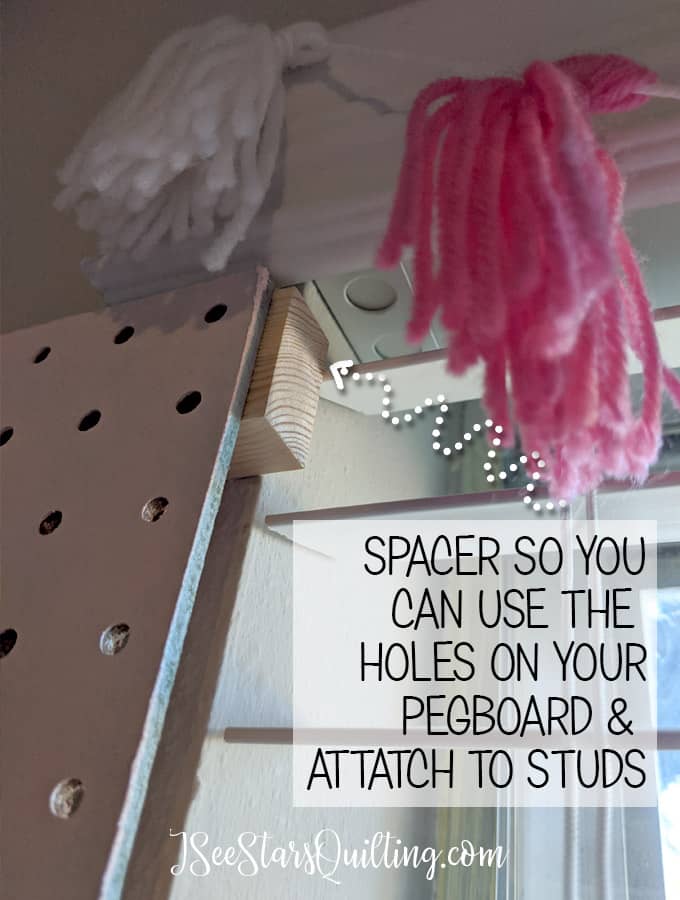
After you put up your 1×2 pieces and they are secured to the wall studs, use screws to attach your pegboard to the 1×2 pieces in the corners. (and also in the middle if you’re my husband and want to make sure nothing is ever ever ever going to bring this thing down 🙂
4) ACCESSORIZE
This was the fun part 🙂
I found a pack of pegboard accessories and used some baskets that I already had on hand to divide up the pegboard space and make room for all my tools.
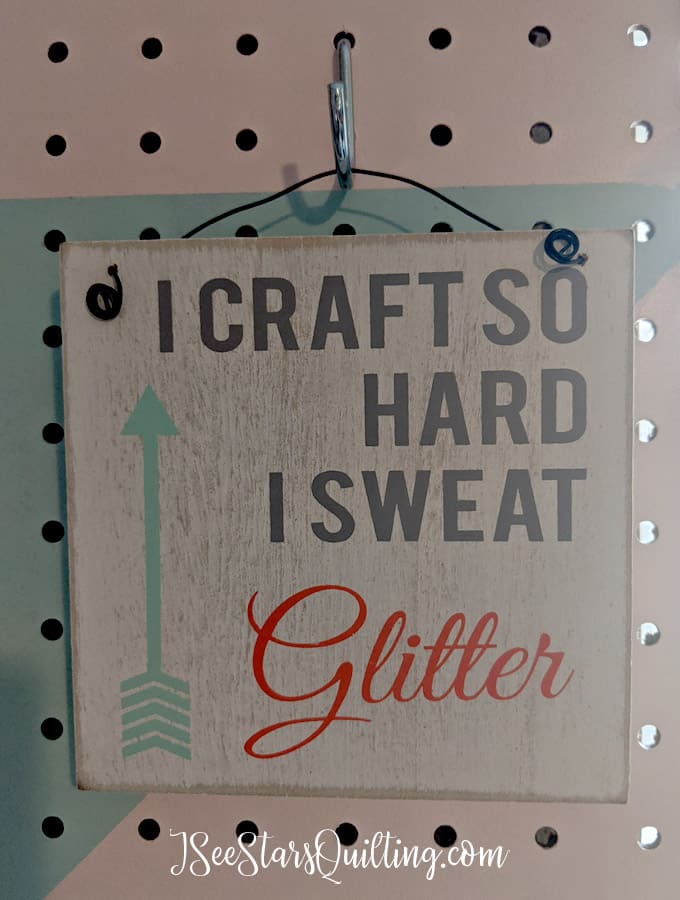
I added a few little fun displays too.
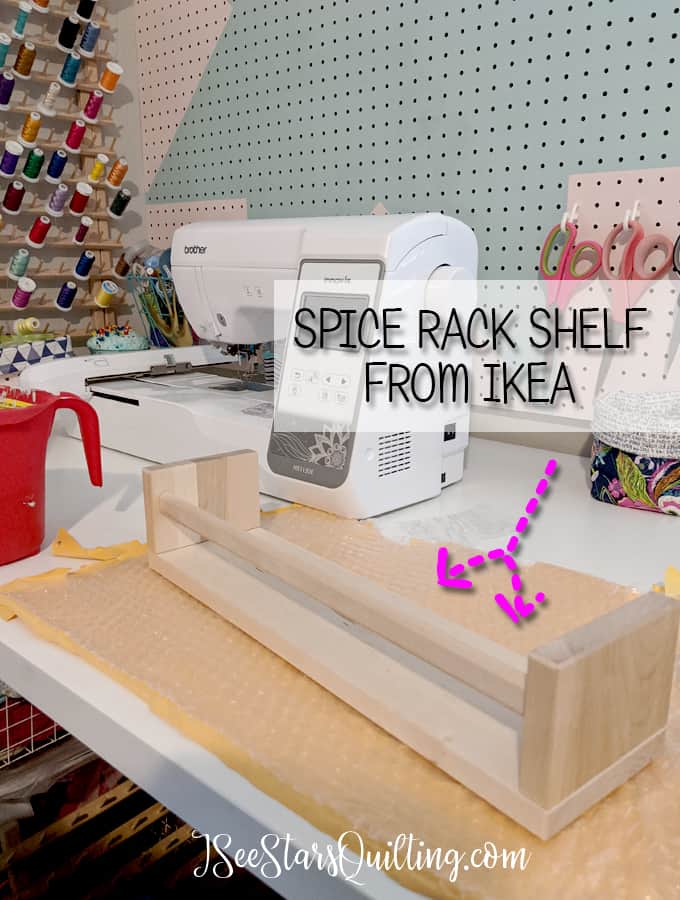
And lastly, I repurposed some shelves that I had found cheaply at IKEA. I believe they’re called spice rack shelves… whatever, now they hold fun ribbons and canisters with sewing supplies!!
I painted them the same minty blue as the background.
And here is a picture of the finished pegboard!

What do you think?
Do You Want to make your own DIY Pegboard for your sewing & craft room storage?
Let me know in the comments below 🙂 I would love to hear what you think about this new little corner of my sewing room!