So it is finally here, photographed and ready for you to see! We moved about 2 months ago and I had to reconfigure my whole sewing room again! Just FYI, Here is my sewing space in our old house. 🙂
[Fair warning, this post has A LOT of photos 🙂 ]
First of all, I love you so much for your sweet emails and politely asking when I was going to show what I did with my space haha but seriously, y’all don’t understand when I say I didn’t know exactly what I was getting myself into with moving. whew! I don’t know if we will ever do that again!
My husband and I have moved plenty of times before. Most not by choice. In the past, the military packed and moved all of our stuff for us. Or we had sold most everything we owned and just bought new things to slowly build our new home, so we didn’t have a lot of belongings.
We lived in our last house for 8 years. If you’re under the impression that a baby comes with a lot of things… Nope… it is nowhere near the number of things that two children who think everything is worth keeping come with.
I can’t fault them entirely though… there was also me with an entire home office of crafting supplies and quilting fabrics too! 🙂
I know people move all the time and I am so proud of you for doing it. It was just… rougher than I expected. That is all.
BUT it has been a few months and things are finally running smoothly here again… we’re here and it is finally time to share my new sewing room with you!
DISCLAIMER: Please know that this is a creative space and as such… things will most definitely change and shift and probably get painted at some point or another. Freedom to change is a powerful thing!
I wouldn’t call this “finished” by any means… but it is functional and I love my space!
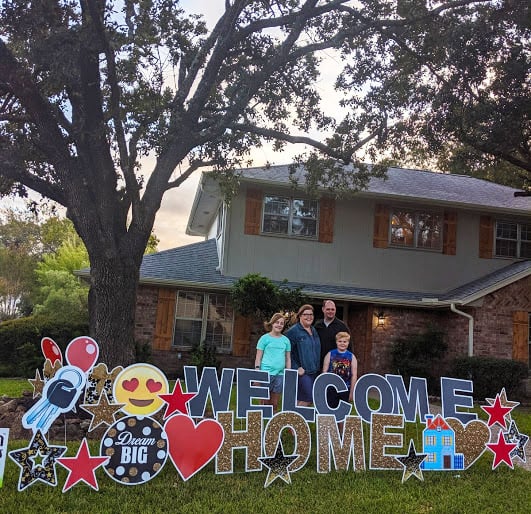
Here is our new house 🙂
The “Before” Photos!
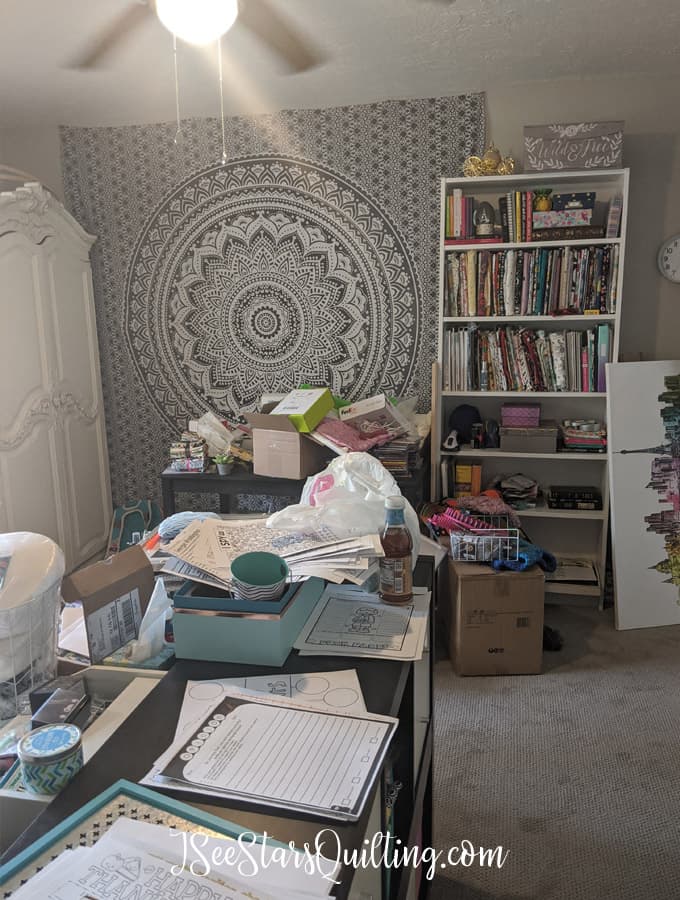
I hesitate so much to show you these next pictures, because… well, you will see! But I feel like in order to appreciate what it looks like currently, you have to know where I started!
My old house had a formal dining room that was open concept to the rest of the house and my mess was constantly on display. Our new house has a “mother-in-law” suite with a half bath and bedroom. It is now my sewing room. Upgrade? YES! And I’m so excited about it!
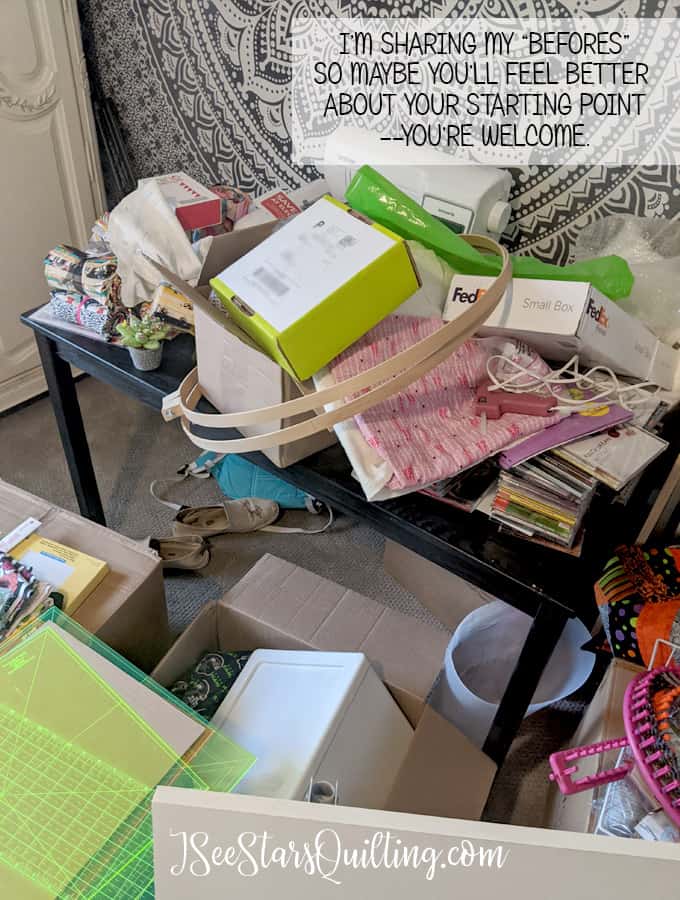
So here it is… the good, the bad and the messy…
I know to see my before pictures is going to be helpful to someone, even if it is just an ego boost that at least you’re not in as bad a shape as I was, right?
[Type A personalities… you might want to look away!]
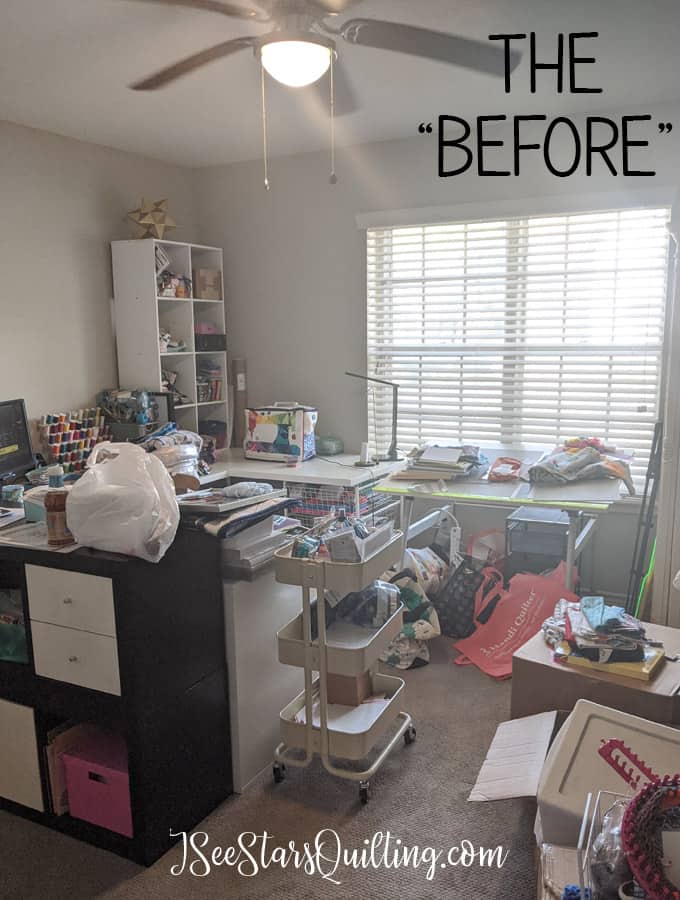
When we moved in, things just got dumped in the general area of where they were supposed to go. It took me FOREVER to really sort things out and organize it all again…
Another view – the other side of the room… getting better but still a disaster… (hey at least I can see a floor now!)
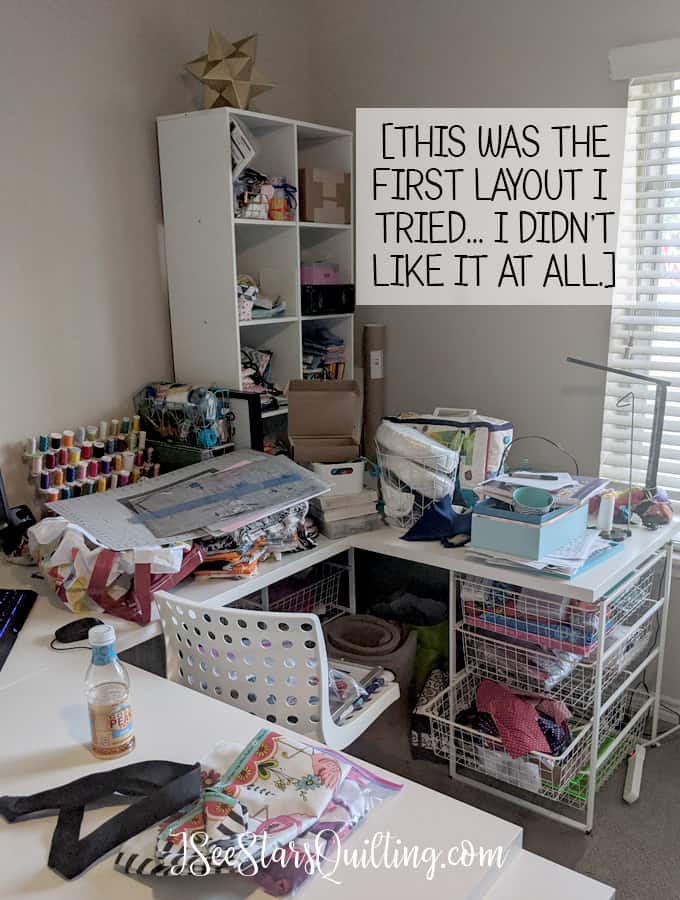
I tried several different furniture layouts until I found one that was what I was comfortable with. The one above was good in theory but ended up cramming me into a cubicle-like-workspace in only 1/4 of the room – Not a good use of the space.
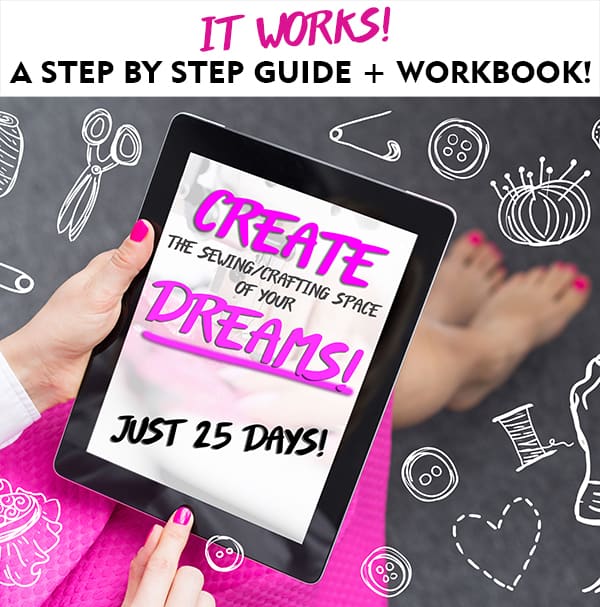
If you’re curious about what method I use to decide how to organize and furniture placement… I’ve written out everything in a step by step guide that you can download instantly here 🙂 It is one of my most popular downloads and has helped SO many people create the space of their dreams.
Just so you know… there was no HGTV crew to come in here and help me heave all my furniture around and plan out my strategy to find the floor again. It was all just me… and it all took place over the course of about 3 weeks from the “before” to the “after”!

The After Pictures
When we knew we were moving, I got rid of a bunch of my fabric and a lot of the quilts I had laying around. I tried my best to clean out and purge when I wasn’t using.
Needless to say, I still had A LOT of stuff to fit into this room again. It is still a work in progress as I fill the walls up and find a place for everything.
This is my sewing space!
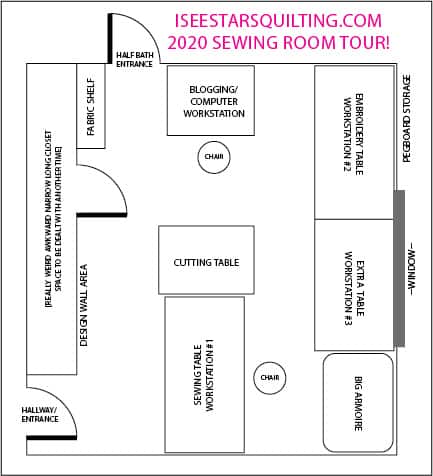
As you can see, I made sure that there were multiple workstations for people to come over and sew with me! There are lots of tables to spread out and lots of good lighting as well!
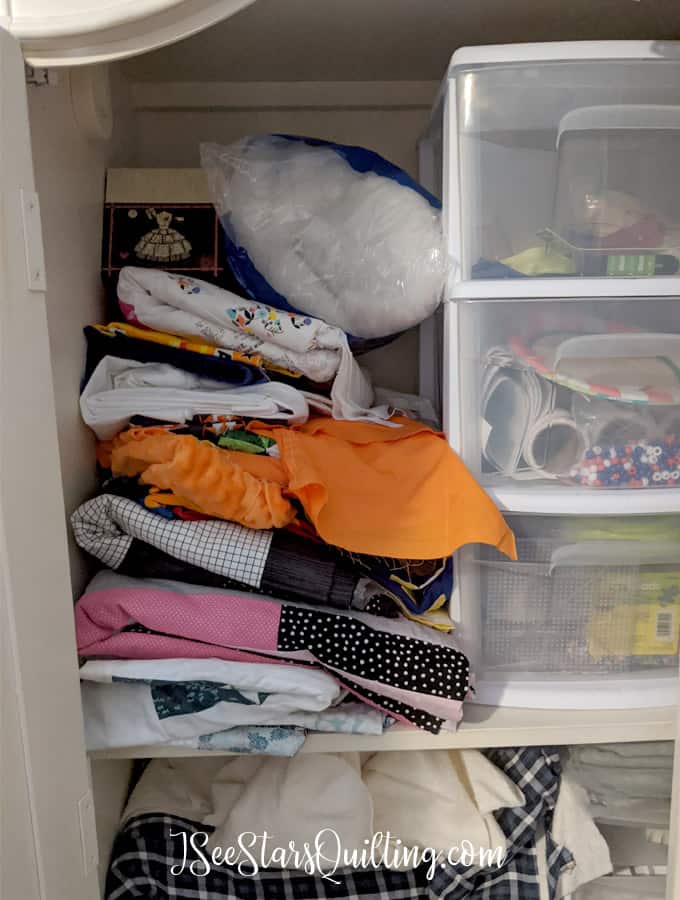
*The really awkward closet situation is something I am at a loss for at the moment, but hopefully someday I’ll figure out a solution to be able to use to space efficiently.*
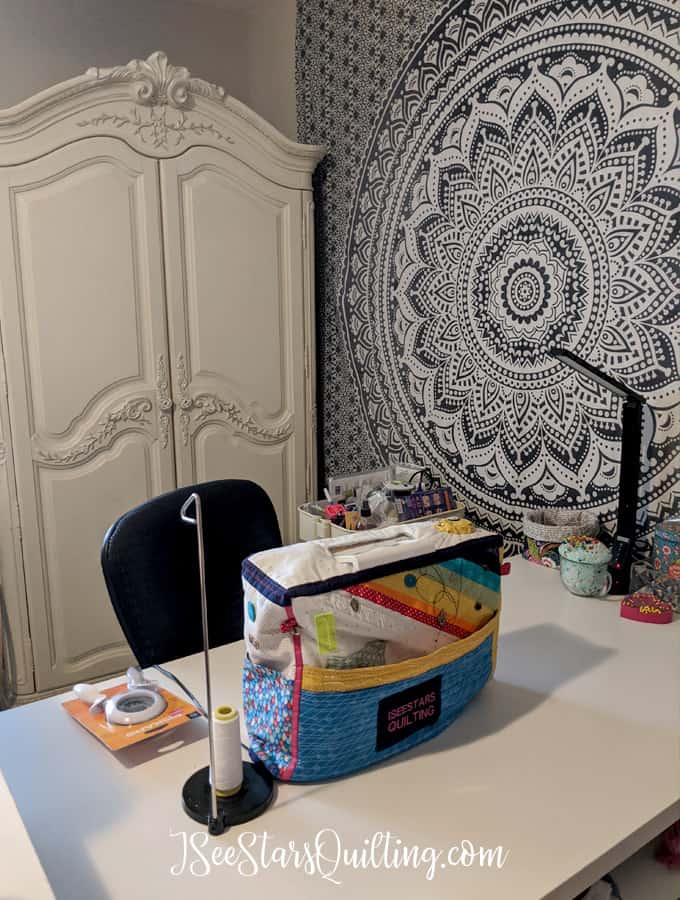
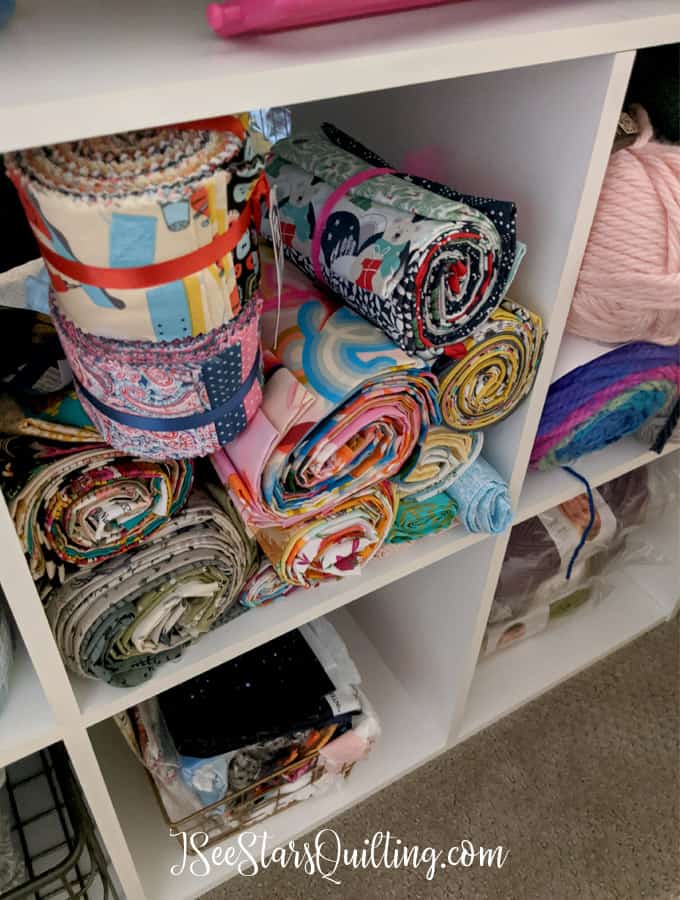
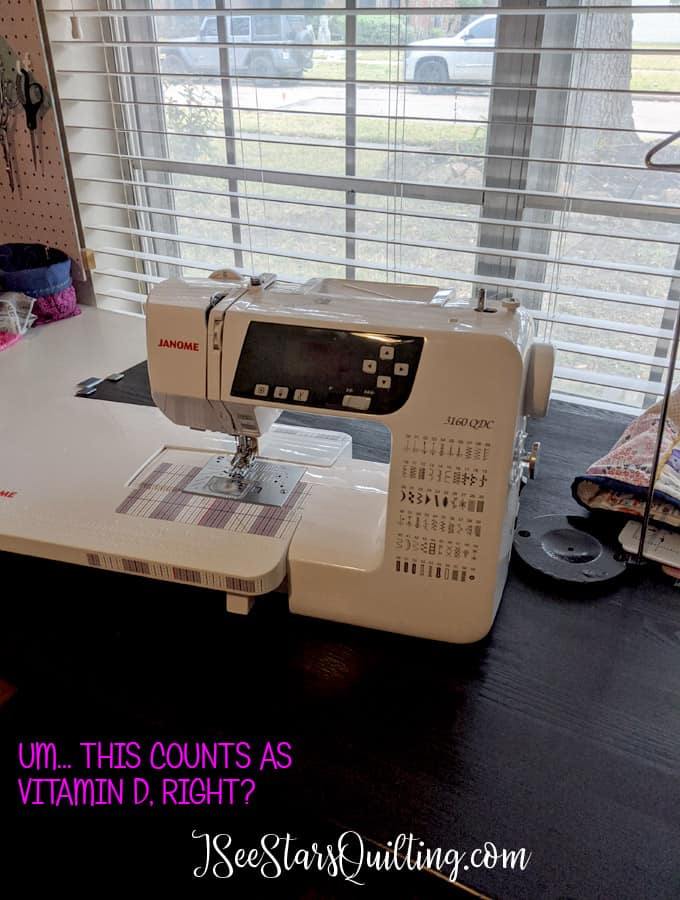
My Sewing Table
Underneath the sewing table, I have a cube shelf that holds fabric bundles, fat quarters, current project boxes and yarn.
A New Armoire for Storage
Behind my Sewing Table is this big beautiful monstrous piece of furniture! It was actually used in my kid’s playroom for toy storage in our old house.
It is huge and solid and so so heavy. When we had the movers move our furniture to the new house, I mentioned that I wanted it to go upstairs in the game room area… The sweet man looked at me and shook his head!! haha. It was a nope, not happening.
Thus, we pivoted the plan and now it belongs to meeeeee!
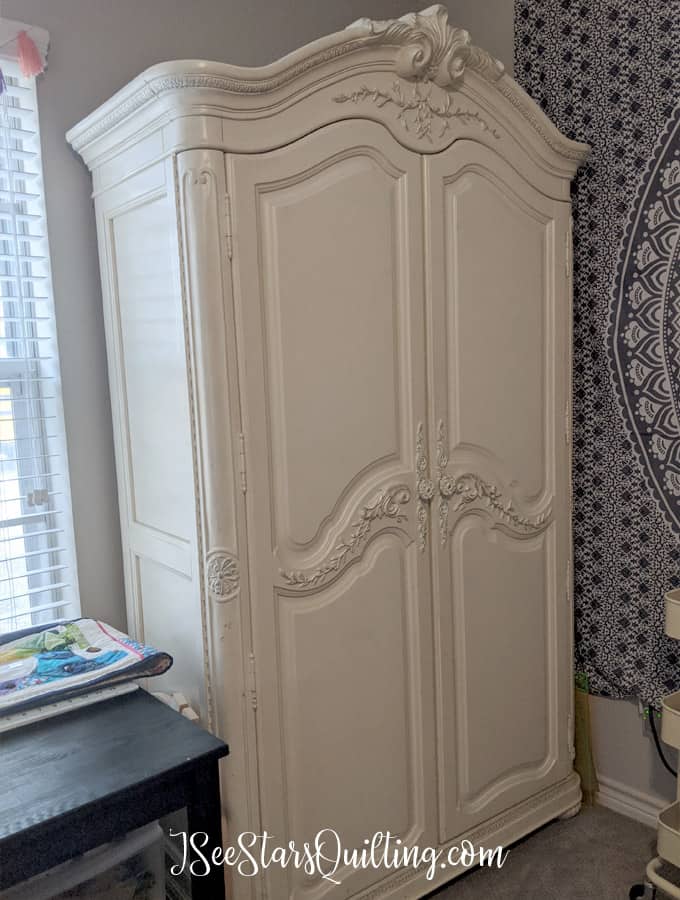
I’m using it to hold more quilts and fabric and general crafting supplies. The nice thing about it is that while the inside could use a trip to The Container store and some organization… right now, I can just keep the doors closed so I don’t have to see the mess and work on it one step at a time!
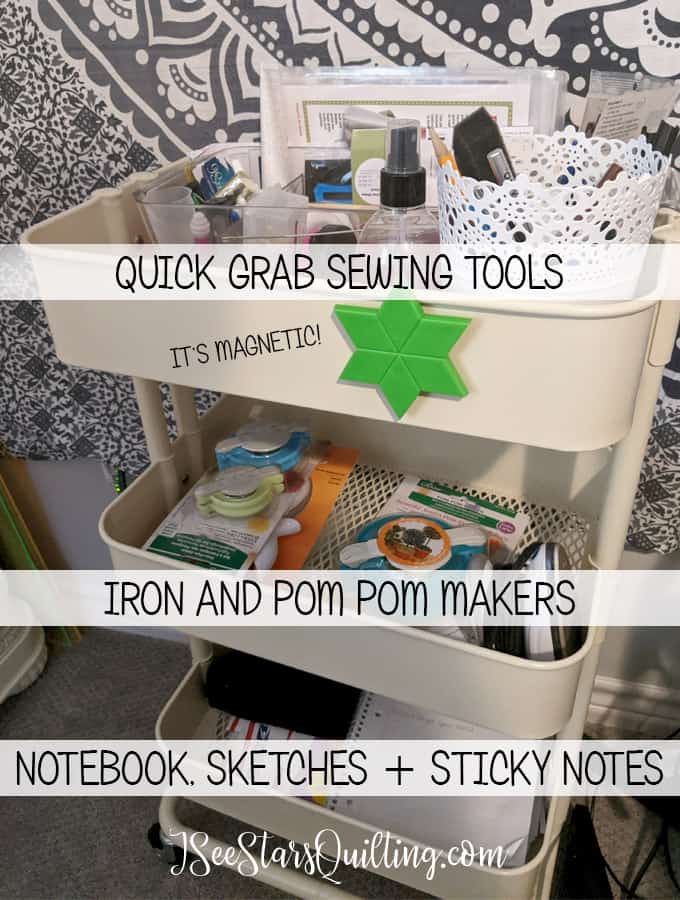
Just between the Armoire and my sewing table is the perfect spot for this rolling cart. It is one of my favorite places in the sewing room because it’s uses are endless! I currently use it to hold my quick grab sewing tools and it helps keep my sewing table in a more tidy state.
I have another work area that faces the window where I can change my point of view and soak in some sunshine.
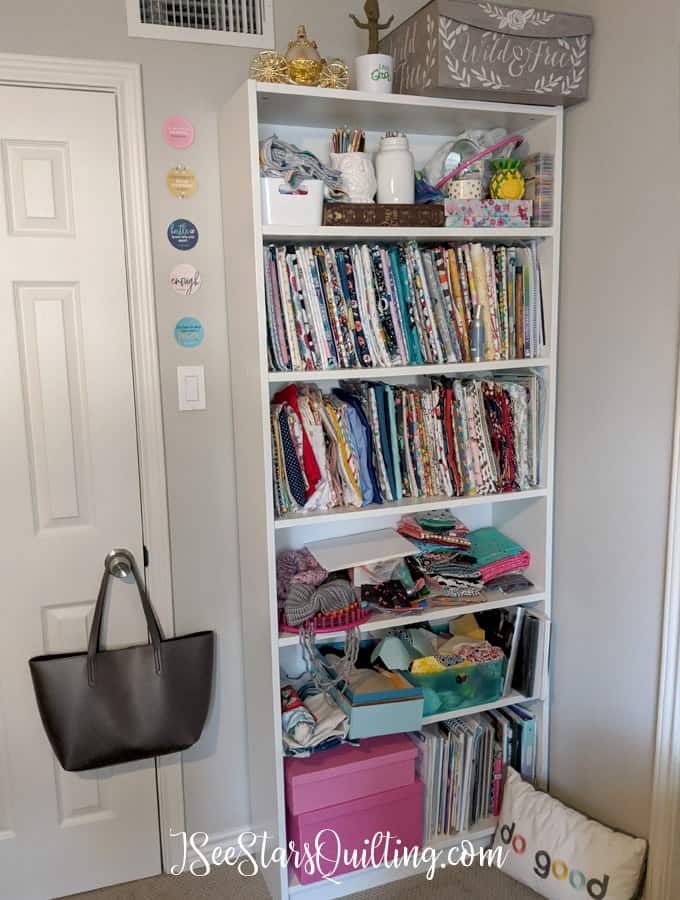
Fabric Storage! (well, some of it)
On the other side of the room, I have a big tall shelf (from IKEA if you couldn’t tell… I shop there a lot for home furnishings!) I store a good part of my favorite fabric – though not all of it.
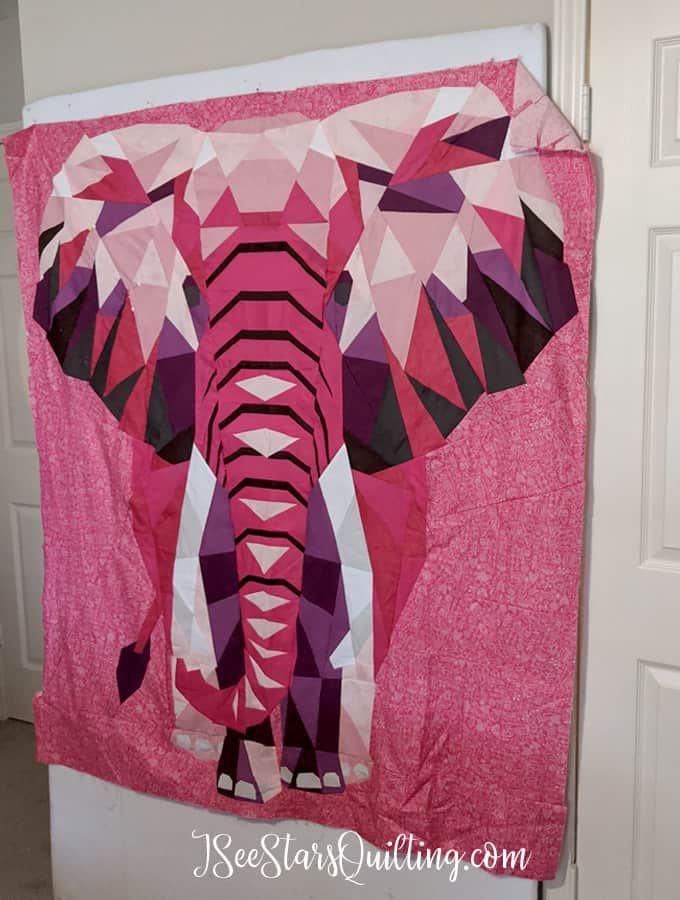
A Design Wall Space
I also have a large blank wall area for my design board! It is great to be able to leave my projects out and keep them up off the floor.
My favorite part?
My most favorite area of my new space has got to be this corner right here!
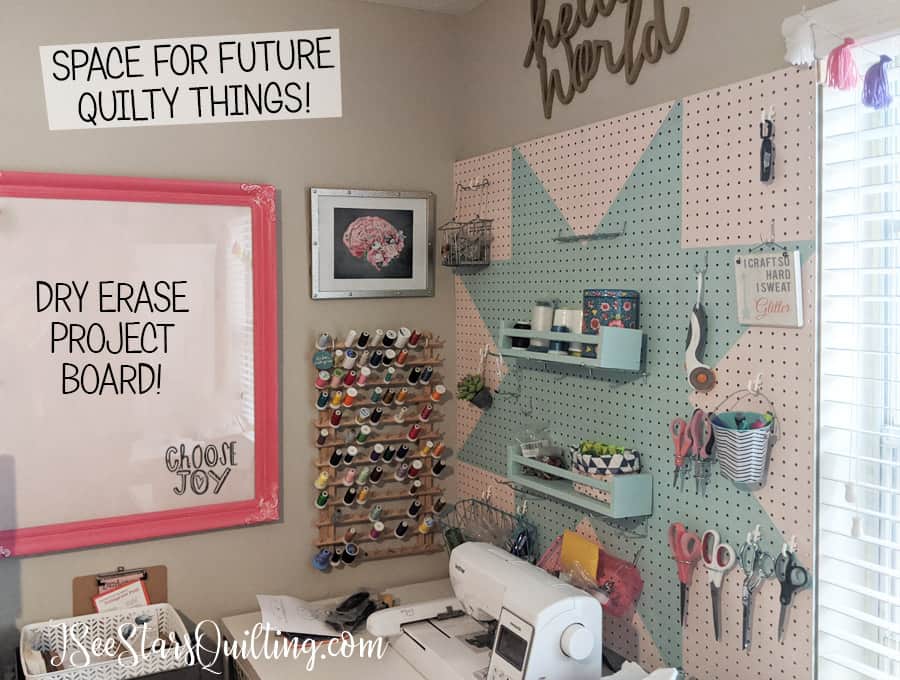
I think it is because it is the area that is “finished” the most.
[PEG BOARD TUTORIAL COMING SOON!]
My dream was to have a space for a pegboard wall for my tools. I finally made it happen! Because I know someone would want to see, I took pictures along the way and I have a blog post coming soon so you can see just how easy this project was and why I can’t believe I waited so long to make it happen!
[DIY DRY ERASE BOARD TUTORIAL COMING SOON!]
I also LOVE my dry erase board! first of all… it cost me $7. Yep. And it is so so sooooooooo useful! (and… PINK! I love pink, I was hesitant to go with such a bold color at first but I am so glad I took the plunge and embraced my love of PINK! It makes me smile.)
I love having my reminders and thoughts and ideas up in front of my face all the time because sometimes… even if I write it down, there is a chance I won’t find that piece of paper again for a while. Do you ever do that too?
This dry erase board makes it impossible to lose track of current projects and deadlines as well as ideas I have for future projects.
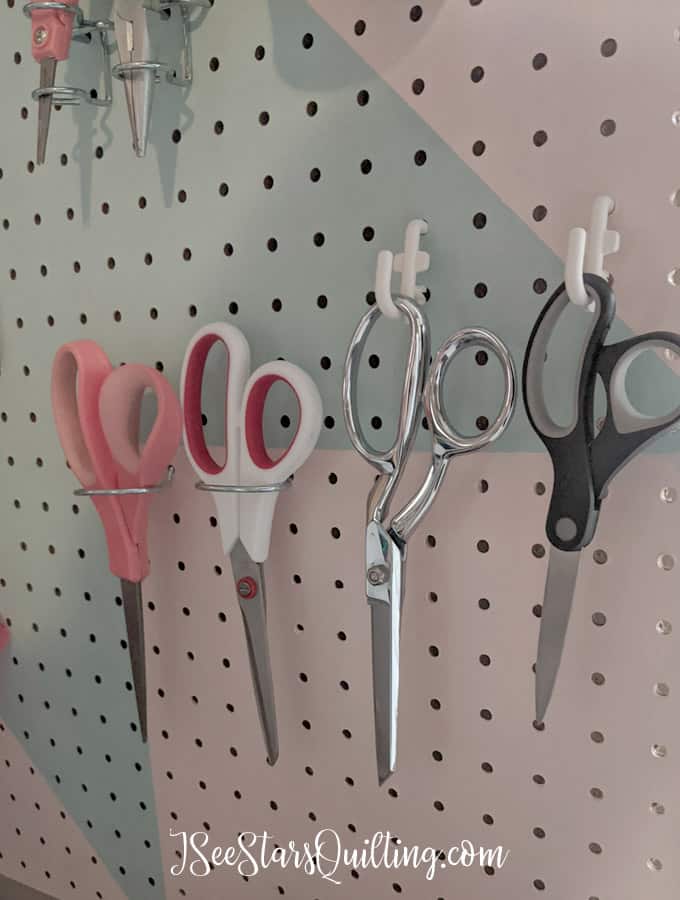
I love having a space for all my tools in a neat and organized fashion!
My second favorite part…
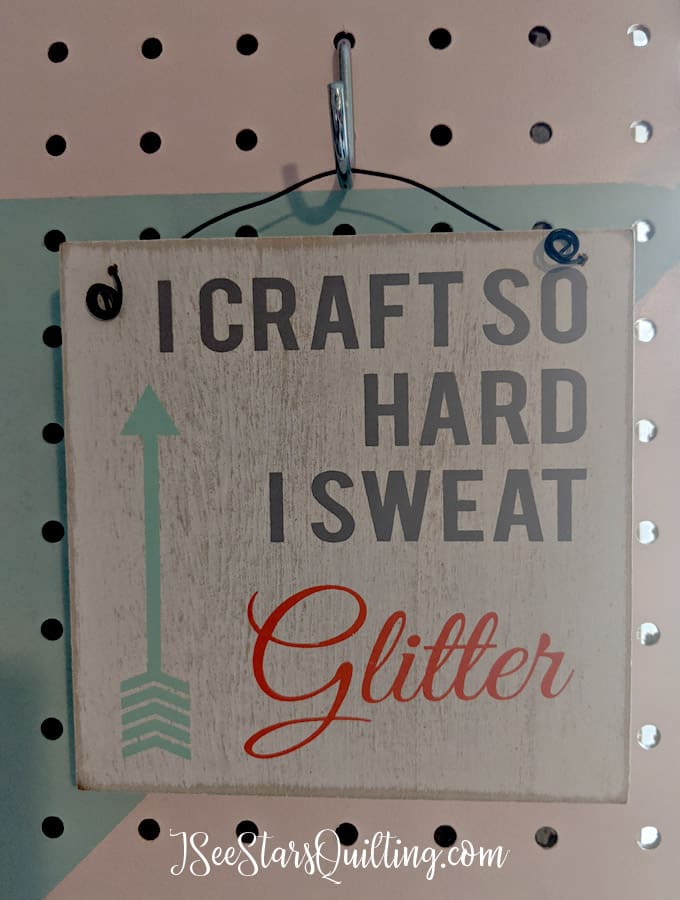
I really love filling this space with things that bring me absolute joy. Everything in here inspires me and brings back wonderful memories!
I think this is probably one of the best things you can do for yourself is to fill your space with things that you LOVE. Even if its silly little trinkets… limit it to only the most important treasures.
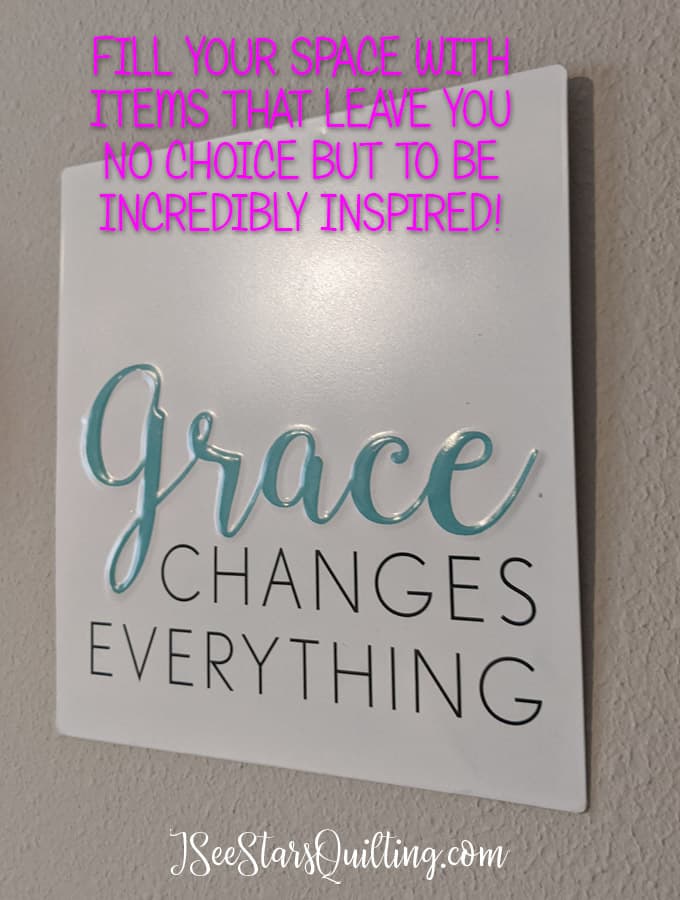
“GRACE” was my word for 2019. And I fully embraced it… I love the idea that while I strive to be everything to everyone and accomplish my dreams and sew alllllll the quilts while I’m also moving and raising a family etc etc etc *BREATHE*… I am allowed to fail and I am allowed to not be perfect and I am allowed to have GRACE.
Because when you have GRACE, you look at yourself like you would a child who is struggling and just trying to do her best and with grace, you have love and compassion.
Anyways, that was my GRACE tangent 🙂 here are a few more inspirational things that I have up in my sewing room.
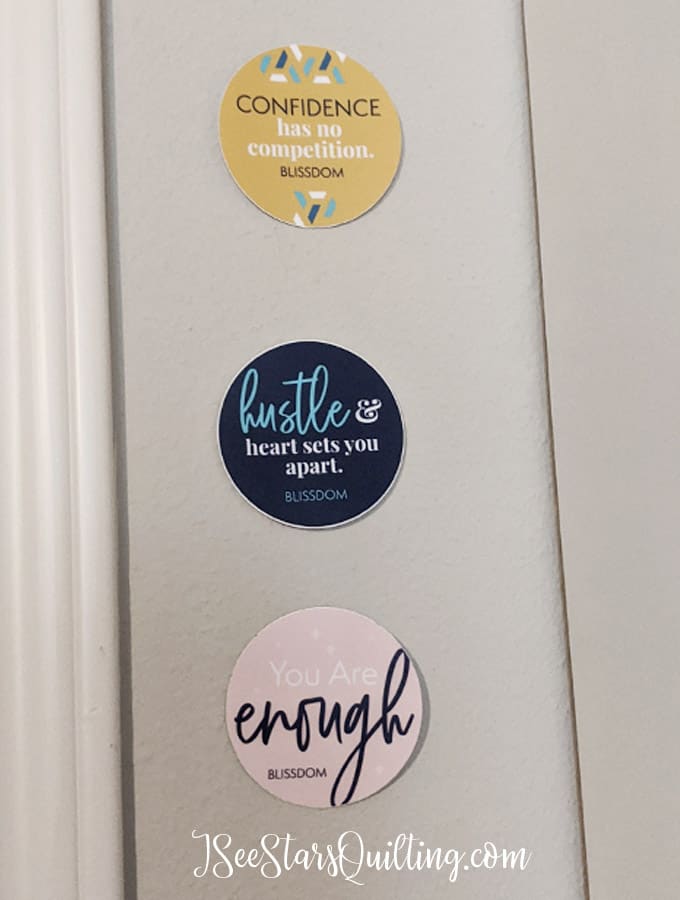
I have some stickers that I picked up from a conference that are beautiful reminders!
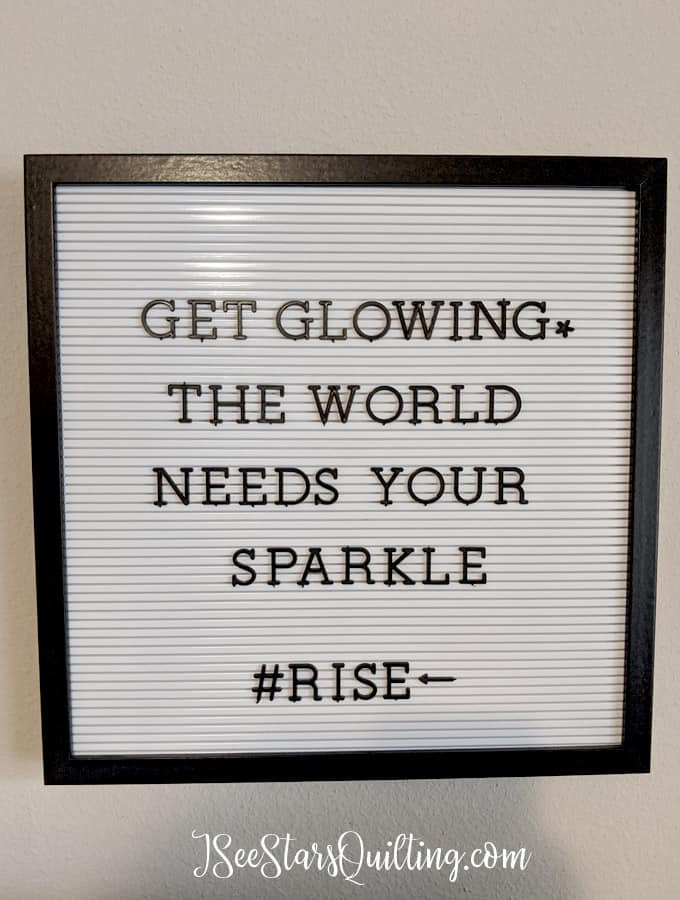
I have one of those letter boards that are SO in and trendy right now and honestly, I love it so much… but it takes FOREVER to write on the darn thing! To make sure you have all the letters and make sure that what you want to say is really impactful because you KNOW it is going to be a while before you change it again haha… so this is my current message 🙂
…and there you have it!
This is what my sewing space looks like thus far!
I’m still adjusting things as I go and moving/organizing, but it isn’t meant to be staged for a magazine photoshoot! This space is messy a lot of times there are multiple projects and kids in it!
Check out these posts for more ideas!
OFFICE SUPPLIES YOU CAN USE IN YOUR SEWING ROOM
A SIMPLE PLAN TO IMPROVE YOUR SEWING ROOM
CHEAP SEWING ROOM STORAGE
13 MUST-HAVE TOOLS IN THE SEWING ROOM + PICTURES
What are some of the struggles you have in your sewing spaces? Do you need more storage ideas or are you running out of space? How do you deal with multi-purpose rooms?
Tell me down in the comments! I would love to hear your thoughts!