As quilters, we often spend so much time working on the quilt top. Getting the perfect piecing, spending time on the design work and the fabric choosing… There is so much to it! – But what about the back of your quilt? Today I’m going to talk about just that. This is the Ultimate Guide to Quilt Backings!
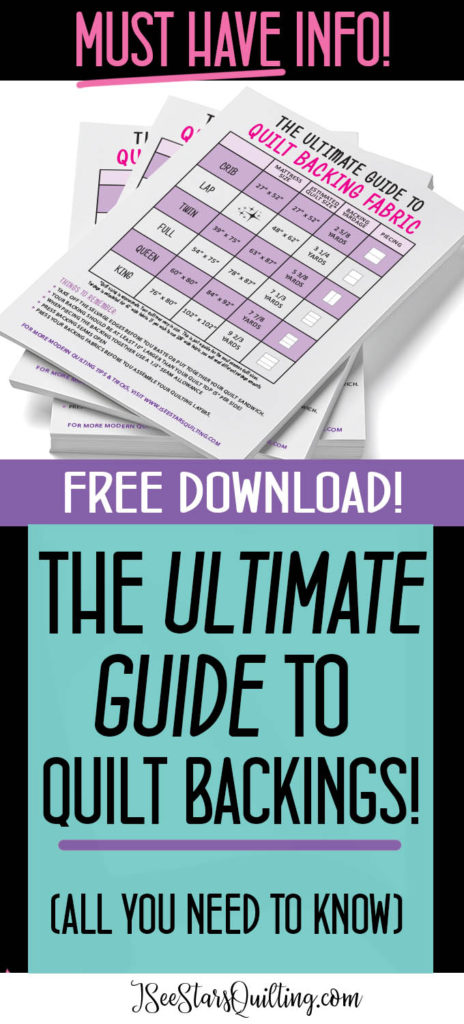
Be sure to check out the FREE download quilt backing
reference chart that I have for you!
Are you guilty of just looking at your quilts as a flat 2D piece?
It’s totally ok. You spend all your energy on the quilt top and then when it comes to the end, you just slap something on the back and call it done! I mean, for goodness sakes, this quilt project didn’t start out as being your entire life’s work… (maybe it was just a small craft project that morphed into a big obsession?)
I get that by the end your brain might be ready to move on to the next project and be done with the quilt entirely… but if you give yourself just a few more moments to make the right decision, it will be so worth it.
Taking a little extra time preparing the backing can make a huge difference in the quilt’s longevity as well as how easy it will be to quilt it
While you generally only look at one side of a quilt at a time, your quilt really is a 360-degree piece of art! …yes, ART!
Every single decision that you make, no matter how small, further differentiates your quilt from every other quilt out there.
Have you ever been a part of a sew/quilt-a-long and seen two quilts that turned up identical? I never have.
You are an artist with your quilting. That tiny mistake that you sewed over and over and decided to just let it stay because you couldn’t be bothered to pick out the threads again… it becomes part of your beautifully unique quilt!
Your quilt is one of a kind and every single angle should be celebrated!
Backing fabrics can be so expensive!
Quilters know this. Fabric can get expensive. And if you have a love of fabric and a need to keep hoards of it untouched in your home… well, it can get REALLY expensive really fast.
Sometimes it feels like so much money has been spent on the fabric for the front, you can’t bear to drop another $50+ on the backing, right?
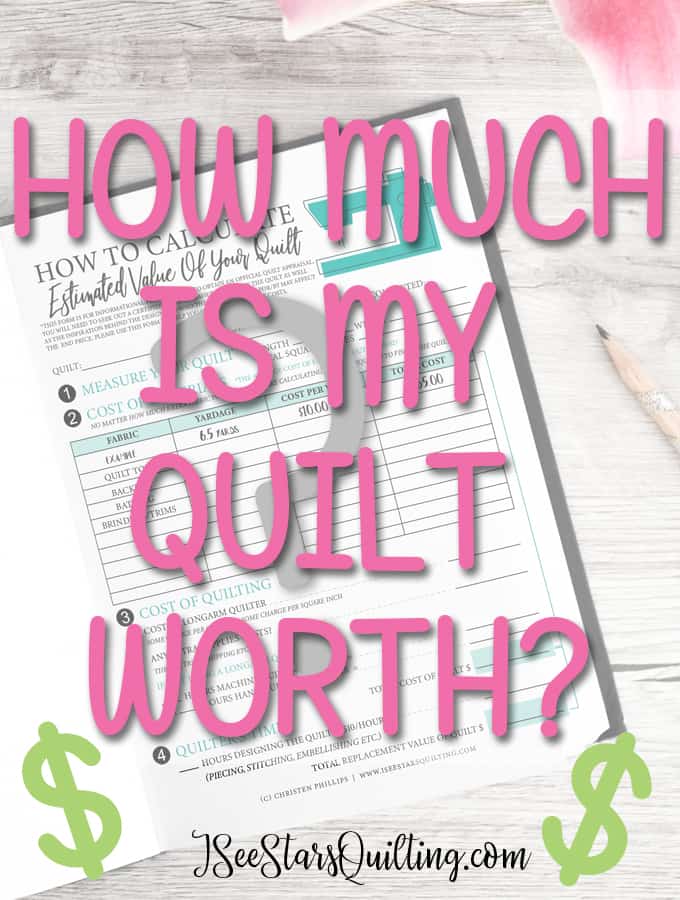
Hey if you want to know the easiest way to calculate the worth of your quilt, check out this blog post that I wrote! I have a FREE download sheet for you that walks you through and details out every step!
When you have already spent what feels like a fortune on fabric for the front of your quilt, going and buying even more fabric for the back… ugh… it can be tempting to find whatever is cheap and easy… because no one will really see the back will they? (*ahem* Read the above section, please!)
One way that I like to save a little money on quilt backings is to check the sale racks when I’m shopping for other fabrics. Always. every single trip… because you never know what you’ll find.
I even wrote a whole post on How I find cheap fabrics – (Let me clarify real quick. When I say “cheap” I mean in price. It is best not to mess with cheap/low-quality fabrics when quilting.)
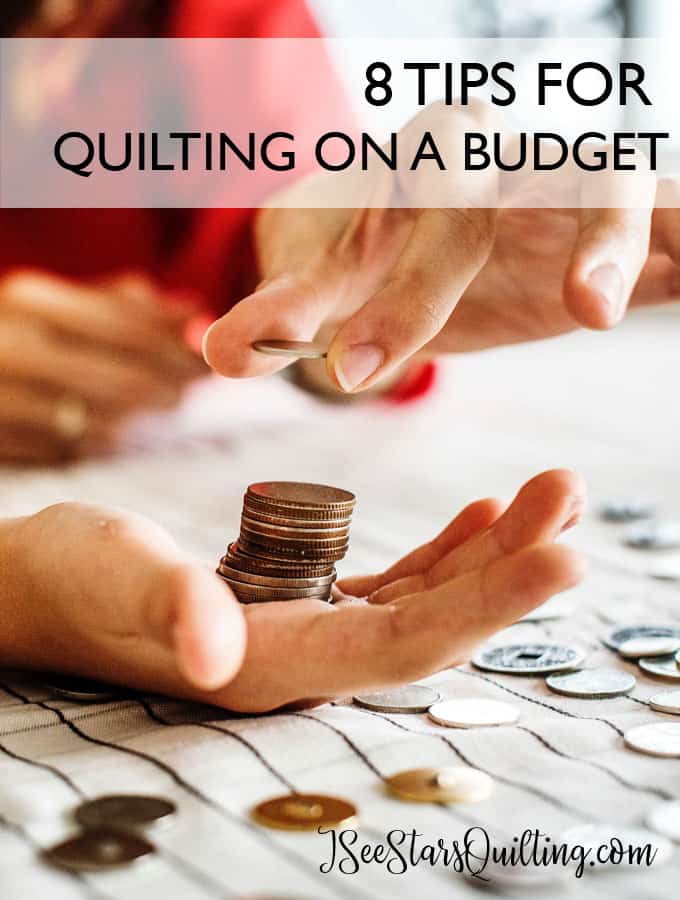
You might also find this post helpful for quilting on a tight budget… or just making sure that you’re using your crafting money wisely.
I’m a bit of a treasure hunter. I really like finding bargains and I feel triumphant when I find a good one. I’ve even found good quality quilting cotton for $2 a yard! – And it was pretty! It has been used for many of my quilt backings.
Quilting can be an expensive hobby, but it doesn’t have to break the bank… even when you are shopping for quilt backing fabric.
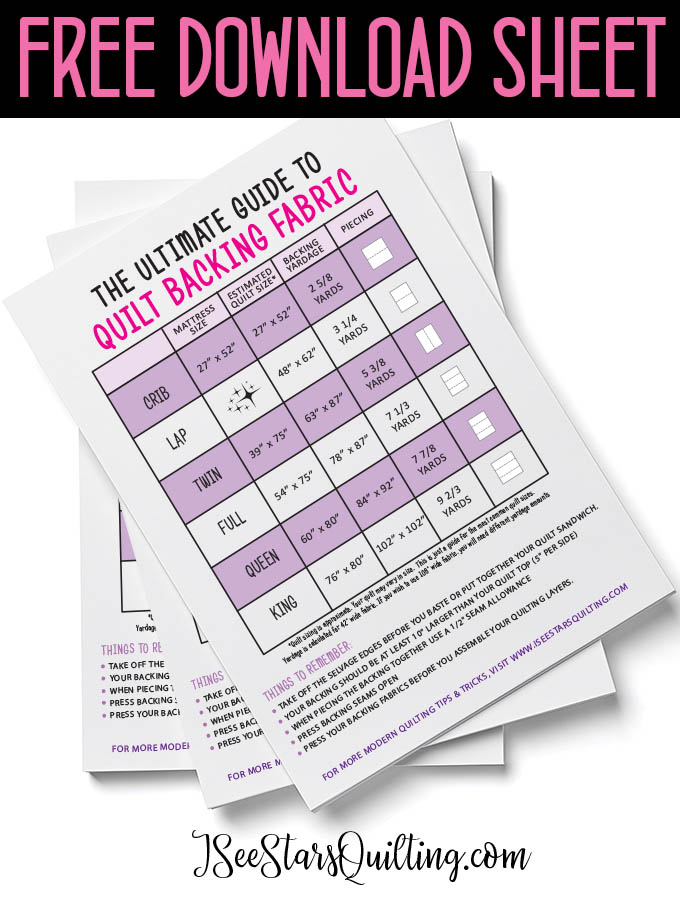
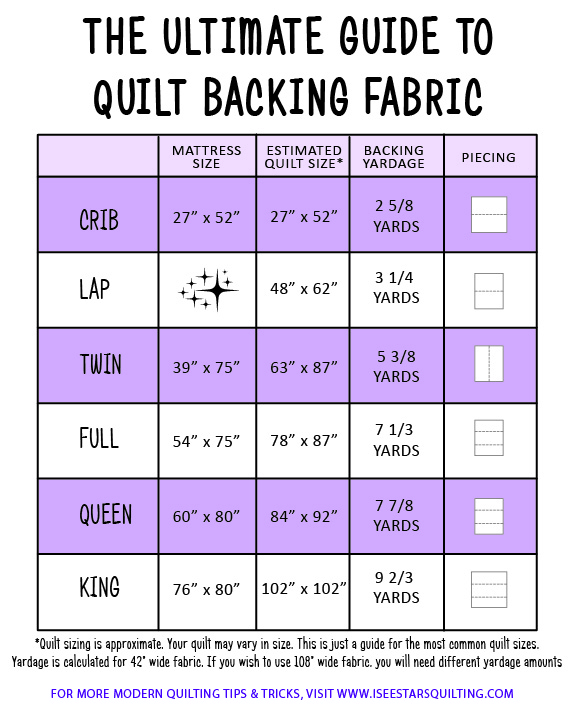
How much fabric will you need for a Quilt Backing?
Perhaps your pattern didn’t specify the fabric requirements? Or didn’t specify how you should arrange/piece your backing fabric?
Here is a general chart that is helpful to keep on hand!
Remember to PIN this image so you can refer back to it later!!
To make even more information available to you, I created a FREE download with more tips for when you’re thinking about or planning your backing.
I tried to pack as much useful content as possible into the one-page download sheet!
Should I still use a 1/4″ seam measurement?
Actually, it is recommended on the back of your quilts to use a 1/2″ seam measurement.
Using a 1/2″ seam allowance instead of a traditional ¼-inch allowance on the backing helps reduce bulk at each seam and makes it lay flatter.
Also as with piecing, it is recommended to use a shorter stitch length of 10 – 12 stitches per inch for a sturdy seam that will hold up well over time. I usually keep my stitch length on a 2.2 for piecing.
Are there any other specific requirements for sewing backing?
Actually yes… I mean with everything in quilting there are guidelines… and you can choose to follow them or… do your own thing, but general things to keep in mind are:
- Take off the selvage edges BEFORE you baste or put together your quilt sandwich. – just trust me.
- Your backing should be at least 10″ larger than your quilt top (5″ per side) if you are planning on giving it to a longarm quilter to finish. They need the extra wiggle room.
- If you are doing the quilting yourself, you should be safe with 4″ extra per quilt side.
- When piecing the backing together use a 1/2″ seam allowance instead of your general 1/4″. It is just a little stronger.
- Press my backing seams open so that the fabrics lay flatter.
- Give your backing fabrics a good press before you assemble your quilting layers. You don’t want a rogue wrinkle to come up that you have to go back and fix later or accidentally quilt over.
Lastly, try not to sweat it too much 🙂 Quilting is fun, right?
For more tips on what to do on the back of your quilt, check out this post. I tried to keep the above post more on the technicalities of your quilt backing, but I went into a lot more about the design of your quilt backing and how you can use up fabric scraps in this post!