My Quilts

Want to see what I sew? Take a closer look at some of my projects and quilts that I have worked on in the past.

  • A Sweet Baby Quilt Pattern (FREE PATTERN!)

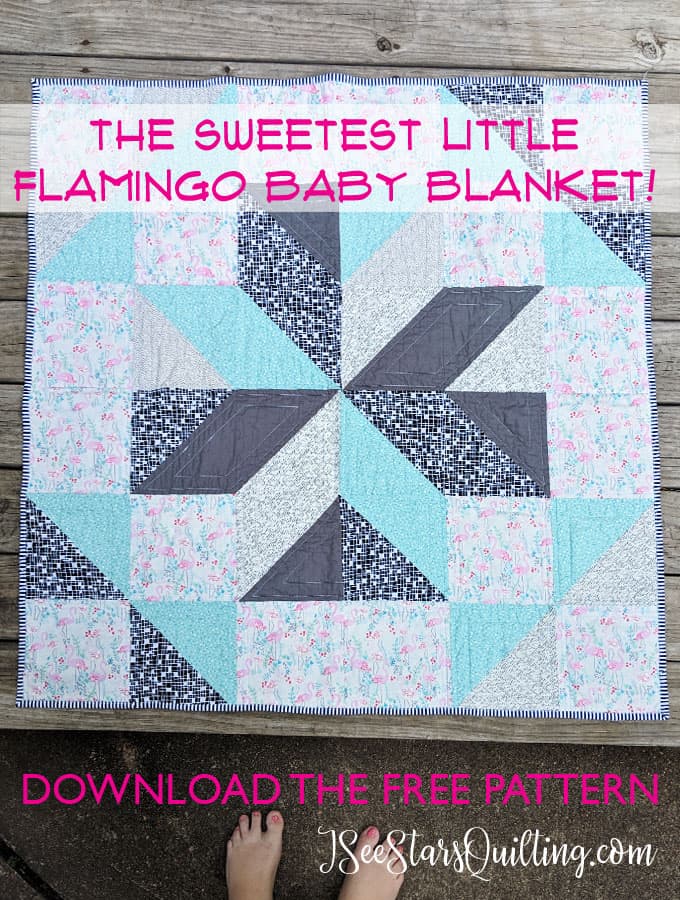
    I had the pleasure of making another sweet baby quilt recently! And I’m sharing the sweet baby quilt pattern with you! It is super simple. You’re going to love it!

    I just fell in love with everything from the fabric to the quilting while making this one. It was simple and perfect, just like the little baby that this quilt will be going to live with soon.

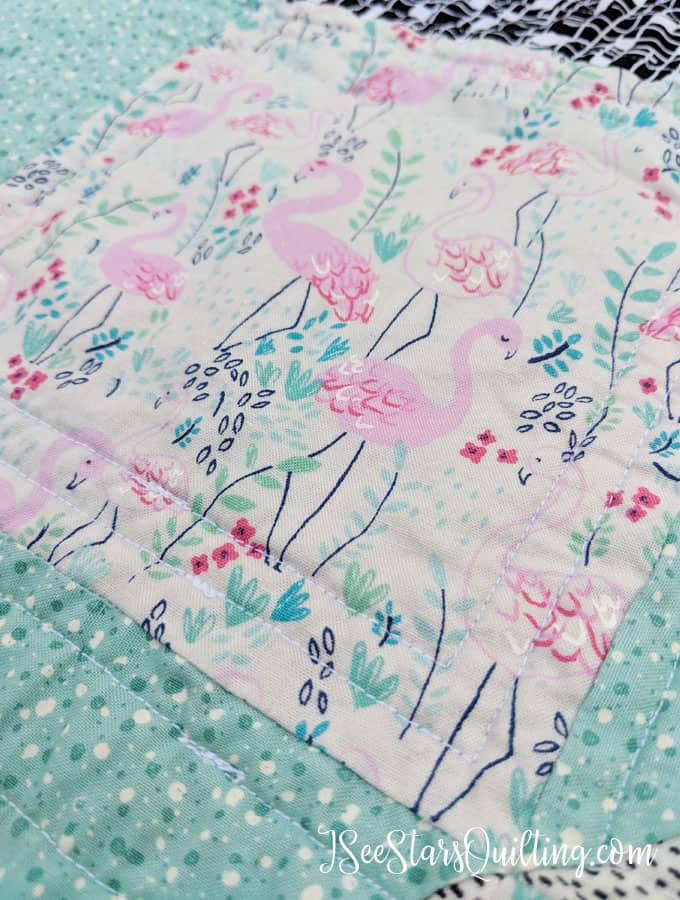
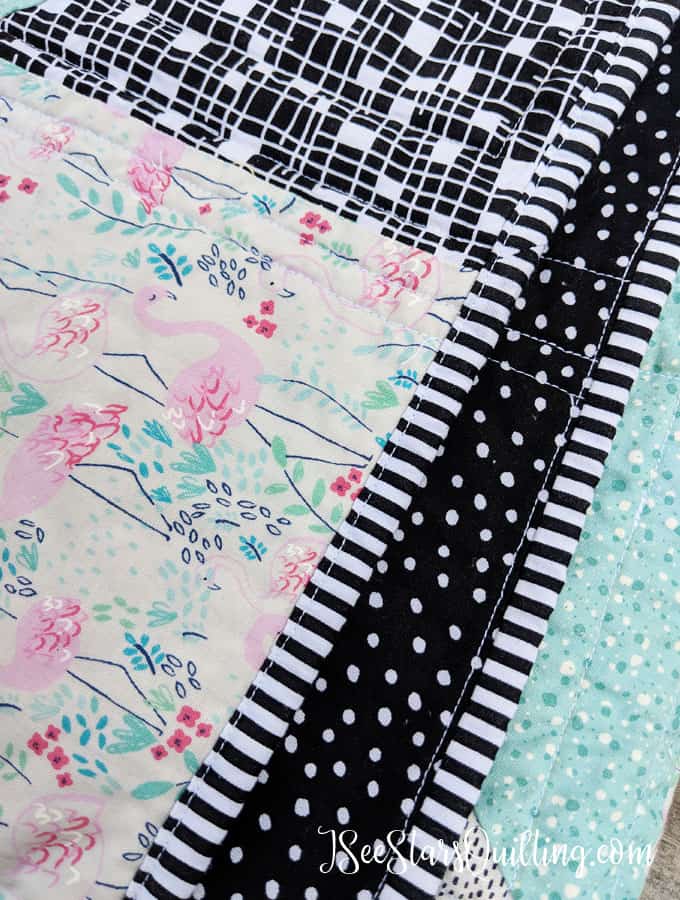
    Just look at this darling flamingo pattern! – A random find while I was shopping for something else… Subtle and so sweet. It was just the very beginnings of this pretty little quilt!

    I paired it with several other aqua and speckled prints. A little grey, a little black and white polka dot, and some graphic black and white.

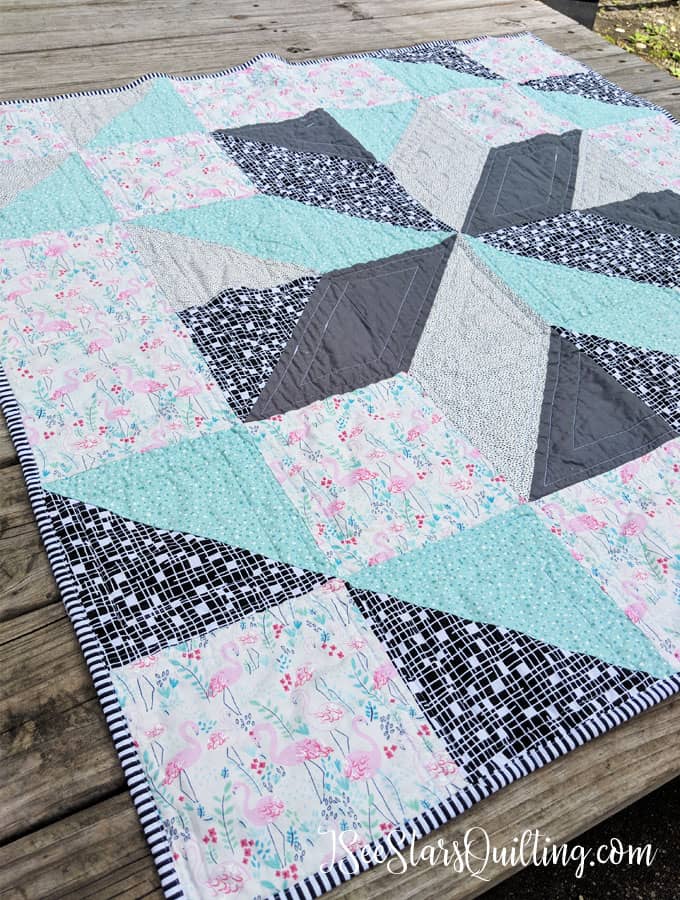
    You can see my choice in quilting style in the picture below. I kept it straight and simple to accentuate the geometric shapes. (I also haven’t trimmed off my thread yet because I got excited and it was sunny outside… yeah, ignore those little eyesores, won’t you?)

    If you haven’t guessed… Hi, my name is Christen, and I’m obsessed with stars. I don’t know what to say, they just show up everywhere in my designs. I don’t seek them when I’m designing, it is just what comes out of my soul 🙂 So they star pattern was a fun discovery to mix in around the flamingo pattern.

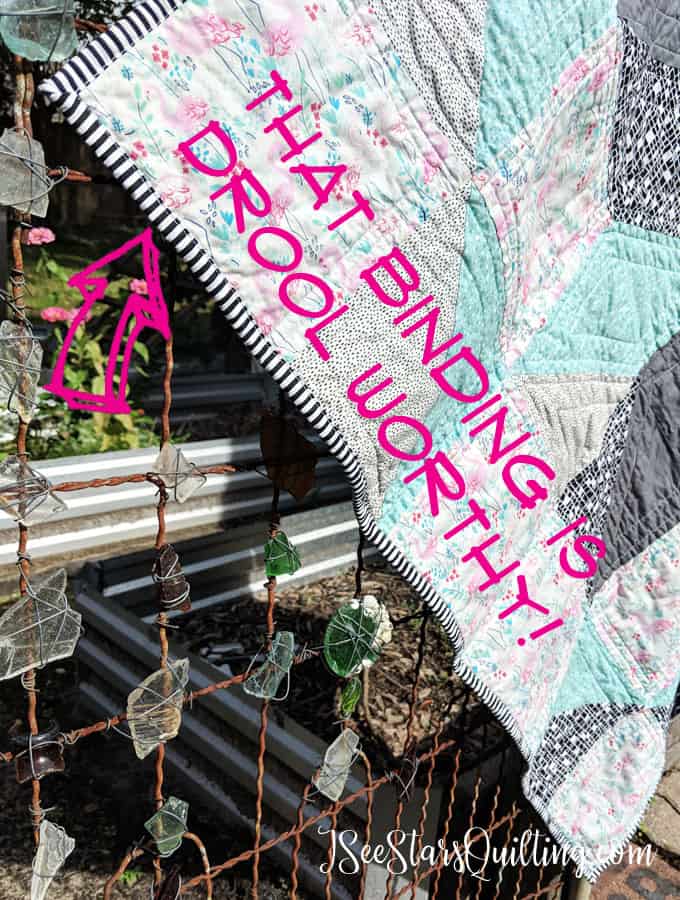
    I think my one of my most favorite parts of this quilt is the fabric choice on the binding. Is there anything more lovely than a perfectly stripey binding?

    And one more picture because I’m kind of obsessed with the stripes right now…

    I decided to share the easy pattern with you because I fully believe we all deserve one of these in our arsenal of patterns!

    You can download my FREE Pattern HERE:

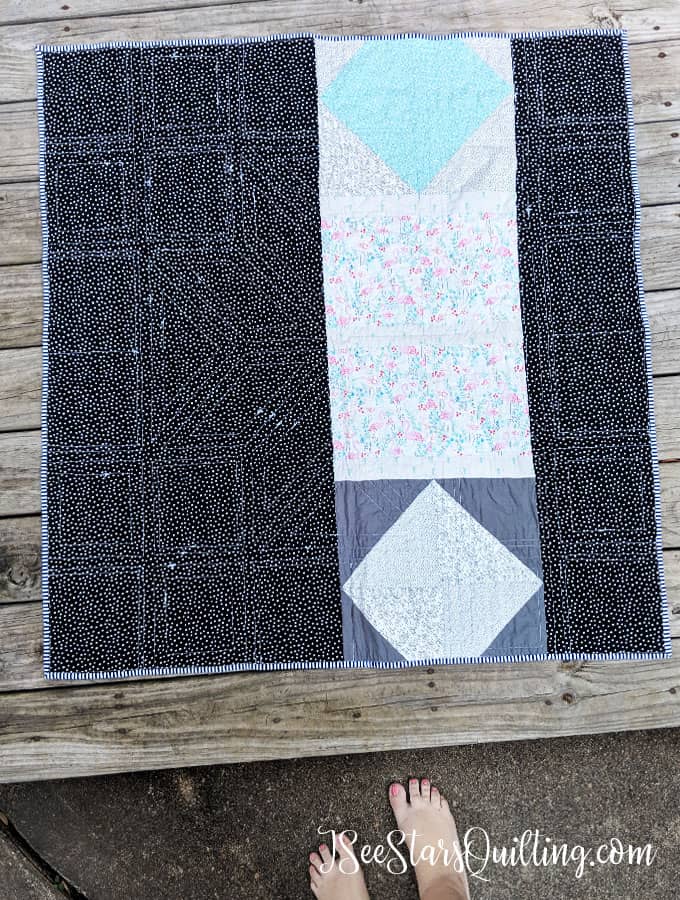
    …And one last photo! Because you should never just settle for a boring back to your quilt… Make it fun! Make it unexpected!

    This sweet baby quilt pattern is a FREE download that I designed to be easy fro all levels of quilting! Just look at this sweet flamingo print! Its adorable! Did I mention the FREE pattern? ;) Check it out, download it and save it for later!

    Hey! I just recently wrote a post about how to wash your quilts and stop the fabric colors from bleeding. If you’re making quilts to give away, its a total must read! Help! How to stop the Bleeding in your quilt fabric.

  • Fabric Shopping in Paris

    I can’t even put into words how much fun my trip to Paris was! I don’t mean to sound like a stereotypical children’s book but…. whatever, I’m going to say it anyway. This trip was absolutely magical and such a dream come true! — I totally mixed business with pleasure (which is technically all pleasure), and I made it a point to go fabric shopping in Paris while we were there. *excited squeeee*
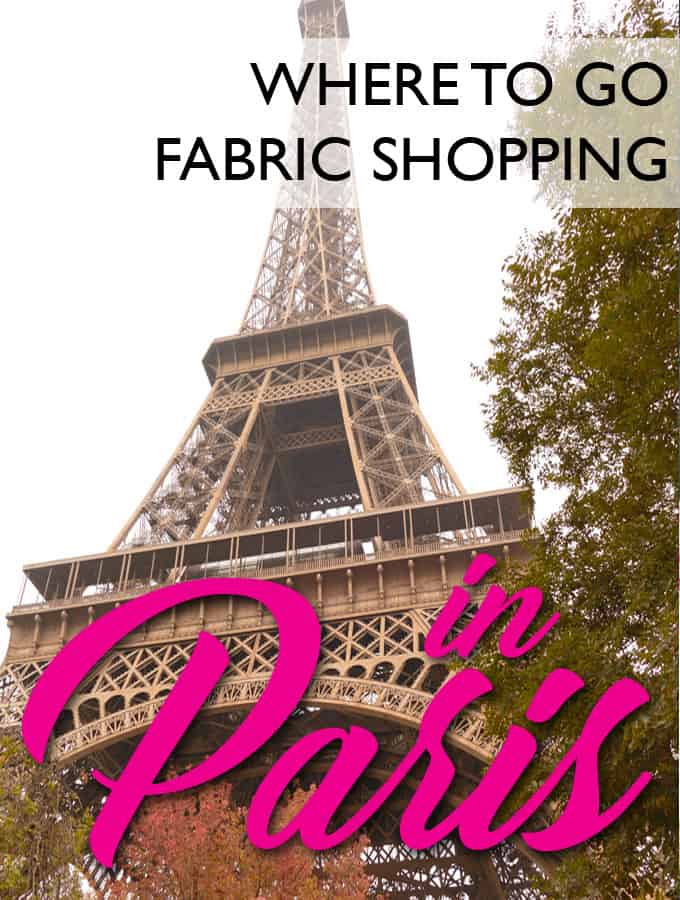
    I’m also going to share some photos from my trip. I love photography, and this city is just too beautiful not to share! Check out the second half of this post for more photos from my trip!

    There are lots of little shops with fabric scattered all over the city. We stopped in a few to browse but found they mostly had home decor fabrics or fabrics meant for clothing…. silks. Oh my gosh, the silk fabrics… I wanted to bathe in them until my last breath. They were so fine and such good quality. You could hold them in your hands, and it felt like nothing but air. Absolutely luxurious.

    But silks aren’t meant for quilting and because I was laser-focused on buying quilting fabrics… We had to keep moving.

    It was a little harder to find good quilting fabric and cotton fabric in the tiny shops. The selection was there, but it was fair. Logistically, I get it. Small store, small selection for the traveling quilt obsessed tourist.

    All of the above was true until… we finally hit this area. I was as giddy as a wee child on Christmas morning.

    The best street corner to shop

    This little corner district was absolutely love at first sight. If you’re going to a fabric shop in Paris, you have to shop at Marche Saint-Pierre.
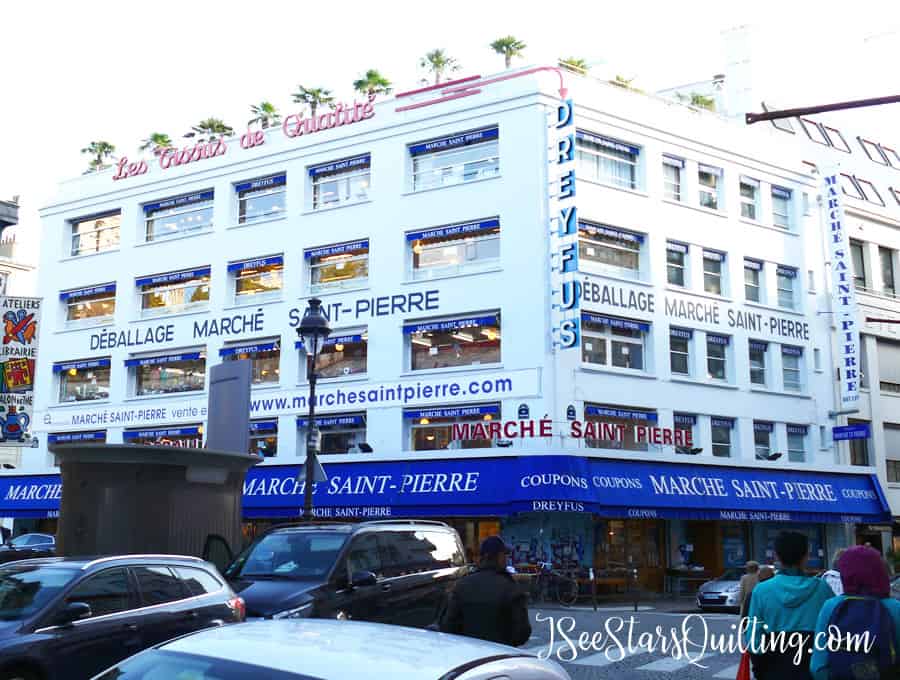
    This store is six stories of fabric. Yeah, not just a little corner shop. Six different floors of fabric for everything you could ever dream of.

    I could have lived there, but I had my husband with me, so I quickly browsed each floor and touched everything. There is also this store across the street that has all the “Coupons” or deals on fabric.
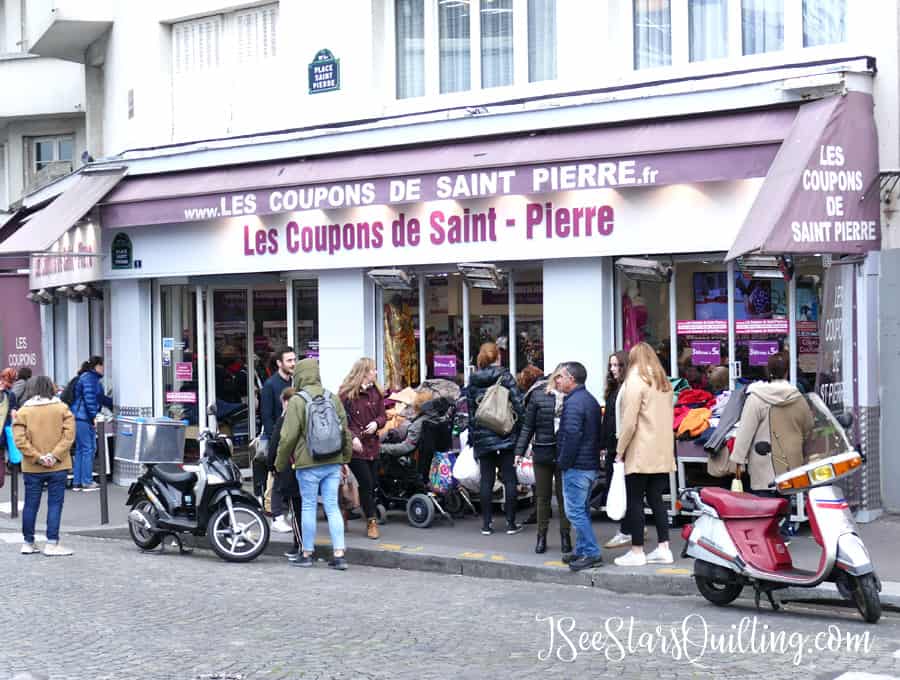
    Beware that while the fabric on the street was a decent value… it was not what I would consider good quality. It looked like a tourist trap to me. I mean, it is just something to hook you in thinking their prices are amazing. Just the touch of their cottons felt waxy and thin/low quality. Honestly, you get what you pay for, but they still felt overpriced.
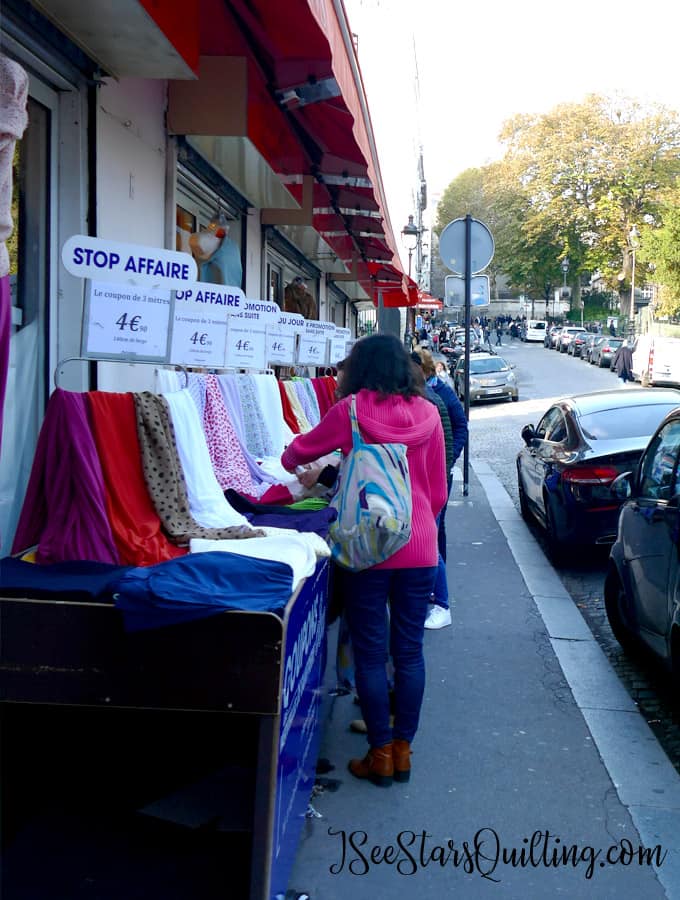
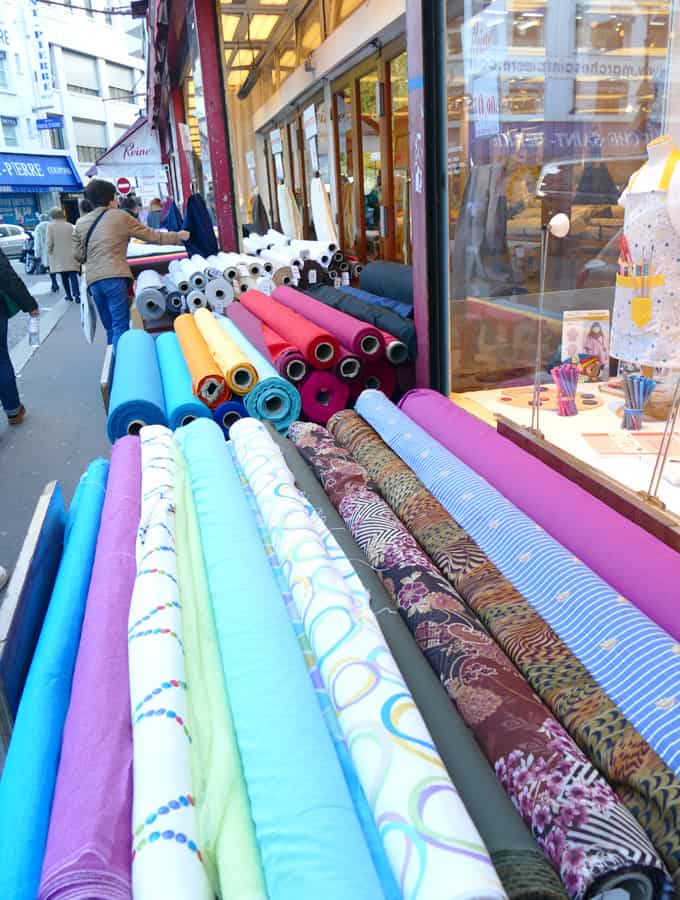
    Once inside Marche Saint-Pierre, you can find areas of every single fabric type you can imagine. The selection wasn’t huge of each type, but large enough that you could easily find something that would work.

    Most peculiar was this long roll of tea towel and bath towel material. It is apparently a pretty common thing over in Europe, and in industrial situations, it was just a new one on me because when I decide we need new towels, I just go to target. I’ve never considered buying a yard of a towel. It came in several colors too… I learned something new!
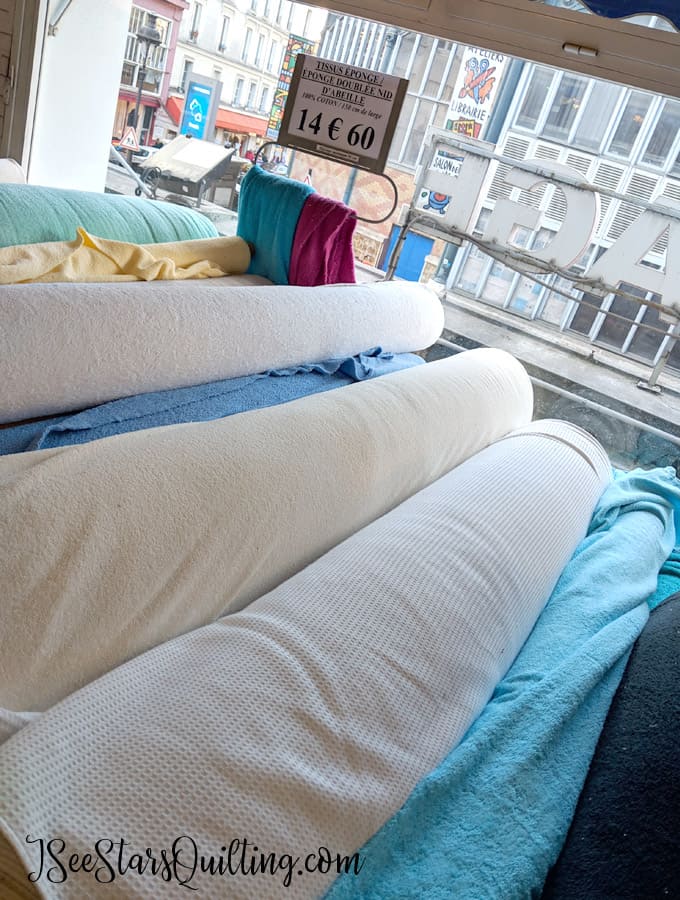
    Their prices were decent, and I almost had an armful of pretty fabrics before my husband reminded me that we are not rich millionaires nor do we have the extra suitcase room to bring home my treasures. Sigh…*kill-joy* I mean, he was totally right, but I was in absolute fairytale land at this point.

    Fabric Shopping in Paris felt much more exotic and fun than it does here back home. I wasn’t just searching for any fabric. I was on a mysterious treasure hunt to find the most beautiful fabric in the lot. So I made it a point to buy only what my heart absolutely could not live without.

    Only the most beautiful treasure would be worthy enough for the small amount of room left in my suitcase.

    I was just about to leave when this embroidered denim fabric caught my eye.
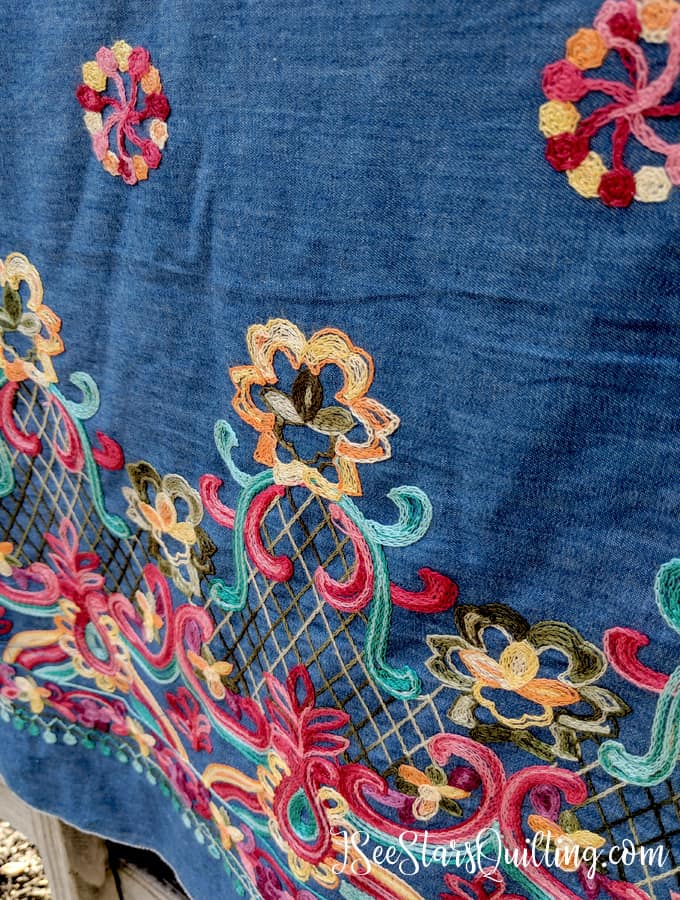
    Stunning isn’t it? There were about 3 yards left of it, and I snatched up all of it. I don’t know what it is about the embroidery. It isn’t my typical color palette. It isn’t my typical style, but my heart said this was the one.
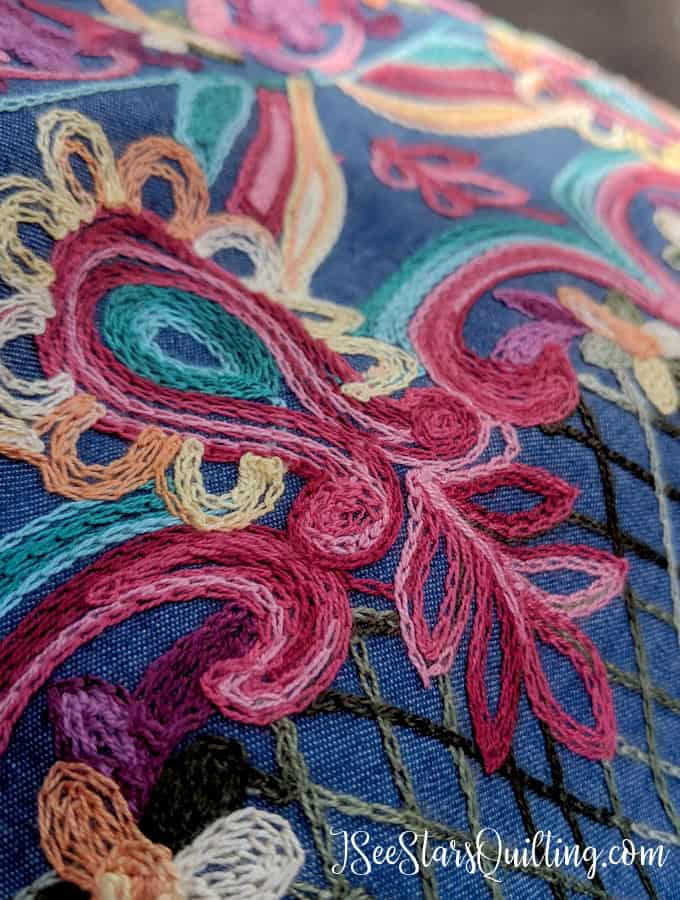
    I absolutely love it, and I have no idea what to do with it… yet, but it is going to be grand. Whatever it is. The embroidery is just a border along one side of the fabric. The rest of the fabric is the most buttery soft denim fabric. It behaves like a soft cotton instead of a stiff denim.

    Do you have any suggestions for what I can do with this lovely Parisian fabric find?
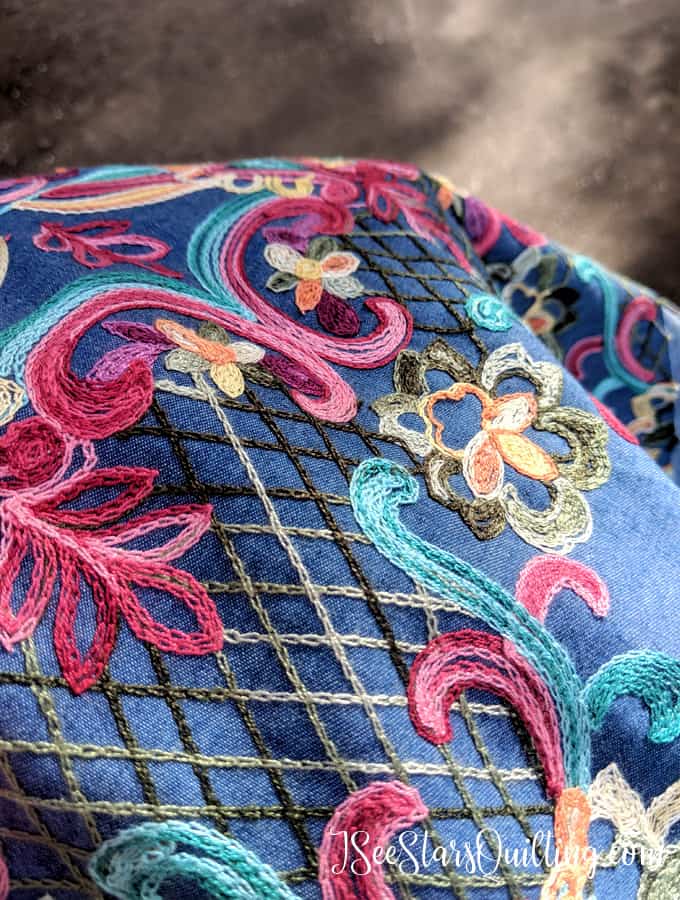
    There were so many other fabrics that I loved, but none of them held a candle to THIS one.

    If you are fabric shopping in Paris, you have to make your way to Marche Saint-Pierre! It’s an absolute must. Within the same general street area, there are several smaller fabric shops that have opened their doors to bring in Marche Saint-Pierre customers. There was even a notions shop next door and a store that had nothing but silks. I regret that I was in such a fabric focused state of mind that I didn’t not get the name of any of the nearby shops. 🙁 But they are all within several hundred feet of each other. We were there on a Friday, and most of the stores had displays of fabric rolls outside along the sidewalk, so they were easy to spot.

    So yes, if you have any ideas for my lovely embroidered fabric find, please do share 🙂

    Now onto more pictures from my trip if you are interested in just a few photo gems!

    More Paris Trip Pictures!

    First of all, this guy right here… he is my other half and keeps me sane when life gets crazy hectic. He keeps me grounded and sometimes drives me crazy, but I love him anyway 🙂 This trip was just about us. No kids. He got the opportunity to take a class for work in Amsterdam and with his ticket already being paid for by work, we turned it into a vacation, and he brought me along.

    I know, I’m really lucky. It worked out so well, and we had a wonderful time reconnecting and laughing at each other getting winded on the stairs… seriously… so… many… stairs… everywhere.
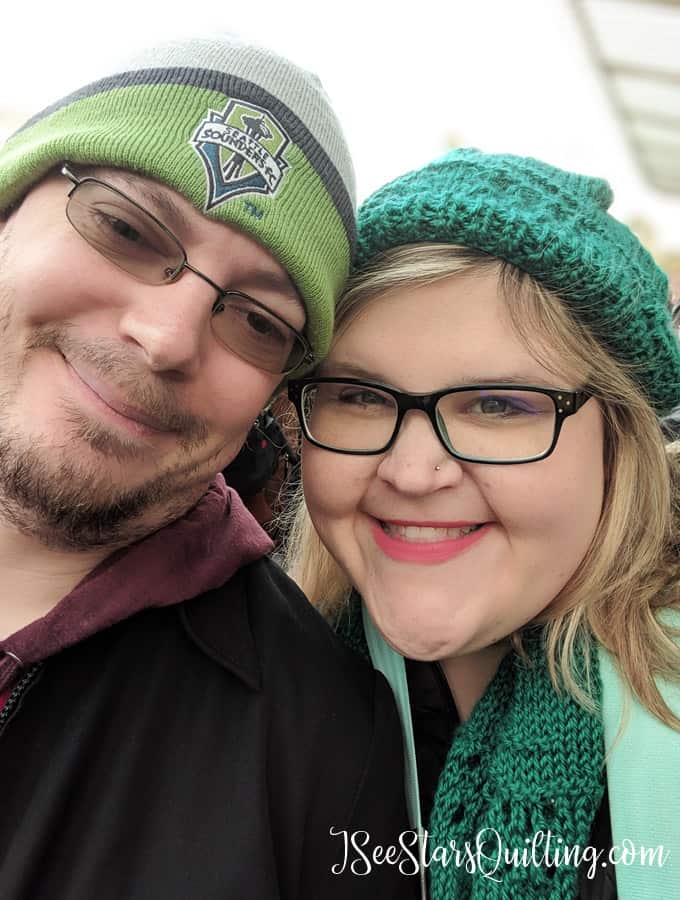
    Fun fact: I actually went to school for Communication Design. It is a lot of graphic design with a heavy focus on advertising and marketing. I studied a lot of Art history in college. While I thought I would lose my mind memorizing all the facts and artists names and painting dates, I fell in love with it at the same time.

    It has always been my dream to visit Europe and actually see these works in person… 🙂

    A pretty artsy shot of the Eiffel tower! 🙂

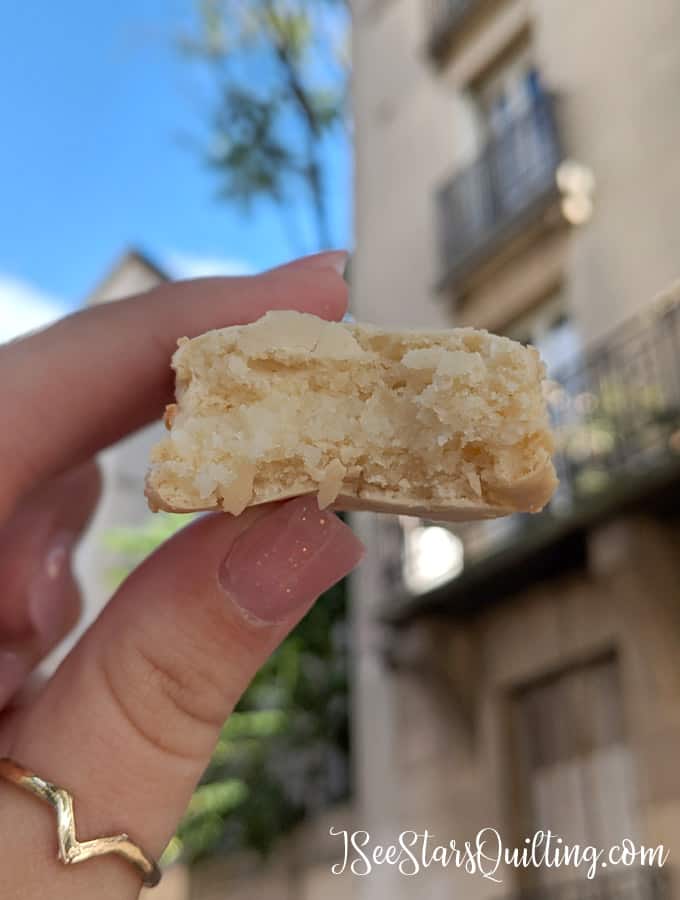
    I am a lover of delicious French foods and Macarons are totally in my top 3!
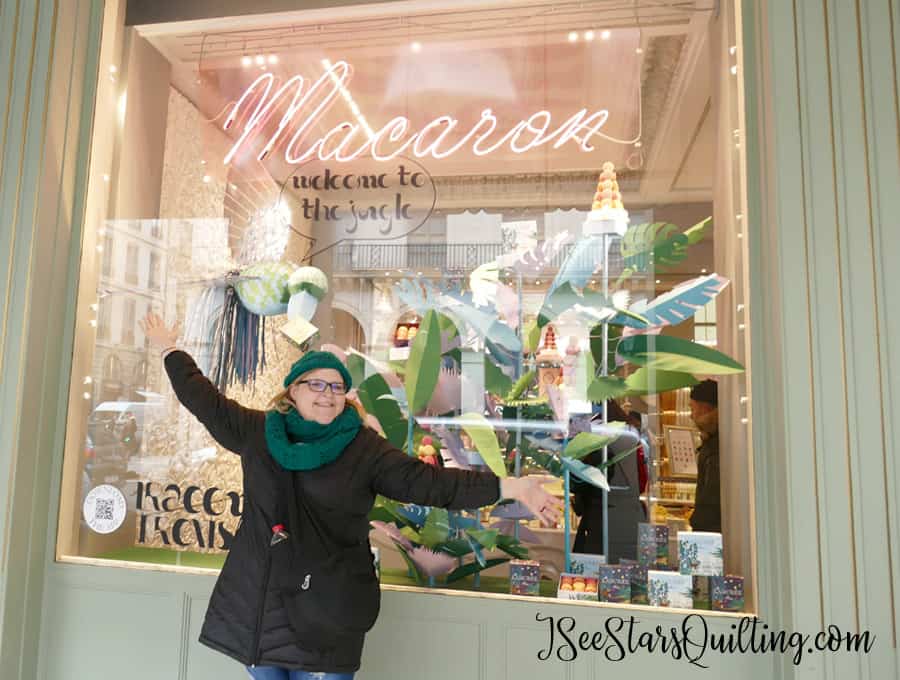
    While we are at it…. the food… omg. The food! Why aren’t things this deliciously pure in America? I have never met a crepe I didn’t absolutely love.
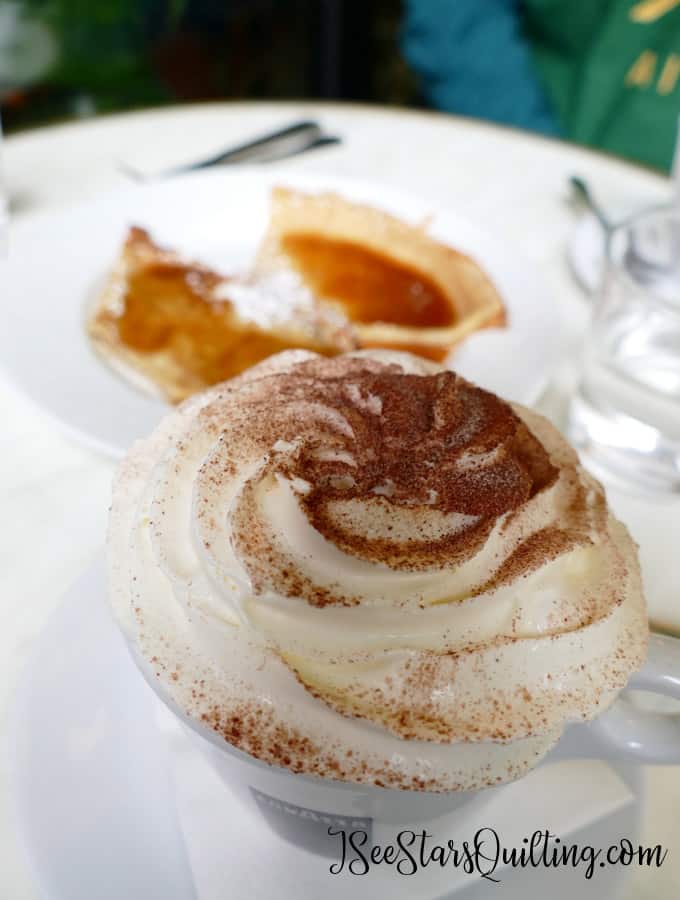
    I am more of a tea person, but I drank more cappuccinos this past week than I’ve had in the whole past year combined. It was cold outside, and coffee is warm. I drank my fair share of hot teas as well 🙂
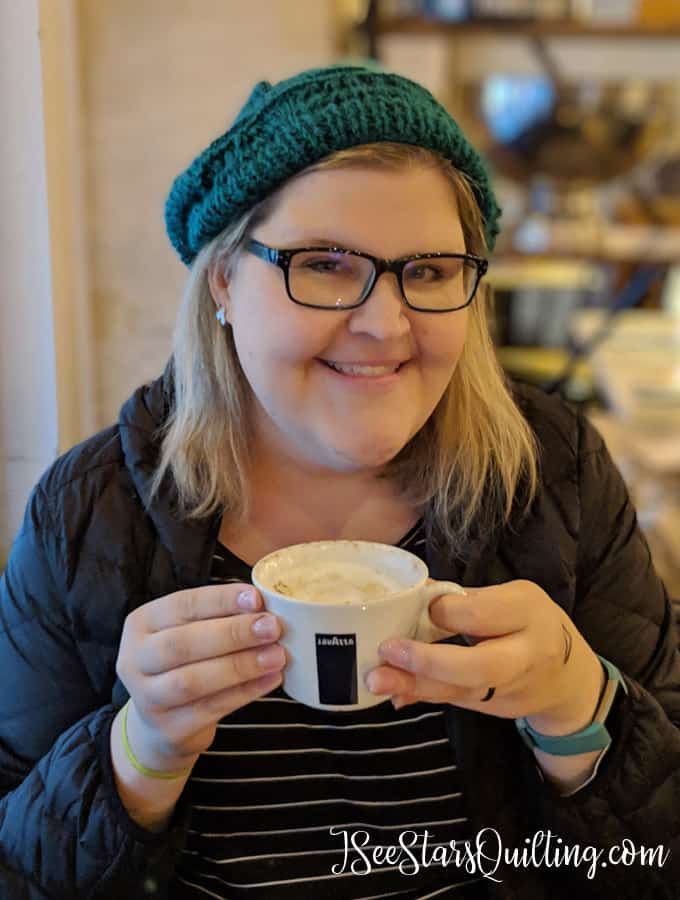
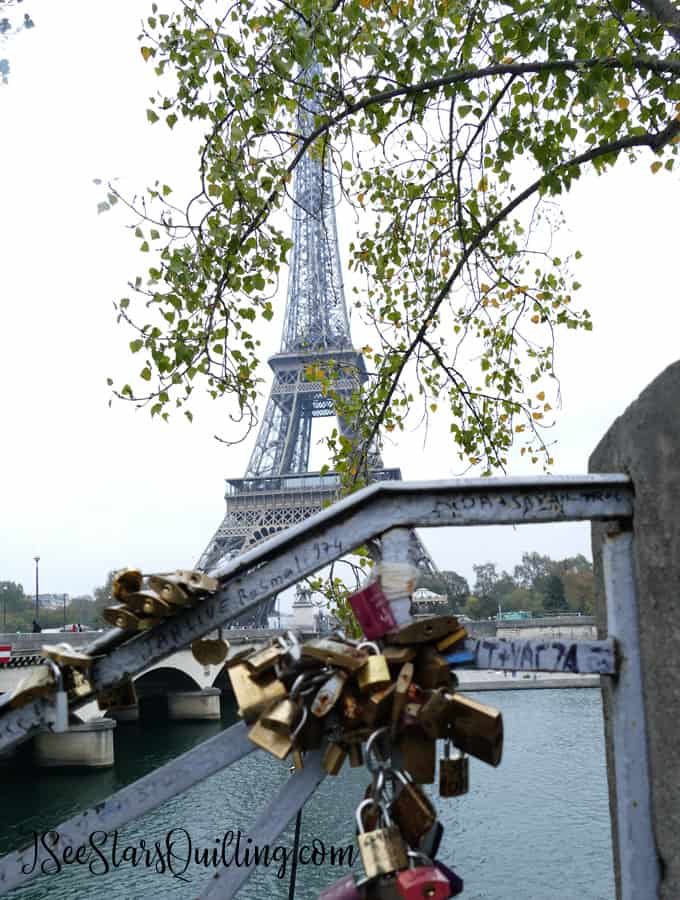
    Remember how there was a bridge where people put the locks on it, and it added so much weight over time that the bridge broke and they had to remove all the locks? yeah, that didn’t stop people. There are literally locks all over the city from people just plain ignoring all the rules. I guess Paris just accepts that they can do nothing about it at this point so why flight it? (no, we didn’t bring a lock to leave in Paris… Maybe next time we will though?)
    If you have made it this far through my Paris pictures, thank you 🙂 I took over 1,600 pictures this trip. (yes, bless my husband for putting up with me trying to get THE perfect shot 900 times a day! He is certainly a keeper!) If you are planning a trip to Paris and have any questions, I’m happy to chat and share my own experience.

    Au Revoir, mon ami!

     

  • Free Walker Bag Pattern & Carry all

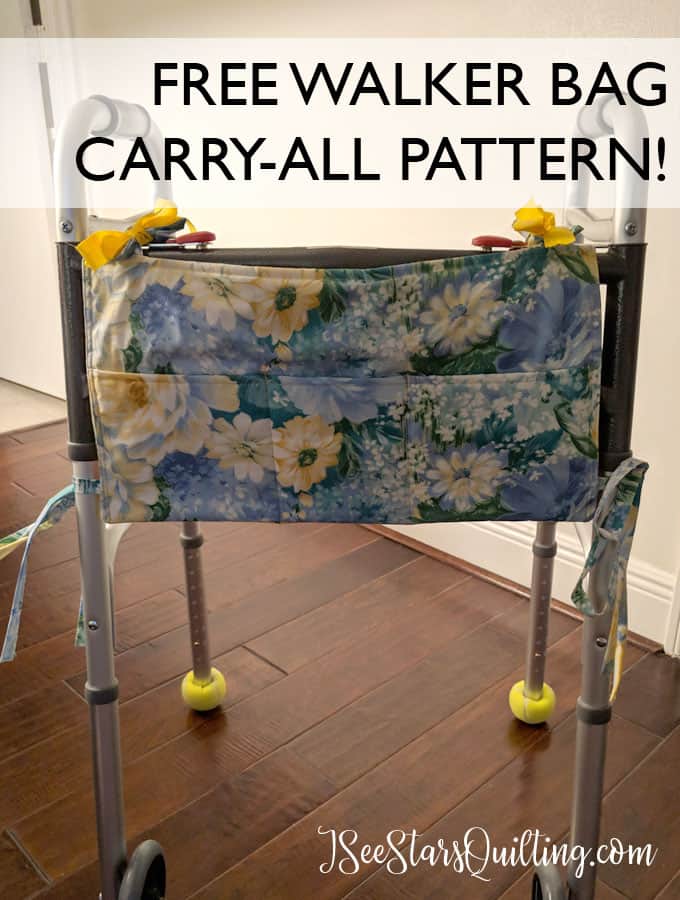
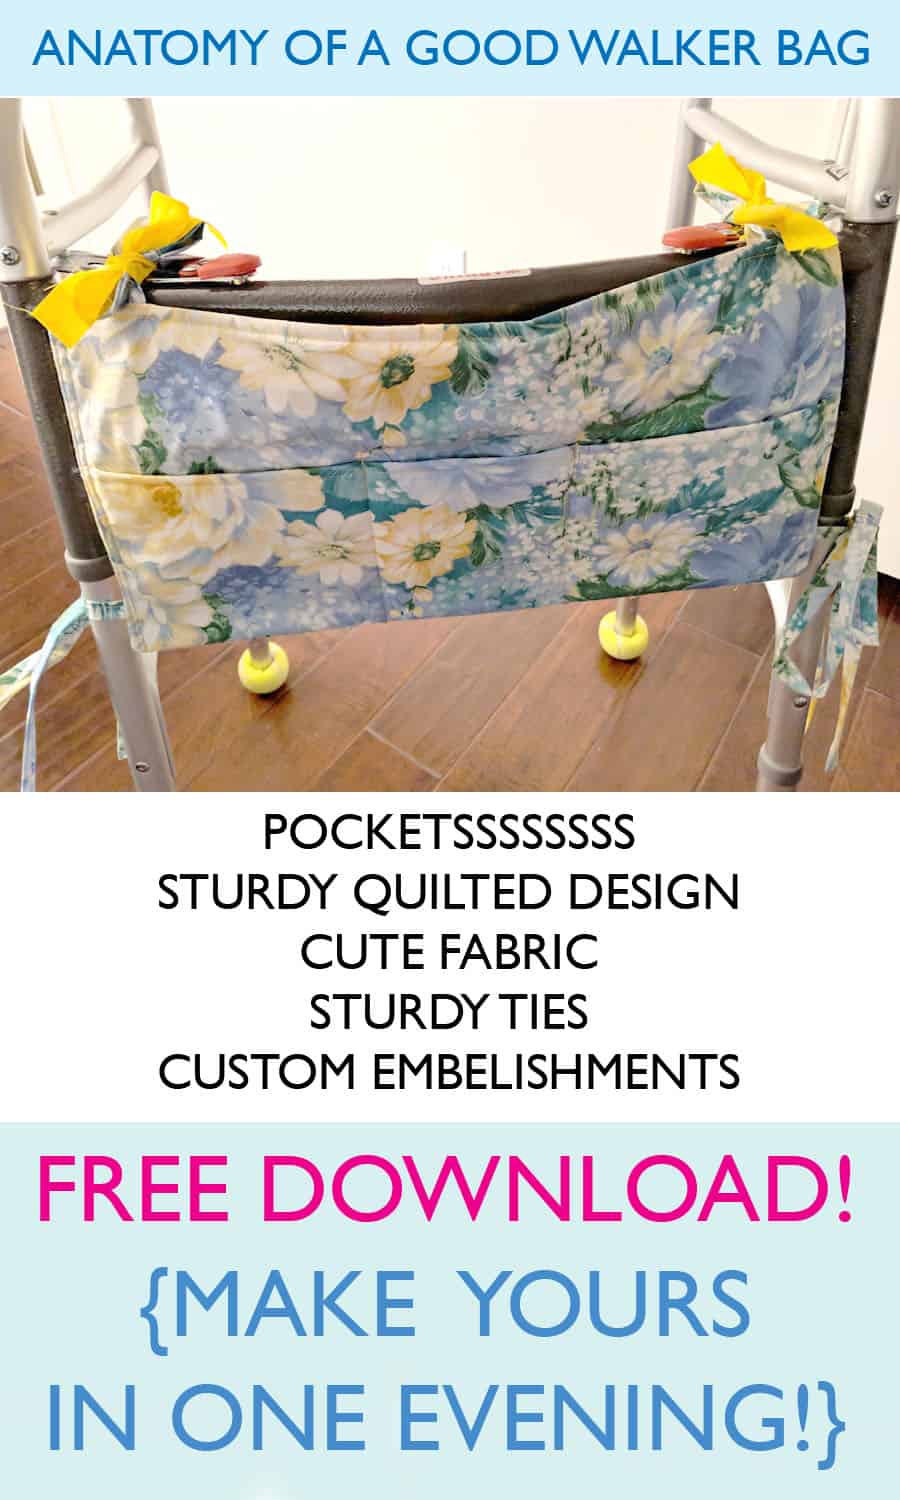
    I’ve got a bit of a different project for you today. This Walker bag pattern came into being because of a sweet sweet dear friend of mine.

    God Bless her, but she isn’t one to sit still for very long!
    When she made the courageous decision to have back surgery, I knew I had to make something special for her.

    I whipped this up one night to help her carry her things and various notebooks from room to room as she worked towards recovery.

    It has proved to be so useful for her that I’m sharing it with you too.

    I found a few other options out on the internet for walker and wheelchair bags, but honestly, most of them were way more complicated than they needed to be, in my opinion.

    So I kept it simple.

    All my walker bag needs to do is give easy access to the things we normally carry in our hands or our pockets.

    Plus maybe a little more room for the occasional stray remote or water bottle.

    I also made it sturdy and quilted so the fabric wouldn’t be flimsy or wrinkly.

    You can download the FREE Pattern here.


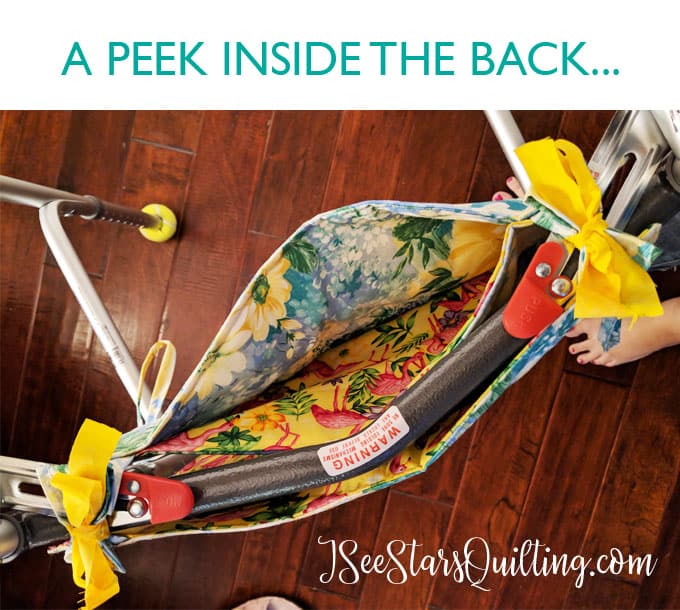
    One last photo peek… Look at that cute flamingo fabric! 🙂

    Pay It Forward

    I would like to urge you to always pay it forward if you can. If you have a friend who just had surgery or if you have a friend or relative in a nursing home, make a few and share the love!

    Tell me what you think! Leave a comment below. Is this something you plan to make in the near future?

    I’d love to see it. You can tag me on Instagram @iseestarsquiltling

    Happy Sewing!

  • Quick Quilted Table Runner

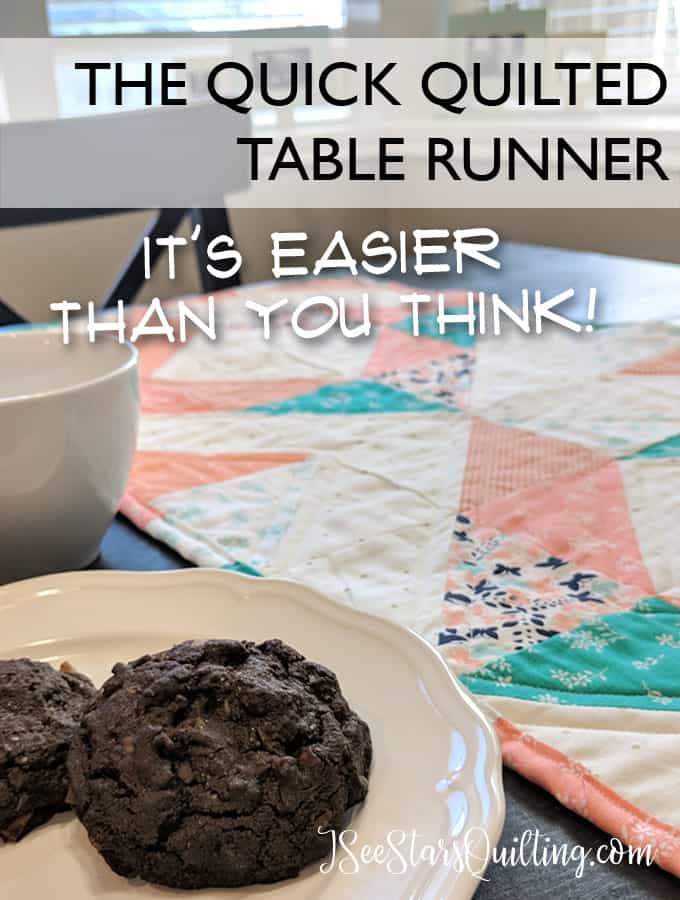
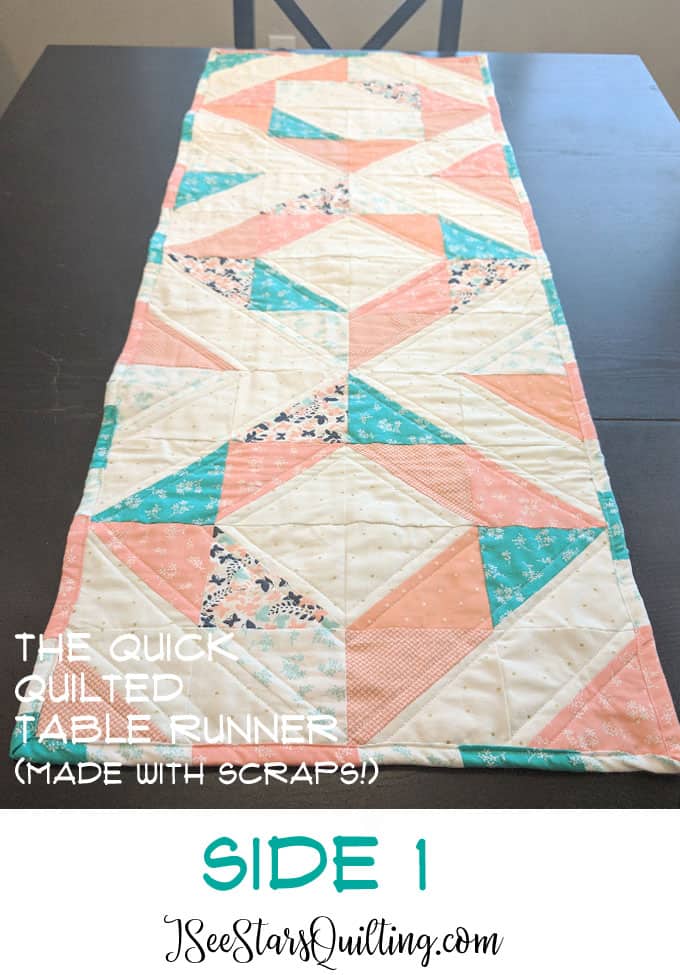
    This week, I found myself in need of a quick hostess gift. I came up with this Quick Quilted Table Runner, and I’m sharing it with you today because it was so fun and so easy to make.

    I’m also going to share a quick tutorial on the simple way to make HST for blocks. (Spoiler alert: You’re going to love it)

    I wanted to make something using scrap fabric only. Let’s just say that I’ve hit the fabric store a little too much lately and the hubs (who I totally adore) maaaaaay have mentioned that it is time to take a step back and chill…

    Yikes, yeah. I know…

    So, It’s totally cool though. I can handle it… uh huh. I’m good.

    Someone, please pet the Minky fabric for me?…

    If you want some of my best tips, you can read the whole post I wrote on how to quilt on a budget. It is full of super helpful tips to make the most of whatever you’re working with budget wise.

    Quick Quilted Table Runner Requirements:

    Again, this was all scrap fabric. Use what you have and make it work!

    Finished size: 16″ x 48″

    Fabric: You will need (48) 5″ squares.

    I made 24 of the squares the same color to get a uniform “background” color. The other 24 were just a mix of scraps. You could easily just layout your pieces as half light colors and half dark colors so that you get the same diamond pattern.

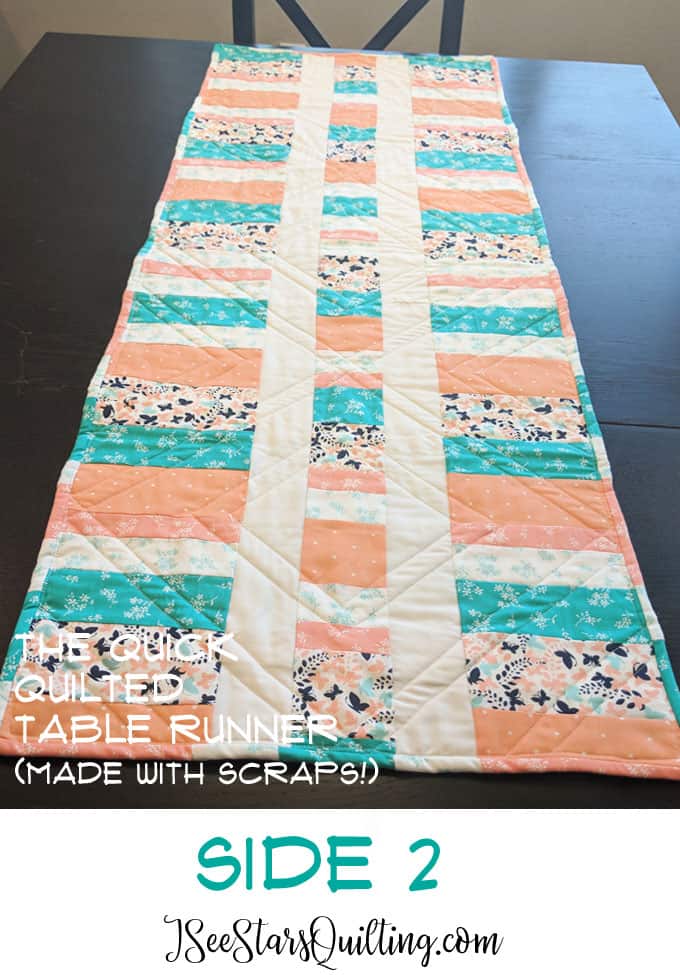
    Backing Fabric: I created mine with more scrap pieces. (See pictures below)

    Batting: You will need a piece 16″ x 48″ – This is a great project for scrap batting! You can piece together batting scraps by doing a zig-zag stitch on its widest setting and overlapping your batting edges just a little.

    Binding: 140″ of binding. You can do one continuous piece, or you can piece it together using scraps.

    This Quick Quilted Table Runner is something I whipped up for a quick hostess gift, but it has so many endless possibilties I will be making several more for holiday family gatherings. These make great handmade gifts!

    Easy HST Tutorial

    This will give you two HST (half square triangles) in just a few easy steps using two squares!

    Step 1: Match up your squares! (1) Light color/background and (1) dark color. Put RST (right sides of fabric together)

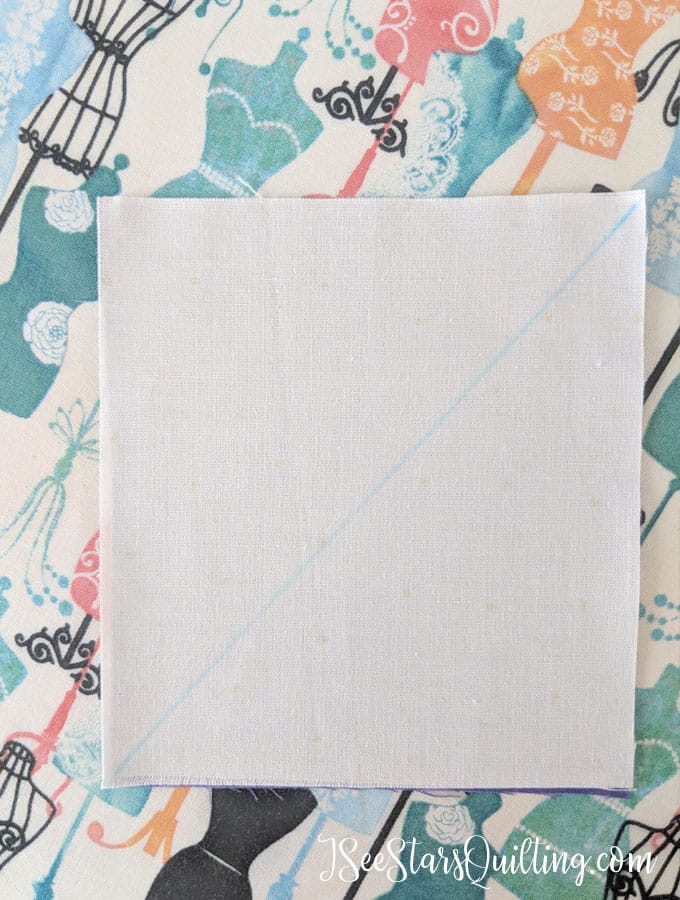
    Step 2: Use a ruler and draw a line down the diagonal, from point to point.

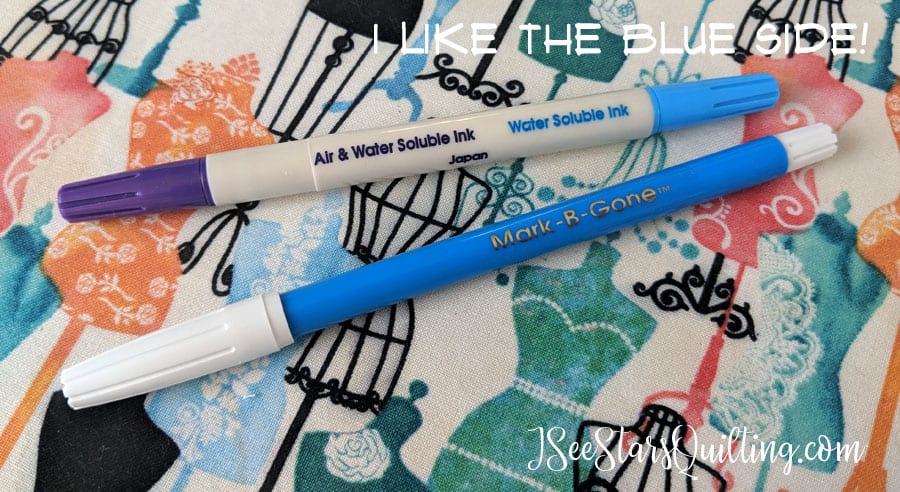
    I really like and use this marker. It stays put until you wash your fabric. The purple end is good too but disappears with air, so sometimes I find I have to work quickly to make sure I sew while I still have my marks.

    The blue disappears with water. You can also use a wet washcloth to take off the blue line.

    However, on this project, you don’t have to worry about making sure you erase your marks on this project… you’ll never even see the blue on the finished table runner. 🙂


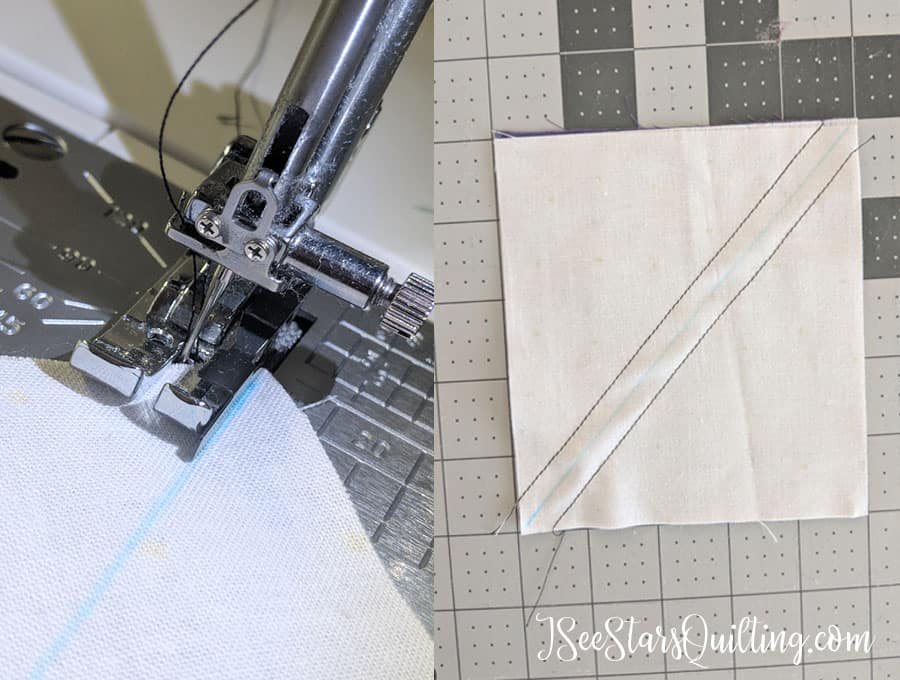
    Step 3: I like to use my quarter inch foot here. You will sew a quarter inch on either side of the line we made.

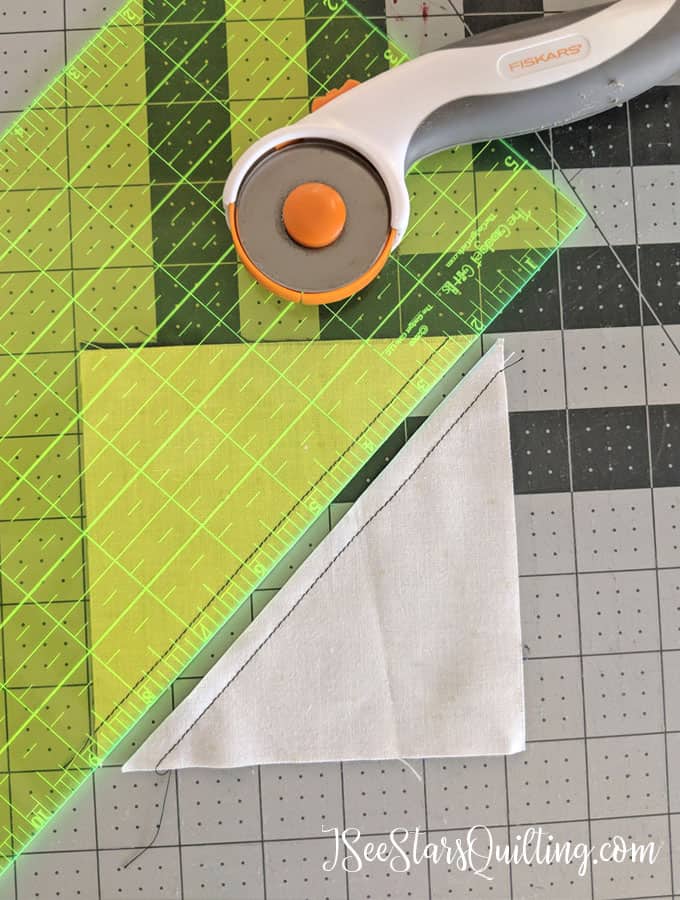
    Step 4: Use your rotary cutter and a ruler to cut right down the center on the line we drew in the first step.

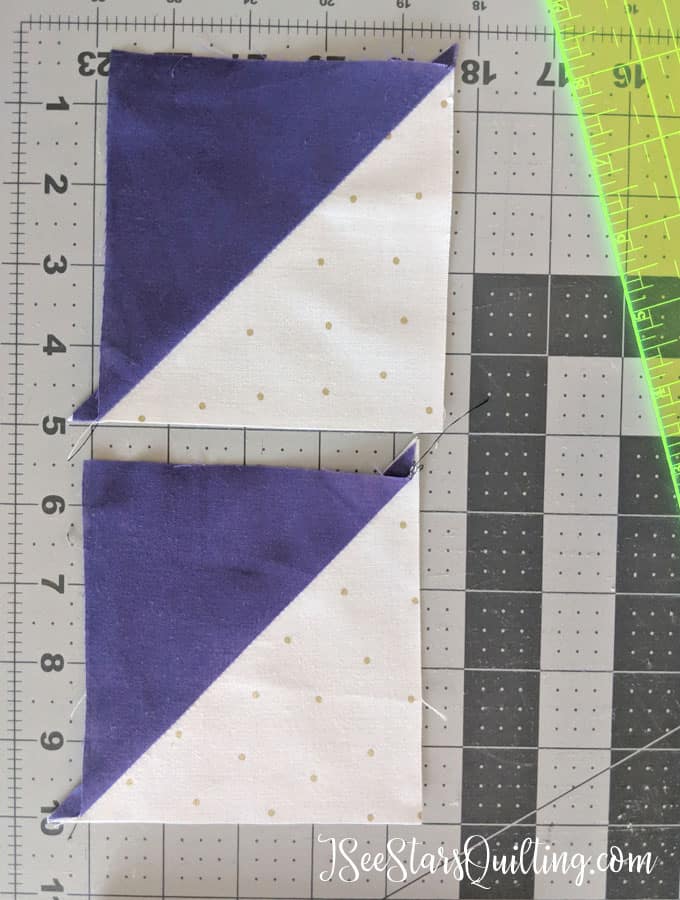
    Step 5: Press your seams open or to one side and…Ta-da! You’re all done! 2 Perfect HST (half square triangles)

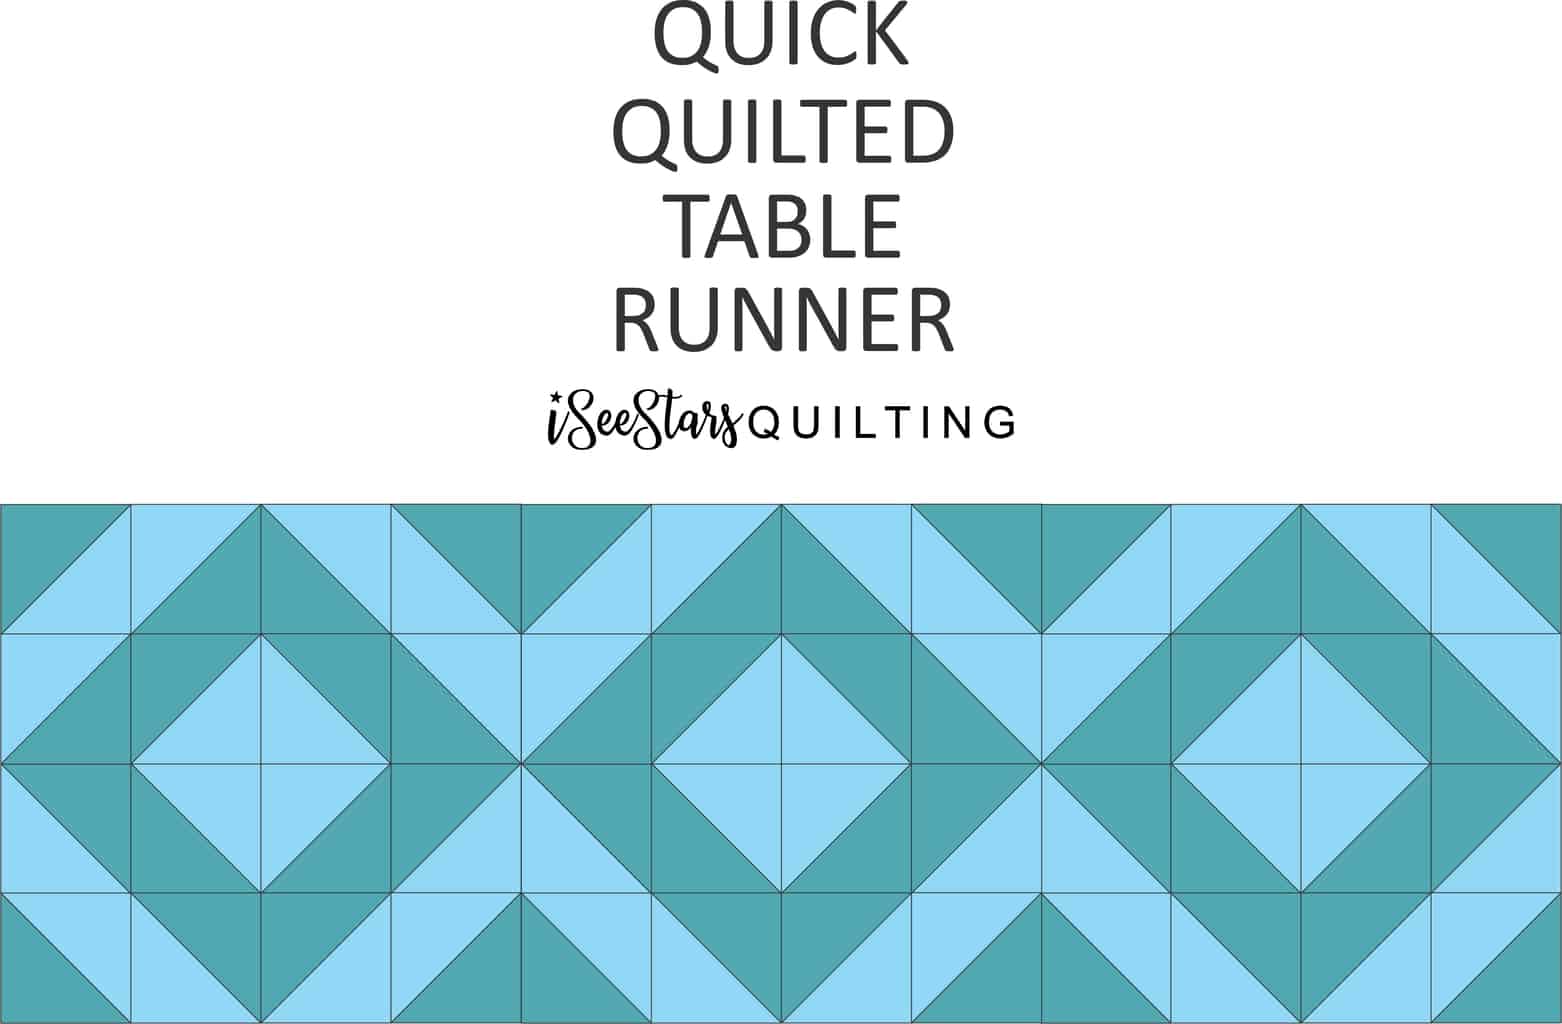
    Now that you have your HST’s made and cut… You should have 48 total… It is time to layout your table runner.

    Quick Quilted Table Runner Layout + Tips

    See below for how to lay your “dark” colored triangle pieces vs. your “light” colored pieces.

    More Pictures of the Quick Quilted Table Runner that I made…

    This Quick Quilted Table Runner is something I whipped up for a quick hostess gift, but it has so many endless possibilties I will be making several more for holiday family gatherings. These make great handmade gifts!

    This Quick Quilted Table Runner is something I whipped up for a quick hostess gift, but it has so many endless possibilties I will be making several more for holiday family gatherings. These make great handmade gifts!


    Notes on the backing:

    As you can see for the backing, I made the Quick Quilted Table Runner reversible!! This is essential because sometimes spills happen. (I would guess 90% of the world’s spills happen in my house. It’s not scientific. It is just a guess, but I’m pretty sure of it) If it is just a little blemish, you can flip it over and go right on with your life without having to ruin your table display.

    I created the backing using strips of fabric in varying widths. This was great because I used the scraps from those same strips that I cut to make the binding!

    Notes on the Quilting:

    You can see in the “side 2” picture a little more detail on how I chose to quilt this piece. All straight stitches. Easy Peasy. You can choose to quilt it however your heart desires. There is no wrong or right, but please to take into account that as a table runner, this will probroly get washed quite a lot. You want to make sure you read on your batting how far apart your stitches can be before the batting turns to mush in the washing machine.


    Whew! Talk about a scrappy project… I really loved making this. It is a great reminder that you don’t HAVE to go out and buy new things when you want to sew a project. Sometimes you just have to put your thinking cap on and brew up a bit of your own magic to make it happen!

    Leave me a comment and let me know if you worked on this project and quilted your own table runner. You can tag me on Instagram too so I can see it @ISeeStarsQuilting

  • Animal Baby Quilt

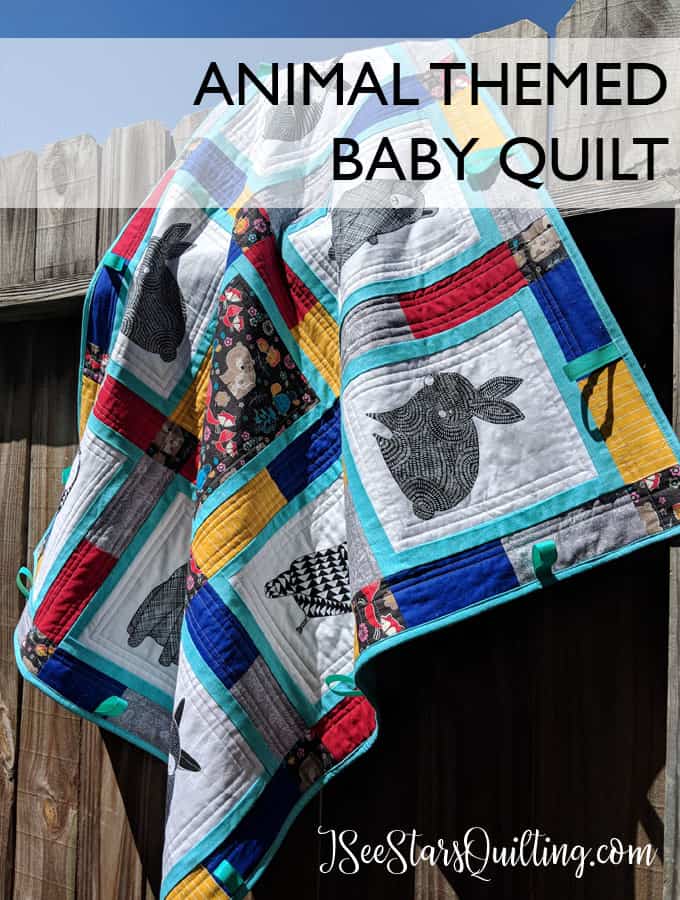
    Hey, sewing friends! I just realized that I made this little Animal Baby Quilt last spring and I never shared it with you.

    Say what?… yeah. I’m sorry. I know we don’t have any secrets. I think it was because it was the end of school and actually, I don’t remember, but I’m making up for it now.

    My daughter’s teacher was pregnant while she was in school and had the baby over the summer. It was super important to her that we give her an end of year present that was for the baby as well.

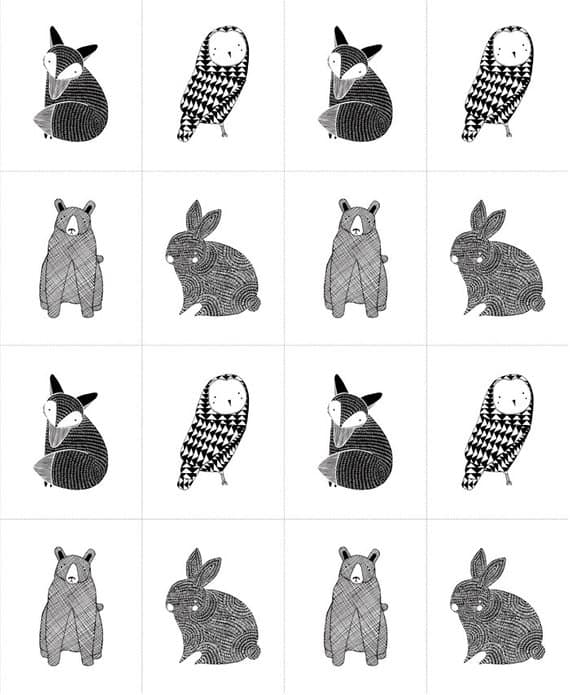
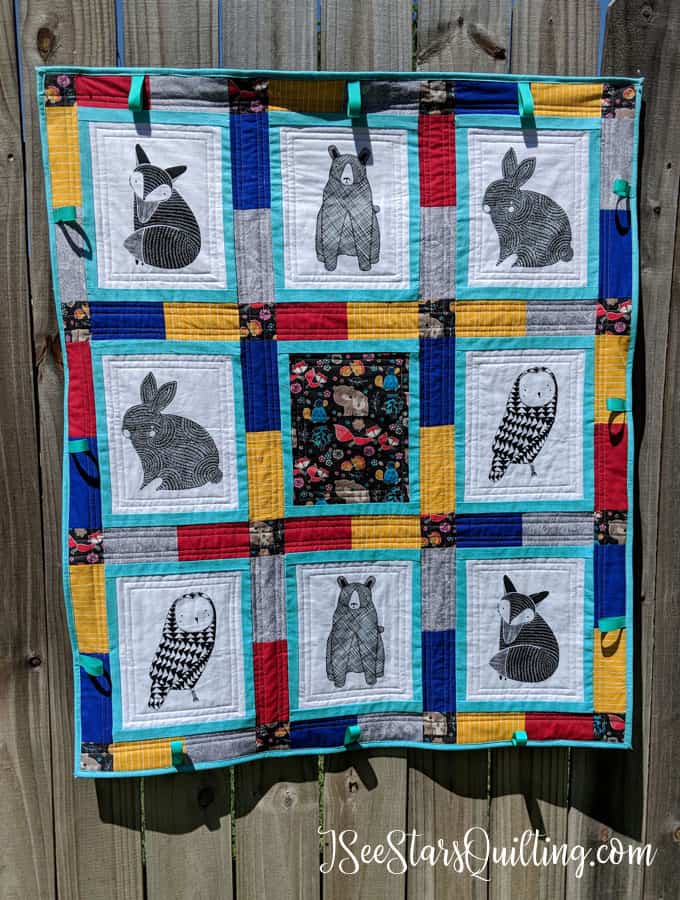
    I found this cute black and white panel set of animals at the fabric store and it was perfect. It is called “Thicket” by MODA. And while I haven’t seen it in the store in a while, there are plenty of options on Etsy that are totally affordable.

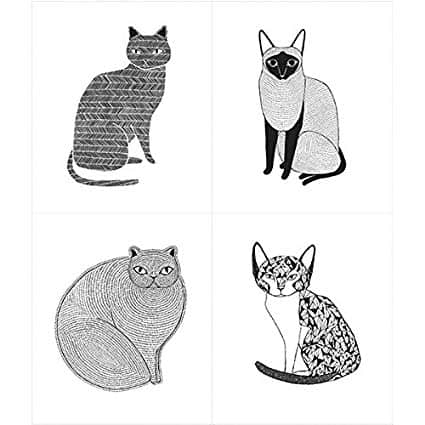
    If you like the style of these prints, but not the woodland feel, I have also seen one with just cats. Isn’t it cute?!

    Etsy Shopping Tip:

    Always do a reality check when you shop on Etsy. Sometimes you can really find great deals, especially if it is a print that is not in production anymore. However, sometimes people think they’re holding onto gold or something and will jack up the price. I used to have my own Etsy shop. There are good people out there too… Just beware and do the math. Know that if they are charging over $15/yard and it’s just standard fabric… keep looking.

    The Animal Baby Quilt

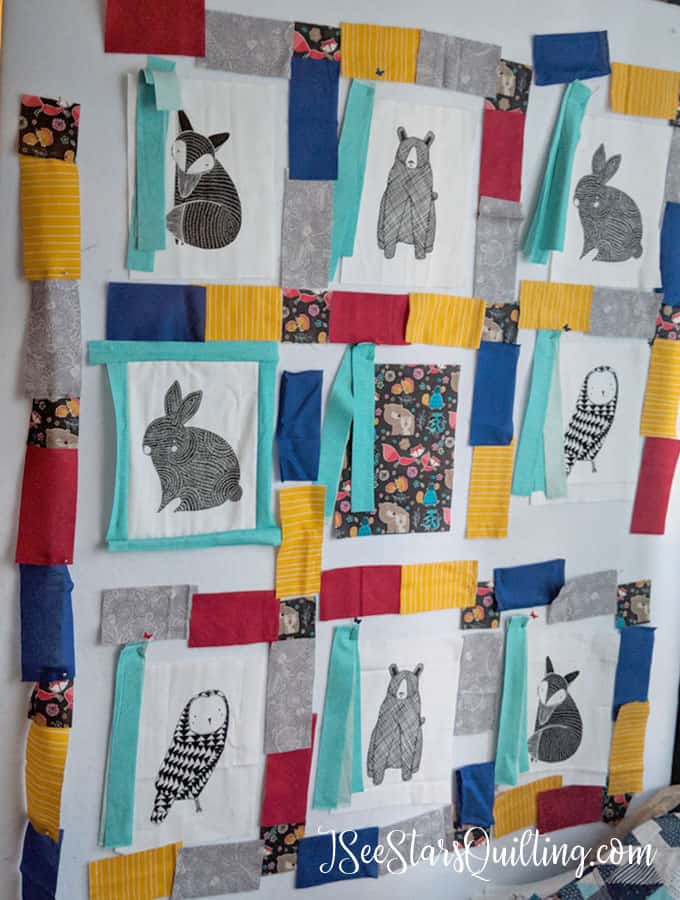
    This is a photo of the early layout process. The colored blocks were mostly scraps from various other projects. The yellow stripe fabric was one I bought for this project because I knew the teacher was a fan of this particular shade of golden yellow.

    There is no rhyme or reason to the color layout. I just kept moving them around until it looked balanced.

    Also, you’ll notice there are eight panels of animals, and I have a nine grid layout. Problem-solving, y’all. I added some little bits of another animal fabric and called it good.

    I also made sure to add a few fun details.

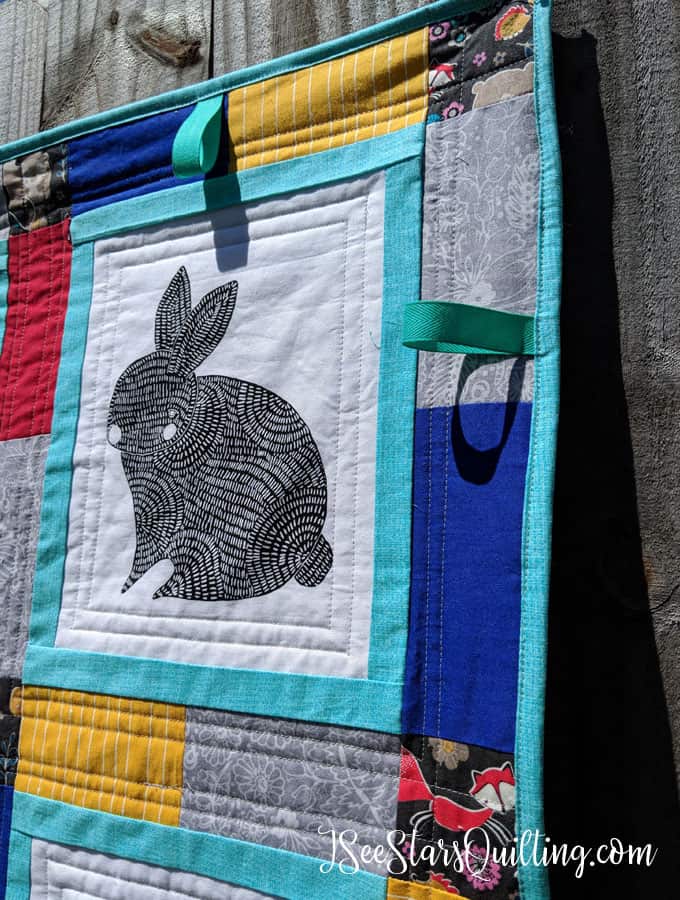
    I don’t know what it is about baby quilts, but something in me always wants to add these little ribbon tabs along the edge. ALWAYS do an extra few backstitches on the edge of each ribbon to really secure it. I used them with my babies all the time. It made it easy to clip on a quick toy and maybe just once you would think that it wouldn’t get lost or left behind. Side note: I wasn’t really at my best in my sleep deprived mommy of an infant stage.

    This super cute Animal Baby Quilt was a quick sew using already printed panels of fabric from MODA. Isn't it beautiful? I'm going to save this idea for when I need quilting inspiration!

    I really love the way it came out, but most importantly, The teacher was so so excited to receive and handmade quilt from one of her students. It really made a for a fun and memorable end of year gift 🙂 And because she is still working at the school, I know for a fact that this quilt has been used and loved!

    And there you have it! A fun little Animal Baby Quilt that is an easy sew and uses up scraps! I hope you use this quilt as inspiration in your own sewing adventures!

    Happy Sewing!

  • DIY Sewing Machine Cover

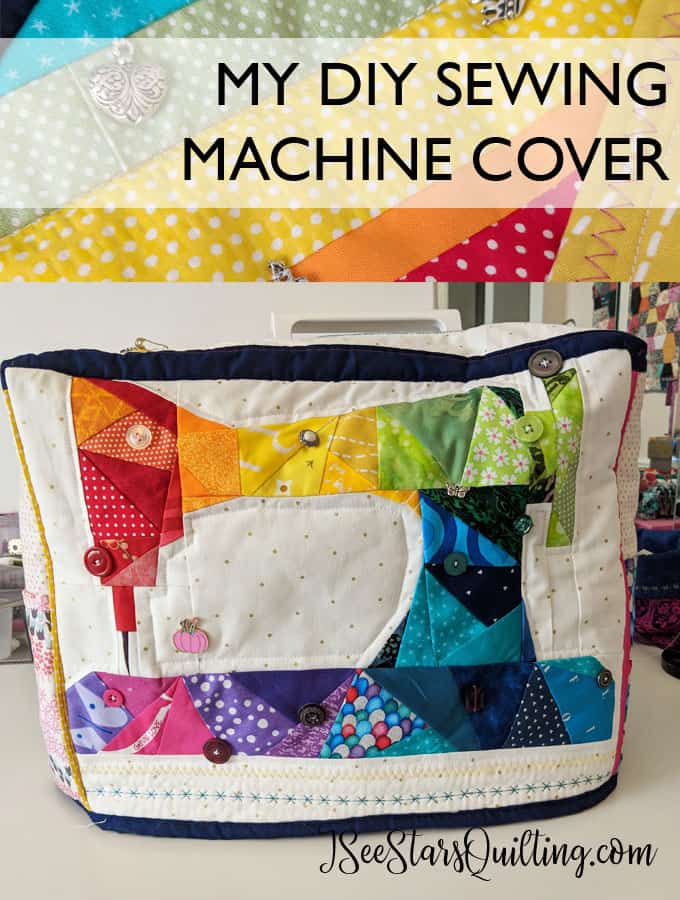
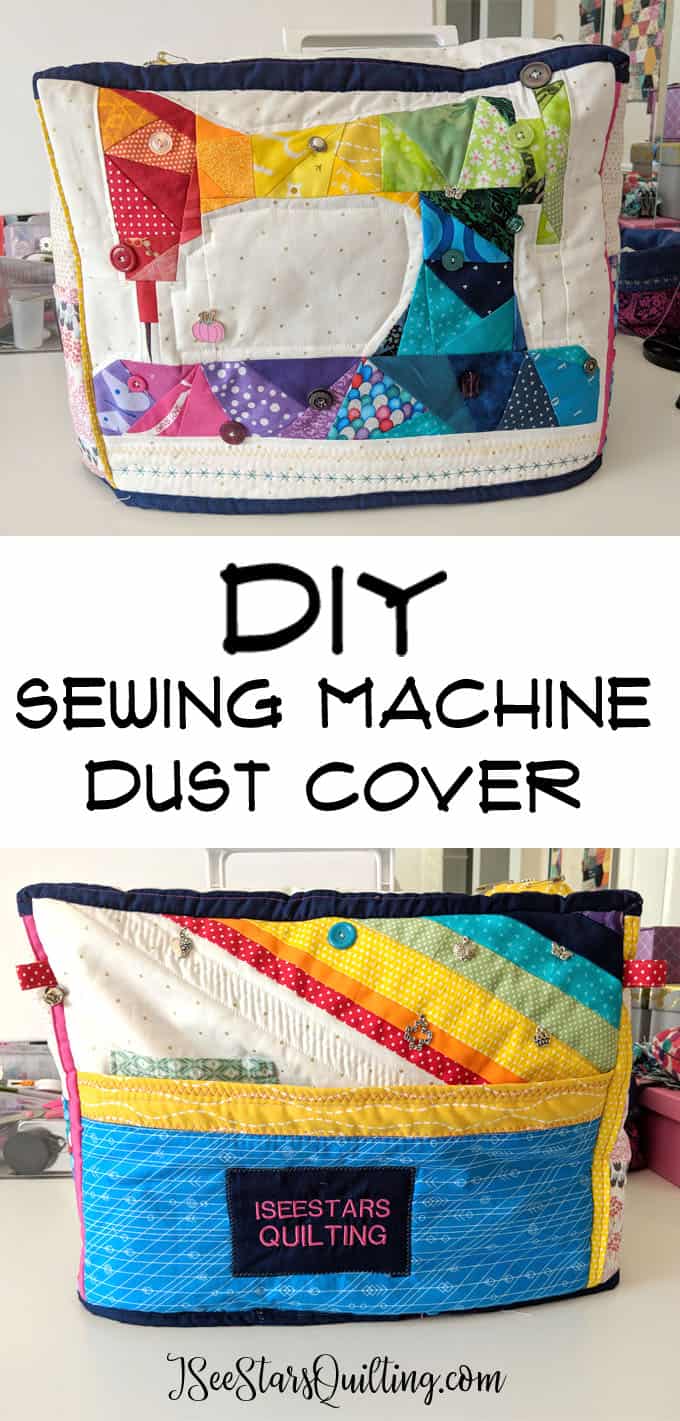
    Hey there! Guess what? I made a cover for my sewing machine! I have seen a few at sewing events that I admired. Last weekend, I decided that it was my time. I knew that I wanted a DIY sewing machine cover and that I didn’t want to make a plain jane boring boxy cover… I wanted it to be grand and amazing and so much FUN!

    How cute is this DIY Sewing Machine Cover?!? I want to make one! She even lists tips to make your own cover. I love to sew. I need to make this.

    I love having my machine sitting out all the time in my office where I can sit down and sew at a moments notice (because, as a mom sometimes you only have a moment or two before its time to get up and go again, right?)

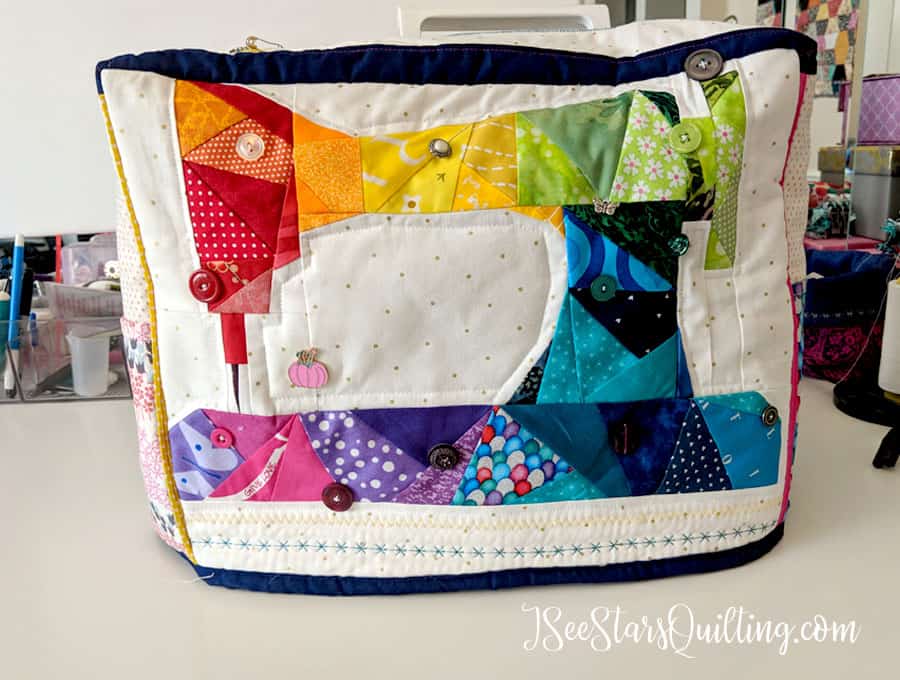
    This is what I came up with, and I am absolutely in love with it!

    I shared it on my Instagram just as soon as I finished it and I had so many compliments and several people asking for more detailed pictures of all the little sections (do you follow my Instagram? You should. We have fun sharing little bits of behind the scenes on all my works in progress!)

    (Look down under the pictures if you are looking for tips to make your own sewing machine cover.)

    It started with a cute paper piecing panel from QuietPlay – You can buy the pattern here. It was fantastic and easy to work with. The instructions were simple, and it came together in just under a few hours – An easy morning sew.

    I held up my finished panel and realized it was JUST the right size for the front of my sewing machine. *angels singing* yay! This spurred on another several hours spent at the sewing machine and me not getting the laundry done as I had hoped… who am I kidding? A fresh sewing project was a happy distraction from the housework I didn’t want to do in the first place!

    The Front

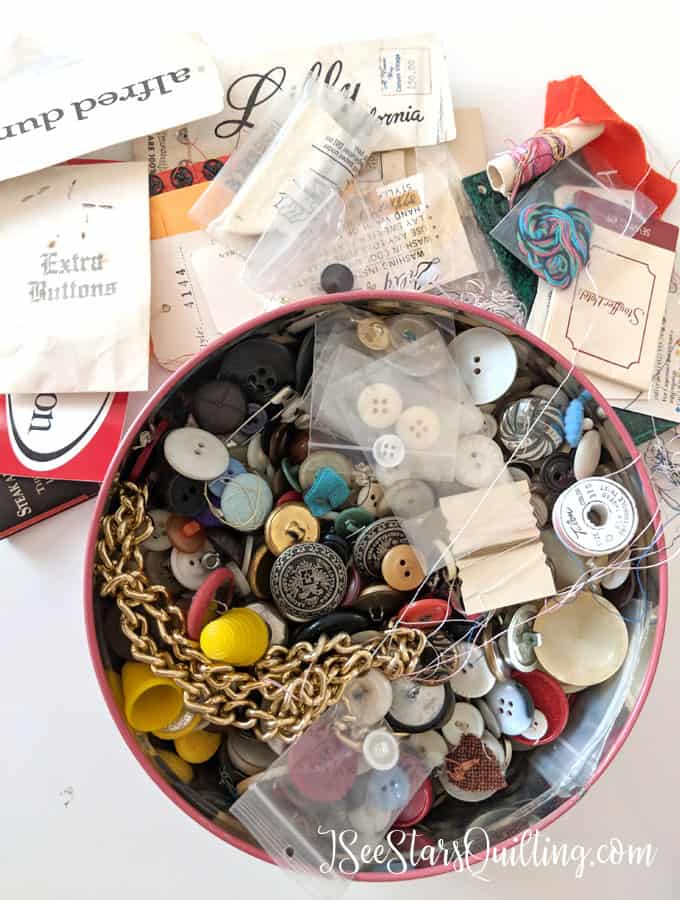
    I received a tin from my grandma a while back. It is an old round tin that is full of buttons and little bits of sewing supplies. So many buttons. Most of them just normal buttons, but there are some that are really pretty and fancy as well.

    My best guess for her button hoarding collection is just the depression-era mentality. Over the years, she clipped and saved every single button she could. She told me that if she was going to throw out a sweater or a blouse got a hole that couldn’t be fixed, she clipped the buttons off of it because… “you just never know.” You can even see the fabric still attached to some of the button backs in the photo below.

    Isn’t this collection just beautiful?

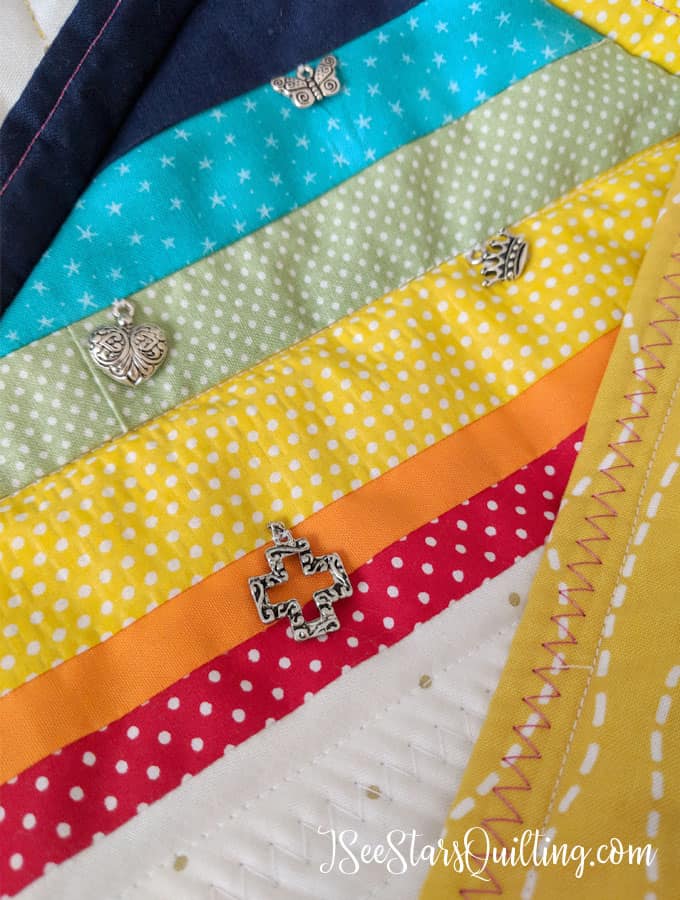
    I didn’t intend on this sewing machine cover as a piece of family history but I wanted to embellish my sewing machine cover. The two women who mean the most to me in this world happen to be my mom and my grandma. I went digging through collections of tiny things to find the perfect rainbow color button matches.

    The Back

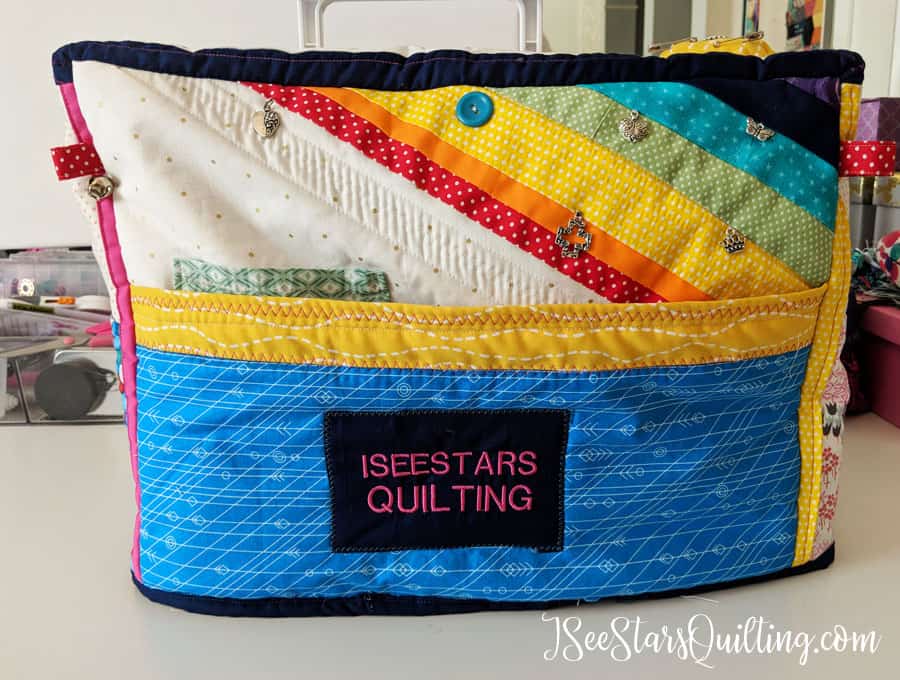
    As for the little pieces donated by my mom on my DIY sewing machine cover, I pulled out a collection of crafty charms that she had given to me.

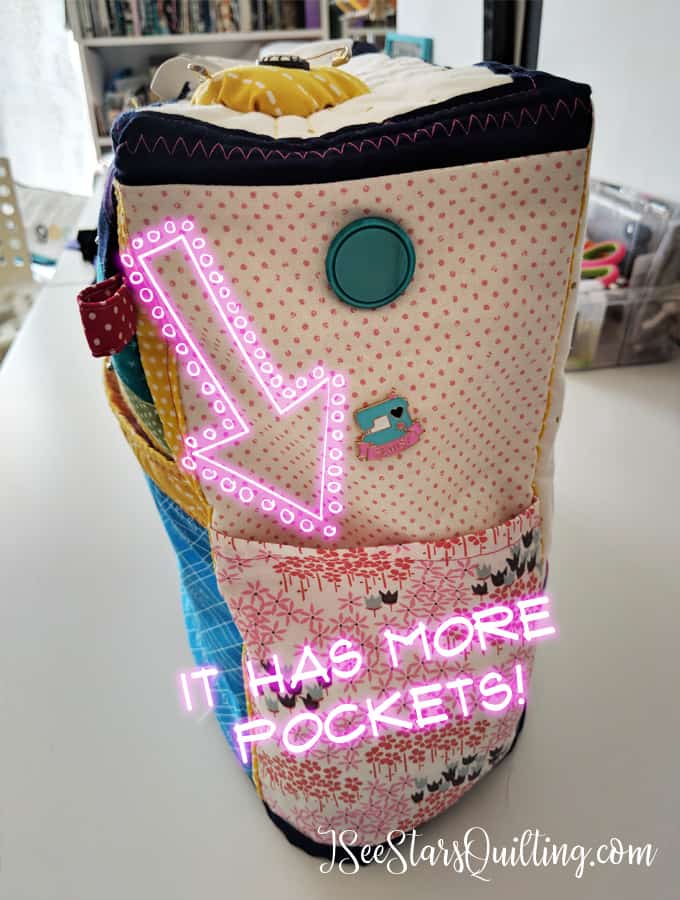
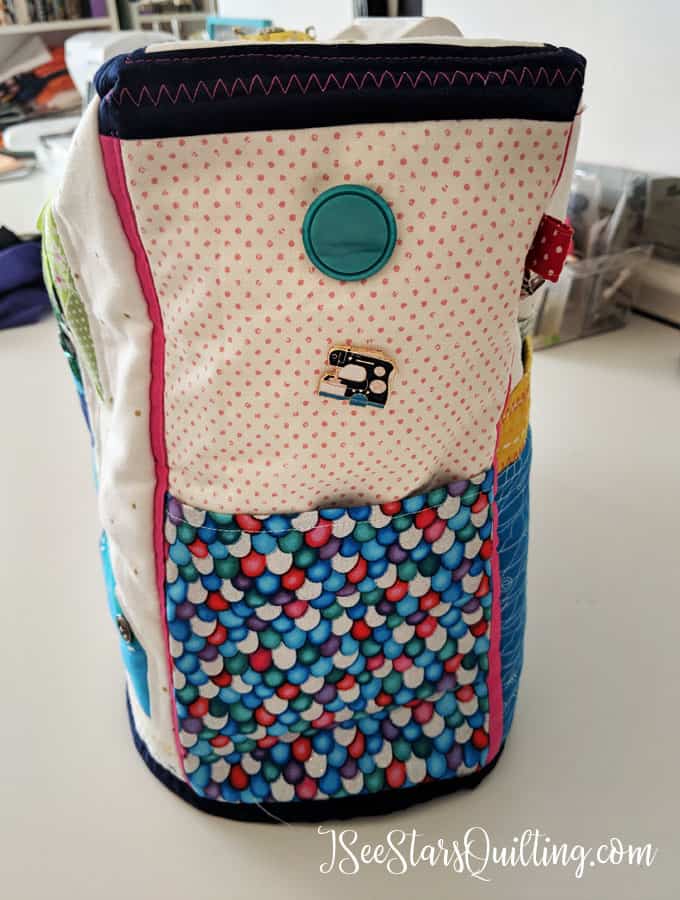
    Pockets are, like, SO important. I may have gone a little overboard, but you know what? I’m prepared for anything. This totally takes me back to the diaper bag days where that bag held my life, and I was ready for anything unexpected at a moments notice. *hands up mommas who have it together!*

    The big back pocket can hold my pedal and my power cords. The smaller pocket can hold my rotary cutter and any markers or smaller rulers.

    The Sides of my DIY Sewing Machine Cover

    If you like the little sewing machine lapel pins, you can purchase them from my shop! They’re so cute and make such a fun addition to a quilt swap or a gift for a sewing friend!

    The Top

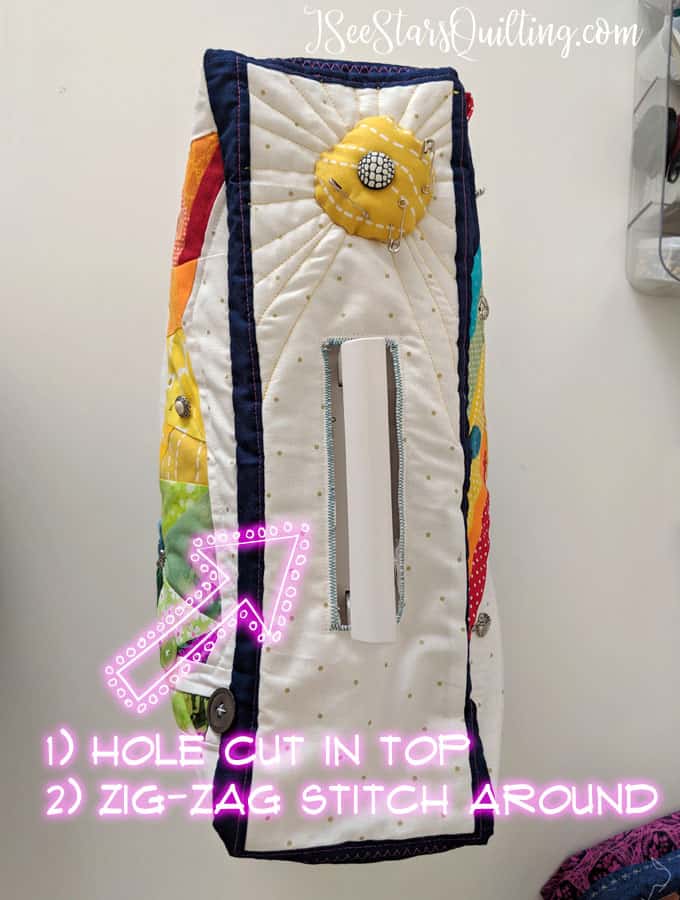
    The top was probably the most complicated part of the whole project. I eyeballed most of this part and it took several tries to get the hole just big enough. Then I zig-zag stitched around the cut fabric to keep it from fraying.

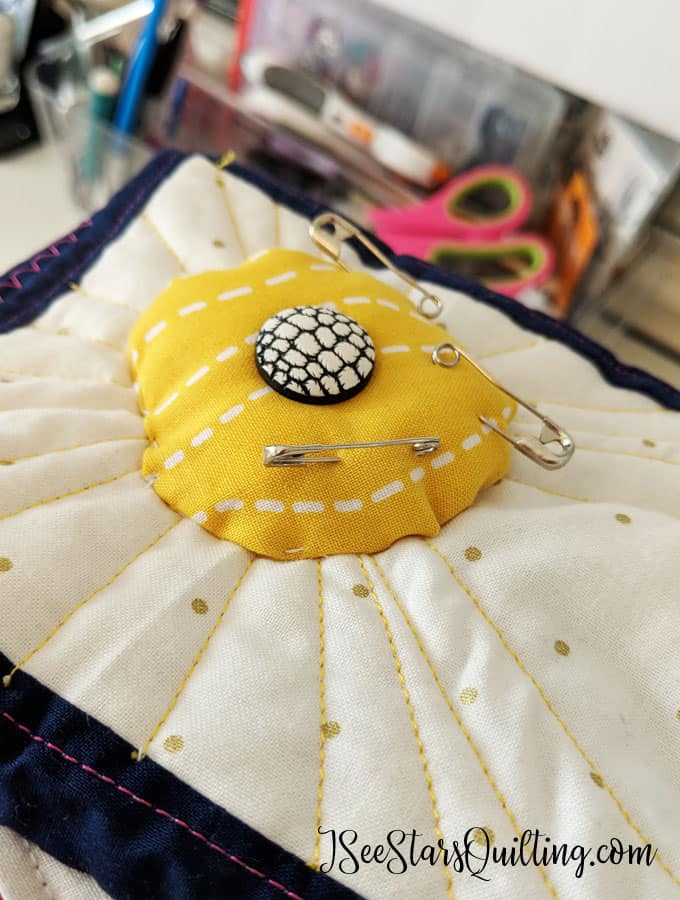
    Another detail that I added was this fun little pin-cushion on top. (A little bit more sunshine!) I don’t see it actually being useful for sewing pins, but a few extra safety pins laying around are always necessary. And it helped make this beautiful button *POP*!

    If you’ve come here looking for ideas for a DIY sewing machine cover, you’re in the right place! Most quilters and sewists really like to put their own personal fingerprint on their sewing machine covers. I’ve never seen two exactly the same… just like us quilters. We’re such a fun breed, aren’t we? 🙂

    TIPS TO DIY YOUR OWN SEWING MACHINE COVER

    I highly suggest that you:

    1. Pull out your scrap fabrics! Find the ones that call out to you. That tiny bit of pink you just couldn’t let go of? This is the perfect project for it! Find a way to bring in all the ones that you love! Who cares if they don’t all match perfectly.My cover was made with scrap fabric only. The rainbow motif created itself, honestly.
    2. Decide on what sewing technique brings you the most joy. Is it paper piecing? Or is it random modern crazy stitching? Maybe you like things to be precise and meticulous with perfect piecing? This is the best place to showcase your favorite techniques!
    3. Look for little embellishments to add on! Little loops, ruffles, charms, pins, and buttons! 3D little fabric banners? Yes, please 🙂 Even embroidery is fair game! Add it all and then some!
    4. You can start out with a calculated plan or you can just start sewing and see where you end up. There are no rules.
    5. Do not get caught up in making it absolutely perfect! If you want it to be perfect, I guarantee you it never will be. But if you roll with the mistakes and make the most of it, you’ll grow as you sew and love the results!
    6. A fun suggestion is to ask some of your sewing friends for pieces of scrap fabric to add in. If they’re making covers too, donate some of your scraps. Share the love!
    7. Have fun! Do not let this frustrate you as you’re working on it. Focus on completing the bits of inspiration as they come to you!
    8. Consider using decorative stitches to add a fun flair.
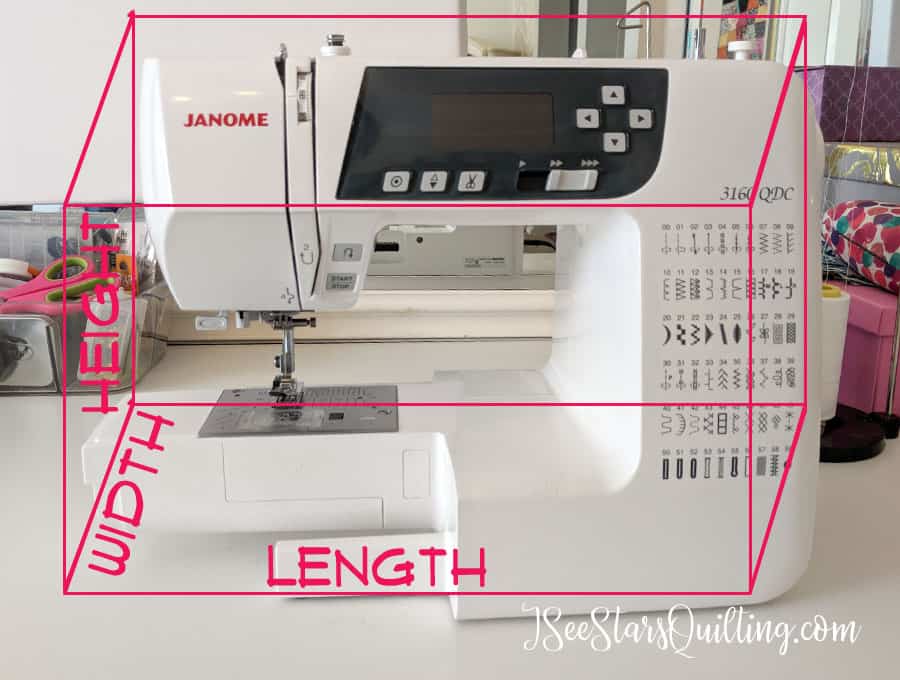
    9. Measure Measure Measure. See Below! You’ll want to make sure that you measure correctly before cutting and add in a little grace room so that your cover will not fit so snugly around your machine.It is a dust cover, not a dust girdle!

    The most important rule is to have fun with it 🙂 Measure properly and then play with the fabric from there! Let me know if you have any questions or if you’re inspired to create your own DIY Sewing Machine Cover.

    Happy Sewing!

    How cute is this DIY Sewing Machine Cover?!? I want to make one! She even lists tips to make your own cover. I love to sew. I need to make this.