Whew! I hope you have been doing a TON of sewing these past few months! I tend to sew heavier in the later months of the year getting things ready for the holidays and finish up the projects I said I would finish by the end of the year (and find myself WAY far behind on). Anyways, your sewing machine could probably use a little extra pampering right about now, right?… Here is how to quickly get your sewing machine ready for more sewing!

4 things to do to get your sewing machine in tip/top shape!
New year, new season, new projects and LOTS of creativity on the horizon? Then it is time for you to get your sewing machine ready! Let’s take just a few minutes to set yourself up for success!
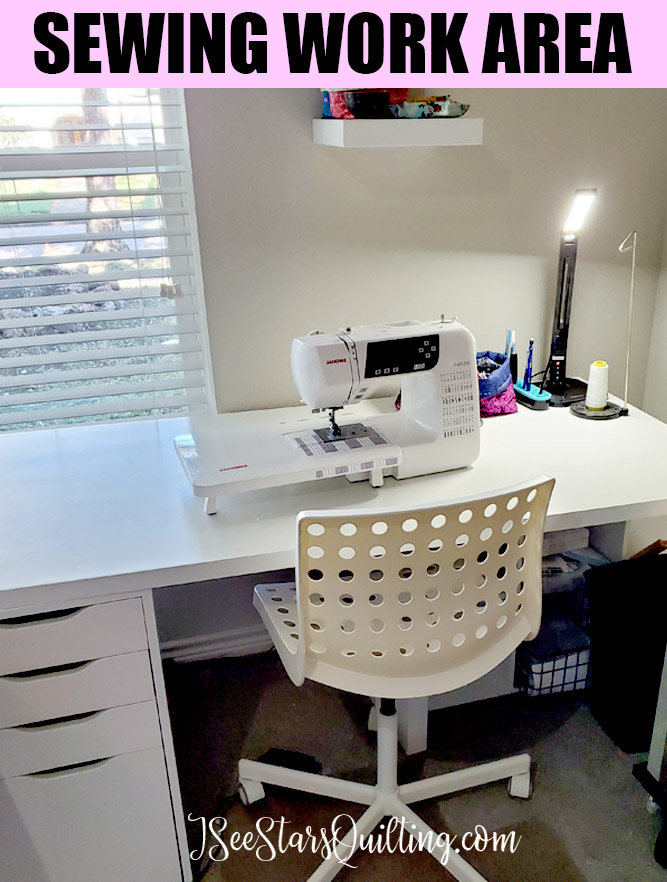
1. Give your machine and work area a good dusting!
I know… we work and work and work and *sometimes* it is easy to just ignore the mess that we’ve created. You can even go blind to it! – As in, you may not even see it as a mess or clutter anymore. It’s just the way it always is.
- Take a second to step back and look at your space. Really look at it and what you have in it.
- Look at the table/work surface your sewing machine is on. Is it big and open with room for you to work on your projects? or is it 90% occupied with tools, baskets, piles and work to be completed?
Consider cleaning off your workspace and re-arranging things to give you a little more room. A change in perspective and surroundings can make way for all sorts of new inspiration to come your way!
Take a light dusting cloth and go over your machine. I don’t use any cleaning products other than water when needed or if there are any smudges to remove. - Dust and wipe your work surface clean. Pick up any little bits of thread or fabric clippings and maybe even give your room a once over with a little air freshener. It doesn’t have to be a complicated huge overhaul or spring cleaning! Just do a light cleaning to bring in some good creative energy!
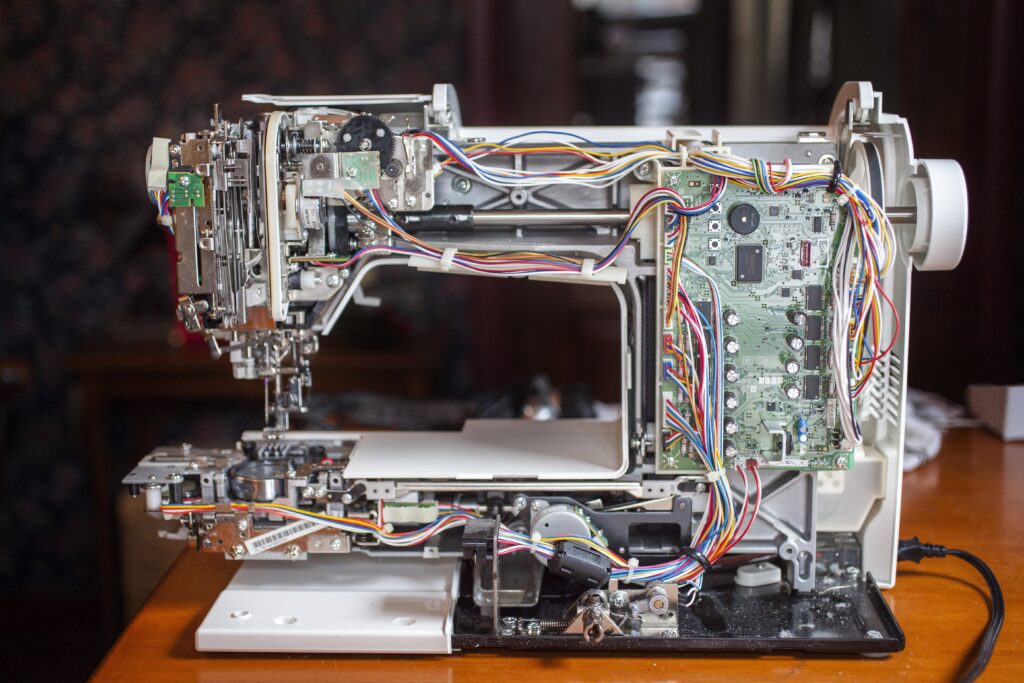
2. Open up your machine and clean the insides!
When was the last time you cleaned out your machine?
This can either be a really fun, or horrifying task. If you want more tips on how to clean your machine, you can check out this post: How often should you clean your sewing machine? + A How To
I recently discovered a SUPER handy tool – that totally blew my mind. I would have never thought it would be my favorite for this task and also… it is super inexpensive! Absolute win/win!
Check it out in the video below!
MORE HELPFUL READS:
- How much does it cost to get my sewing machine serviced?
- A Simple Plan to Improve Your Sewing Room
- The Best Sewing Machine Deals on Amazon
- What I Have Around Me When Sewing!
*Check your manual on other cleaning tips. Each model sewing machine varies on the recommended practices. Only add oil if your manual suggests it. Do not unscrew or take off pieces that you are not familiar with.
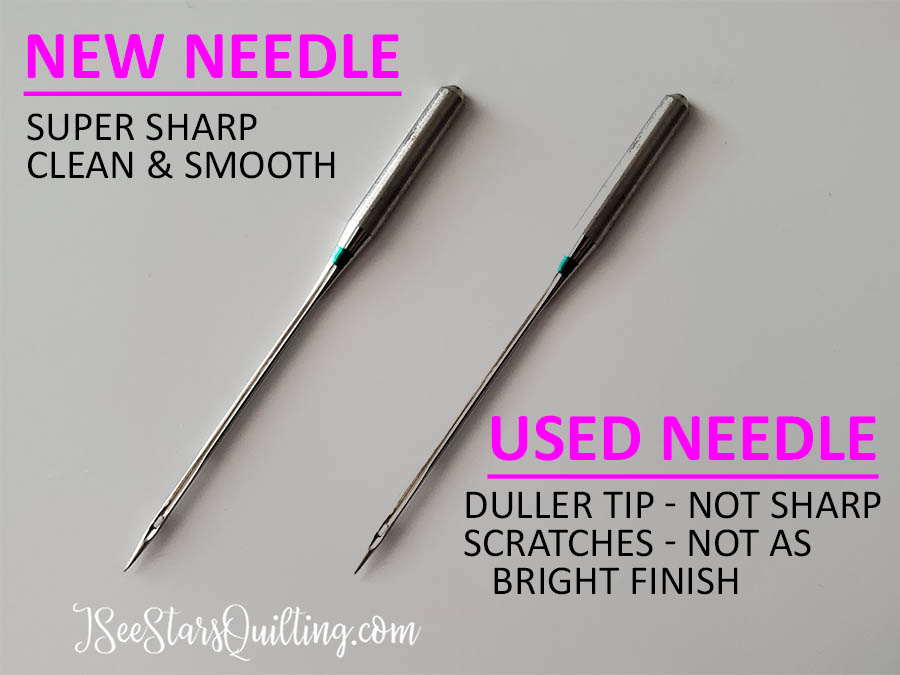
3. Change your needle!
Part of getting your sewing machine ready means making sure it is in the best possible shape, right? An easy part to change out regularly is your needle!
Changing your needle is easily overlooked, especially if you’re excited to jump right into a new project and you’re used to having your trusty machine do whatever you ask of it! However, if you are sewing with a dull needle, you are adding extra wear and tear on your machine that you may pay for down the line.
A good general rule (which can widely vary based on who you ask and the age of your machine) is a new needle every 10-12 hours of sewing.
Personally, I think measuring sewing time is really weird, right? Like, who does that?
If most quilting projects average around 9-15 hours (some more, some less)… you should look to change your needle at the start of every project-ish. I’m adding that ish in there because this is just a guideline, not a hard rule. You are the only one who knows what projects you work on…
If it has been a while since you changed your needle, just start with a new one now and try to keep up with it from now on.
Leaving your machine to push a dull needle through multiple layers of fabric and batting over and over again is a hard job. A sharp pointy needle sews so much better!
Also, another note… next time you’re shopping for needles, take into consideration what kinds of projects you’re working on. Thicker and more durable fabric such as denim sews better with a more durable needle than thin cotton fabric!
4. Consider if it is time to take your machine in to be serviced by a professional
I know quilters who are like clockwork about taking their machines in to be serviced and cleaned up. I know quilters who’s machines haven’t seen the inside of a professional store since the day it was purchased.
There is no judgement either way!
I tend to fall into the category of every 2-3 years… depending on how much sewing I am doing and if I notice anything weird going on.
I like to take mine in because I plan on using it for a very long time. Even with all the manual cleanings I do myself and trying to keep my machine in tip-top working mode… there are places that you just can’t reach within your machine without taking it all apart.
I definitely DO NOT recommend taking it all apart on your own unless you know what you’re doing! Leave that to the professionals, please. The last thing you want to do is show up at the repair shop with a bag full of parts that used to be a working machine and have to pay the extra hours of service while he tries to put it back together again!
If you’re doing regular cleanings on your own, there is no reason why your machine shouldn’t last you a really good long time… that being said, if while you’re sewing you notice the tension keeps getting off or things just aren’t working properly… there is a weird knocking noise or a squeak every now and then that won’t go away… I would recommend taking it into a repair shop, just to make sure whatever is going on doesn’t get worse.
If you aren’t aware of a sewing machine repair shop, check around for vacuum repair shops (don’t ask me why… they’re often linked together). Or you can check with your local fabric or quilt shop to point you in the right direction.
What you’ll need to do: Call and ask what their turnaround time is right now (i.e. how long you’ll be without your machine) and how soon you would be able to bring your machine in for a tune-up. They may ask when the last time it had a tune-up was and if anything specific is wrong with it at the moment.
Should they find anything else wrong with your machine while it is in the shop, you can specify for the repairman to call you with estimates before the added work is completed.

WRAP IT UP: Getting your sewing machine ready!
- Dust and clean off your machine and sewing area.
- Open it up and clean the insides.
- Change your needle.
- Consider if your machine needs to be serviced by a professional.
I don’t know about you, but I am SUPER PUMPED up about all the fun projects I have in mind for the next year… so many wonderful things lie ahead to create!
So get to it! Go get your sewing machine ready to create more beautiful things!
If you need more help to plan out your next year, check out this popular resource: Framework for a Creativity Audit – How to plan for more creativity

Lastly, I hope you have a wonderful start to the new year or new season… or new week (depending on when you get around to reading this!) Talk to you again soon!