;
Skip to content
YouTube
Instagram
Pinterest
✨WANT TO RETREAT WITH ME?
START HERE
Expand
QUILTING 101
TUTORIALS
RECOMMENDED TOOLS
FREE PRINTABLES
BLOG
SHOP
LONGARM QUILTING
EVENTS & RETREATS
ABOUT
Expand
CONTACT
FAQ
Search
👭Join StitchSisters
✨ LONGARM QUILTING SERVICES
🥳RETREATS & EVENTS
Instagram
YouTube
Pinterest
Search
Toggle Menu
Sewing Tools
The Ultimate Sewing Space Checklist!
The BEST Places To Buy Fabric Online!
What Quilting Rulers Should I buy?
Quilting Tools I Can’t Live Without
A New Sewing Machine or Quilting Machine? – Hot Deals right now!
20 Amazing Gifts for Quilters!
6 Tools for Faster Quilting
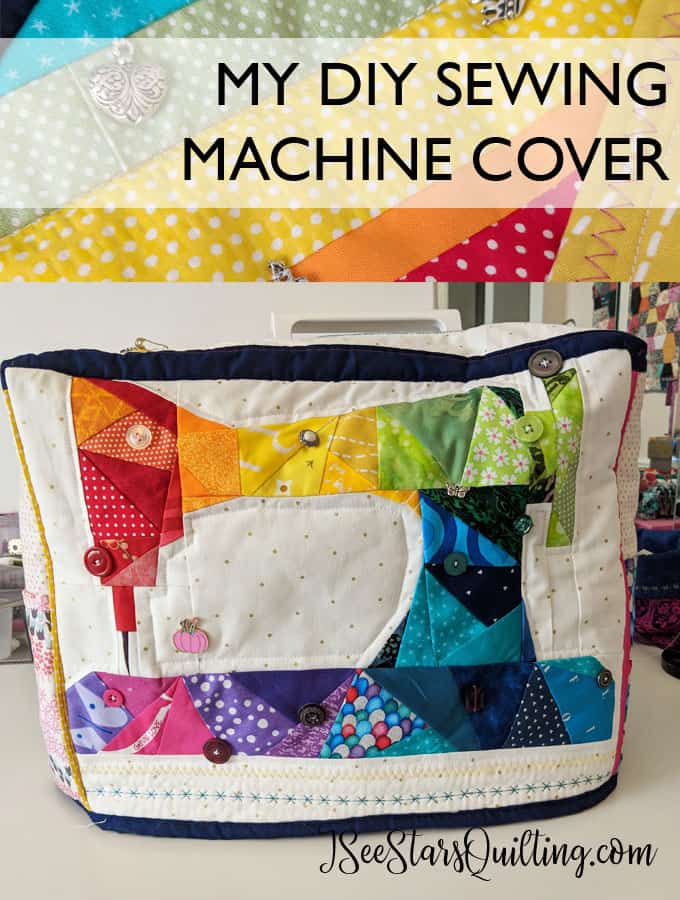
DIY Sewing Machine Cover
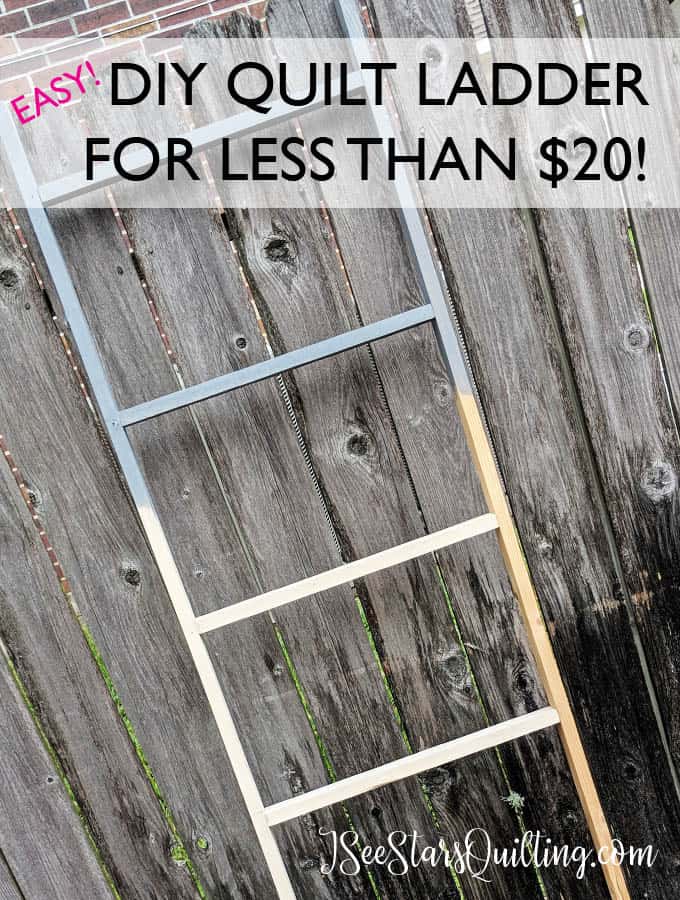
How to DIY a Quilt Ladder
Page navigation
Previous Page
Previous
1
2
3
4
5
Next Page
Next
Scroll to top
Scroll to top
ISSQ 2024 HomePage
About
Toggle child menu
Expand
Contact
FAQ
Blog
Toggle child menu
Expand
Start Here Quilting 101
Tutorials
My Quilts
Sewing Tools
Printables & Downloads
Retreats & Events
✨Longarm Quilting Services
Become A StitchSister
SHOP
Toggle child menu
Expand
Shop Deals
CLASSES
Toggle Menu Close
Search for:
Search