Are you running around crazy busy or are you feeling settled, happy and balanced?
Every year I fall into the trap of thinking that “once summer break is over”… “once the kids go back to school”… “once I get caught up on all the things I put off over the summer”… THEN I’ll have more time to play and create.
Yes, it is allllll good for about a day and then I start to feel the pressure of after-school activities and strict schedules to adhere to and you know what?… the holiday season is just around the corner too… I had better start thinking about getting organized for that! 🤷♀️ It is an endless trap…
Don’t let yourself get trapped!
Start re-evaluating your thought process today with these 6 steps. If you can’t FIND time for creativity… you have to MAKE it happen 🤩
6 Habits To Make More Time For Creativity
1. Decide which area of being creative brings you the most joy.
I love to dabble in a lot of different areas of crafting. I do. But it makes it really hard to be successful in any of them if I get to them only a few times a year. I suggest picking a few main areas of focus and occasionally subbing in a new interest every now and then.
2. Get to bed early.
I’ve had my fair share of super late-night creativity parties! That used to be my “power hour”. They’re wonderful when you’re in the moment and inspired and having a blast… but morning eventually comes and your next day going to work or dealing with errands/chores can feel like it drags on and on. – Get your rest so that creativity time doesn’t cause such an interruption to the rest of your life.
3. Schedule a regular date with yourself.
Mark it on your calendar and treat it like you would any other important appointment. This can be a weekly evening sewing hour or a Friday afternoon after you’ve picked up the house. Don’t cancel it.
4. Take 5 minutes to clean up your space before you get all creative.
Creating in a messy zone is something we’ve become accustomed to, but it can hinder your energy and ability to reach your full productive self! Check out: How to quickly clean your sewing space
5. Really encourage your friends and family to do things that matter to them.
Be that cheerleader. Encourage them to take care of themselves and practice self-care. The more you see the need for it in other people, the easier it is to see the need for it in yourself.
6. Don’t feel guilty.
Don’t do it. You can’t let yourself go down that path of feeling like you’re not cut out for it. If you have a calling to be creative and it brings you joy… ENJOY IT! Don’t make time for it and then feel guilty that you did it. That’s a harsh cycle to fall into, isn’t it? … This brings me a great video that I created 🥳 It’s a good one!
I hope that these 6 habits to make more time for creativity are helpful to you! I hope that you work your schedule around so that you have more time to be creative!
Leave me a comment down below if you have more ideas to add. I would love to hear them!
Do you love quilts? The vast majority of us do! It’s not hard to see why either. They offer a quick, easy way to create something beautiful and cozy. In this blog post, I’m going to share some of my favorite free patterns for quilt projects made with jelly roll precuts. This includes links to 11 different tutorials that are both easy and beginner-friendly!
What are Jelly Roll precuts?
A jelly roll is a type of precut fabric grouping. They come in many different colors, sizes, styles, or themes. In most cases, they measure 2.5″ x 42″ (or the width of fabric).
My favorite Free Jelly Roll projects!
1. The Jelly Roll Race Quilt
The easiest and most straightforward Jelly roll project is a Jelly Roll race quilt. It is a traditional quilt pattern that is usually made with two or more jelly rolls.
I love using this random pattern for a palette cleanser between larger quilt patterns. Why? because it is a quick sew, but also… there is so little tedious work within this quilt!
You don’t have to worry about corners matching up or where you’re going to place your fabric… you just have to trust me on this one and get yourself a few Jelly Roll Precuts to play with! This quilt flows together effortlessly!
I have a full video tutorial on youtube here.
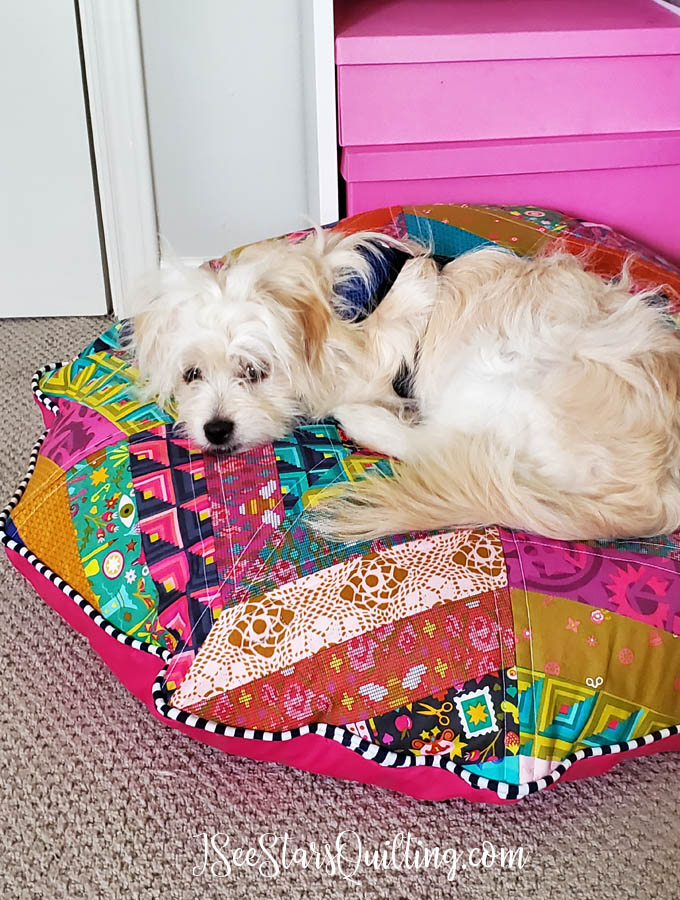
2. Jelly Roll Throw/Floor Pillow
This is a great beginner quilt pattern and is really easy to make. This beginner-friendly tutorial for making a quilted throw pillow/floor out of jelly roll strips.
Bonus: The texture of this pillow is SO comfy.
This started out as just a play project that I made for fun, but I had such amazing feedback that I turned it into a free download Pattern for you. (yes, that’s one of my puppies. His name is Butters and he loves to find all the soft things to lay on!)
Want to make your own DIY quilted floor pillow? I had such an overhwlemling response to the fun pillow that I made, I created a pattern to share for FREE!
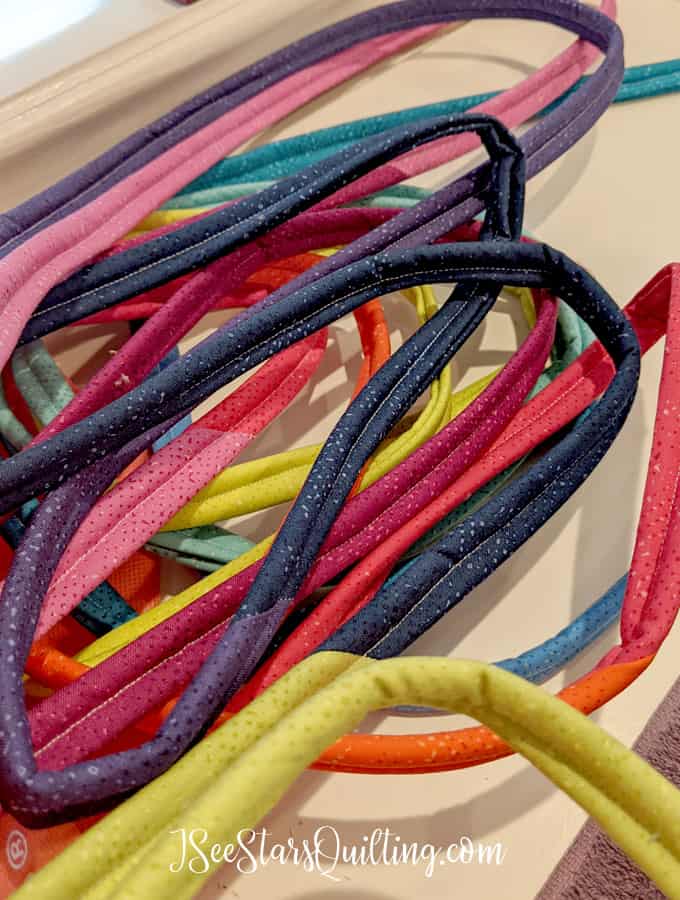
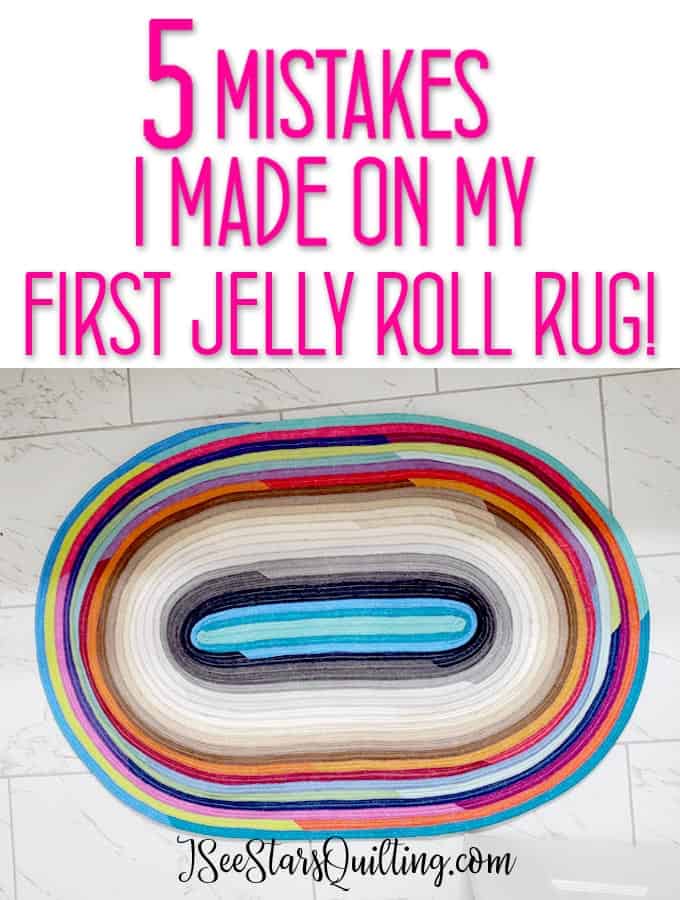
3. A Jelly Roll Rug
I have another tutorial post on this for you. I absolutely LOVE the way this project came out and I don’t know that I will ever be able to replace the rug in my bathroom with something I love more.
4. Another popular pattern
This video has been super popular on my YouTube Channel (are you subscribed yet?Click the subscribe button so you know when I post really great new things!)
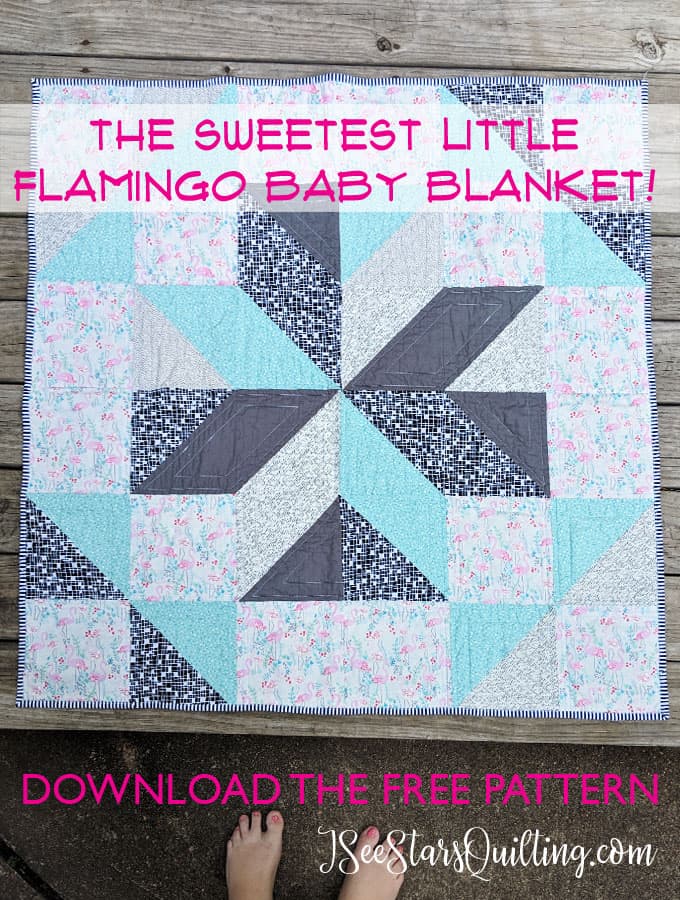
I LOVE this pattern because it is super easy and really fun to sew. – It also might be one of my favorite baby quilt patterns out there…
So when you’re looking for something fun and beautiful to sew with minimal effort and cutting, start with Jelly Roll precut strips, pick a pattern and make something beautiful!
If you want to browse through some of my favorite fabric sites, check out these stores below. I love their selection and range of fabrics!
If you are a sewer or quilter, then chances are that you have spent at least some time looking for the best sewing needles to use. There are so many types of sewing machine needles on the market today, and it can be overwhelming to find the right one.
I want to share with you the different types of sewing needles used for different fabrics, how they should work with your projects, and when you should change out your needle.
The most popular type of sewing needle is one that is made of steel. It has a perfectly sharp point that pierces through the fabric and can easily be threaded through the eyelet on your sewing machine needle plate
I really like the Schmetz brand sewing needles, but I have recently tried the generic brand and I haven’t had any complaints yet.
Most sewing needles are relatively inexpensive and cheap enough to purchase in bulk. (We’ll discuss why you need to have extras on hand in just a minute)
There are many different types of needles available on the market today: there’s really no one size fits all when it comes to choosing what type you need for various projects (i.e., embroidery, quilting).
Different Options For Needles
The Universal Needle
A universal needle is generally my go-to when I’m shopping because I know that it can handle MOST of the projects that I work on. The machine that I sew with is a relatively recent model on the market and does not require specialty sizes or parts.
The Universal needle was designed to be able to handle various fabrics.
It has a sharp point, which means that it will poke clean holes in your fabric while sewing.
A universal needle is also inexpensive and easy-to-find at most craft stores!
Larger/stronger Jean Needle
If you are sewing with material types other than cotton, you may need a stronger needle made from titanium. These are great for using with heavyweight denim or upholstery work because they stay sharper longer than cheaper alternatives while being less brittle under high stress.
Delicate fabrics
For thinner or more delicate fabrics, you may want to use a ball-point needle. These are great for fabrics like silk or satin because they don’t create as much friction and pass through the fabric more smoothly.
Embroidery Needles
Embroidery needles differ from your regular sewing needles because they are designed to pass through fabric with a lot of ease. They have smaller eyes so that you can embroidery without your thread catching on the needle. It also makes it easier to push your threads back and forth between stitches.
These needles also take into account the type of thread that will be passing through. Embroidery thread tends to have a sheen and often has a coating to it different from standard threads.
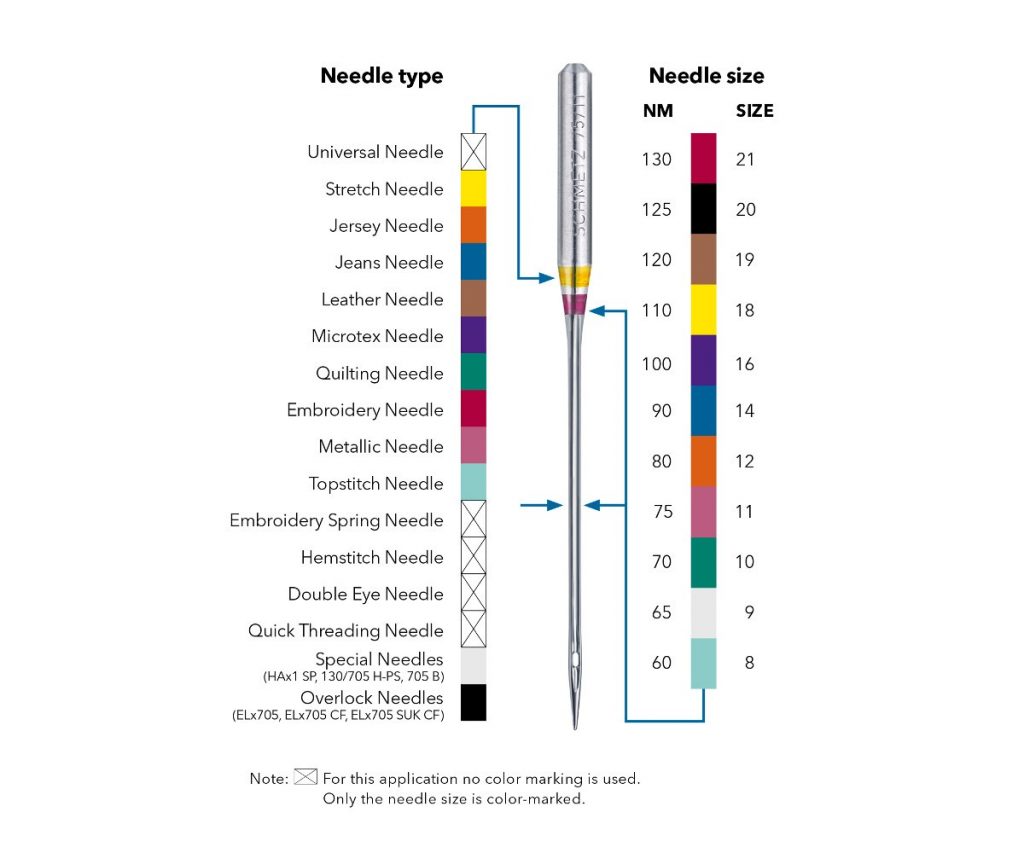
Notes about needle sizing
It is important to know that needles are sized according to their diameter, and sewing machine needle sizes can range from size 60-100.
You’ll definitely want to consult your sewing machine manual or search the internet for recommendations for your specific machine.
What do the colors on the tops of the needles mean?
So glad you asked! It is actually a really helpful code that is built into your needle that will tell you exactly what it is meant for!
The colors at the top of the sewing machine needles are crucial.
Red: Nylon and other synthetics, polyester
Yellow: Cotton and linen fabrics
Blue: Denim, woolens, draperies
Green: Silk, rayon, acetate-coated fabric such as satin
Purple (or more rarely orange): Leathers and vinyl.
Why do I need to replace the needle on my machine?
Read the packaging on your needle. It should have instructions that tell how long each kind of sewing machine needle lasts so remember to check these when purchasing new ones.
Wear and tear on your machine
Something to consider: Continuing to sew with a slightly dull or well-used needle may appear to be working just fine, but the wear and tear on your sewing machine isn’t worth the risk, in my opinion.
Your sewing machine is a complex system of gears and mechanics that force the needle up and down through your fabric. Any pushback or resistance from a worn needle is going to cause further wear and tear on those internal parts. How much wear and tear depends on the age of the machine, the frequency in which you sew etc.
Here is a real-world example to consider: You can definitely use a dull butter knife to cut your dinner steak. It will eventually cut the meat into the bite sizes pieces you desire, right?
Wouldn’t it be a much better and more efficient method, not to mention less stress on your hands, wrists, and elbow if you use a sharpened steak knife? Absolutely!
Think of your hand, wrist, and elbow like the gears in your sewing machine.
Love your sewing machine and take care of it. Make it easier for it to make you happy for a really long time!
So, how often should you replace your sewing machine needle?
No one likes the idea of having to buy more supplies than they need to.
The general rule that I follow is about every 10-12 hours of sewing.
Let’s make it even easier to know when to switch…
When you are sewing in little spurts here and there and broken up bits of time throughout the week… the hours that you actually sew can be super hard to keep up with! …I KNOW!
So let’s make it even easier by saying that it is a good idea to replace your needle at the start of every quilt project you work on.
Use your good judgment here. If you know you’ve spent a very long time piecing a large quilt and you’re getting ready to quilt it, your machine may need a new needle for the quilting stage. More layers = more work for your machine and needle.
The needle packaging might suggest a longer sewing life. It is worth noting that different sewing situations can wear your needle down faster, such as quilting.
Quilting is sewing through multiple layers of fabric and batting at the same time. That is going to leave a different amount of wear and tear on the needle than sewing through just 1-2 layers of thin cotton.
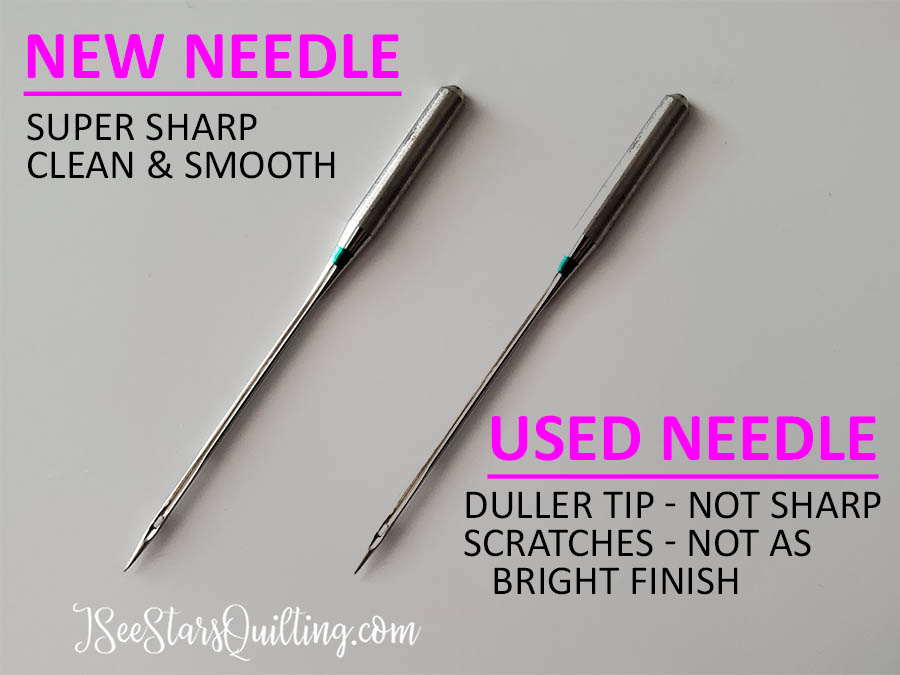
Check-in and do a quick comparison when you change your needle
I always like to compare the needle that I pull out with the brand new needle to see the wear and tear on the needle and help keep myself accountable.
When you put your old and new needles side by side you can really see the differences! As yourself:
Did I wait too long? Is the needle really dull this time?
Does the needle hole look evenly worn? (can be a sign that the machine needs a tune-up or a trip to the shop)
Should to try to keep in mind to change it sooner next time?
Hopefully, that helped you know when and why you should switch your needle on your sewing machine!
If you have any questions, please feel free to leave a comment down below or contact me. I would love to hear from you!
Quilting retreats are a great way to quilt in a group, learn new quilting techniques, and meet quilters from around the world. In this blog post, I want to provide 8 reasons why quilting retreats are important for any quilter who wants to improve their craft.
I’ve been quilting for a number of years now. What started out as something that I could play with quietly in the hours after my kids went to bed has now morphed into a hobby that I share with the rest of the world and has become my full-time job.
I love quilting and the creative outlet that it has given me.
I have met so many quilters and people who are wildly talented.
It has challenged me to step outside of my comfort zone because I always want to see what else is out there and new in the world of quilting: from patterns to fabrics and all the crazy different techniques and tools too.
It definitely isn’t my first instinct to sign up and take a “sewing vacation” with a bunch of people I hardly know – But I can tell you that never once have I ever regretted doing it!
8 Reasons Why You SHOULD Go To A Quilting Retreat
I believe everyone who loves quilting should give it a try at least once… because just once is all it takes… 😉
1. Time away
The first reason is that a quilting or sewing retreat will give you time away from your everyday life so you can focus on quilting without distractions.
Let me make this crystal clear – no laundry piles to cycle through, no cooking, no dishes (except your own, of course), and no work distractions… except for the fabric and projects that you bring with you!
You just have TIME to focus on yourself, your quilting friends, and your fabric/crafty projects!
2. New friendships
The second reason is that it’s an opportunity to make friends with other people who share your passion for quilts!
Do your family and friends wonder why you’re always going to the fabric store when you have so much at home?
The new friends that you’ll meet at a quilting retreat can relate! Chances are that they will not only understand but become your new quilting friends and even send you an email when they see a good sale. 😘🤩 I mean, we all need good friends like that, don’t we?
3. Be surrounded by people who get you!
No one will be able to understand you or your passion for creativity and quilting… except for another quilter!
My guess is that every single one of us gets all geeked out about fabrics and thread colors. We all take moments to pause and ooh and ahh over fancy stitching and perfect binding corners.
I mean, I could be wrong, but so far… I haven’t met a quilter who doesn’t have an absolute obsession with quilting (or if they’re brand new… a budding obsession in the making!)
4. To-do list… check check check!
Another reason to go on a quilting retreat is for the quilting!
If you’ve lacked the time to finish up some wips and ufos (works in progress and unfinished objects) – Bring them with you!
You’ll get to quilt a whole bunch of progress toward projects that have been hanging around unfinished! Then you can take them home with you when your quilting retreat is over.
YAY!!!
5. Vacationing is part of your retreat!
Another reason that I love taking quilting vacations or going on quilting retreats, is because it’s just so relaxing! All work and no play makes me feel like a dull girl… which doesn’t sound very good at all 😉
Plus, if you’re anything like me then you know how much stress there can be in life – this isn’t a bad way to escape from everything and just relax a little.
There are times where we need reminders about why it’s important to slow down every now and then. Quilty people often forget because we like to take on the world and then some.
6. You can keep it simple.
It doesn’t have to be a huge event. You can keep it simple. You can also make it wildly crazy and fun too!
Planning a quilt retreat can be as simple as hopping in when someone else is doing the planning!
Or if you’re the one doing the planning, choose to make it as complex or as simple as you would like. As yourself what is going to make you enjoy this time that you’ve set aside?
I’ve been to retreats where we were each paired up with a partner and were responsible for one meal to feed the whole house over the weekend. I’ve been to retreats where you were responsible for your own meals (but sharing snacks was encouraged). Or you can check out the local restaurants after a long day of sewing if you’re in a new town!
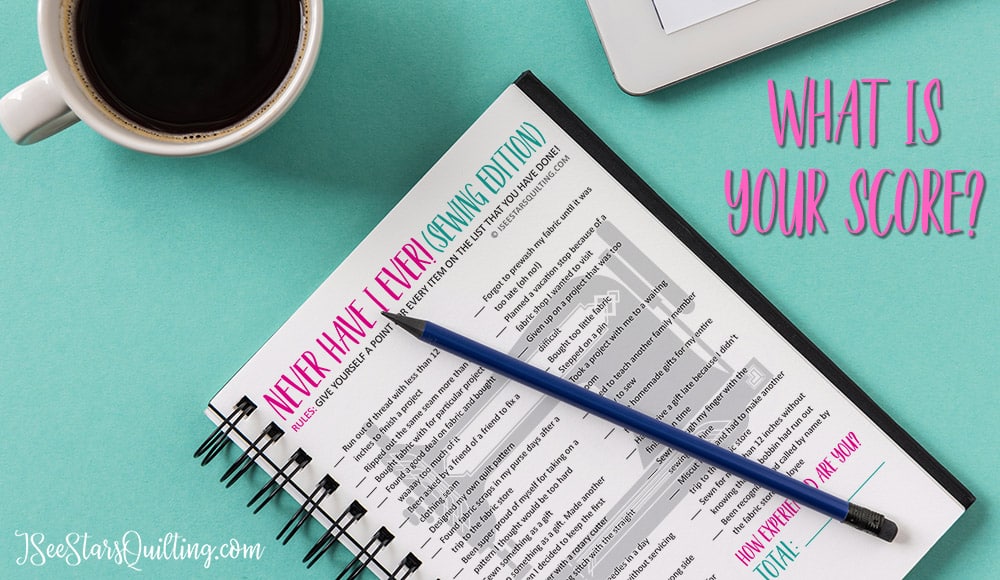
This game for instance (it’s a free download!) is an amazing and fun icebreaker to pull out at a quilting retreat or even just your Tuesday night quilt guild meeting!
7. You don’t HAVE to travel far
though there are retreat houses that are perfect for quilting retreats!
I’ve also been a part of a small retreat where it was just a big slumber party and we all stayed at a friend’s house!
The point is to keep the focus on having a fun retreat and enjoy the time you’ve set aside to quilt, right?!
8. Perspective and Inspiration
Another reason to plan a quilting retreat is a fresh perspective. I find that I get really inspired by being surrounded by other quilters!
Retreats help quiltmakers get out of their regular sewing space and see different quilters’ points of view.
I find that when attending a retreat, there is so much inspiration around me, which can be hard if you’re just sitting at home working on projects all day long. Plus it helps you keep up with what’s new and trending for quilts and supplies as well as ideas for designs we never would have thought of otherwise.
If you’re feeling like your inspiration is failing you, check out my course on how to pursue your most creative life! Cut to my favorite tips to give quilters to make the most of their time and brain – even when you feel like it is running low!
The main point I want quilters to get from this post is that quilting retreats are a lot more than just quilting and sewing!
They can also be really fun, inspiring, surrounded by talented people who share your interests in quilts!
When you give yourself time to relax and enjoy life, your stress levels decrease, you become more at ease and less harried.
Quilting retreats are a great way to do just that, but with the added bonus of being surrounded by other quilters who share your interests and create amazing relationships while you’re there!
I hope this blog post was helpful for quilt enthusiasts out there on whether or not it’s worth attending a quilts retreat for you!
I’d love to hear any comments from someone who has attended one before as well so feel free to leave them in the comment section below 🙂
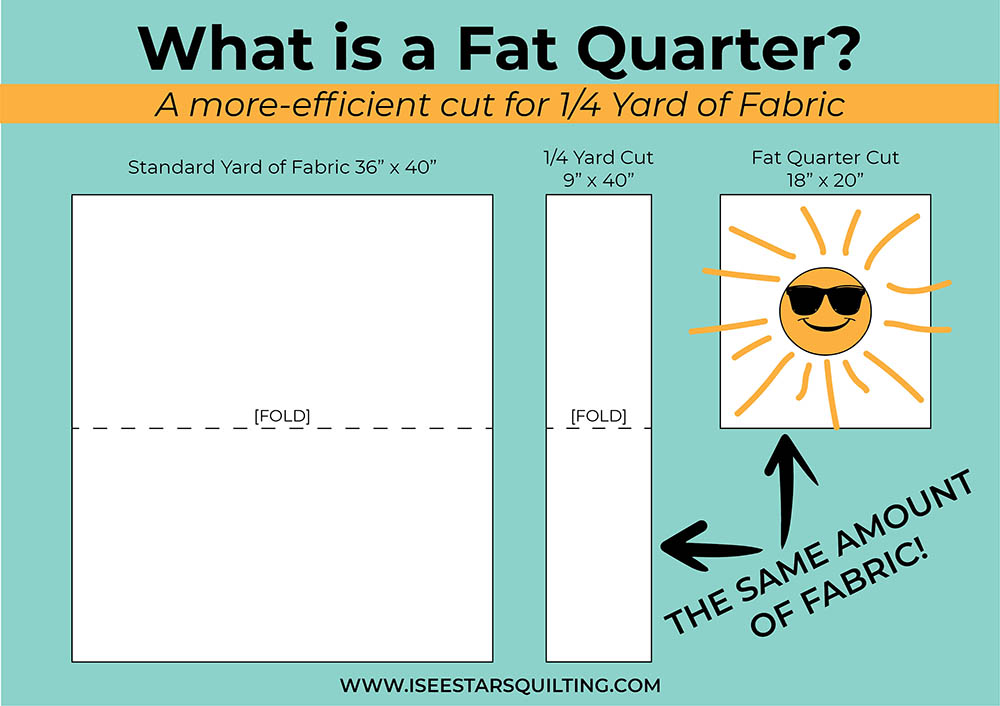
What is a Fat Quarter? – A “fat quarter” is a term that comes from the fabric world, and basically means one of four sections from a yard of fabric.
What does this mean? Well, when you buy fabric (usually by the yard), it’s cut into strips that are then folded to create more manageable pieces. Also, a quilt pattern will request specific measurements or requirements of fabric to finish the project.
A fat quarter is a piece of fabric that is 22″ x 18″.
For more sewing and quilting terminology, make sure you check out my post on the quilter’s code!
So, what is the difference between a fat quarter and a quarter yard of fabric?
– A fat quarter is a horizontal cut of fabric, whereas the quarter yard is a vertical cut.
In words, the difference is hard to grasp… but in terms of usability of the fabric, you will find that the fat quarter is more versatile than the quarter yard of fabric.
Look at the difference between the fabric cuts below:
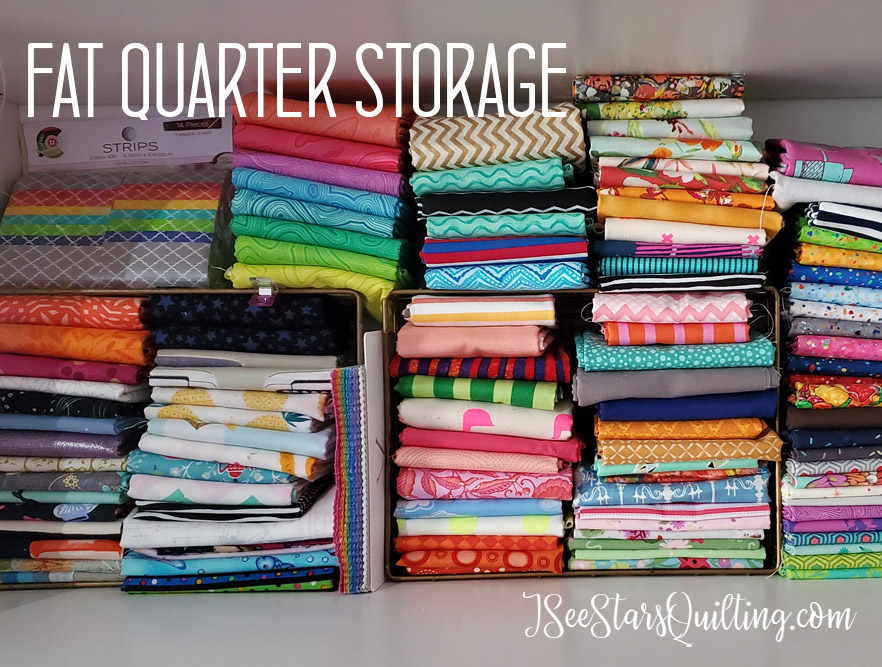
This is my current collection of fat quarters on my fabric shelf! (this is the section that is stacked up nicely… there are more fat quarters that aren’t quite as photogenic at the moment! lol)
What if you don’t have a fabric stash?
I hear from a lot of beginner quilters that get overwhelmed when starting out because there are so many quilts or sewing project out there that require A LOT of different fabrics!
If you’re just starting out, you obviously do not have the fabric stash that a seasoned sewist has! It takes time to collect and acquire a large selection of fabrics to use at home.
Fat quarters are a great budget-friendly gateway into starting or growing your own fabric stash!
You’ll find that the price point is easy to pick out a few at a time. Depending on the fabric and where you live, they generally run $3-$4 each.
As you sew more and purchase more fabric for each project that you take on, your fabric stash will continue to grow.
What can you sew with a fat quarter of fabric?
I tend to collect fat quarters of whatever catches my eye at the moment.
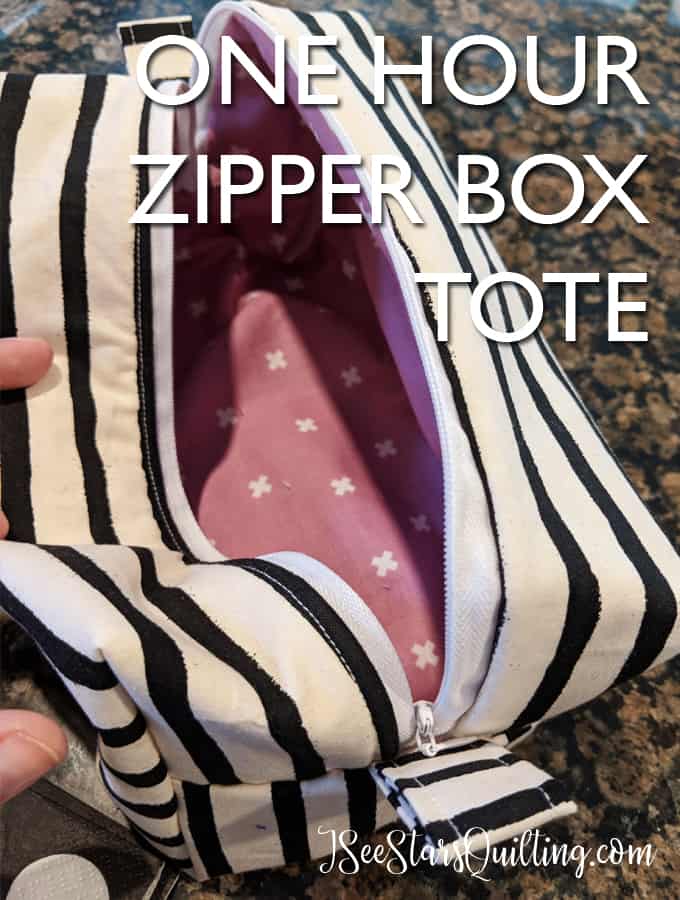
I know there are projects that I will only use a little fabric such as a zipper box pouch or a mug rug. (You can see the full free tutorial in the post below!)
I also like to collect them to use with quilt patterns that are specifically designed to be fat quarter friendly.
Here are a few of my favorite fat quarter sewing projects:
Zipper pouches are loved by all and make fantastic gifts too! I use these to stay organized while I travel too.
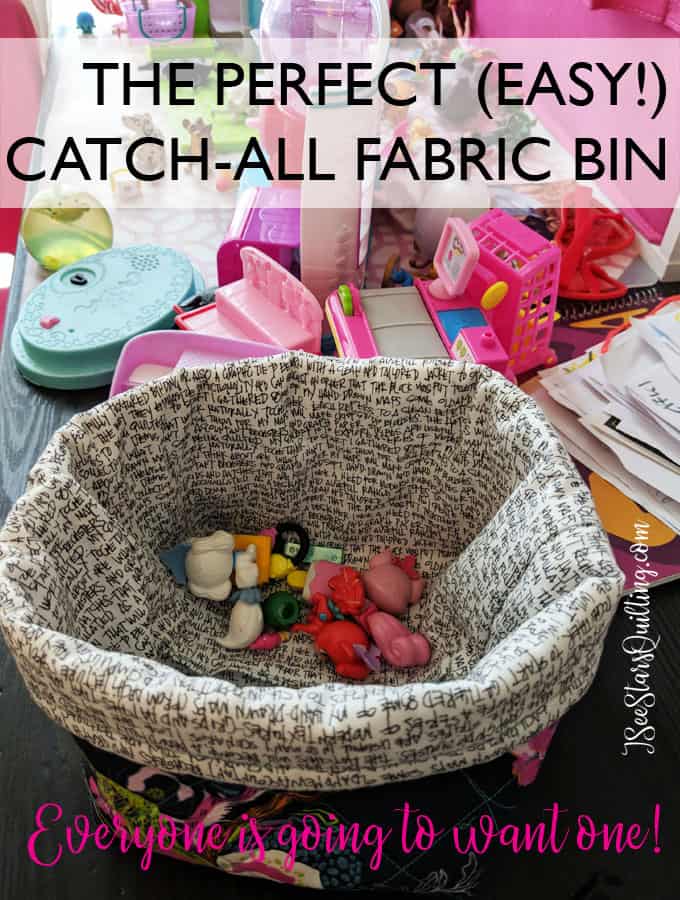
I LOVE to make these to use around my sewing room – And my kids love to keep their little collections in them too. – Catch-All Fabric Bins.
Looking for easy quilt patterns?! Check out these FREE Patterns from the Fat Quarter Shop Website! There are so many free patterns to choose from. (also, take a moment to browse around their fabric bundles too… there are so many cute ones to see!)
Quilting has been such an important part of my life. It’s a great hobby, but it also provides so many benefits! If you’re new to quilting, I want help you by sharing the tools that I recommend for a beginner quilter.
Quilting is one way that can help you stay productive because it gives you something physical to do with your hands while your mind focuses on the task at hand! It is my favorite form of multitasking. 🤩
The time you spend quilting will bring a sense of community and self-fulfillment.
Quilts are often made by hand with love. They are one way that people can connect on an emotional level, which is something we don’t always have the opportunity to do in our day-to-day lives.
The Reason I Quilt:
When I’m cutting fabric or piecing together my newest project, I feel like I’ve been given permission to be unapologetically myself. It feels great!
My favorite thing about quilting is how much joy it brings me and others too. I know I’ll never be bored and there is always something new to learn!
Quilting can feel overwhelming at first because of the amount of information out there and the tools available at the craft store.
These are the 9 tools that I recommend every quilter start with!
– Quilting pins – These are generally a little longer than regular sewing pins and handy when working with multiple layers of thick fabric.
– A quilt pattern, such as this one (it’s FREE on my site and designed for beginners)
– Fabric scissors for precise cuts – good sharp scissors are preferred.
– A walking foot sewing machine (if you’re quilting on your home machine) You can get by without one if you only sew straight lines. Machines like Janome’s J5030 are designed specifically for quilters who want something lightweight that will be easy to take from place to place!
– Seam ripper – I always recommend using these… don’t get into the habit of hating your seam ripper. It’s ok! You’re going to make mistakes! That’s part of the learning process! Seam rippers are perfect to help you along the way.
– Quilt basting spray – This one is my favorite brand and is super helpful hen you’re just starting out.
– Cutting Ruler or quilt square to help keep your quilts squared up while you’re trying it on the batting (usually comes with pattern)
– Aaaand Fabric! – It’s quilting! You’ll need fabric, right?… and thread too! – there are many different types of thread that will work. I recommend the Gutermann brand of thread. It is a good quality thread for a decent price.
A quilter can get started with these basic tools, but as your skills progress and the quilts you want to make require more advanced techniques, you may decide that it would be worth investing in a few other quilt-specific items.
Why does purchasing the right tools make a huge difference?
– A quilt is an expensive investment!
– Starting out with the right tools will help you avoid costly mistakes and disappointment as your quilting skills develop.
A few other quilt-specific items to invest in are a comfortable rotary cutter, mat, rulers, or quilt square templates to help keep your quilts squared up while you’re cutting, plenty of different-sized safety pins for marking where appliqués go before sewing them down.
As you find more patterns that you want to work on and take a few more trips around the fabric shops… you’ll find more tools that you wish to acquire as your budget will allow.
*This post is by no means exhaustive, for those who are interested in learning more about quilting! If you have any further questions, you’re welcome to leave a comment down below or contact me!
**I hope this helps all of my beginners out there trying to figure out how to start quilting or what supplies they need. Let me know if you have any feedback!***