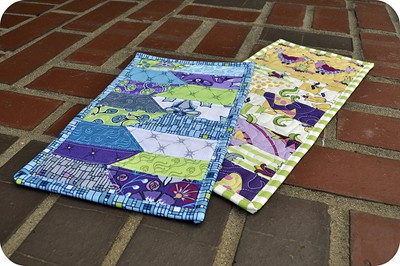
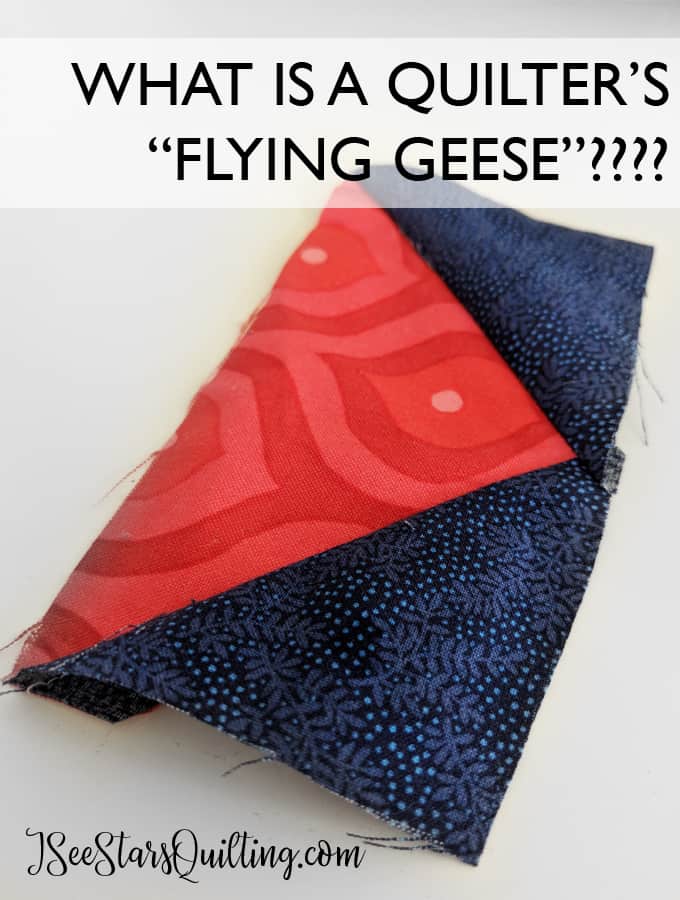
What is a quilter’s “Flying Geese”?
When I first started sewing I quickly picked up on the fact that sewists have their own terminology and a catchy clever phrase for just about everything related to our craft…. like a secret club language if you will. As a newbie, this can be overwhelming and confusing… but nothing tops the day I heard about a quilter’s “flying geese”…
Excuse me… What the what?
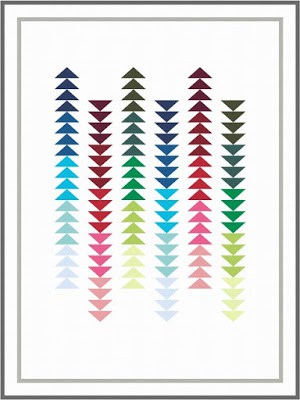
Don’t worry… we’re not zoo-ologists now or anything. The flying geese is a sewing technique that gets your perfectly perfect “v” shapes in your designs very single time. And it is absolutely beautiful!
As for what I can discover about the origins of the term “Flying Geese”… there area few theories floating around. A lot of it is folklore going back to the civil war times. It is said that these quilts were displayed on front porches etc to convey secret messages along common paths that would point/guide fleeing slaves toward the northern free states. Geese fly north to Canada, hense the goose reference. Geese fly in a “V” formation… you can connect the dots 🙂
So let’s learn the simple steps how to create these beautiful “v” shapes with fabric, shall we?
Today I have 2 methods to show you on how you can make a flying geese block. You’ll be a pro in no time! I’ll even link to a few free patterns out there that use this block should you get really goose happy and want to create more!
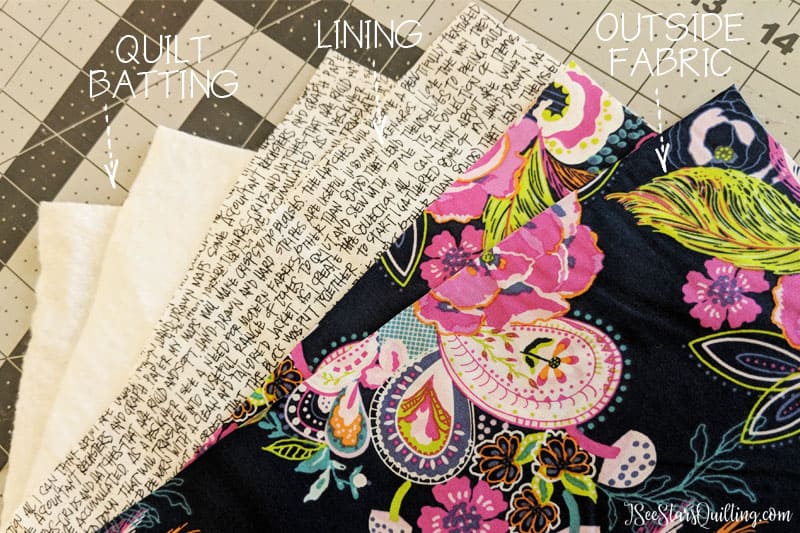
Supplies:
- Rotary Cutter
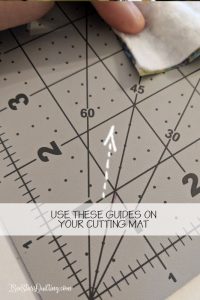
- Cutting Mat
- Ruler
- Iron
- Ironing board
- Pins
- Sewing Machine
- 2 Fat Quarters -OR- 2 large scraps of fabric.
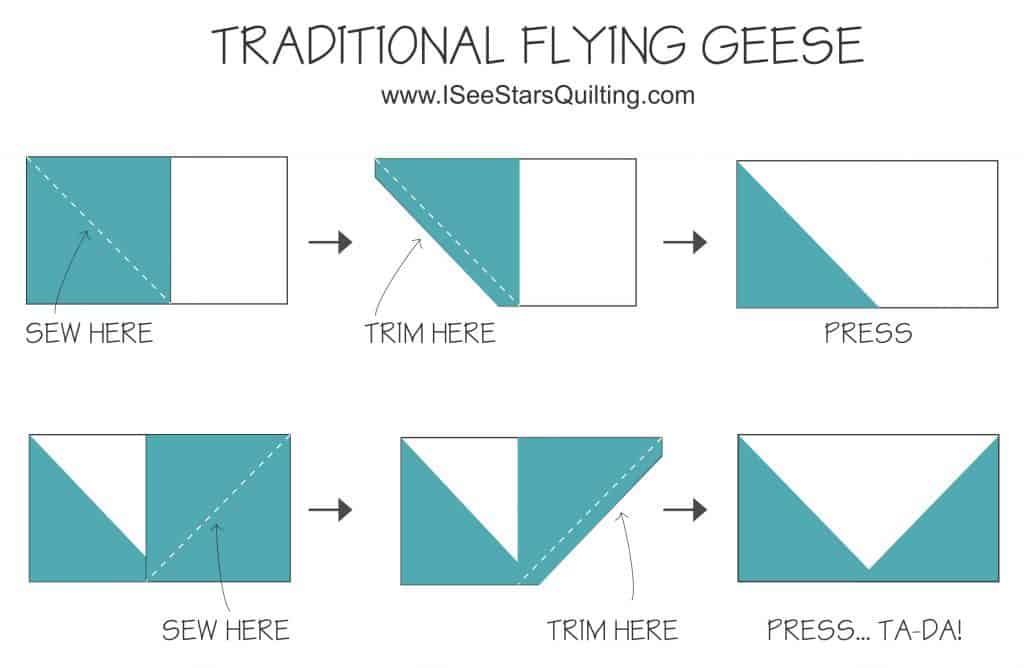
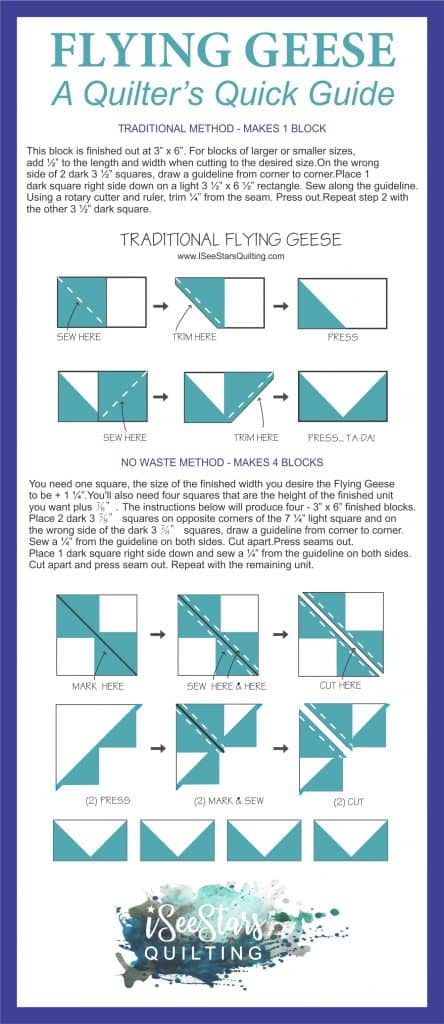
Traditional Method – Makes 1 Block
This block is finished out at 3” x 6”. For blocks of larger or smaller sizes, add ½” to the length and width when cutting to the desired size.
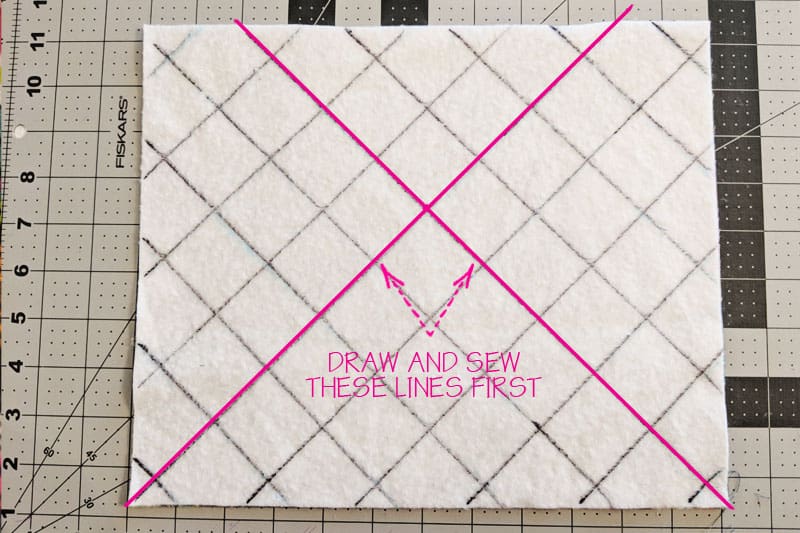
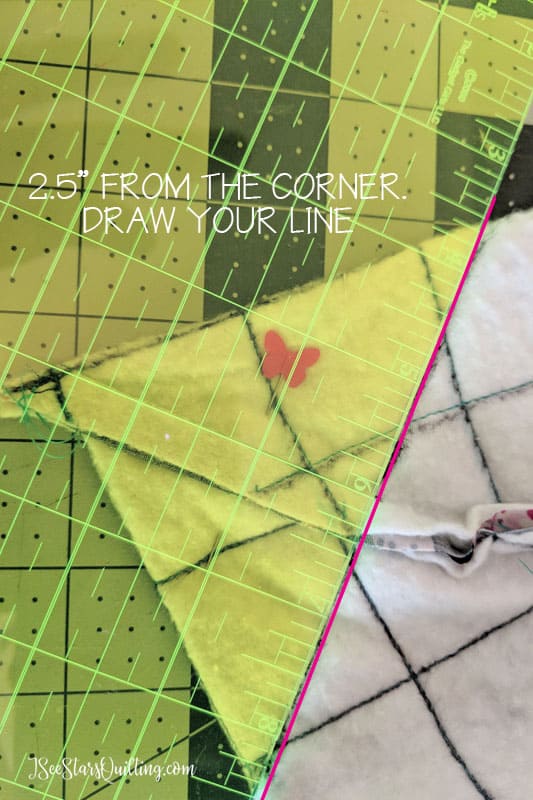
- On the wrong side of 2 dark 3 ½” squares, draw a guideline from corner to corner.
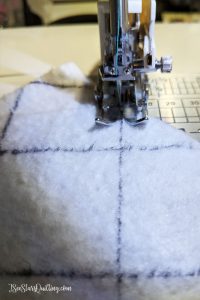
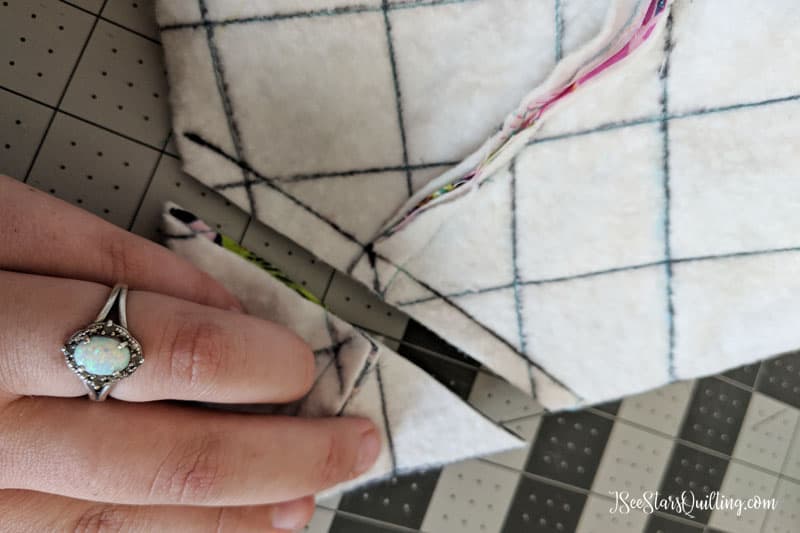
- Place 1 dark square right side down on a light 3 ½” x 6 ½” rectangle. Sew along the guideline. Using a rotary cutter and ruler, trim ¼” from the seam. Press out.
- Repeat step 2 with the other 3 ½” dark square.
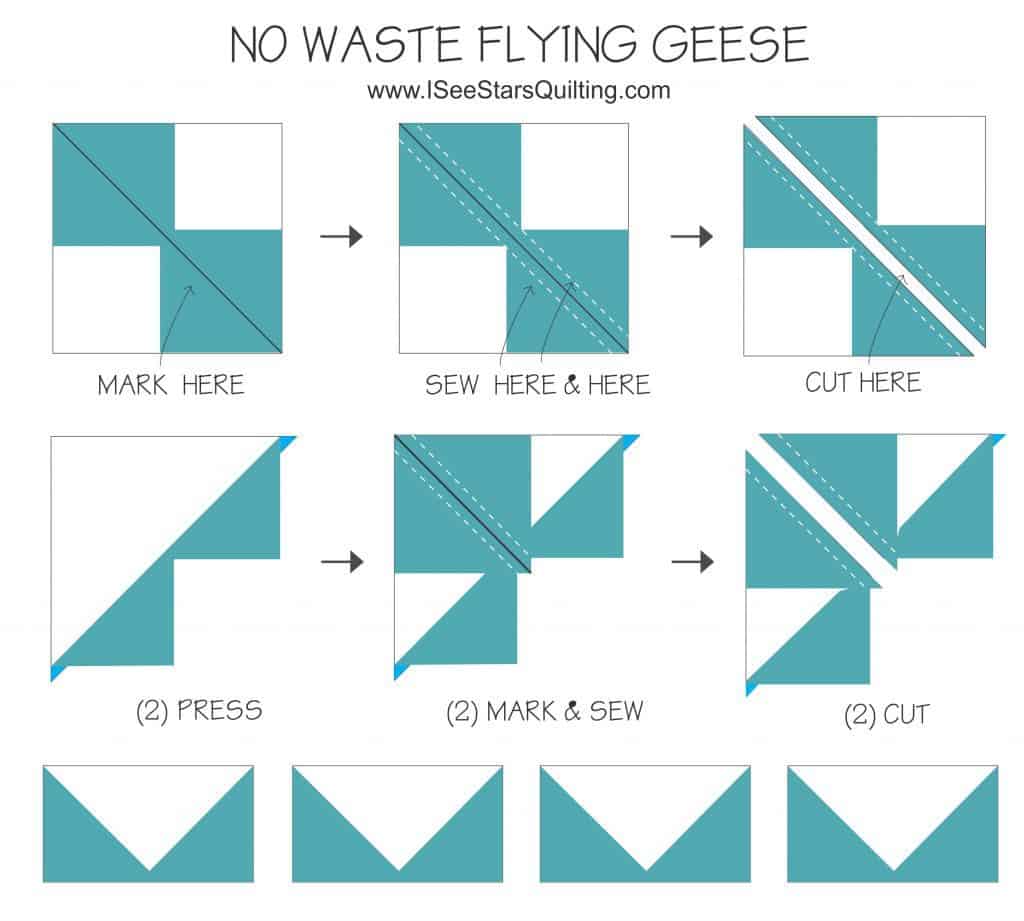
No Waste Method – Makes 4 Blocks
You need one square, the size of the finished width you desire the Flying Geese to be + 1 ¼”.
You’ll also need four squares that are the height of the finished unit you want plus ⅞”. The instructions below will produce four – 3” x 6” finished blocks.
- Place 2 dark 3 ⅞” squares on opposite corners of the 7 ¼” light square and on the wrong side of the dark 3 ⅞” squares, draw a guideline from corner to corner.
- Sew a ¼” from the guideline on both sides. Cut apart.
- Press seams out. Place 1 dark square right side down and sew a ¼” from the guideline on both sides. Cut apart and press seam out. Repeat with the remaining unit.
What quilts can you make with flying geese?
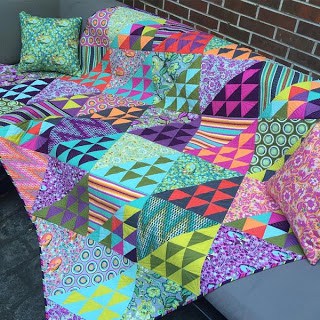
There are so many different quilt patterns out there that use flying geese blocks. So many of them are really quite stunning. Check out some of my favorite patterns below.
Note: while several of the images contain a much more traditional feel of fabric… keep an open mind and picture some really bold and modern fabric pairings! – the possibilities of modern quilting are endless!
FREE PATTERNS
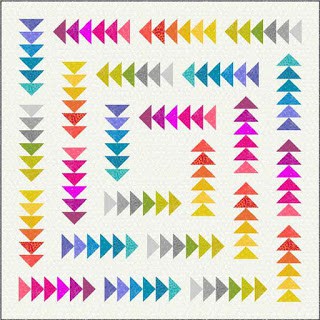
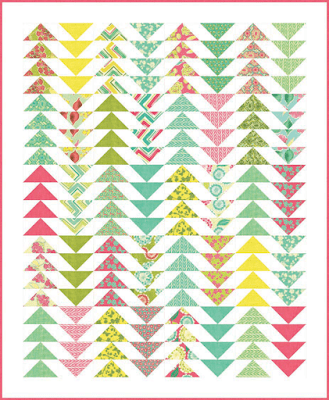
Chasing Rainbows quilt, 74 x 74″, free pattern by Lynne Goldsworthy for Makower (PDF download)
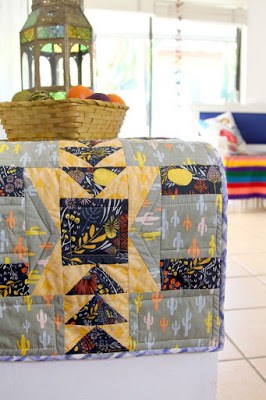
Imperial Token table runner, 16 x 48”, free pattern at Art Gallery Fabrics (PDF download)
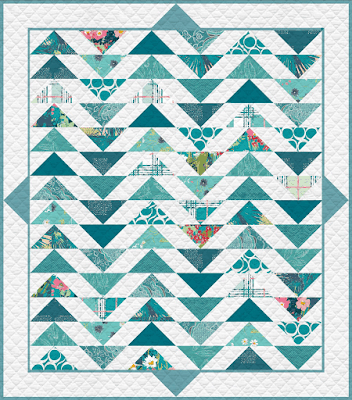
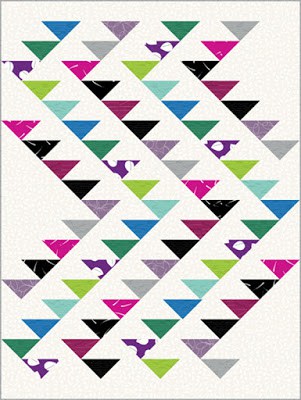
Plenum quilt, 64 x 73″, free pattern at Art Gallery Fabrics (PDF download)
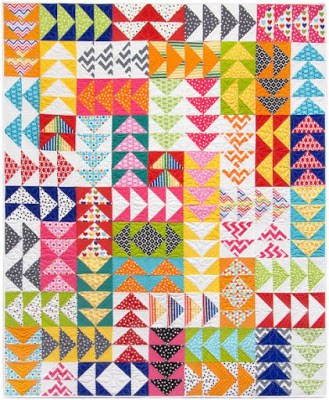
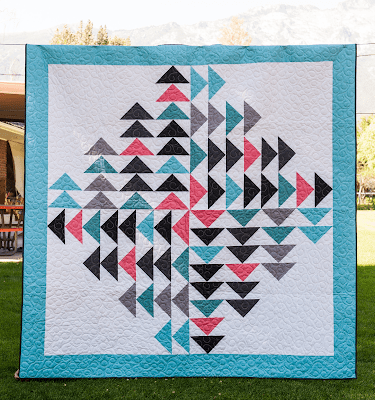
Remixed Geese quilt, 54 x 66”, free pattern at Robert Kaufman (PDF download)
Spring House quilt, 55 x 67”, free pattern at Moda Fabrics (PDF download)
Every Which Way quilt, 74 x 74”, free pattern at Riley Blake Designs (PDF download)
Funky Zen quilt, 60 x 80”, free pattern by Heidi Pridemore for Benartex (PDF download)
Fly Away Home quilt, 54 x 63”, free pattern at Benartex (PDF download)
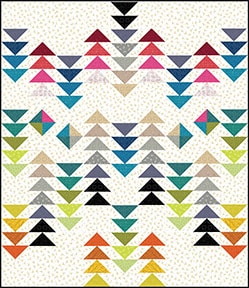
Faded Geese quilt, ~65 x 91”, free pattern at Robert Kaufman (PDF download)
The Chipper quilt, 68 x 68”, free pattern by Tula Pink (PDF download)
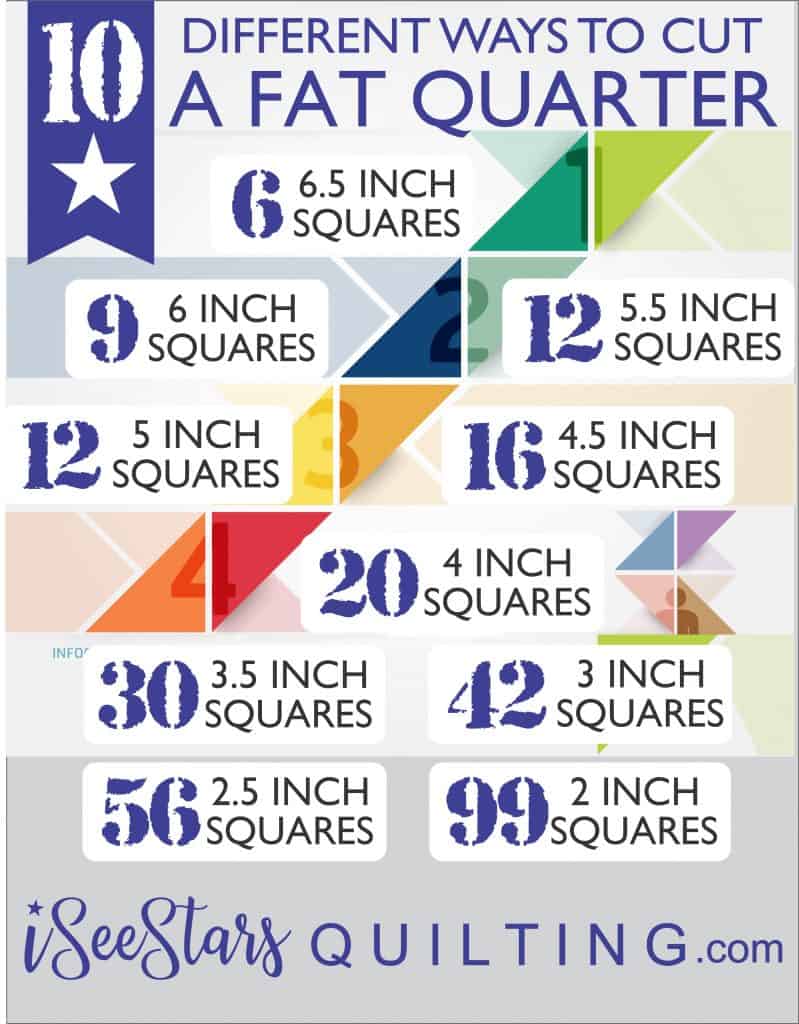
FREE Easy Flying Geese Reference Guide
I’m going to make this easy for you, my quilter friends!
Pin the image below so you’ll have a quick guide to refer back to later when you’re creating your own little flock of flying geese on everything!
I hope you found this short article helpful. You can always feel free to contact me if you have any questions! I’m happy to help!
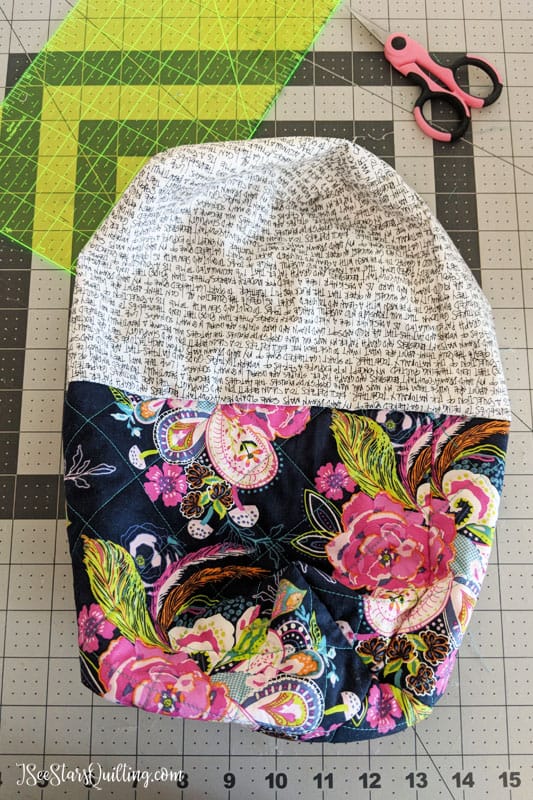
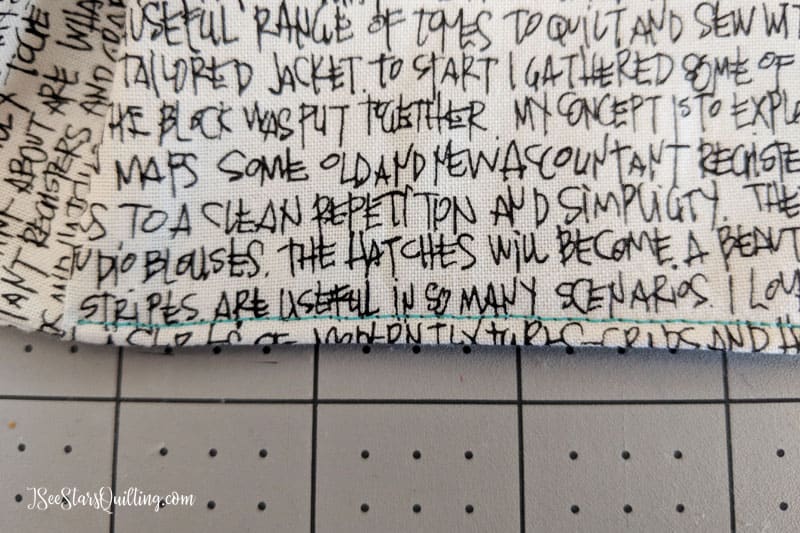
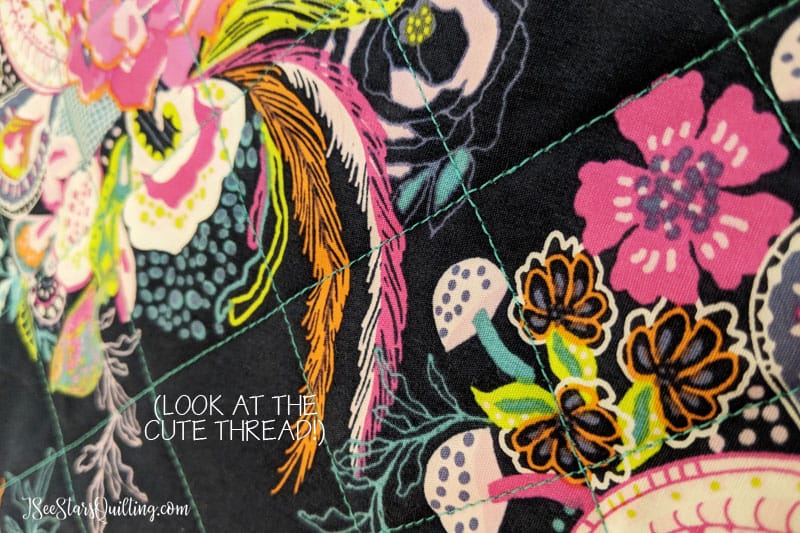
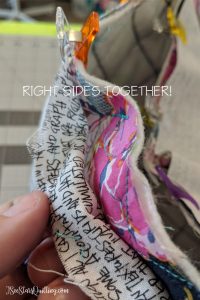
 Modern Quilting tip: Use a fun coordinating thread! Modern quilting is the perfect venue to just go wild and have fun. I personally have lots of pretty thread colors that don’t get near enough use. This detail will add a touch of personality to your finished piece. Your outer pieces should look like this when you’re finished stitching. FYI – I used a 2.6 stitch length.

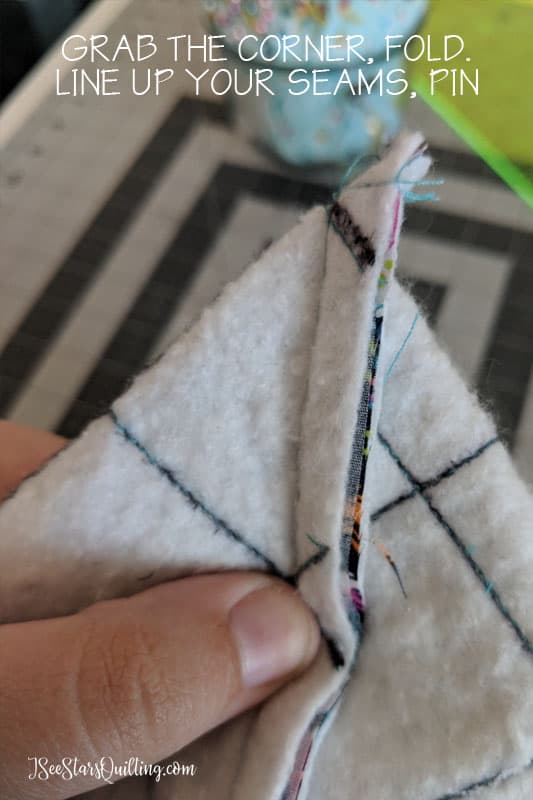
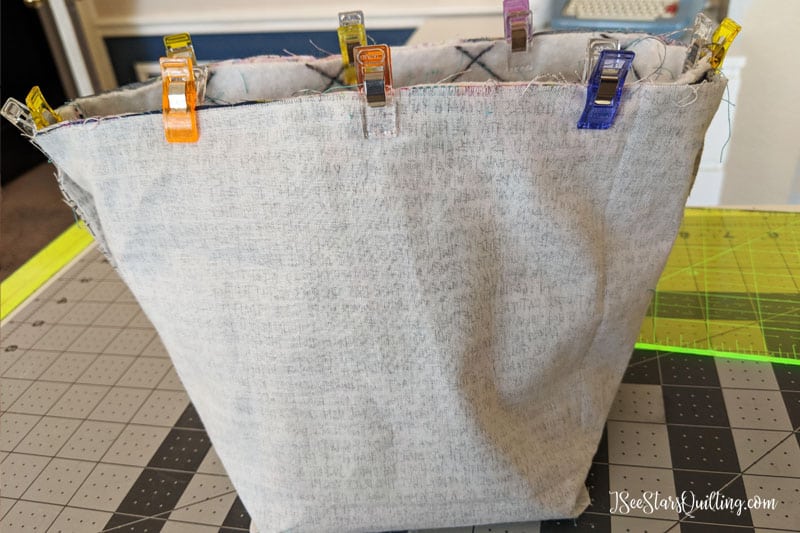
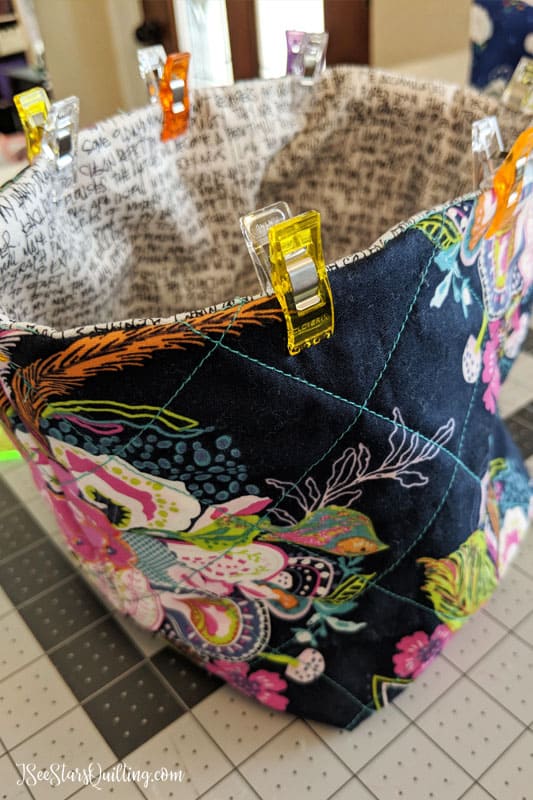
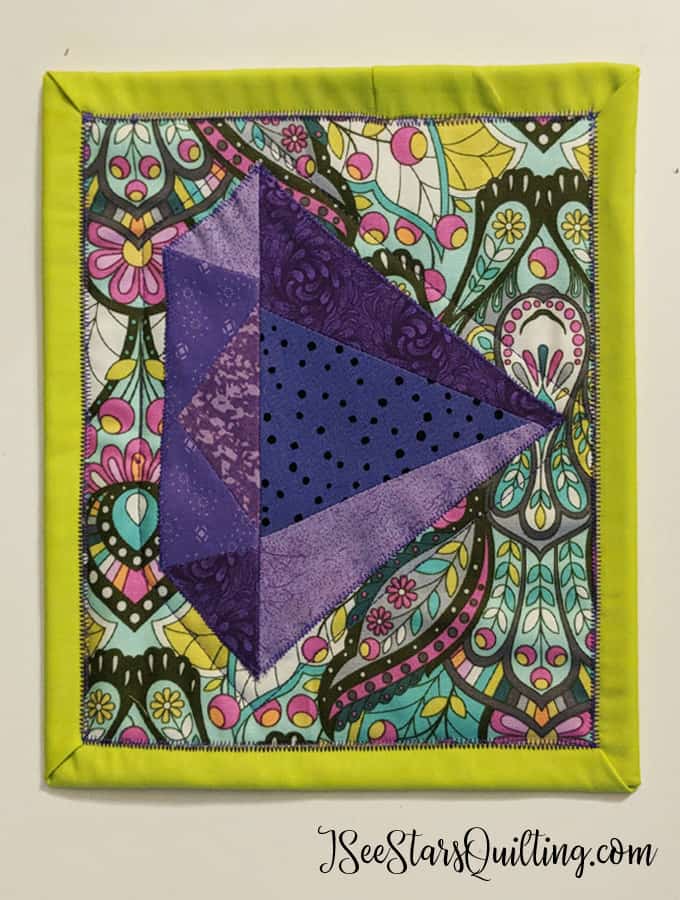
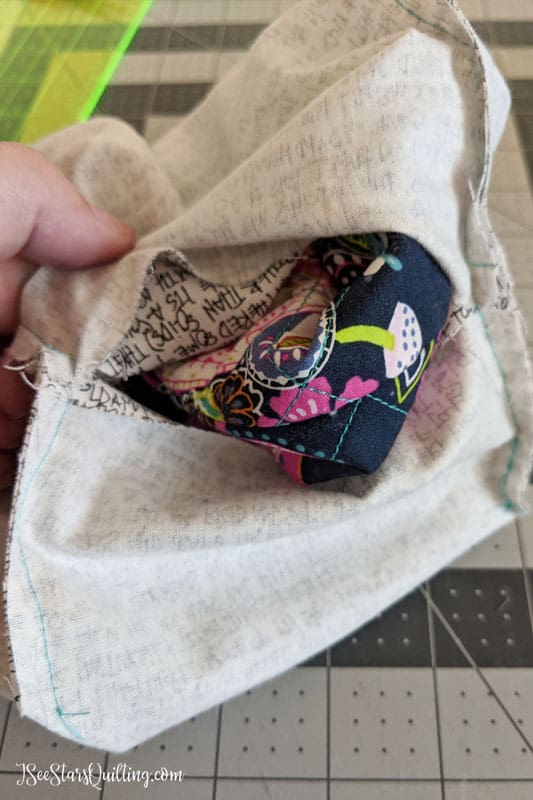 It should look like this when you have it all pulled through. It is still without a lot of shape at this point and really soft. But, oh! that quilting! 😉