Patterns + Classes

A collection of free patterns from I See Stars Quilting and offers from other talented quilting artists.

  • My Favorite Quilting Classes On Bluprint

    Have you heard of Bluprint?! It is an amazing online hub of classes for everything crafty you could imagine… I’m going to share my favorite quilting classes that you can find on Blueprint today! (plus links where you can own the class too)

    Seriously, if you are prone to getting lost down the rabbit holes of the internet and you have somewhere to be in an hour, do yourself a favor… bookmark this post and come back to it when you have time to look around. You’ll thank me later πŸ˜‰

    Shop deals of the week at shop.mybluprint.com!

    Bluprint by far has the best selection of crafting classes/education on the internet – You might remember a few years ago, it was called Craftsy. (I wrote a review about it here)

    While I have learned many skills since the day I wrote that post about Craftsy, I still stand by the fact that Bluprint is one of my go-to learning destinations!

    Ok, I also like YouTube too. I usually will do a quick search on YouTube when I want to learn something quickly or I’m having a hard time with a particular skill… but YouTubers are sometimes like a box of chocolates… you never know what you’re going to get, right?!

    **I say that so nicely and with a lot of love because I have a YouTube Channel where I share tips and tutorials too… and that job is not an easy one!**

    Still, if you’re looking for more quilting education and more quilting classes, check out the ones I suggest below.
    Should you try Bluprint? Is it worth it? I'm sharing all the details PLUS what my favorite quilting classes are and more!

    How does Bluprint work?

    The good news is that once you buy a class on Bluprint, it is yours forever!

    But there is another option too… you can be a monthly member to their site and have access to TONS of classes that are included with your membership. It is really an amazing opportunity to soak in so much knowledge! (more on that down below)

    myBluprint.com

    As if the courses weren’t enough… there are also kits and supplies that you can purchase from Bluprint at members-only discount prices as well.

    *heart eyes for the embroidery kits! They are to die for!*

    OK, but that’s for another day because I promised that I was going to share my favorite classes on blueprint!

    My favorite Quilting Classes on Bluprint

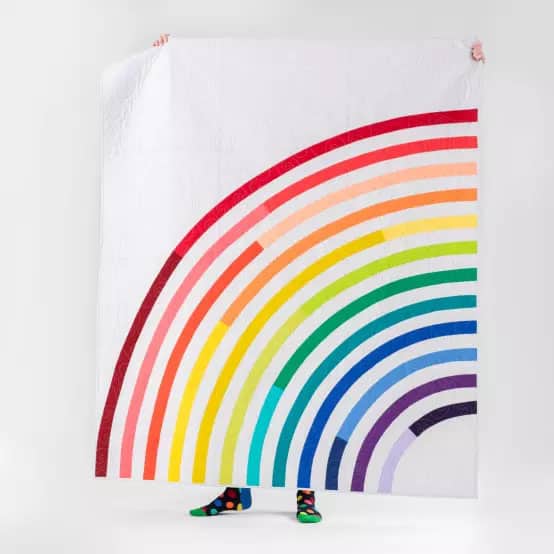
    Rainbow Bias Tape AppliquΓ© Quilt

    This one is so fast and so fun! I love a good happy rainbow. And it’s Applique, so you have fewer worries of the seams matching up and wondering if you’re at the right skill level etc… YOU ARE! This Rainbow Applique Quilt is for everyone and this quilt is beautiful every single time.

    You can find it here.

    Here’s How to Pick the Perfect Quilting Thread Color Every Single Time

    This is a free read! Yay! It has some really good tips to read over! No purchase required… just knowledge.

    Read it here.

    Your Perfect Project: Starry Path Quilt

    Hi, I’m Christen. If you didn’t know, I’m obsessed with stars… πŸ™‚ haha I really love this quilt design and the beautiful endless options for fabric that it lends itself to!
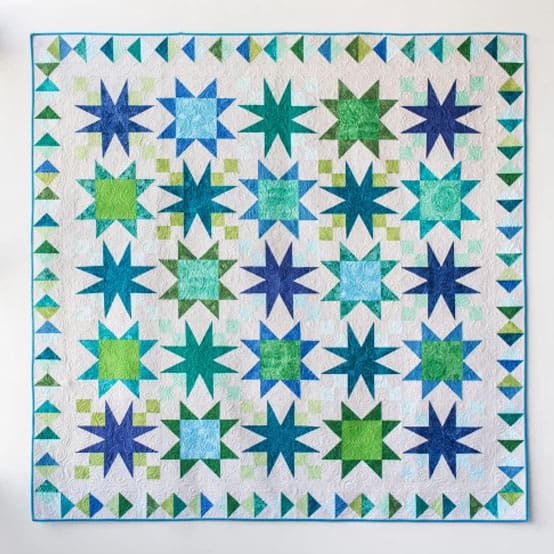
    You can check out The Starry Path Quilt Here.

    28 Days to Better Free Motion Quilting

    Angela Walters… I love this girl. She has no idea I exist, but I know we could be fast friends – I tell you this, not to make this weird…er? but because I know you’ll love learning from her too!

    Check out the video course here.

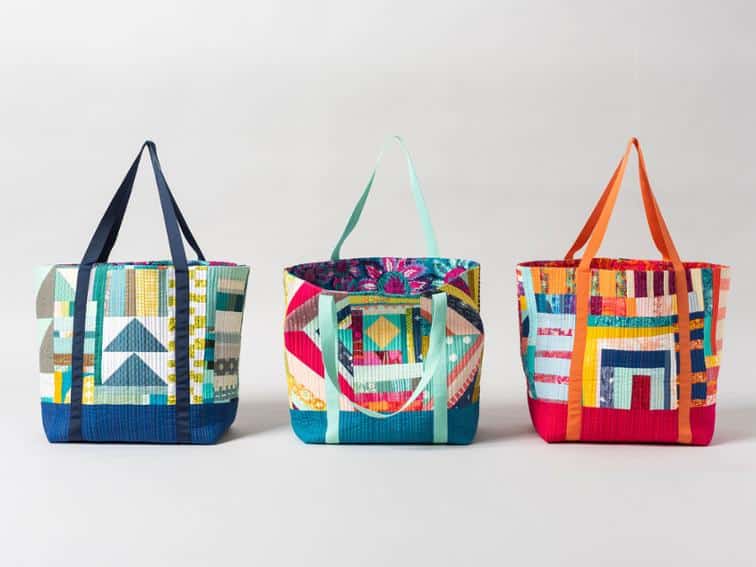
    The Scrappy Market Tote

    It is a scrap project!!! Looking for a fun way to use up those little scraps? I adore this one! How about fun Christmas presents? – unique gifts? – talk of the local farmers market? — uh huh, thats you, babe. πŸ˜‰

    Check out the class for The Scrappy Market Tote here:
    Quilted Tree Skirt

    This Quilting class is actually really easy, but super enjoyable! I love my tree skirt! Every single time I’ve made one I think that it will be my ‘last one’ and it will be a tradition to put it out every year, but soon I find myself looking at all the beautiful fabric out there and… I get a spark for another tree skirt!
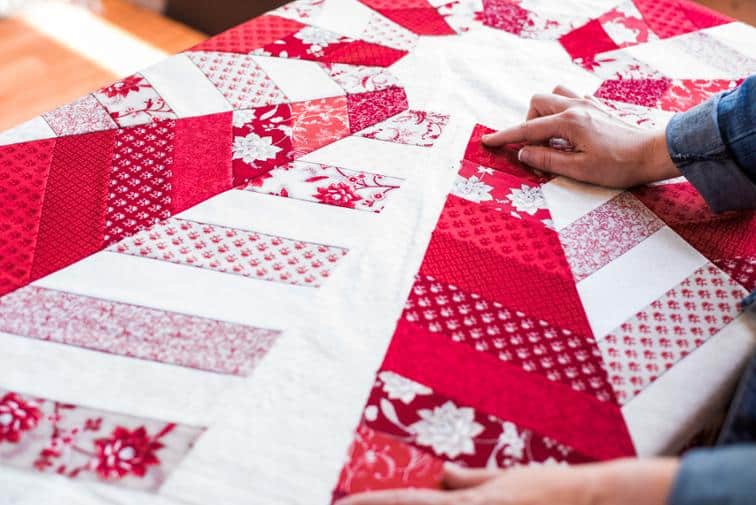
    Quilted Tree Skirt Class

    FREE Own-Forever Classes With Bluprint Subscription at myBluprint.com.

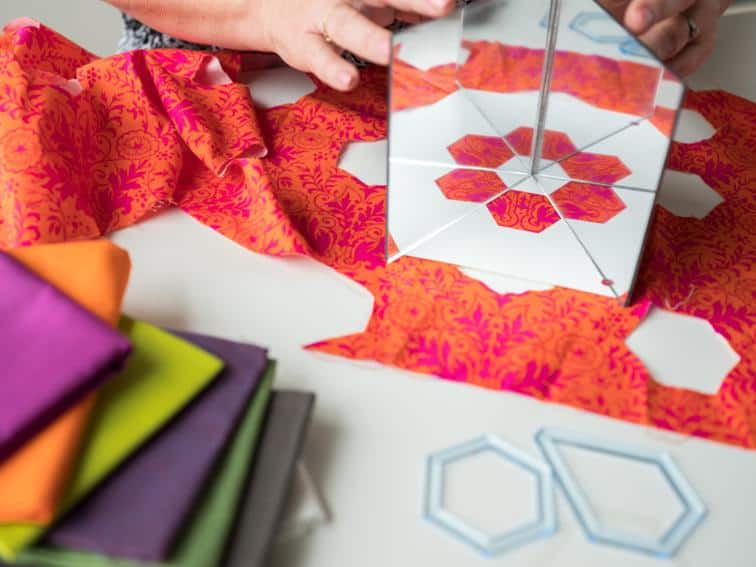
    English Paper Piecing – Beyond The Basics

    This class opened my eyes so much to the possibilities of this wonderful fabric craft.

    I see inspiration everywhere now and I want to EPP forever! (well, as much as I want to quilt forever too lol)

    Click here for The English Paper Piecing Class.
    So, is it worth it to become a member?

    Ok… I hear you… the cost of quilting classes can add up!

    The good thing about buying these courses is that they are yours to own forever after you purchase them.

    You can find some classes and materials on sale. – Check out the Deals of the Week sale section here.

    My favorite way to do Bluprint is the membership option. It makes learning almost too easy… actually, who am I kidding… it is SO easy!

    With their membership program, you have access to OVER 1300 classes! Boom. Just like that. Instant access, to become a master at just about anything craft related.

    Decide that embroidery isn’t for you? no big deal… move on to beading! or knitting! or… decorate a cake to wow your family!
    Should you try Bluprint? Is it worth it? I'm sharing all the details PLUS what my favorite quilting classes are and more!

    My honest opinions on Bluprint

    I highly recommend Bluprint to anyone who enjoys a little bit of everything and to someone who wants to become an absolute MASTER at just one thing.

    All the training that you need is right at the tip of your fingers on your computer screen, whenever you want it. No need to drive or wait for a class to visit your local shop. You can start today.

    Also, I am a huge fan of things I can do while wearing my pajamas – This is definitely one of them! (don’t worry… I always wear cute ones haha)

    myBluprint.com

    Are you a member of Bluprint? Or are you thinking about it? Tell me your opinions on it in the comment section. I would love to hear your thoughts!

  • 14 FREE Spring Themed Quilt Patterns

    I love springtime… I love springtime quilts! Today I have 14 FREE Spring Themed Quilt Patterns to share with you. Oh boy!
    14 FREE Spring Themed Quilt Patterns!I Heart Spring time so much! All the colors in nature make for the happiest quilts! Quilt away those winter blues!
    (Just a note, the links and patterns below are not all patterns that I own or have designed. If you have any questions about the patterns, please contact the designers)

    I live in Texas, so it’s not like we deal with the snow and the well below freezing temperatures of the winter months. We mostly just can’t decide if it’s worth bringing a jacket in the mornings if it is going to be warm by the afternoon again… #texasproblems

    BUT – I do love it when the flowers start blooming out and the earth starts to get back to its beautiful colorful and happy self again!

    What about you? Are you ready to sew some happy flowers and bright colors and joyful quilts again in preparation for the upcoming season?

    14 FREE Spring Themed Quilt Patterns

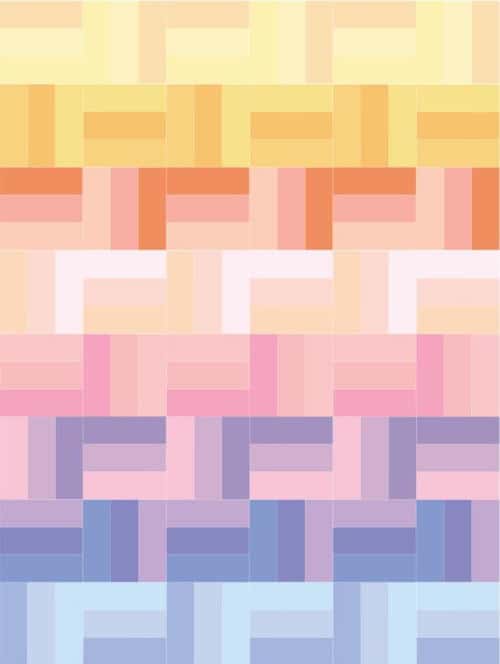
    1) A Simple Railfence Quilt

    I love how quickly this pattern comes together! If you’re needing an easy pattern between hard patterns or you just want a fun fast sew that is going to turn out beautiful no matter what you use, look no further than this quilt pattern!

    Another sweet quilt blogger, Suzy Quilts has a blog post with everything you need to know about rail fence quilts as well as a pattern for you to follow!

    You can check out her blog post here.

    14 FREE Spring Themed Quilt Patterns!I Heart Spring time so much! All the colors in nature make for the happiest quilts! Quilt away those winter blues!

    2) Hidden Garden Quilt Pattern

    Ok, One more Suzy Quilts Pattern because I heart her modern style and no-nonsense style. This one plays with applique and really fun to play with fabrics.

    The pattern combinations and ways to feature fabric or themes are endless!

    You can get the Hidden Garden Quilt Pattern pattern here.

    14 FREE Spring Themed Quilt Patterns!I Heart Spring time so much! All the colors in nature make for the happiest quilts! Quilt away those winter blues!

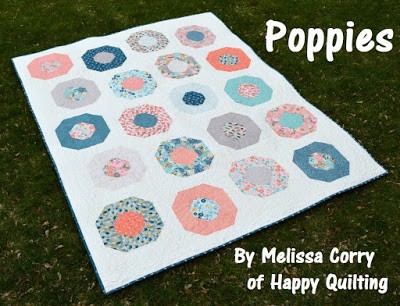
    3) Poppies Quilt Pattern

    I fell in love with the modern flower vibe of this quilt from the first second I saw it! How beautiful and feminine are those poppies! And can you imagine with a really swirly/vine-like quilting pattern on it?

    It has me feeling all the warm spring sunshine rays!

    You can get the pattern and the tutorial here.

    14 FREE Spring Themed Quilt Patterns!I Heart Spring time so much! All the colors in nature make for the happiest quilts! Quilt away those winter blues!

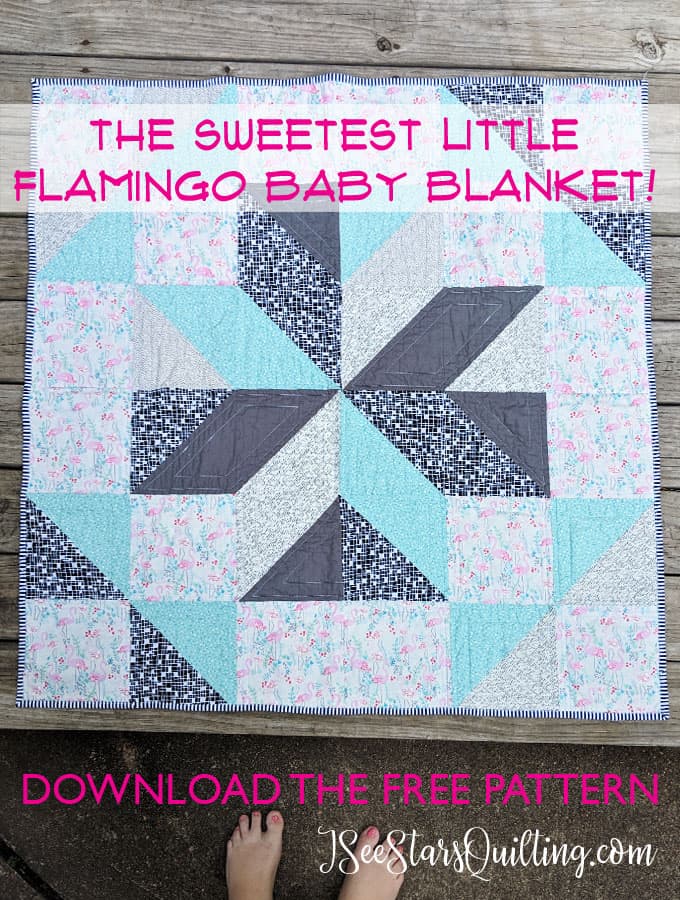
    4) A Sweet Baby Quilt

    I love this pattern! It’s such an easy and fun one that is appropriate for all levels of quilters. It sews up bast using HST (half square triangles) and large blocks.

    You can get the FREE pattern here.

    14 FREE Spring Themed Quilt Patterns!I Heart Spring time so much! All the colors in nature make for the happiest quilts! Quilt away those winter blues!

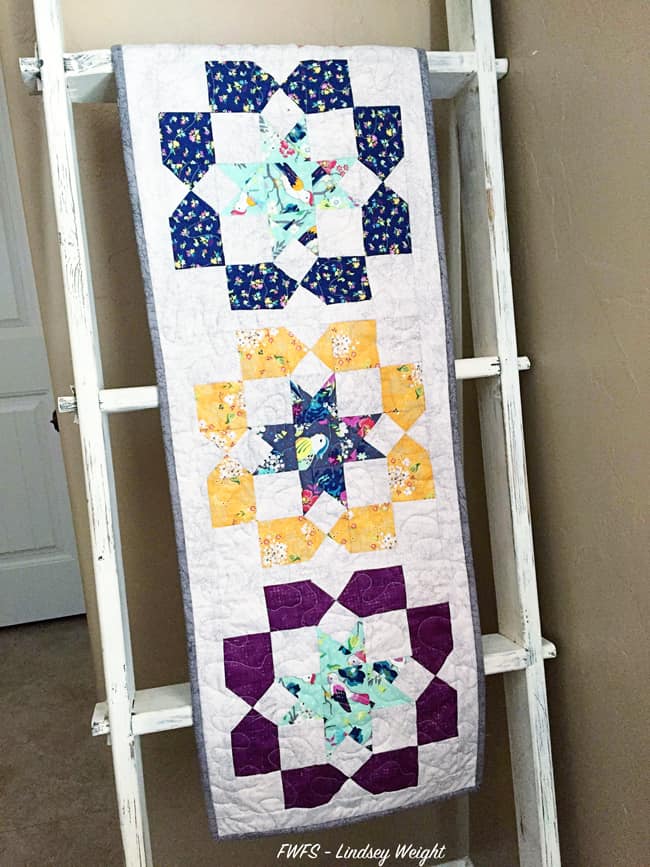
    5) Gigi Blooms Table Runner

    Already a table runner on the list?! Stick with me and imagine the possibilities of what a beautiful quilt full this would make… or a throw! I LOVE how the example quilt really showcases the bright happy spring fabric on a simple grey background.

    Check out the fabric requirements and the instructions here.

    14 FREE Spring Themed Quilt Patterns!I Heart Spring time so much! All the colors in nature make for the happiest quilts! Quilt away those winter blues!

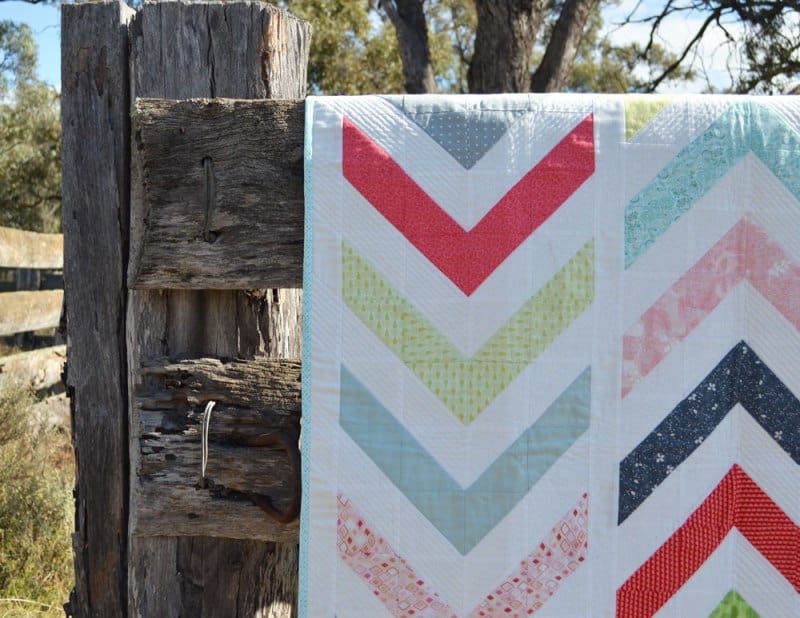
    6) Lickety Split Quilt Pattern

    You know how much I love HST (half square triangle) quilts! I am always amazed at the patterns you can create and the complex designs that can be created using such a simple technique that even the novice of quilter can grasp quickly.

    This quilt takes it up a notch and makes a very modern design easy! – You could even use this as a base for a fun scrappy quilt πŸ™‚

    Get the pattern for this modern chevron quilt here.

    14 FREE Spring Themed Quilt Patterns!I Heart Spring time so much! All the colors in nature make for the happiest quilts! Quilt away those winter blues!

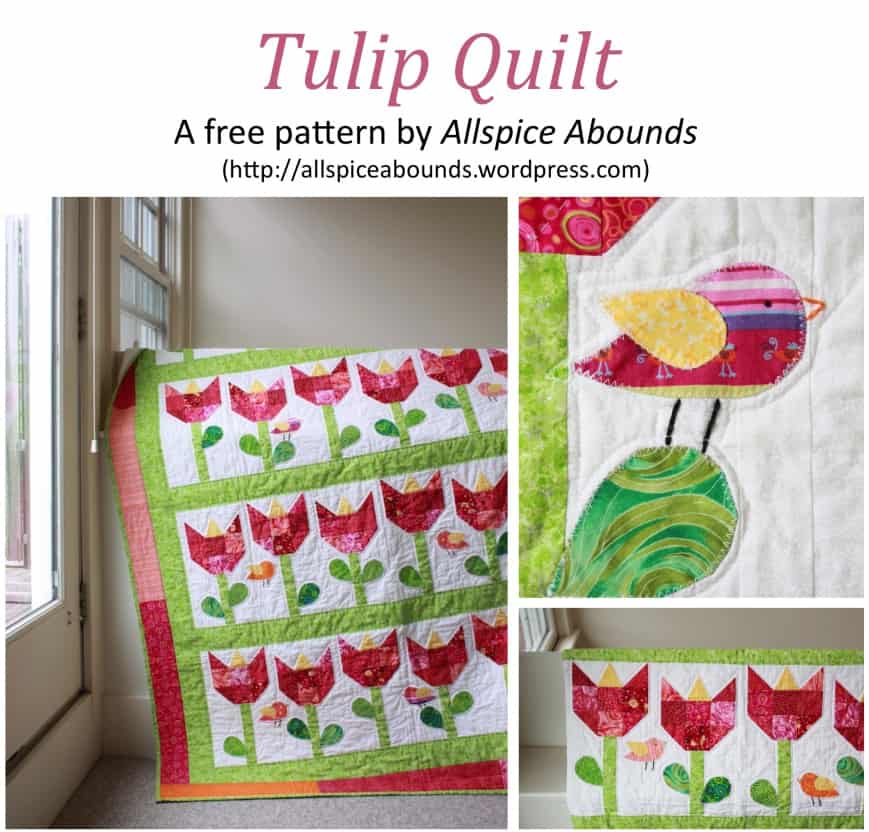
    7) Tulip Quilt

    I adore this quilt and everything about it! If I had anything other than the blackest of black gardening thumbs, I would like to grow tulips all the time.

    You can download the FREE pattern here.

    14 FREE Spring Themed Quilt Patterns!I Heart Spring time so much! All the colors in nature make for the happiest quilts! Quilt away those winter blues!

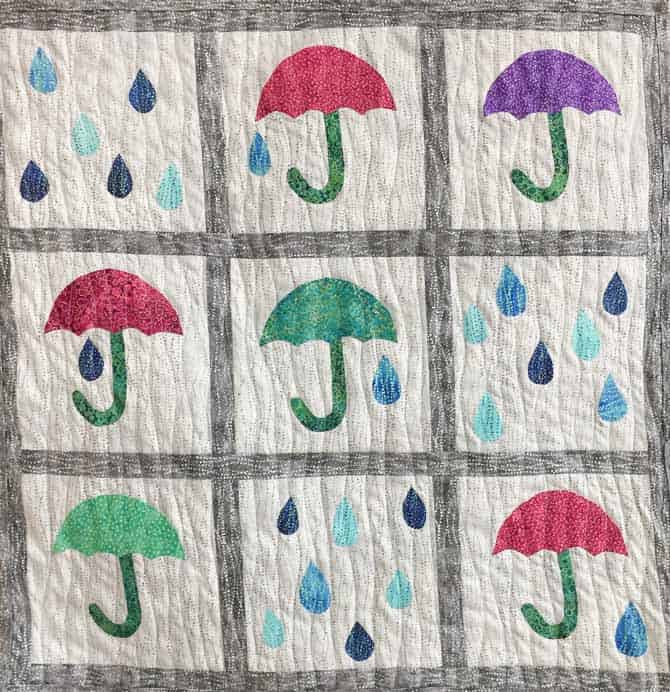
    8) Umbrellas and Rain Quilt

    I love a good thunder or rainstorm… especially if I can love it from inside on a cozy chair wrapped up in this quilt and a good book!

    This pattern works with fusible applique. If you’ve been wanting one to play with a new technique, give it this happy little quilt pattern a try!

    You can find the pattern here.

    14 FREE Spring Themed Quilt Patterns!I Heart Spring time so much! All the colors in nature make for the happiest quilts! Quilt away those winter blues!

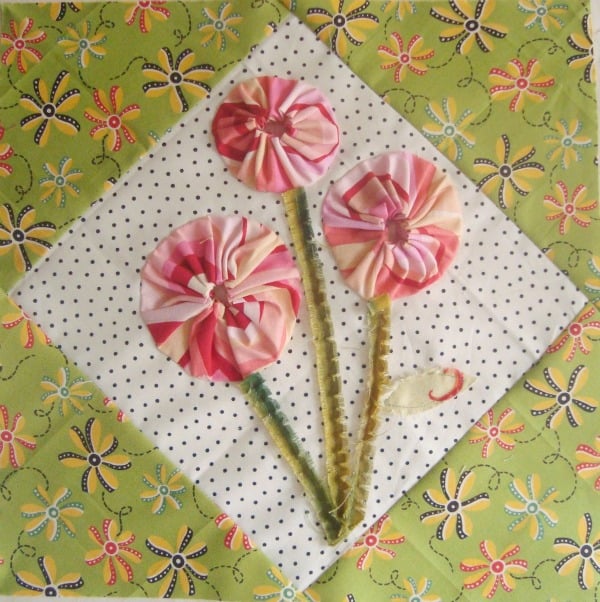
    9) Posies Yo-yo Quilt Pattern

    More flowers on quilts, I say!

    Using yo-yos on quilts feels very nostalgic to me… it just isn’t in a lot of modern quilt patterns anymore. I love the way these add texture and dimensionality to the happy colorful quilt background.

    Can you imagine this with polka dots and happy fun bright colors?! It would be amazing… and I think I will have to make a fun Posie quilt myself soon.

    Get the Posies Yo-yo Quilt Pattern here.

    14 FREE Spring Themed Quilt Patterns!I Heart Spring time so much! All the colors in nature make for the happiest quilts! Quilt away those winter blues!

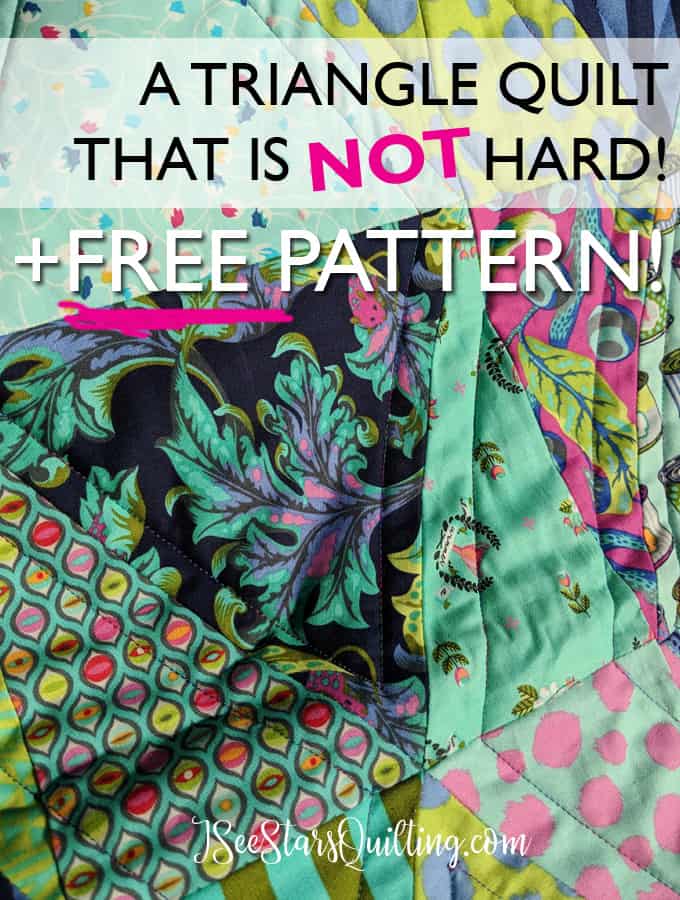
    10) The Easy Triangle Pattern

    Triangle quilts are something that I find a lot of newer quilters tend to shy away from. Why? No one knows. Not even me! I avoided triangles like it was a full-time job when I first started out quilting.

    I still don’t get excited about y-seams, but I can handle it! Guess what? This quilt pattern has absolutely NO y-seams. It is super easy to sew. I promise you’ll enjoy it!

    You can get your FREE Easy triangle Pattern here.

    14 FREE Spring Themed Quilt Patterns!I Heart Spring time so much! All the colors in nature make for the happiest quilts! Quilt away those winter blues!

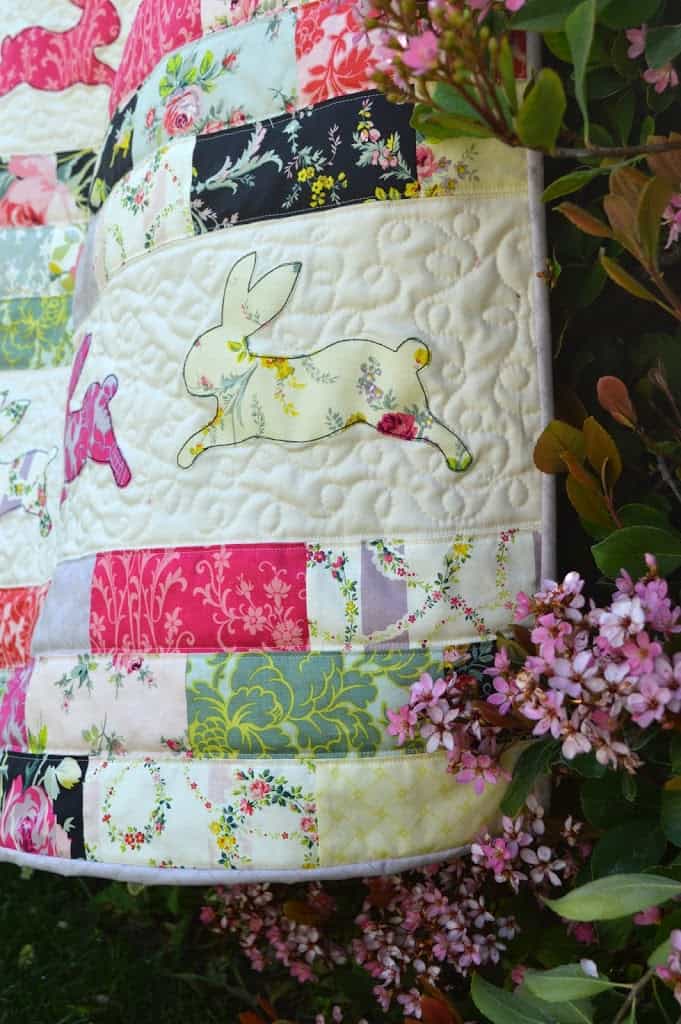
    11) Bunny & Brick Quilt Pattern

    This quilt is an easy fat quarter stash buster! I love how the mix of a simple brick pattern mixes with applique bunnies makes this quilt a beautiful completed piece.

    Check out the instructions here.

    14 FREE Spring Themed Quilt Patterns!I Heart Spring time so much! All the colors in nature make for the happiest quilts! Quilt away those winter blues!

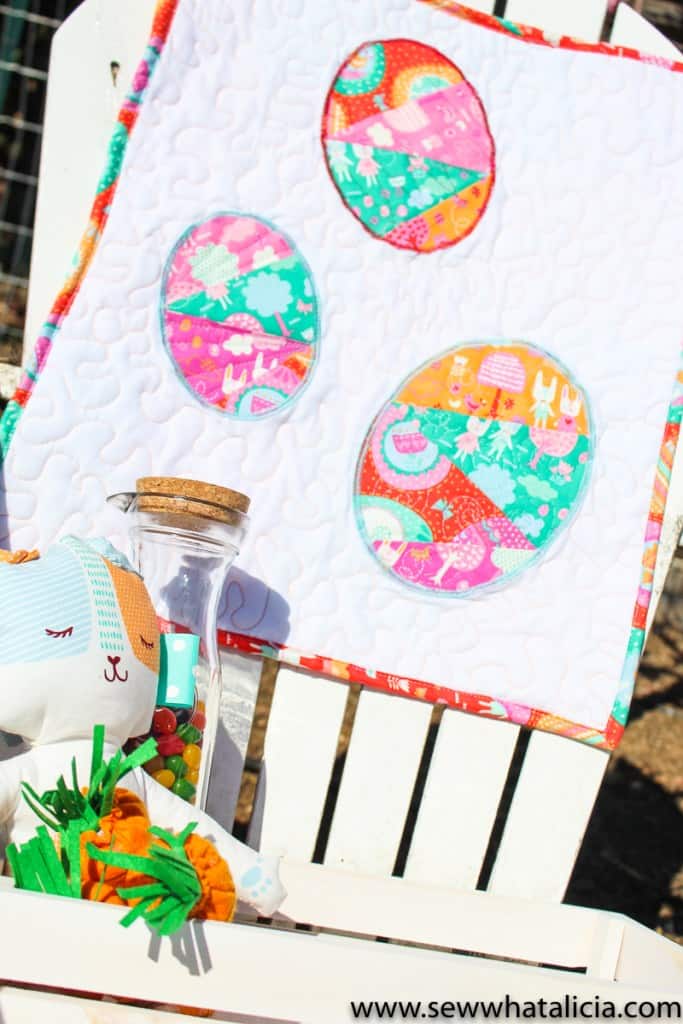
    13) Easter Egg Mini Quilt Pattern

    A fun Doll quilt perhaps? or maybe a wall hanging… or just a little inspiration to run with so you can make an even bigger version? πŸ™‚

    Check out the pattern and more cute pics here.

    14 FREE Spring Themed Quilt Patterns!I Heart Spring time so much! All the colors in nature make for the happiest quilts! Quilt away those winter blues!

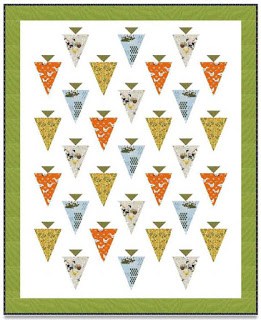
    14) Carrot Patch Quilt Pattern

    This one is too cute. I would love to use my scrappy pieces to make this quilt!

    Maybe even a little lucky applique bunny somewhere on here? πŸ™‚

    Get the Pattern from Wyndham Fabrics here.

    14 FREE Spring Themed Quilt Patterns!I Heart Spring time so much! All the colors in nature make for the happiest quilts! Quilt away those winter blues!

    Not FREE Quilt Patterns that are still worth taking a look at!

    While there is so much free stuff on the internet nowadays, we can’t expect everything good to be free.

    While we’re on the subject of FREE Spring Themed Quilt Patterns, I thought it would be wise to take a look at some of my other favorite patterns that aren’t free, but still won’t break the bank, ok? πŸ™‚

    Have you sewn any of these patterns? Do you usually sew something for spring in general or do you sew specific holidays like St. Patricks Day and Easter?

  • ‘Through the Window’ Easy Quilt Pattern

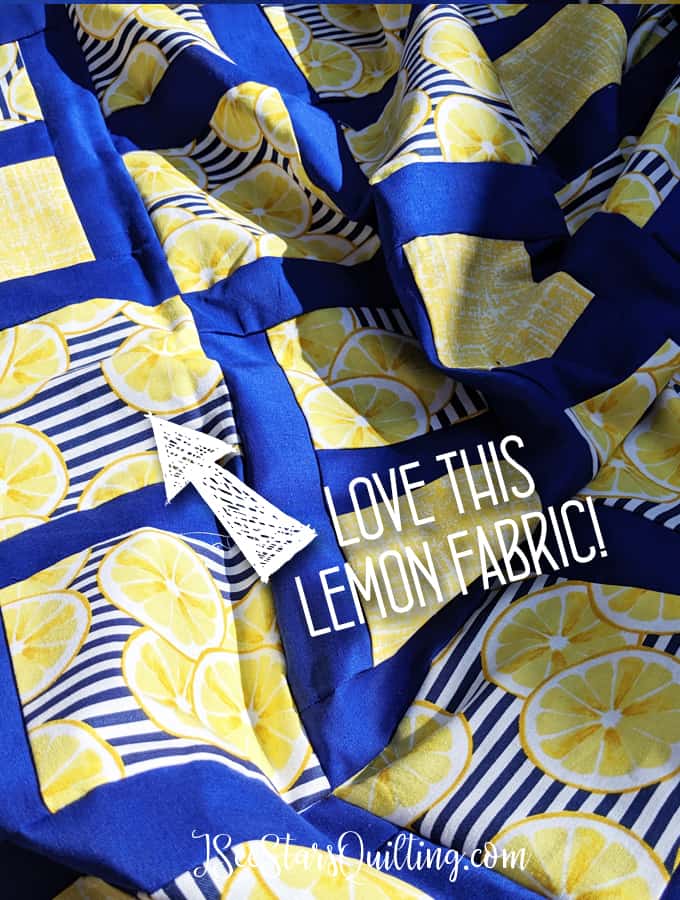
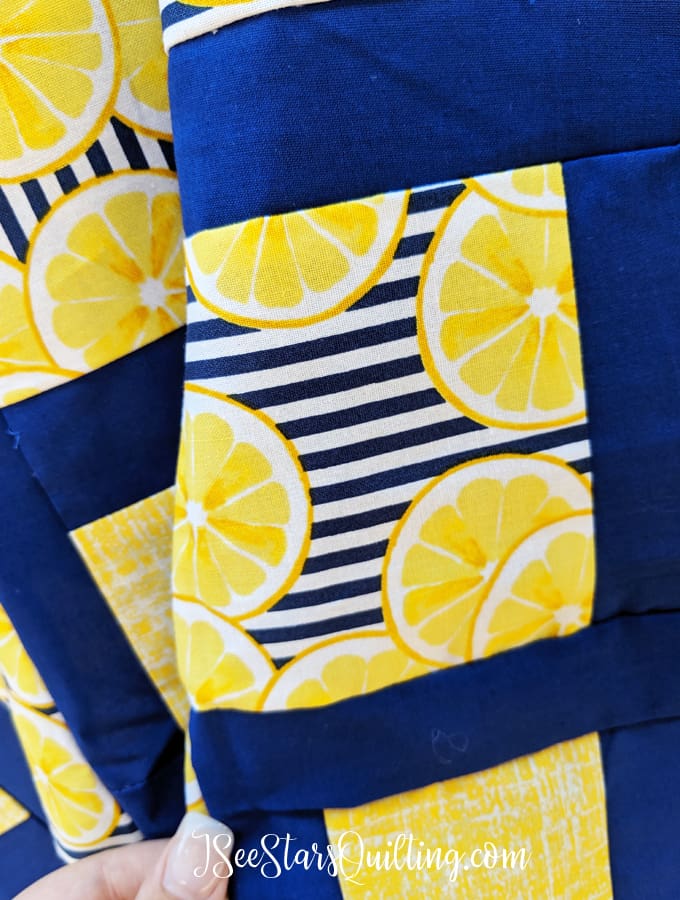
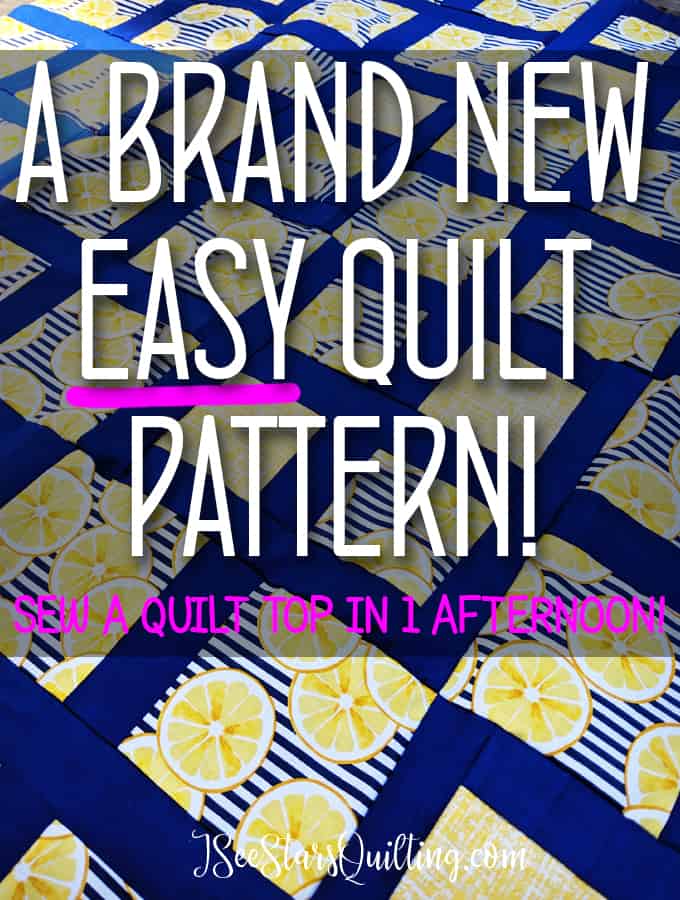
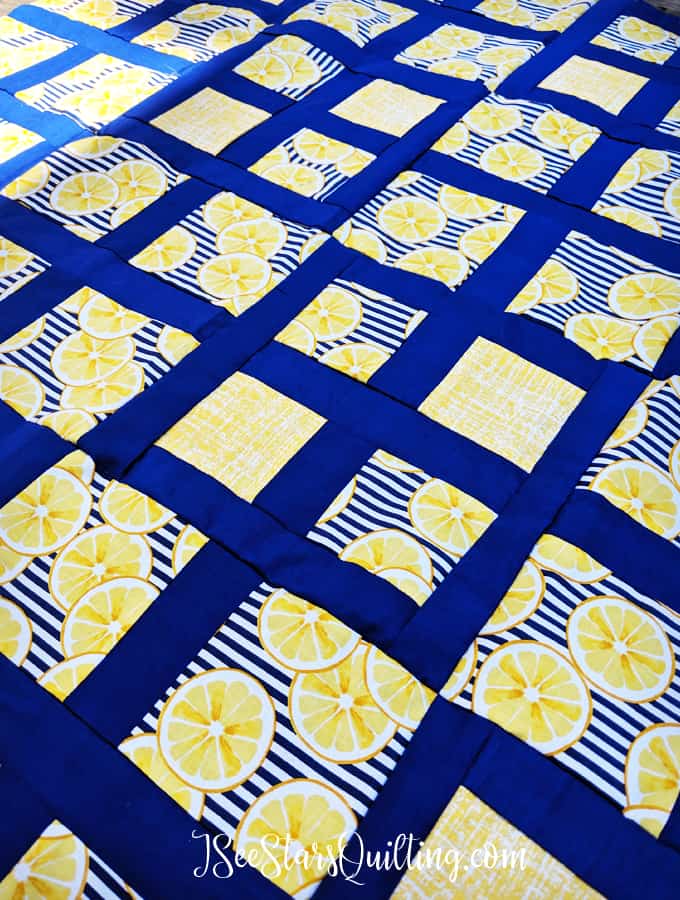
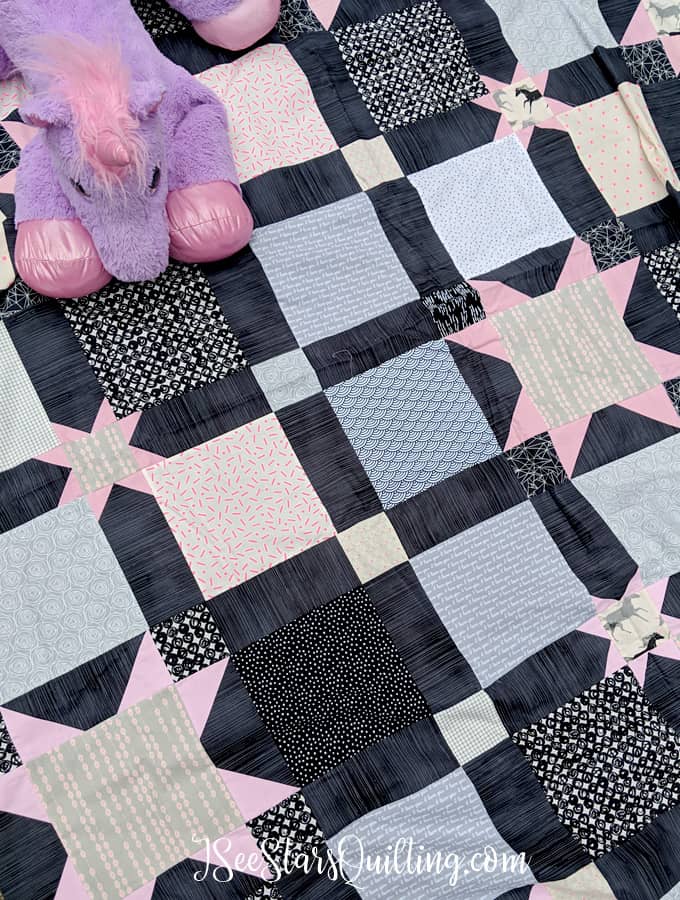
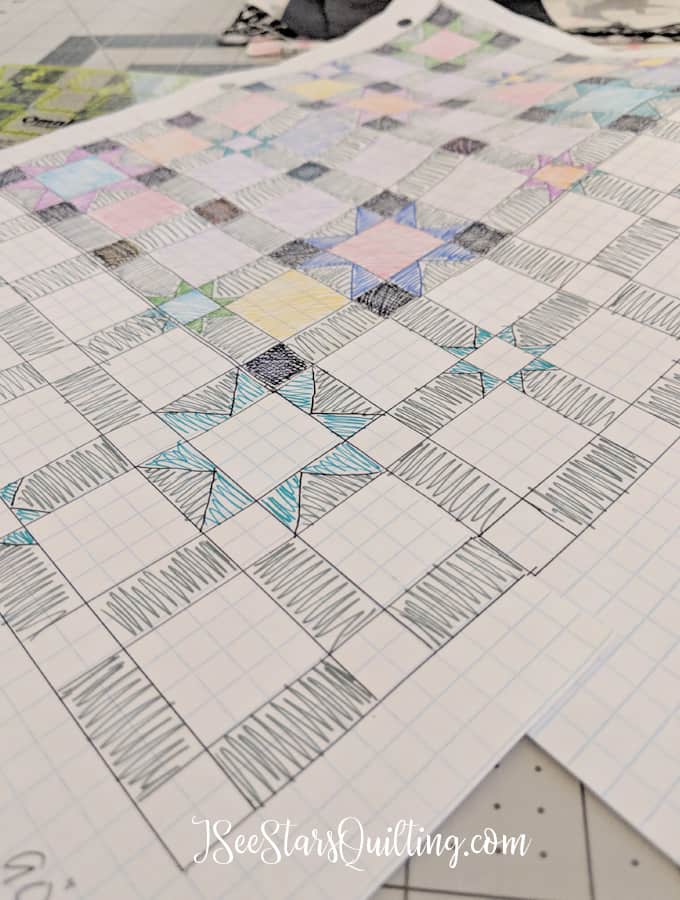
    Hello Sunshines! I’ve been tossing around ideas and sketches for a new quilt pattern lately and I finally just decided to quit drawing and start sewing! Today I’m going to share my Lemon Quilt with you! Its a super easy quilt pattern!

    I found this lemon fabric a while back on clearance and I didn’t know what I was going to sew with it… but I knew it was made to be mine!

    For more tips on finding good deals on fabric, check out this post: FABRIC SHOPPING – THE SMART WAY TO DO IT IN 6 STEPS

    Lemon drops are my favorite candy. I love a big bowl on yellow lemons on my kitchen counter and I like lemon in my sweet tea too. They just speak summer to me!

    A Brand New Pattern! This 'Through The Window' Pattern is created to be a fun and easy pattern that is comfortable to sew again and again!

    I’ve also been hinting at releasing a new pattern this summer and because things have been non-stop busy, here it is August already. oopsies.

    What I wanted to create in an easy quilt pattern:

    I had some specifics for this pattern that I really wanted to include:

    I wanted to create a pattern that was easy. Like wash, rinse, repeat easy.

    I wanted it to be a quick sew. Like quilt top in an afternoon, quick. Sometimes we don’t want to have to ‘learn a whole new language and culture’ just to sew a quilt top.

    AND I wanted it to be as few cuts and sizes as possible. Sometimes simple really is the best way.

    A lot of my readers are new to quilting and the last thing that you want is a big confusing mess to discourage your shiny new passion!

    I really think I got all that I was wanting (and then some) with this one!

    I LOVE how fun it turned out! And guess what?! I made a small throw sized (aka baby size) quilt – from the first cut to the last stitch it only took me ONE afternoon. Amazing, right?

    I need to add that this was an afternoon in which my kids still came by to talk to me every 10 seconds and ask for snacks or what I was making for dinner, if I could read them a story or draw a dinosaur (I’m pretty good at it apparently) etc etc. It was NOT solid sewing or “me time”.

    A Brand New Pattern! This 'Through The Window' Pattern is created to be a fun and easy pattern that is comfortable to sew again and again!

    Ta-da… This is my newest quilt pattern, Through the Window! I included size alterations for throw size, twin, queen and King too.

    A Brand New Pattern! This 'Through The Window' Pattern is created to be a fun and easy pattern that is comfortable to sew again and again!

    You can find it in my shop here.

    I think you’re really going to love how easy this quilt pattern is and also how versatile it is.

    Scrappy quilt friendly?! Yes.

    Charm Pack square friendly?! yep yep!

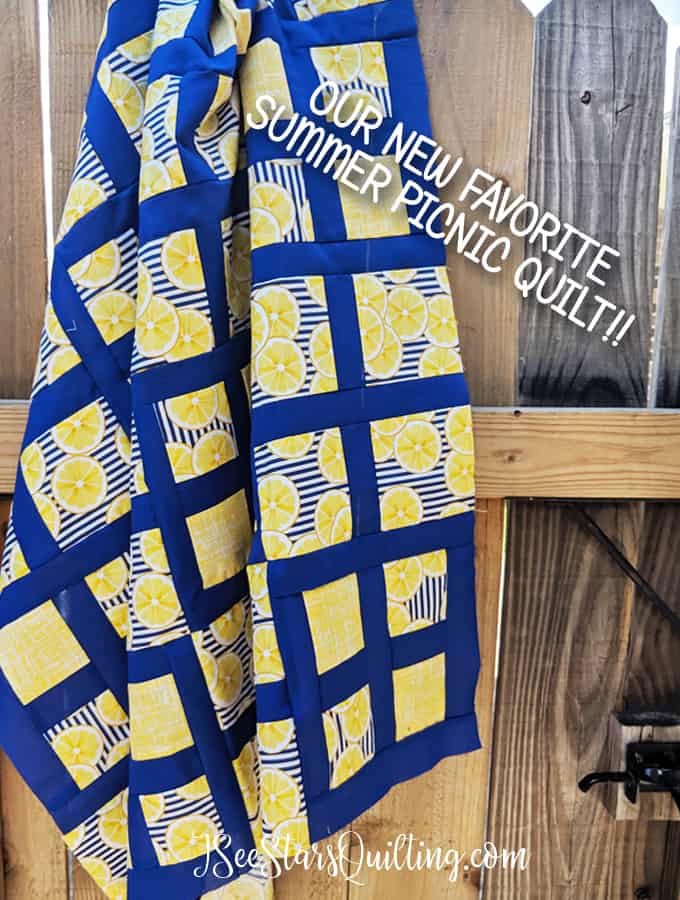
    Here are a few more eye-candy pictures of my new favorite picnic quilt!

    A Brand New Pattern! This 'Through The Window' Pattern is created to be a fun and easy pattern that is comfortable to sew again and again!
    A Brand New Pattern! This 'Through The Window' Pattern is created to be a fun and easy pattern that is comfortable to sew again and again!

    For more sewing patterns by ISeeStarsQuilting, check out my shop!

    So that is what I’ve been working on lately πŸ™‚ What do you think?

    I always find it so fascinating what people look for in an easy quilt pattern. Tell me in the comments what you look for!

    Is it a quick and easy sew? a challenging pattern to learn something new? Something that isn’t going to make you go cross-eyed while working?!? Tell me please so I can create more patterns tailored to your desires!

  • Link Party of Quick Sewing Projects!

    We all could use more of these fun projects in our arsenal of future projects, right? Like, I know there aren’t already enough hours in the day to finish what I want to sew… but yes, I still need more ideas so I can have options. Options for more quick sewing projects to suit my every mood!

    Have you noticed how I’ve really been focusing on using up my scraps lately? I think I’ve been super productive! It has forced me to really look at just how useful even the tiny scraps of fabric can be used over and over in different ways.

    Here are 13 Quick Sewing Projects you can add to your collection of Amazing skills!

    These Quick Sewing Projects are going to rock your world! There are tons of ideas and ways to use up your scrap fabric as well as give you quick satisfaction and maximum gratification! I LOVE sewing!

    Patchwork Coasters

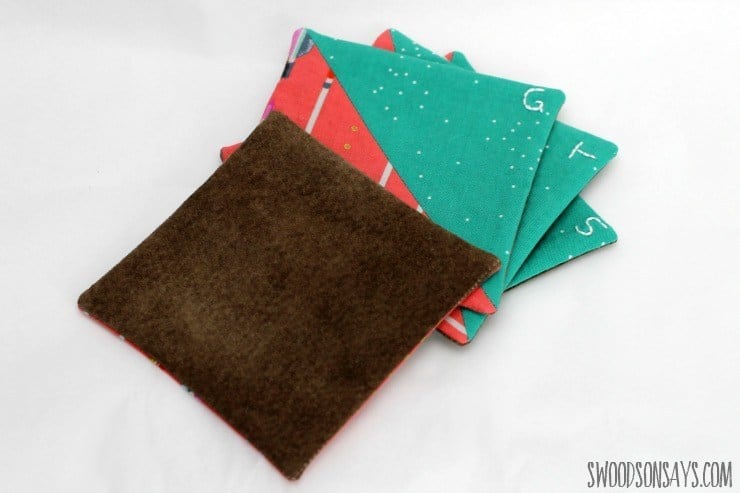
    These patchwork coasters from Swoodsonsays are super cute and such a fun scrap fabric buster. She even used an old suede jacket from a thrift store find as the backing! Absolutely genius!

    She uses a simple HST (half square triangle) to make these come together really quick. You can use this idea as a starting point and come up with your own block patterns.

    These would make precious gift sets for a housewarming present!

    Pretty Little Tissue Holder

    As a crafty momma who loves all things handmade, I HAD to make up several of these years ago when I first saw them on Pinterest. (follow me!)

    They have held up really well and allow me to use my favorite fabrics (or leftover scraps!) and keep them close to me where I see them often.

    The Gingerbread House gives a superior tutorial with nice photos so you can know exactly what you should be doing at every single step!

    Check out this tutorial here.

    Easy Zipper Pouch

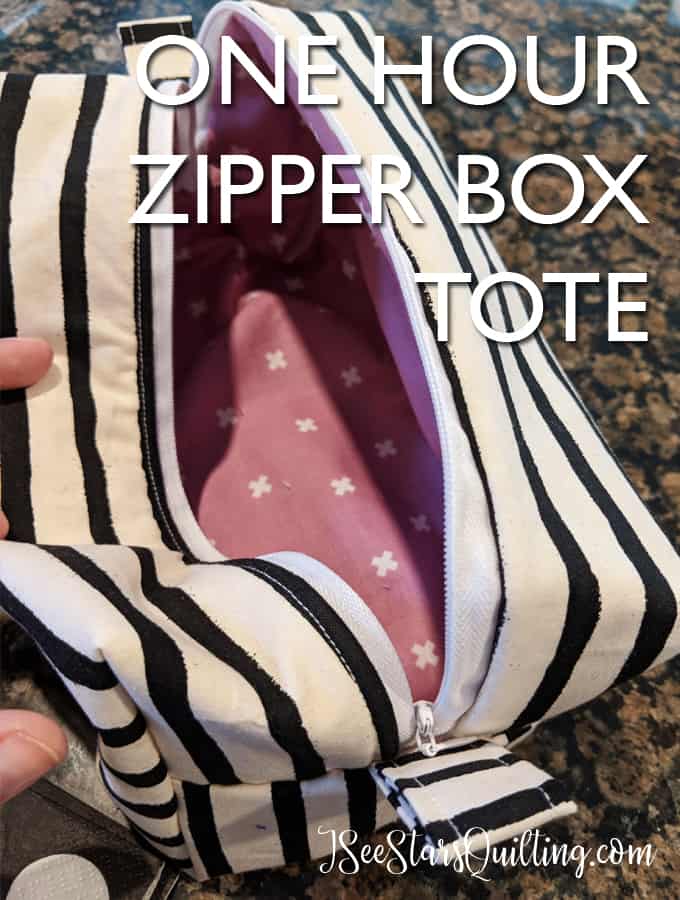
    This sews up so fast that you can easily make several of them in an afternoon and knock off half of your gift list! I used them for teachers gift at the beginning of the year and filled them with goodies! Check out the tutorial here.

    DIY TLC Teacher Kit - This Zipper Box tote comes together in less than an hour! Fill it with goodies and take care of your teachers #teachergift #ZipperBoxtote #easygift

    The Pillow Pocket

    Seriously such a favorite gift for every single kid that I’ve made one for (and there have been A LOT who have received this gift…)

    But don’t count this as just a kids gift! College students and all grownups alike enjoy a comfy pillow that holds all their favorite lazy day essentials!

    It comes together fast. Sew Simple Home gives a FREE step by step tutorial on her site. Check it out here.

    Taggie Blanket

    Don’t act like you haven’t made at LEAST one of these cute little taggie blankets for a baby gift! They’re so quick and much more coveted than anything you can buy in the stores! Just make sure you back-stitch over the ribbon sections to ensure a strong and lasting hold!

    Amber Oliver gives an awesome tutorial on just how to make the perfect one! Click here to see her tutorial.

    Fancy KeyFobs

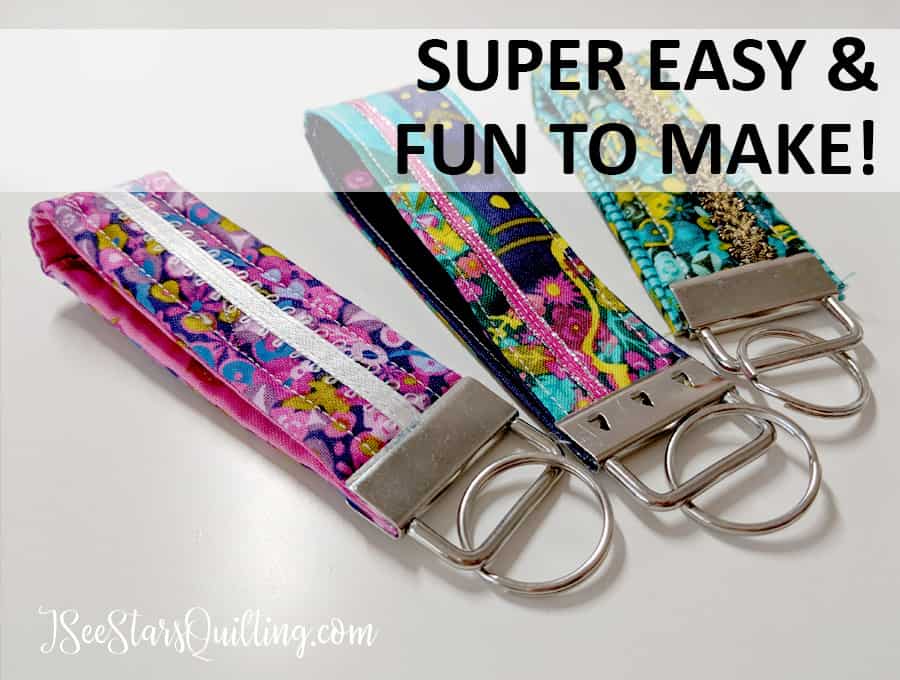
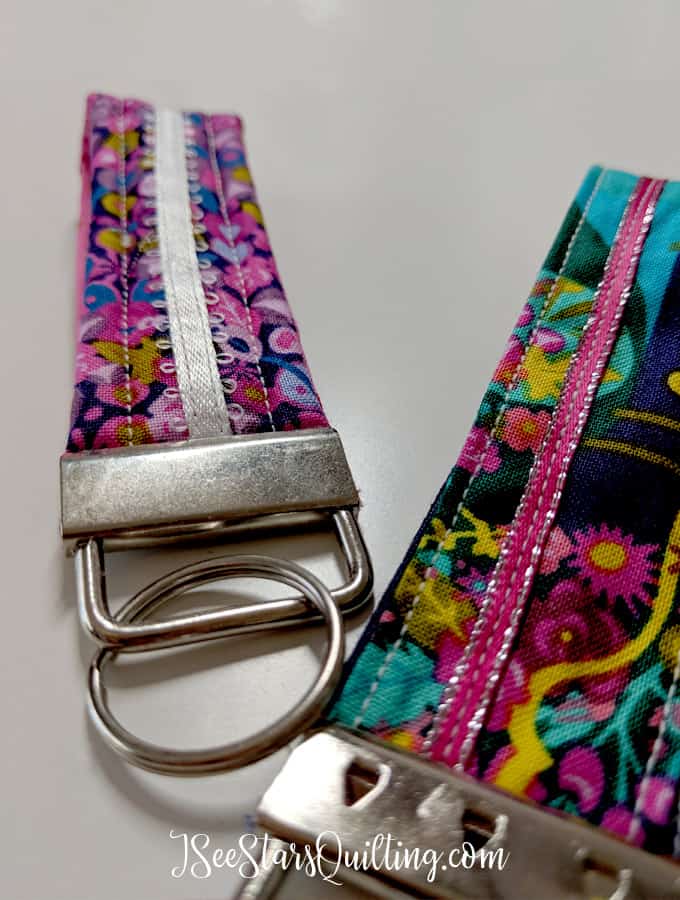
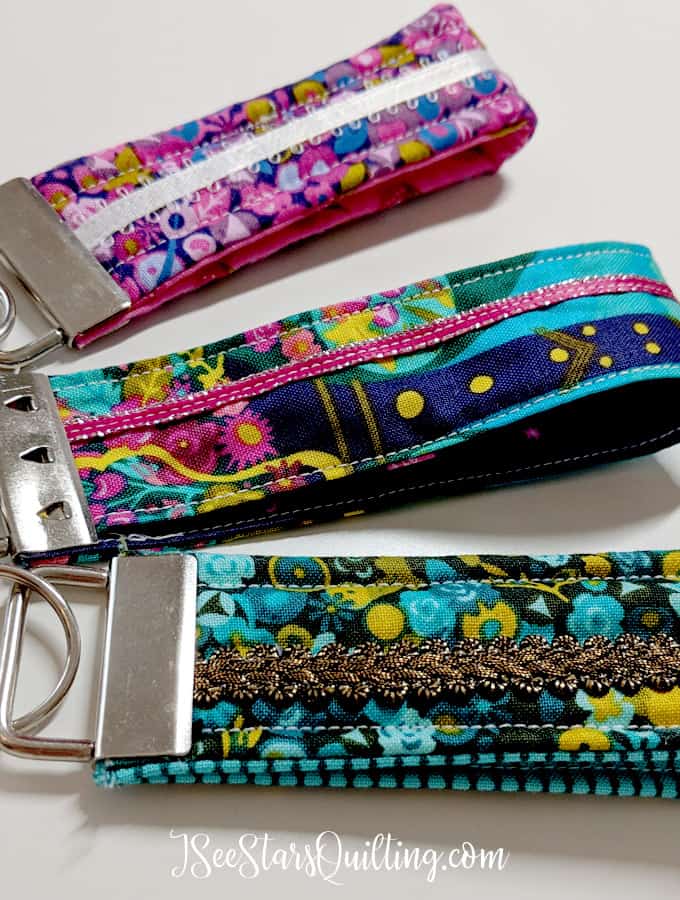
    I love making these up for graduating high schoolers about to embark on their college years! Check out just how easy and fun these are to make (and use up your scraps too!

    DIY Easy Key fob project sews up super fast and is perfect for teens, pre-teens and happy people of all skill levels! These are such a fun DIY gift... AND an amazing scrap stash buster!

    Child’s Apron

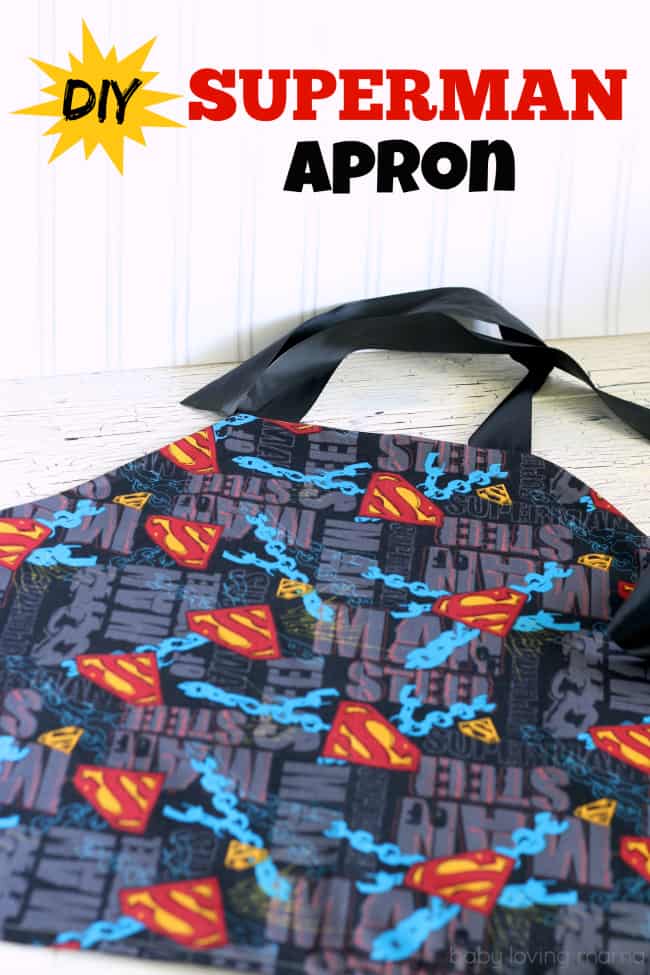
    Emilie over at Finding Zest shares how to quickly pull this super cute apron together! See her tutorial here.

    Throw Pillow Covers

    Ever just look around at your house and feel… blah? Like you just need a little change? Throw pillow covers are your solution! Change them out seasonally or just because you feel like it πŸ™‚

    Jessica Welling Interiors will show you a quick and easy way to DIY your own throw pillow covers. Check out her tutorial here.

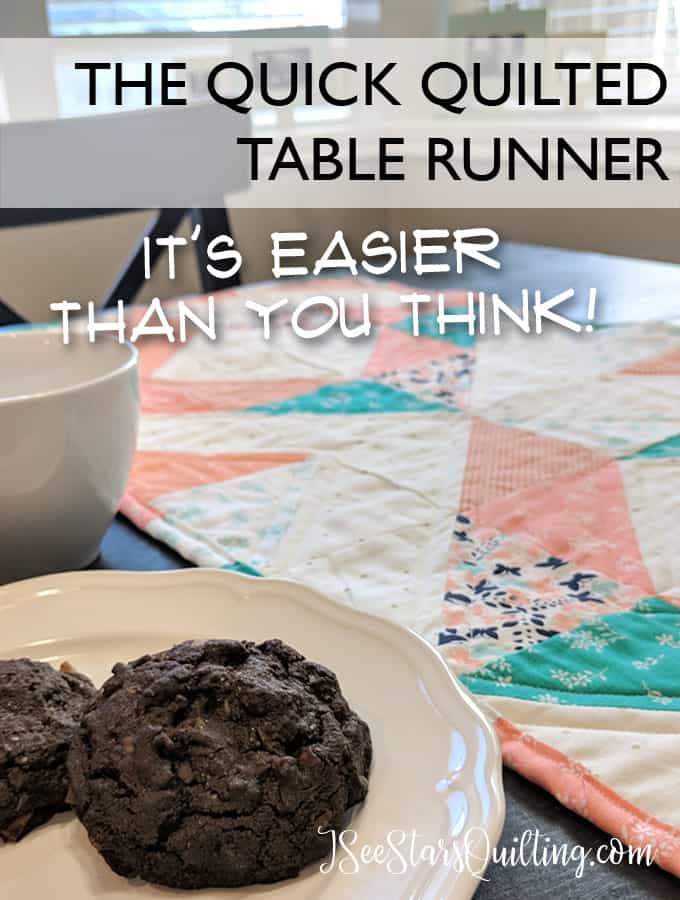
    Quilted Table Runner

    This is another easy way to add a little color and change up your house for the seasons! Check out the tutorial here.

    This Quick Quilted Table Runner is something I whipped up for a quick hostess gift, but it has so many endless possibilties I will be making several more for holiday family gatherings. These make great handmade gifts!

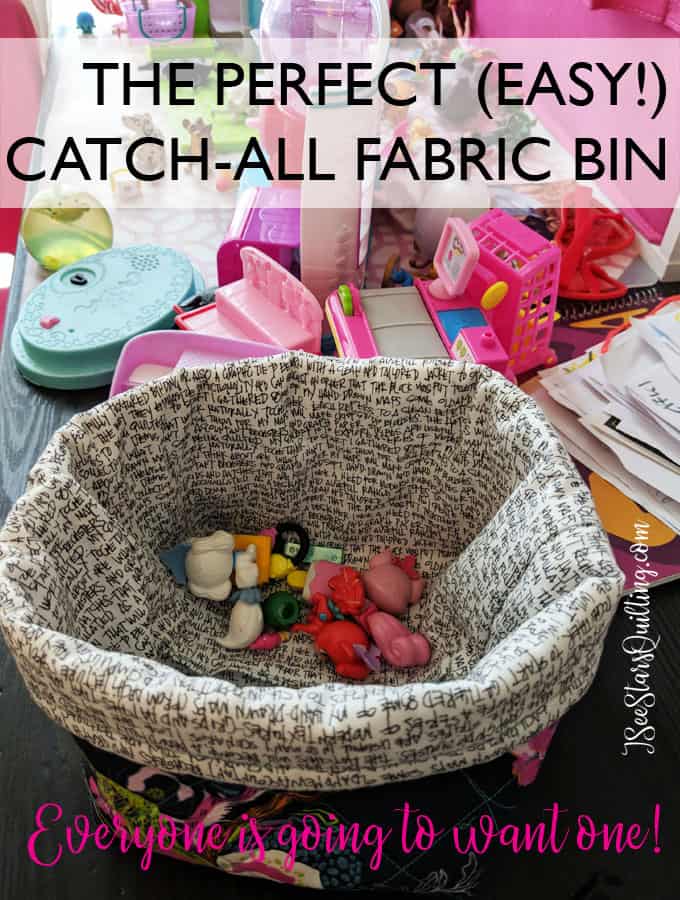
    Catch-All Fabric Bin

    These are an awesome use of fat quarter fabrics! Check out the tutorial here.

    This cute fabric bin can be made in an hour and can be used all over the house! No extreme sewing skills required... its so easy!

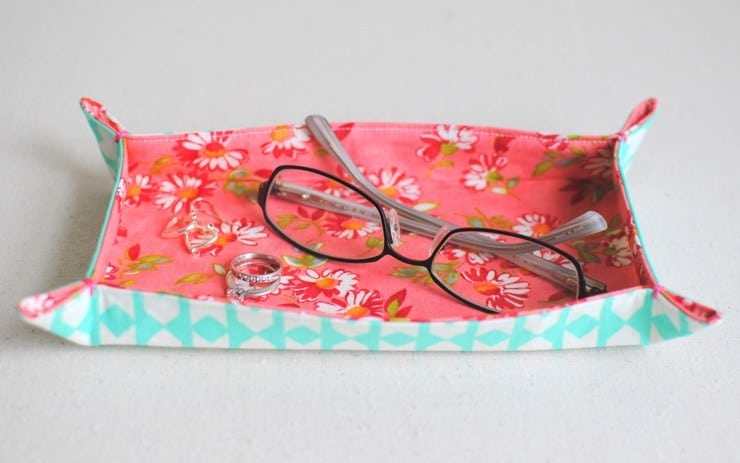
    Fabric Catch-All Fabric Tray

    Did someone ask for ANOTHER use for pretty scrap fabrics?!

    These fabric trays are a wonderful addition to your home. I like to use them a lot in my sewing room because I’m always needing a way to corral little tiny things I’m working on whether is it little bobbins or a thread catcher etc.

    Clover & Violet shares just how easy it is to make your own fabric tray! See the step by step here.

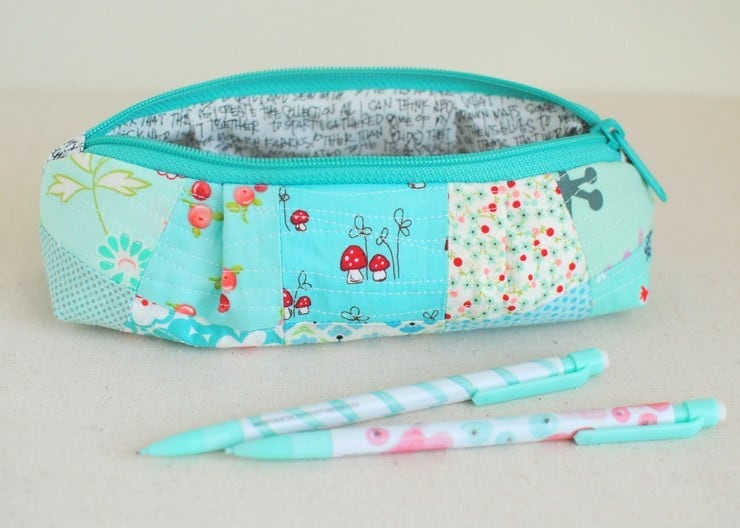
    Cute Pencil Pouch

    This one is also from Clover & Violet. I love love love how cute this pouch turns out! Check out the tutorial here.

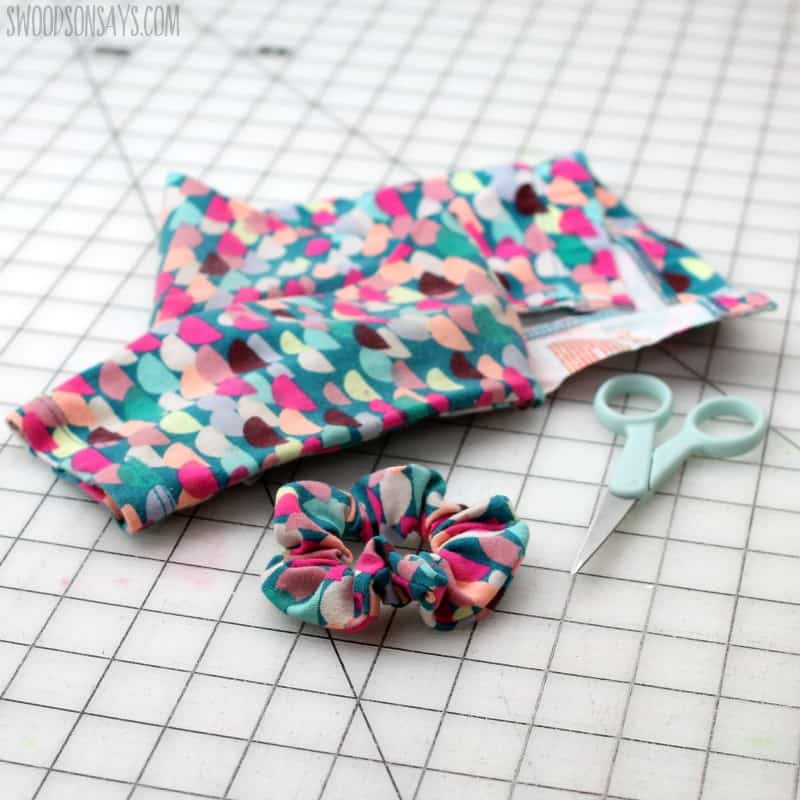
    DIY Hair Scrunchie

    Yes, these were like… all the rage in the 80’s and as a collective whole, humanity kind of left them there for a while but ponytail headaches are real and cute scrunchies are making a comeback again. (yay girls!)

    now you can make your own to coordinate with your favorite outfits and be stylish and handmade wherever you go!

    Swoodsonsays has a super easy tutorial for you here.

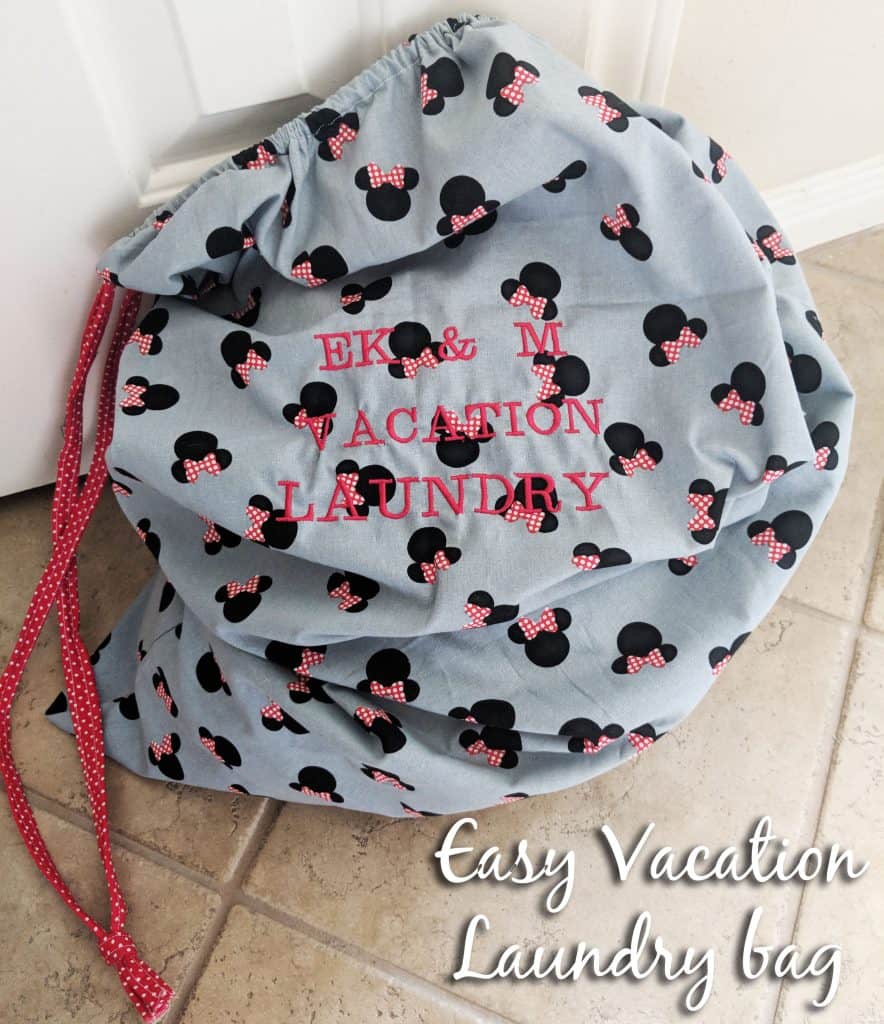
    Vacation Laundry Bag

    This has been one of my most popular blog posts… It sews up in less than 15 minutes and you’re ready to set off on a magical vacation! Click here to see the details of how quickly it comes together!

    This darling vacation Laundry bag will take no more than 15 minutes of your time and will be a Sanity saver on your trips!

    Whew! That should be enough to keep you busy for a little bit!

    I hope you enjoyed my list of quick sewing projects! Leave em a comment and let me know which is on the top of your list to try out!

    Happy Sewing,! — Christen

  • Scrap Fabric Projects: Easy DIY Key fobs

    I shared a fun DIY project last week that was so successful and I had such great feedback that I decided to share another fun and easy DIY project this week again! And this one is a scrap fabric buster! – All those pretty little leftover bits can get repurposed into these lovely little easy DIY Key fobs!

    We quilters LOVE fabric… one might even happily accept the accusation of a “fabric hoarder” and not even bother trying to deny it… (And by ‘one’, I mean me… we’re talking about me.)

    I love fabric. Isn’t it beautiful to just keep it and stack it up all nice and pretty and display it like beautiful fine art… I just can’t help it! You can take a tour my sewing room and see my space here

    I have this area where I keep all my scrap fabrics, but I also have a separate little area where I keep my tiny scrap fabric bits. (organization is not entirely insanity)

    These itty bitty bits are all pieces of fabric that I just couldn’t part with but do not necessarily have enough fabric to do something really big and grand with.

    I have hopes of finding their perfect project use someday… so I only save the best scraps and tuck them away until an idea like the one I’m going to share with you comes along…

    How to make your own scrap fabric DIY Easy Keyfobs

    These are so so easy and so useful! They make super cute homemade gifts and are completely custom for the gift recipient.

    First things first – Dig through your scraps

    I looked for long and skinny strips. At least 3″ wide x 10″ long.

    You an also sew several smaller pieces together and create a patchwork effect to your keyfob if you desire.

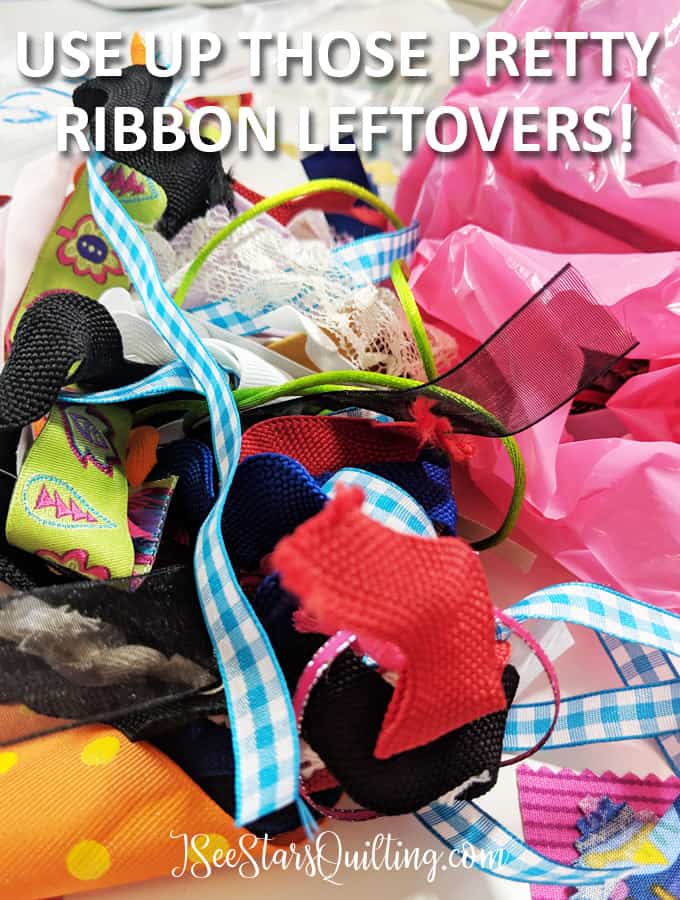
    I also hit up my ribbon and sparkly things stash to add just a little touch of extra pizzazz to my creations.

    Whats that? You don’t have a huge selection of craft ribbons? That’s ok… get together with your sewing friends and do a trim and ribbon exchange! See if anyone has anything they’d like to donate or offer to make them a key fob in exchange!

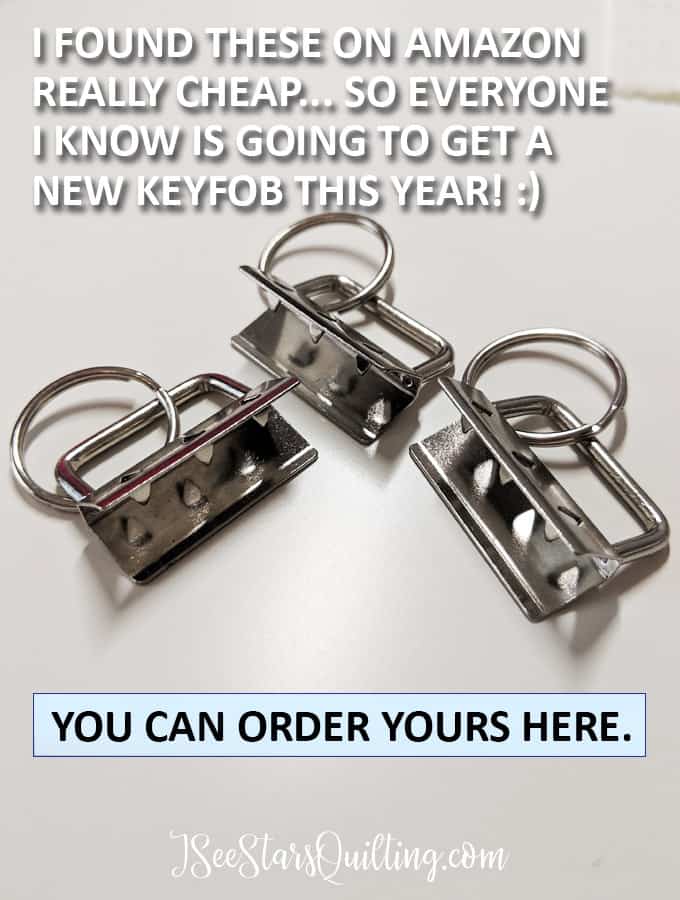
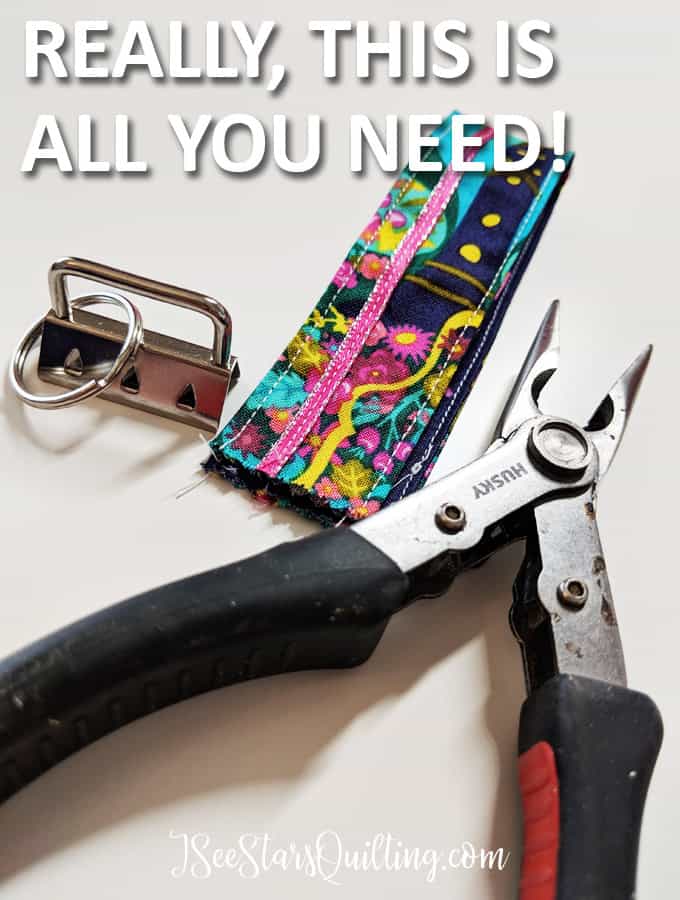
    You’ll also need the keyfob hardware and a pair of pliers or something that you can squeeze the hardware shut with.

    Next, measure your hardware

    I used this exact brand of keybob hardware. While I imagine that they are mostly similar no matter what brand you buy, you should measure your exact piece to make sure the finished product fits as you want it to.

    Mine measure exactly at 1.25″ wide.

    Then, cut your fabrics

    I added 1/8″ seam allowance for each side and cut my fabric:

    1.5″ wide by 7″ long (do this for 2 different fabrics)

    Why would I do 1/8″ instead of 1/4″ seam allowance?? – Simple trial and error. I did the 1/4″ seam allowance first and found it to be too bulky in the finished product. Just preference, but you can try it out for yourself and let me know what you think!

    Get ready to sew

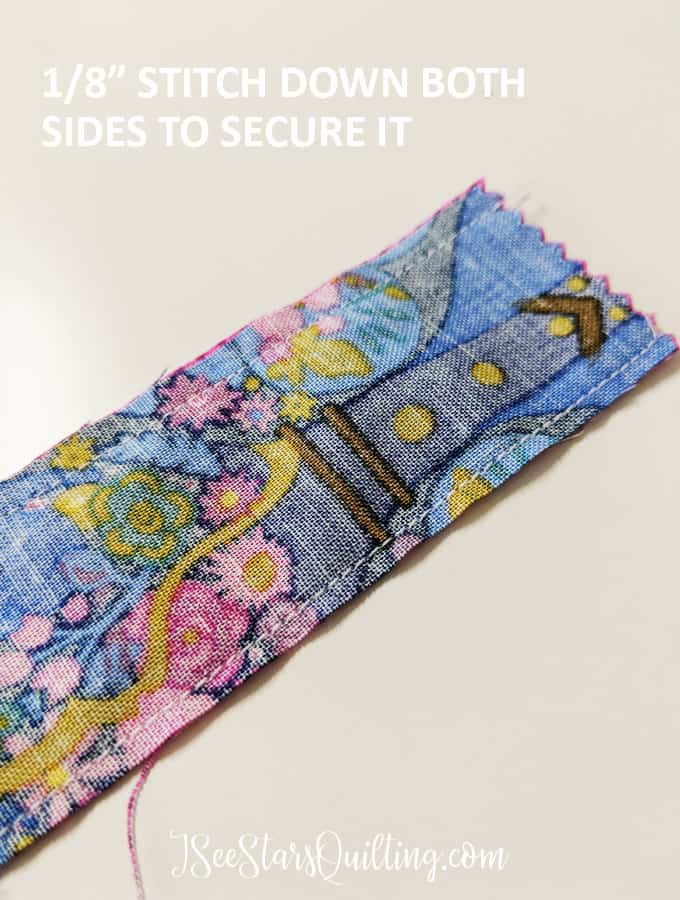
    Lay your fabrics right sides together and sew 1/8″ down both sides. do not sew over either of the ends of your fabrics.

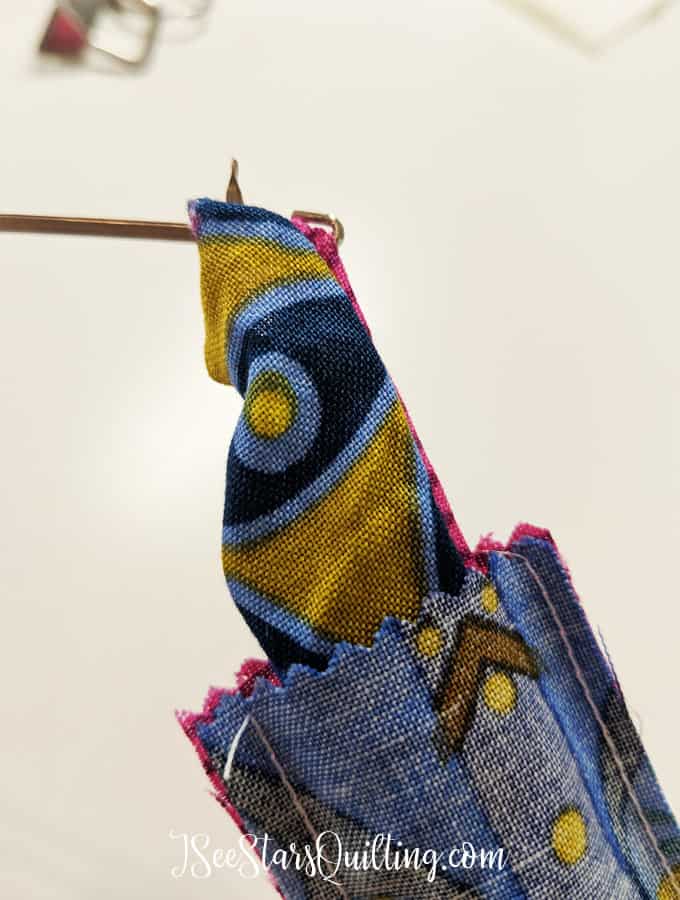
    Turn the piece right sides out

    This can be a little tricky. But once you practice a few times, you’ll be a pro at it.

    I use this little device that is specifically for turning your seams out. it has a really fancy name and everything… it’s called a loop turner. haha We sewists really are creative folks… just maybe not in the tool naming department?

    PRESS flat

    Sorry, I didn’t ask if you wanted to drag out your iron. You just have to, ok? and don’t whine about it either. No one likes whine unless there is cheese with it (get it? whine? … wine?… cheese and wine?? ok maybe that one is better out loud…)

    Pressing is essential in this step to get everything where it should be and where you can confidently proceed to the next step…. which is….

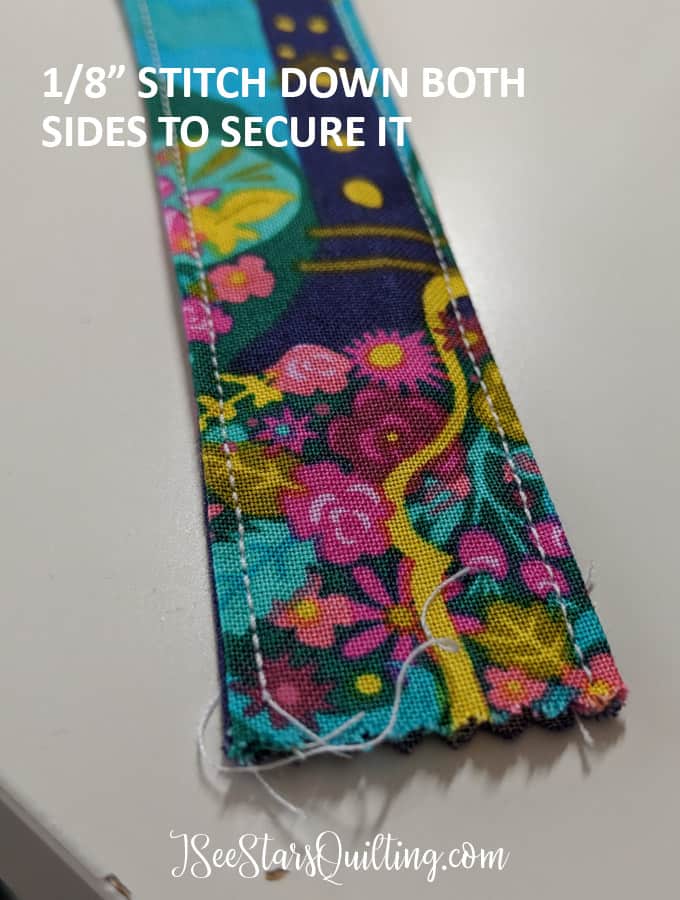
    Secure both sides by stitching again

    don’t worry about the ends, they’ll be tucked inside the hardware so you don’t need to do anything with them. just sew down each side at an even 1/8″.

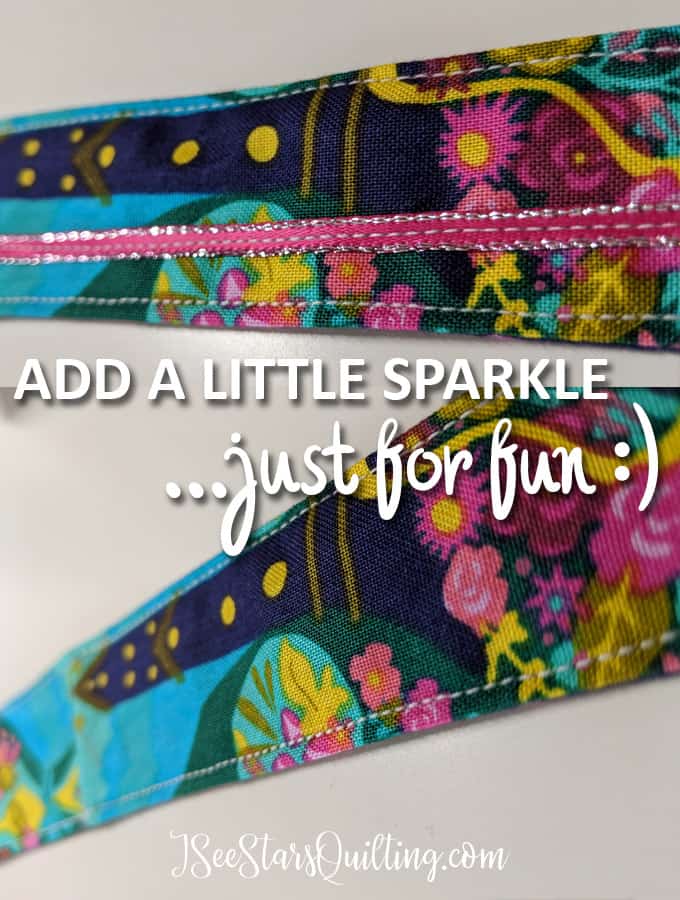
    If you want to break out some of your fancy sparkly thread or decorative stitches to add some extra flair, go for it! You be you and add some of your own sparkle!

    Decorate! Add even more sparkle and flair to it!

    All those little bits of pretty ribbons? this is the perfect place to use them! you only need a bit… so add it in and make it beautiful!

    Fold in half with raw ends together

    There is an actual tool that is made to clamp your key fob hardware together. I ordered it, but the hardware got to my house first and being the impatient person that I am, had to try it out anyway πŸ™‚

    My brain said that the regular set of needle nose pliers would work just fine.

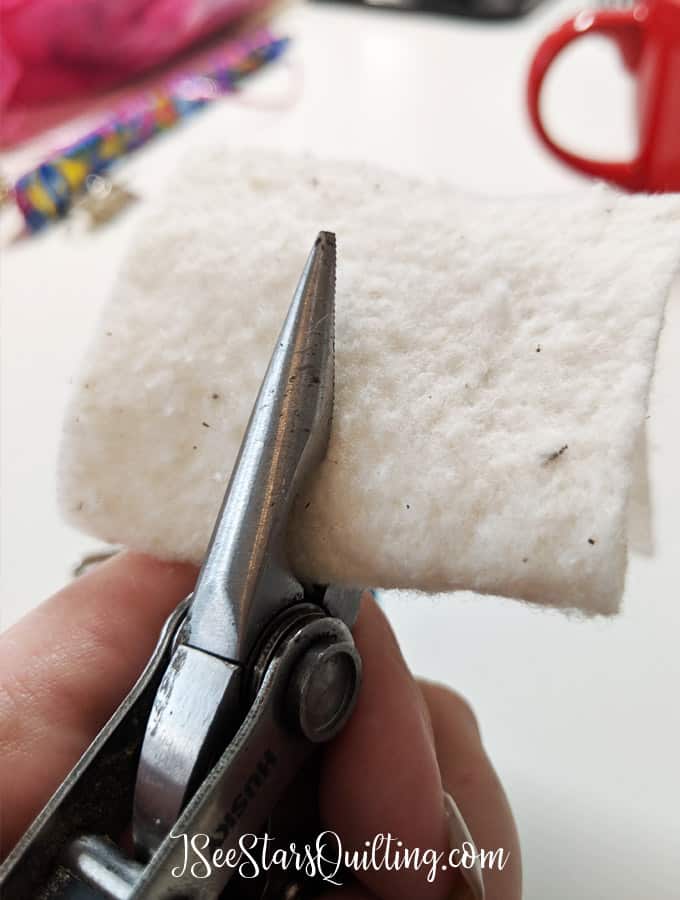
    I was a little afraid of scratching the shiny hardware or leaving dents with the teeth on the pliers so I just padded them down with a little scrap of quilt batting.

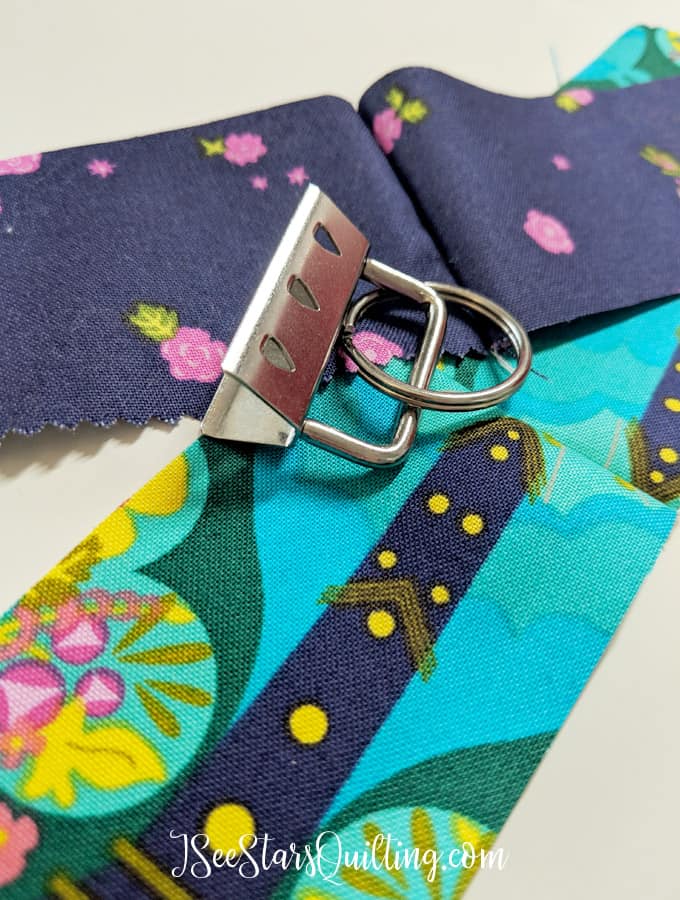
    Place the raw edges inside your own hardware and secure it

    I worked slowly, keeping an eye that my fabric wasn’t shifting out of place and worked on either end of the open clasp until it was securely shut.

    Voila πŸ™‚ … now go many another one!

    While using standard pliers is a totally cheaper and do-able method… I suggest using the pliers that are meant for squeezing the key fob hardware shut because it creates a more even force to shut the jaws around your fabric. it was much easier my second time around.

    Experiment

    Now that you have the basics of a DIY easy key fobs project… play with it some more!

    Use those decorative stitches, even if it is just playing with your zig-zag stitch. play with fabrics on the interior and exterior.

    Play with ribbons and trims and sparkle, oh my!

    You can embroider and embellish to your hearts content and then give to your favorite people so they can carry it with them everywhere!

    Who are you going to make one for first? Let me know in the comments!

    Happy Sewing!

  • Jelly Roll Quilt Size Guide

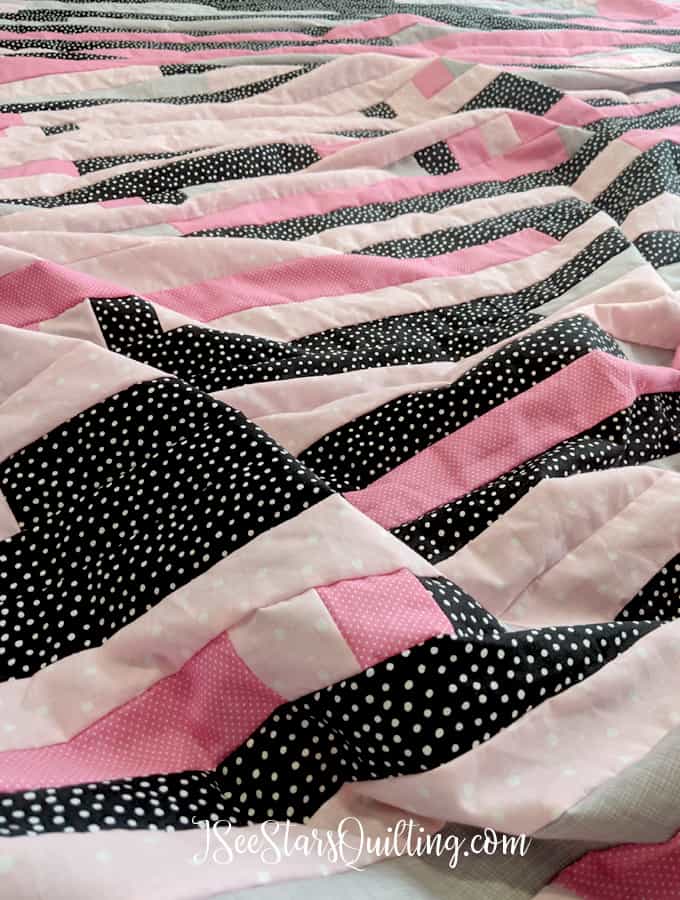
    I just had to share this pretty queen sized jelly roll quilt with you that I recently finished. Its almost too pretty to be the on the back!

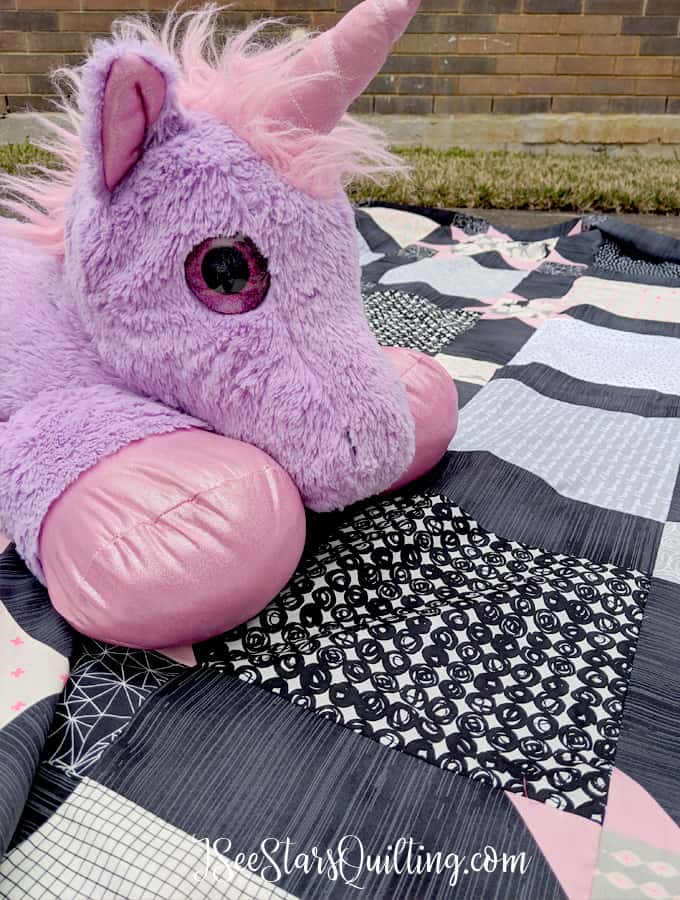
    Here is the front of the quilt. It is a quilt for my daughter’s bed. She is 10 and *loves* unicorns… I mean, who doesn’t, right?

    This is a pattern I designed myself. I’ve thought about jazzing it up with some instructions and releasing it on my site, what do you think? Are you interested?

    I’ve been collecting Unicorn fabric for about a year now… not just any unicorn fabric though, neon like the sunset sky, neon pink! Needless to say, I ended up with way more than I needed, but a healthy collection to choose from. FYI: Most of the neon fabric came from different Cotton + Steel Fabrics.

    So… I could keep going… Quilts are super fun to take pictures of! πŸ™‚

    But the real star of today’s post is totally this queen-sized jelly roll quilt that I made for the back of my unicorn fabric quilt!

    Just look at how lovely all these colors look together!

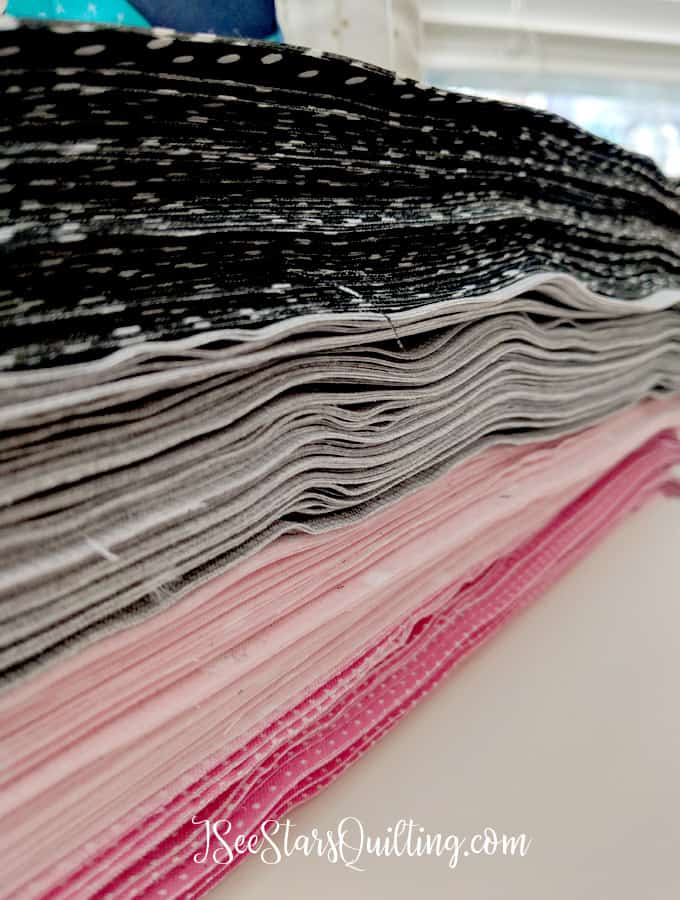
    I made my strips 2.5″ wide x 40″. It is a TON of strips!

    I love the way it turned out! It’s a tough call to say if I would do them at 2.5″ again or not if I decide to jelly roll another quilt.

    In hindsight, I SHOULD have made them a little larger, maybe 3.5″ or even 5″… There is a LOT of fabric wasted in the seams of this quilt.

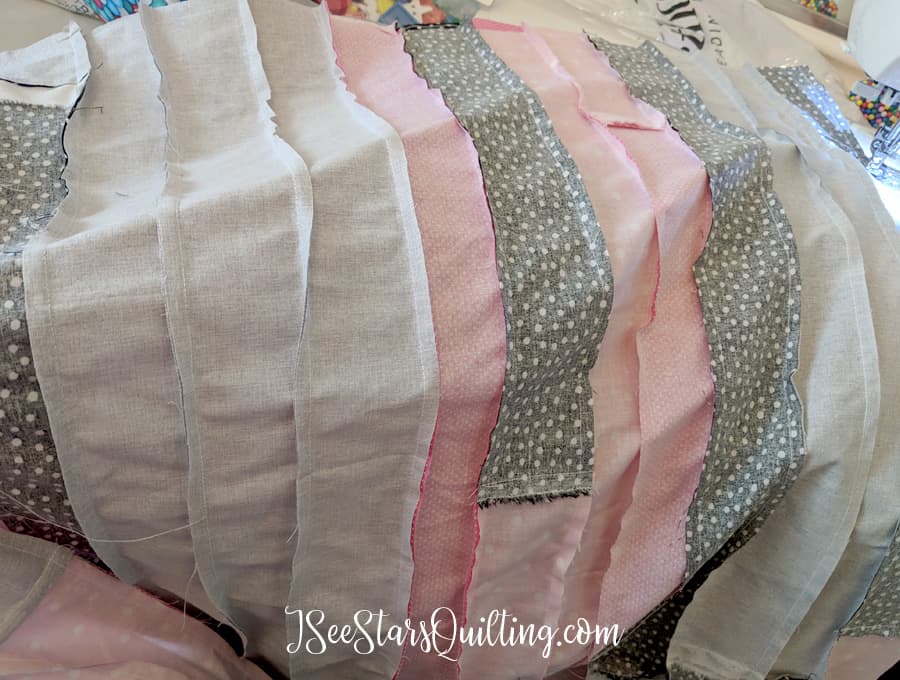
    Also, this long initial piecing strip of fabric went on for at least a few miles, I swear πŸ˜‰

    I was inspired to create something fun and different with this quilt… a little off the normal ‘jelly roll’ method! And look what I did!

    Do you see the little smaller blocks? This is probably my most favorite detail to the quilt back. I cut some of my strip up into 2.5″ squares and randomly placed them in with my longer strips.

    When I say randomly, I really mean randomly! Always in groups of 4 to give it a little more visual interest and tried not to let similar fabrics “touch” (when I say this I feel like a toddler who can’t have the peas on her plate touch her pasta or the ketchup touch the chicken without having a meltdown”) I just see no point in putting the same fabrics next to each other because it will look like one continuous piece of fabric!

    The result is this beautiful mix of long strips in traditional jelly roll fashion with some confetti of smaller blocks to jazz it up and make it fun!

    Here is a formula that I used to determine the sizing for my Jelly Roll Quilt…

    I suggest you take a moment and do your math properly because what I did was just jump in and I ended up doing a little more figuring out in the middle than I probably should have. — Live and learn, right?

    The Jelly Roll Formula (AKA Do this first!)

    A Β formula to just figure out how many strips you need for your Jelly Roll Race Quilt is:

    (inches wide x number of rows) / 40β€³ strip = number of strips needed

    *Number of rows is your quilt height divided by the height of your jelly roll – ex: a 2.5″ jelly roll strip will be a 2″ height strip with the seam allowance taken out.*

    *Also, while your fabric may be a little wider than 40″, remember that you’ll take out the selvage and you’ll also take out a bit for seam allowance.*

    Remember, the length will be determined by the number of rows and that is a set number. Only the width is completely flexible.

    To add to your length you will have to make two separate pieces and sew them together.

    If you think you could run a little short, just add in a few extra strips to be safe!

    Other Jelly Roll Size Guides

    Maybe you don’t want to make a queen sized quilt? Here are other guidelines for Jelly roll quilts!

    Baby sized Jelly Roll Quilt

    (20) 40″ strips – Your finished top will be a little bigger than 32.5″ x 50″. You can also cut those strips in half ‐ from (20) 40” strips to (40) 20” strips so your small quilt will have a more mixed stripe look. Shorter strips = more busy colors and fabric variation.

    Lap Sized Jelly Roll Quilt

    (40) 40″ strips or (80) 20″ Strips – This will yield a lap quilt that is about 50″x 64.5″.

    Twin Sized Jelly Roll Quilt

    (70) 40″ strips, or (140) 20″ strip – Your finished size will be close to 64″ x 88″.

    Note: Make this by creating two sets withΒ Β 35 strips. This will make two quilt tops that are approximately 87.5″ x 32.5″, and then sew them together to make your 87.5”x 64.5″ top.

    Queen Sized Jelly Roll

    (105) 40″ strips, or (210) 20″ strips – Standard Queen size is 86 x 93.

    See the method used in the twin sized quilt – Use 3 sets of 35 strips to make 3 segments measuring 87.5″ x 32.5″ and then sew together side by side. Your finished top size will be approx. 87.5″ x 96.5″. You can trim down or you can leave it a little larger for maximum snuggle quilt size!

    King Size Jelly Roll

    (120) 40″ strips, or (240) 20″ strips ‐ Standard King size is 104″ x 93″. We can create one that is 100″ x 96.5″ using the jelly roll method and then you can add borders or sashing to make it a little larger.

    Make it in 3 segments – 40 strips in each. Stop when each segment is 100″ x 32.5″. Sew all three together and you’ll have your king sized top!

    To make a custom sized jelly roll…..

    This is the general formula you should use…

    [(Length/2) x Width]/40 = number of strips you’ll need!

    I hope that helps you create your very own custom sized jelly roll quilts!

    Let me know if you use this formula and if you have any questions!

    Happy Sewing!

    Custom sized jelly roll quilt? Here is the magic formula I use! Works every time and is so simple! + a look at the queen sized jelly roll I made with a design twist