;
Skip to content
YouTube
Instagram
Pinterest
✨WANT TO RETREAT WITH ME?
START HERE
Expand
QUILTING 101
TUTORIALS
RECOMMENDED TOOLS
FREE PRINTABLES
BLOG
SHOP
LONGARM QUILTING
EVENTS & RETREATS
ABOUT
Expand
CONTACT
FAQ
Search
👭Join StitchSisters
✨ LONGARM QUILTING SERVICES
🥳RETREATS & EVENTS
Instagram
YouTube
Pinterest
Search
Toggle Menu
Patterns + Classes
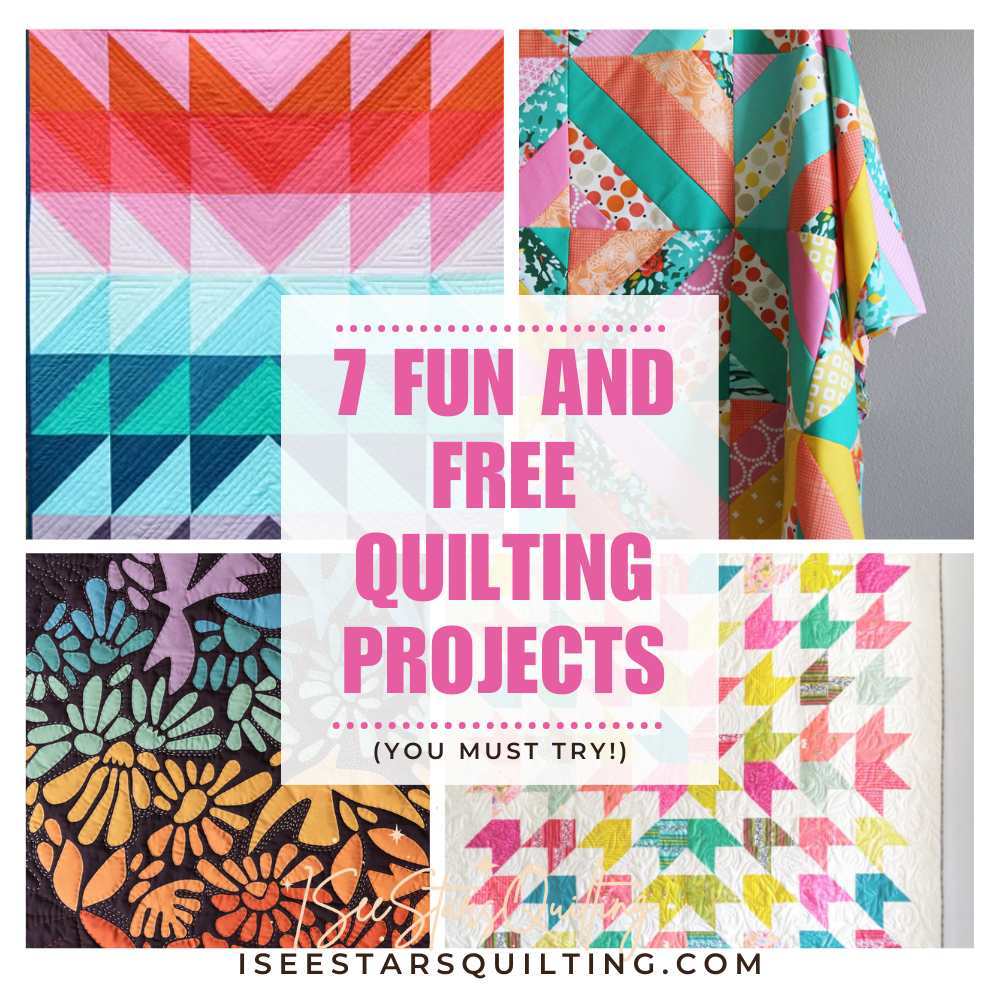
7 Free Quilt Patterns You’ll Want to Make Right Now (Like… Immediately!)
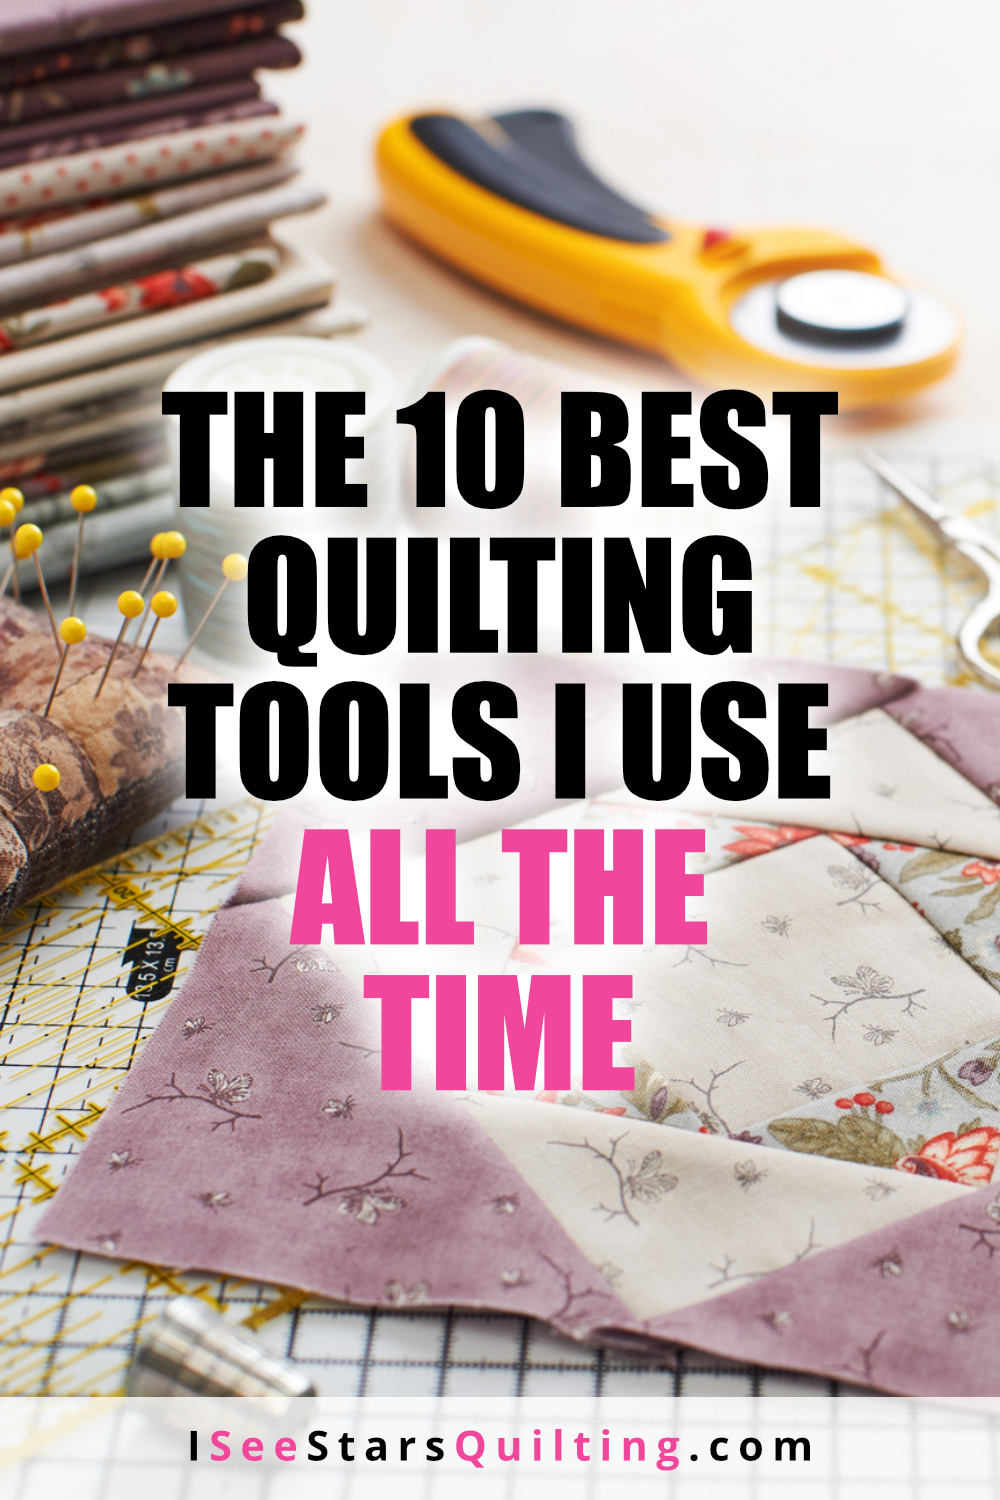
The 10 Best Quilting Tools I Use ALL THE TIME
A peek into scheduling my weekly quilting routine!
Organizing Tips for Your Sewing Room: Decluttering and Finding Storage Solutions
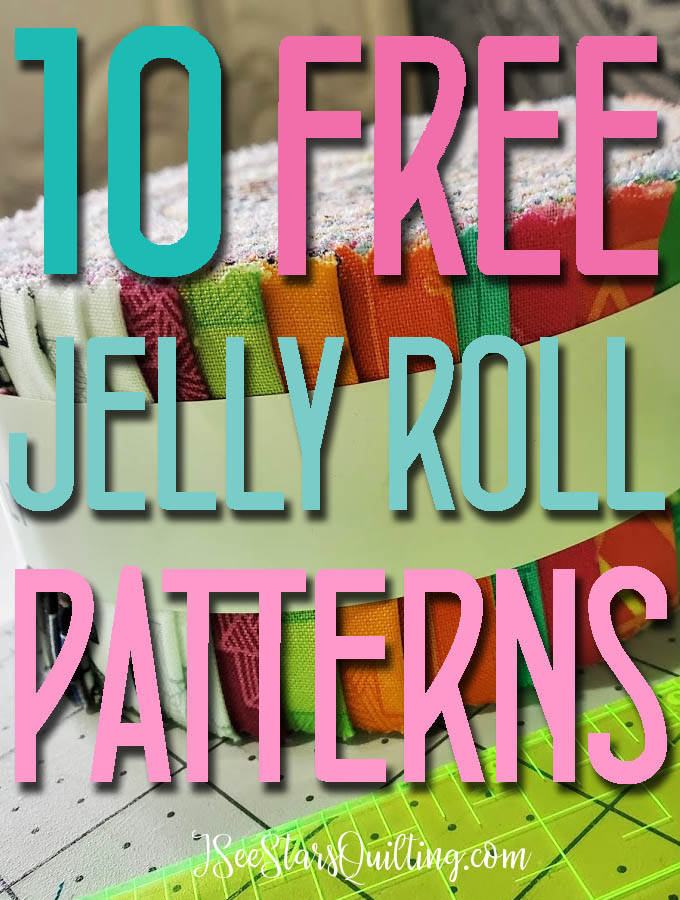
10 Free Jelly Roll Patterns!
FREE PATTERN! DIY Quilted Floor Pillow
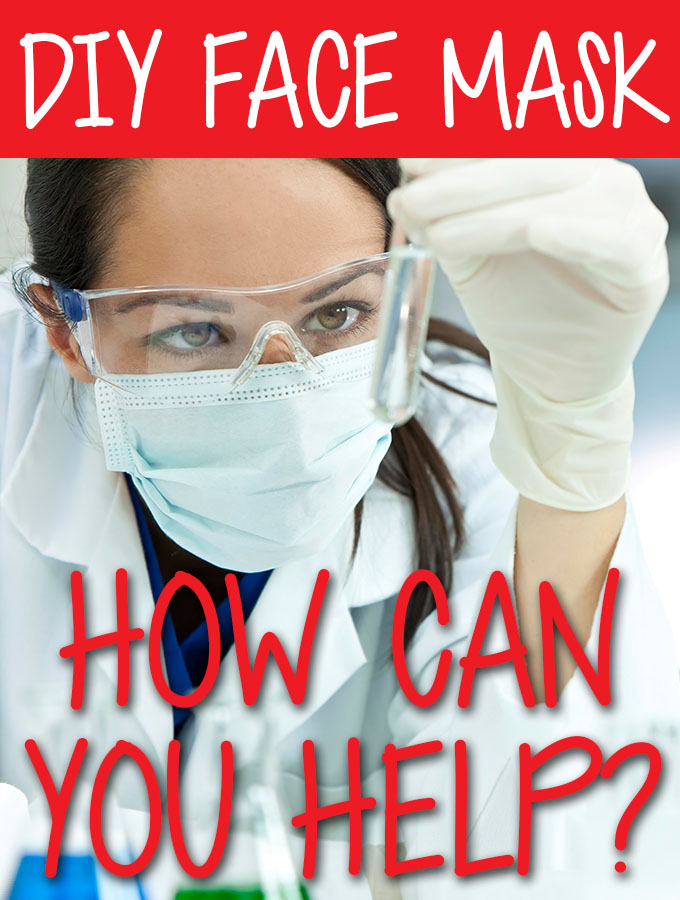
DIY Face Mask And How you can help?
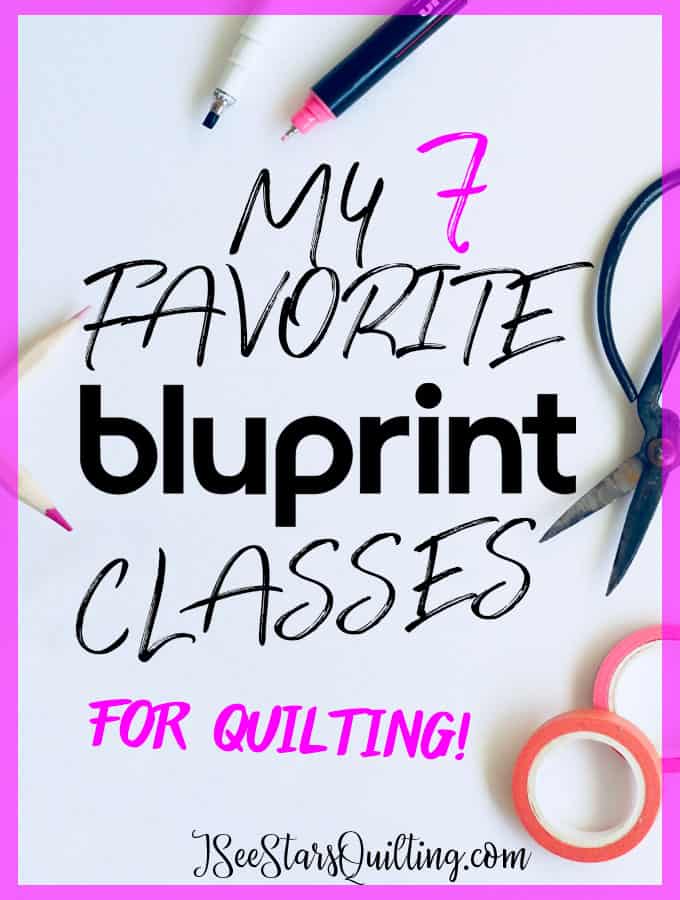
My Favorite Quilting Classes On Bluprint
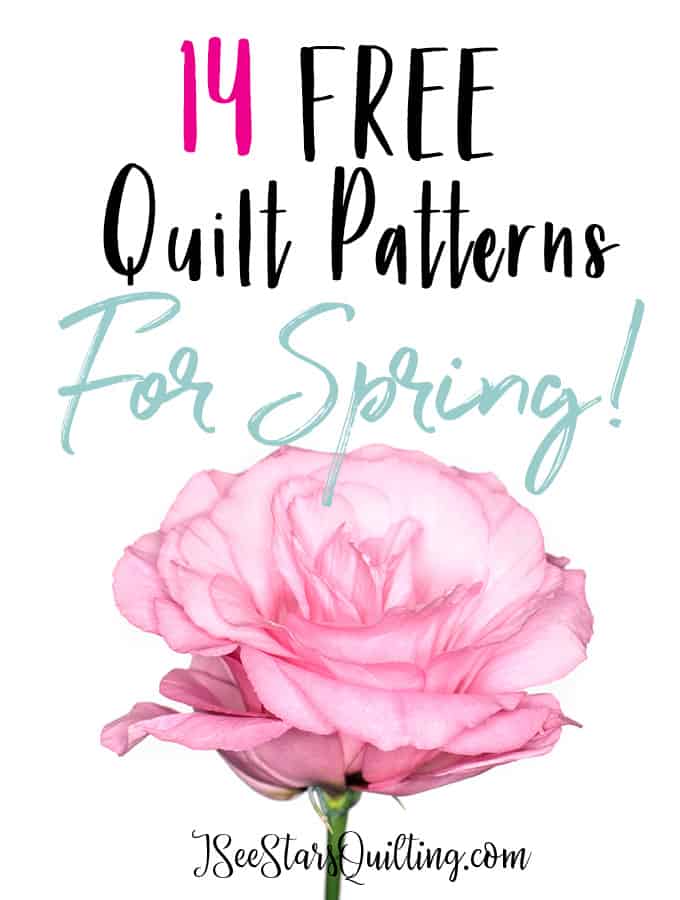
14 FREE Spring Themed Quilt Patterns
Page navigation
1
2
3
…
5
Next Page
Next
Scroll to top
Scroll to top
ISSQ 2024 HomePage
About
Toggle child menu
Expand
Contact
FAQ
Blog
Toggle child menu
Expand
Start Here Quilting 101
Tutorials
My Quilts
Sewing Tools
Printables & Downloads
Retreats & Events
✨Longarm Quilting Services
Become A StitchSister
SHOP
Toggle child menu
Expand
Shop Deals
CLASSES
Toggle Menu Close
Search for:
Search