Tutorials

Step by step tutorials for quilting and sewing projects from ISeeStarsQuilting.

  • My Favorite Quilting Classes On Bluprint

    Have you heard of Bluprint?! It is an amazing online hub of classes for everything crafty you could imagine… I’m going to share my favorite quilting classes that you can find on Blueprint today! (plus links where you can own the class too)

    Seriously, if you are prone to getting lost down the rabbit holes of the internet and you have somewhere to be in an hour, do yourself a favor… bookmark this post and come back to it when you have time to look around. You’ll thank me later πŸ˜‰

    Shop deals of the week at shop.mybluprint.com!

    Bluprint by far has the best selection of crafting classes/education on the internet – You might remember a few years ago, it was called Craftsy. (I wrote a review about it here)

    While I have learned many skills since the day I wrote that post about Craftsy, I still stand by the fact that Bluprint is one of my go-to learning destinations!

    Ok, I also like YouTube too. I usually will do a quick search on YouTube when I want to learn something quickly or I’m having a hard time with a particular skill… but YouTubers are sometimes like a box of chocolates… you never know what you’re going to get, right?!

    **I say that so nicely and with a lot of love because I have a YouTube Channel where I share tips and tutorials too… and that job is not an easy one!**

    Still, if you’re looking for more quilting education and more quilting classes, check out the ones I suggest below.
    Should you try Bluprint? Is it worth it? I'm sharing all the details PLUS what my favorite quilting classes are and more!

    How does Bluprint work?

    The good news is that once you buy a class on Bluprint, it is yours forever!

    But there is another option too… you can be a monthly member to their site and have access to TONS of classes that are included with your membership. It is really an amazing opportunity to soak in so much knowledge! (more on that down below)

    myBluprint.com

    As if the courses weren’t enough… there are also kits and supplies that you can purchase from Bluprint at members-only discount prices as well.

    *heart eyes for the embroidery kits! They are to die for!*

    OK, but that’s for another day because I promised that I was going to share my favorite classes on blueprint!

    My favorite Quilting Classes on Bluprint

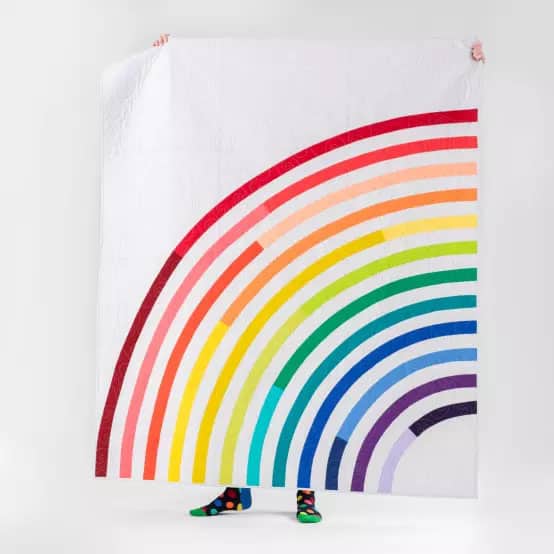
    Rainbow Bias Tape AppliquΓ© Quilt

    This one is so fast and so fun! I love a good happy rainbow. And it’s Applique, so you have fewer worries of the seams matching up and wondering if you’re at the right skill level etc… YOU ARE! This Rainbow Applique Quilt is for everyone and this quilt is beautiful every single time.

    You can find it here.

    Here’s How to Pick the Perfect Quilting Thread Color Every Single Time

    This is a free read! Yay! It has some really good tips to read over! No purchase required… just knowledge.

    Read it here.

    Your Perfect Project: Starry Path Quilt

    Hi, I’m Christen. If you didn’t know, I’m obsessed with stars… πŸ™‚ haha I really love this quilt design and the beautiful endless options for fabric that it lends itself to!
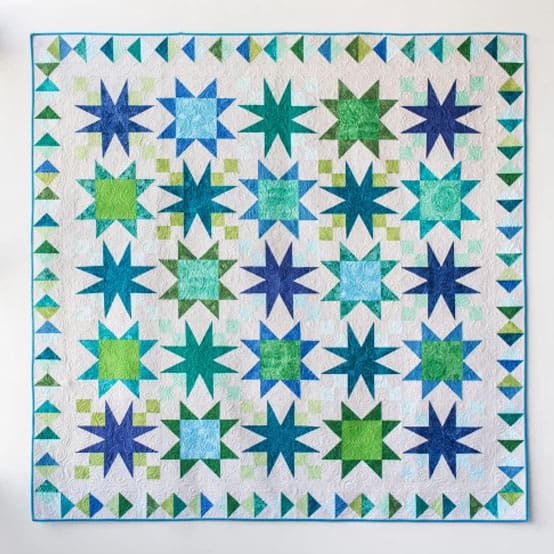
    You can check out The Starry Path Quilt Here.

    28 Days to Better Free Motion Quilting

    Angela Walters… I love this girl. She has no idea I exist, but I know we could be fast friends – I tell you this, not to make this weird…er? but because I know you’ll love learning from her too!

    Check out the video course here.

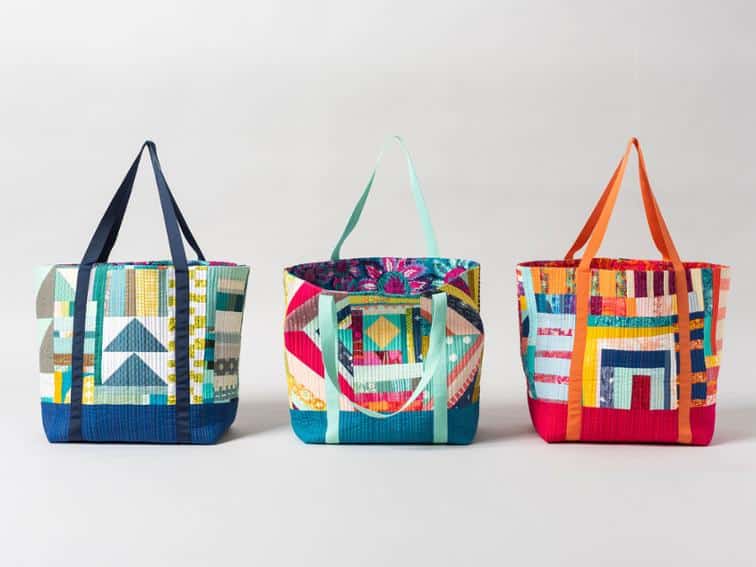
    The Scrappy Market Tote

    It is a scrap project!!! Looking for a fun way to use up those little scraps? I adore this one! How about fun Christmas presents? – unique gifts? – talk of the local farmers market? — uh huh, thats you, babe. πŸ˜‰

    Check out the class for The Scrappy Market Tote here:
    Quilted Tree Skirt

    This Quilting class is actually really easy, but super enjoyable! I love my tree skirt! Every single time I’ve made one I think that it will be my ‘last one’ and it will be a tradition to put it out every year, but soon I find myself looking at all the beautiful fabric out there and… I get a spark for another tree skirt!
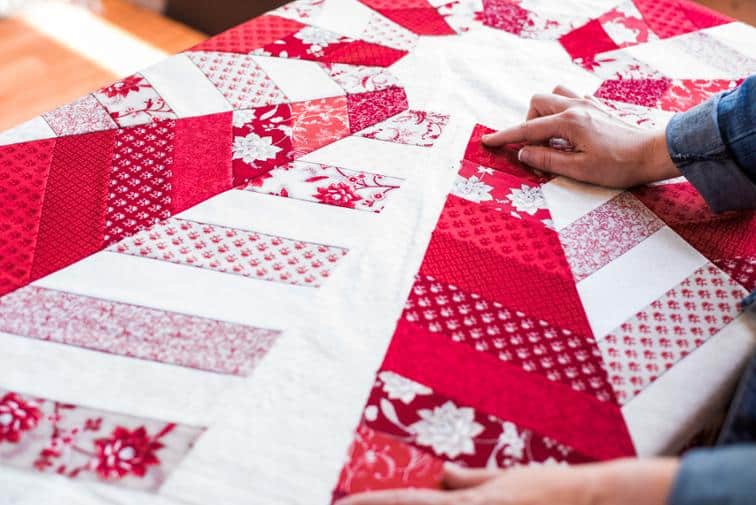
    Quilted Tree Skirt Class

    FREE Own-Forever Classes With Bluprint Subscription at myBluprint.com.

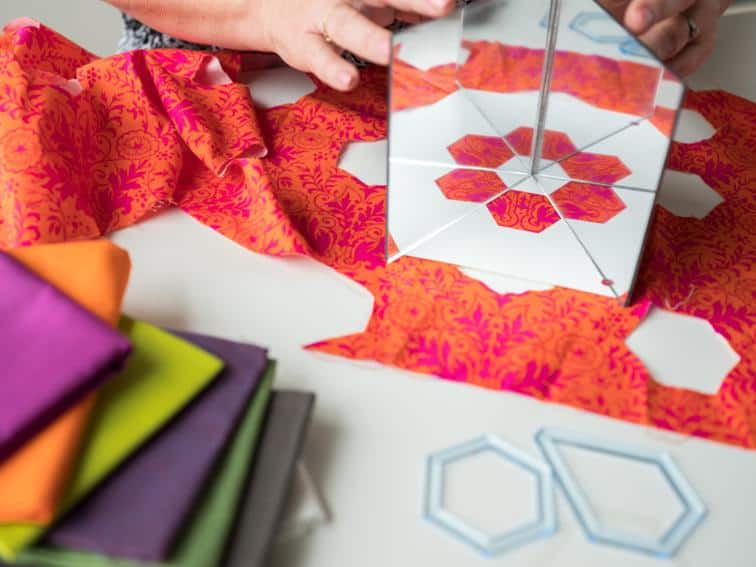
    English Paper Piecing – Beyond The Basics

    This class opened my eyes so much to the possibilities of this wonderful fabric craft.

    I see inspiration everywhere now and I want to EPP forever! (well, as much as I want to quilt forever too lol)

    Click here for The English Paper Piecing Class.
    So, is it worth it to become a member?

    Ok… I hear you… the cost of quilting classes can add up!

    The good thing about buying these courses is that they are yours to own forever after you purchase them.

    You can find some classes and materials on sale. – Check out the Deals of the Week sale section here.

    My favorite way to do Bluprint is the membership option. It makes learning almost too easy… actually, who am I kidding… it is SO easy!

    With their membership program, you have access to OVER 1300 classes! Boom. Just like that. Instant access, to become a master at just about anything craft related.

    Decide that embroidery isn’t for you? no big deal… move on to beading! or knitting! or… decorate a cake to wow your family!
    Should you try Bluprint? Is it worth it? I'm sharing all the details PLUS what my favorite quilting classes are and more!

    My honest opinions on Bluprint

    I highly recommend Bluprint to anyone who enjoys a little bit of everything and to someone who wants to become an absolute MASTER at just one thing.

    All the training that you need is right at the tip of your fingers on your computer screen, whenever you want it. No need to drive or wait for a class to visit your local shop. You can start today.

    Also, I am a huge fan of things I can do while wearing my pajamas – This is definitely one of them! (don’t worry… I always wear cute ones haha)

    myBluprint.com

    Are you a member of Bluprint? Or are you thinking about it? Tell me your opinions on it in the comment section. I would love to hear your thoughts!

  • Making a Jelly Roll Rug: The 5 Mistakes I Made

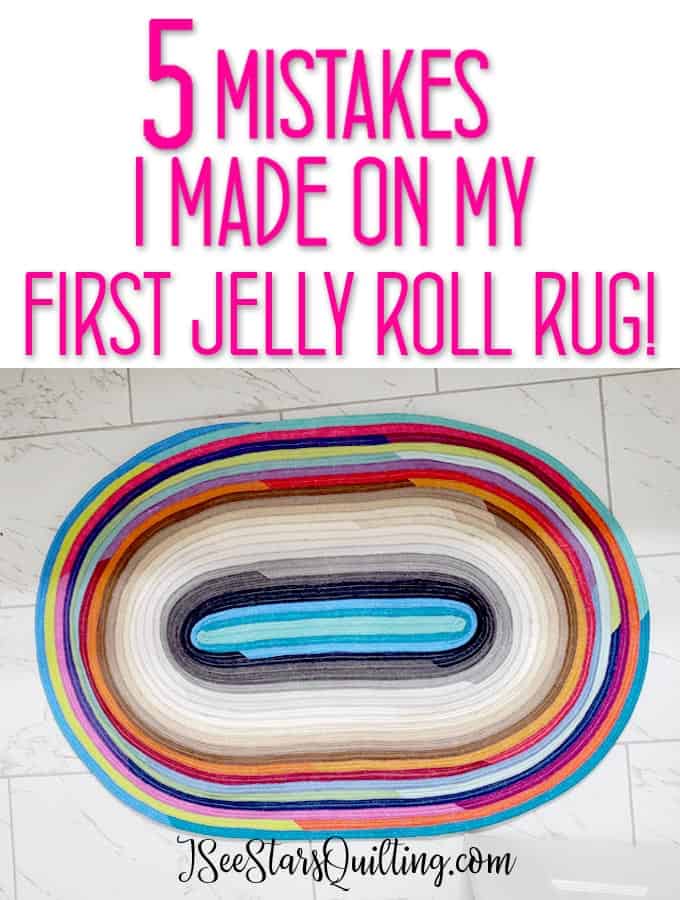
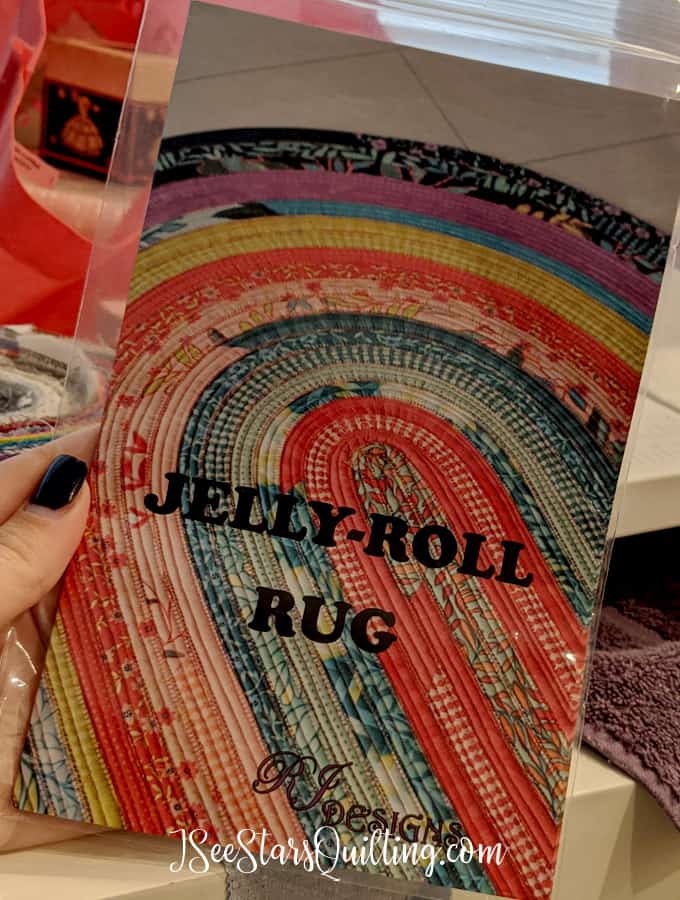
    Since I’ve been showing you my progress on the Jelly Roll Rug Quilting project I have been working on, I thought it only fair that I show you the messy and struggle parts as well. Read on for the 5 Mistakes I made on my Jelly Roll Rug!

    I like to call my “mistakes” my “learning moments”… as in “oh, I guess I had to learn the WRONG way to do it before I learned the right way to do it“. Uh-huh, I’m special. I have a lot of learning moments in the sewing room. Part of that due to the fact that I like to briefly read through the instructions, decide that I totally got this with the confidence of a woman who has been to hell and back again and then jumps in with both feet like I know what I’m doing.

    *cue seam ripper* I usually only vaguely know what I’m doing with new projects.

    It used to bother me when I would have to pull out the seam ripper, but apparently not enough for me to stop being so fearless in the sewing room and slow down, I guess.

    I love to just go forward and problem-solve as I go.

    And thus, I am happy to share the tricks I learned along the way while I was working on my Jelly roll rug! You can get the pattern here. I highly suggest buying the pattern because it has really good steps as well as materials and measurements that you will need to refer back to.

    If you want to see my tips for what you should do: read this post! Current Project: Jelly Roll Rug – I share the tools I recommend and loved using as well.

    The 5 mistakes I made while making a Jelly Roll Rug

    Hopefully, by shining a light on my mistakes, I can give you an idea of what to watch out for when you make your jelly roll rug!

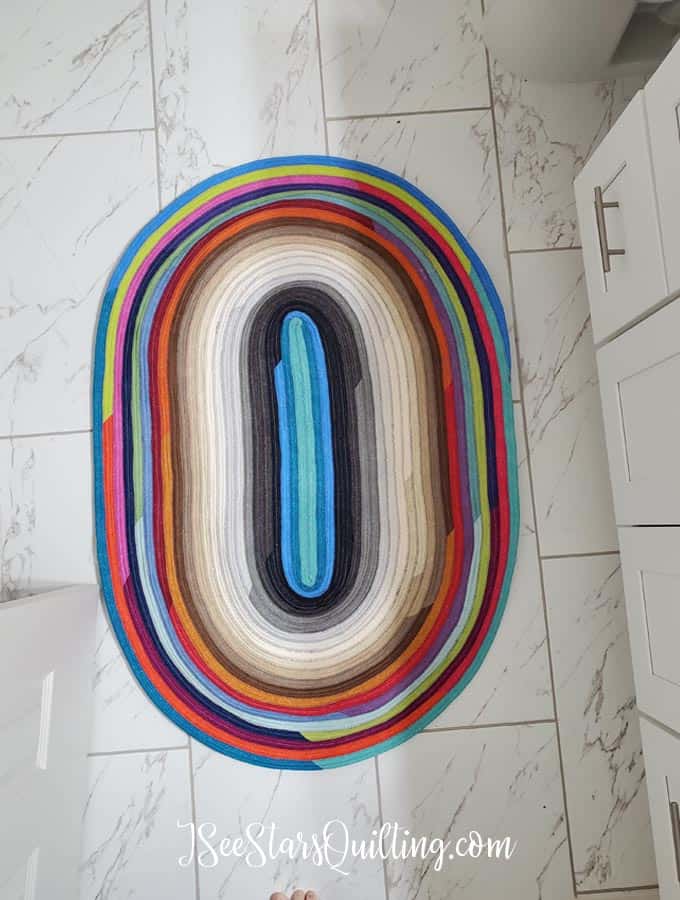
    Just FYI – Here is my finished rug (mistakes and all) and I LOVE the way it turned out. It’s perfect for the little half bath that is attached to my sewing room! And I’m totally making another rug as my next project – that will be a little more ‘mistake’ free and over all cleaner.

    So no pressure when you make your own rug…But you can learn from my mistakes and save yourself the trouble of having your own “learning moments”! πŸ™‚

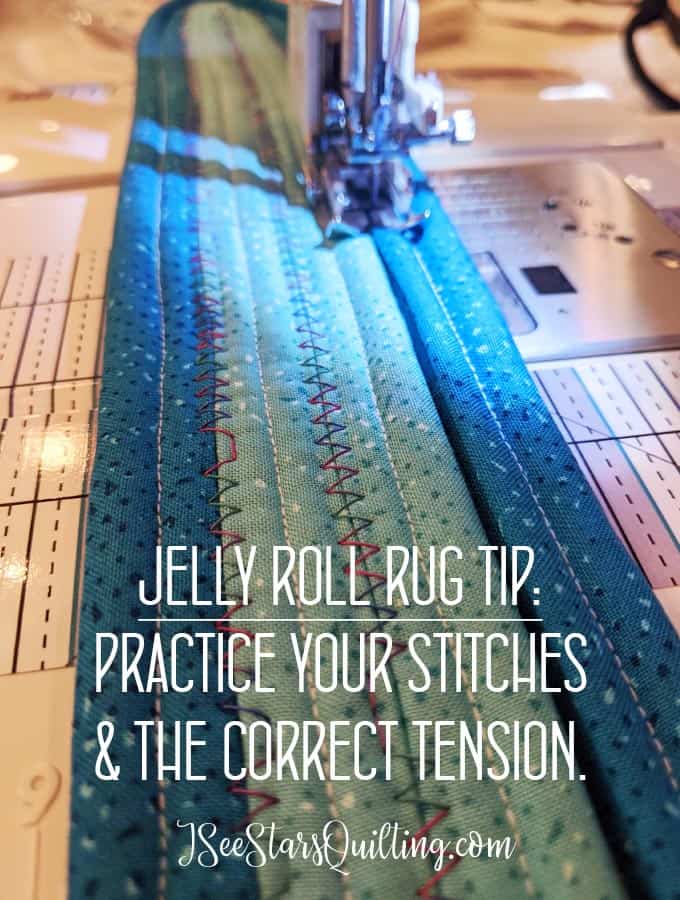
    1. Practice your tension and stitches until you get it right before working on your rug

    Heads up: You and your sewing machine are not used to going through 4 layers of fabric AND 4 layers of batting.

    It’s like… a lot, ok?

    So practice and get your zig-zag stitching to perfection before you jump in on your rug.

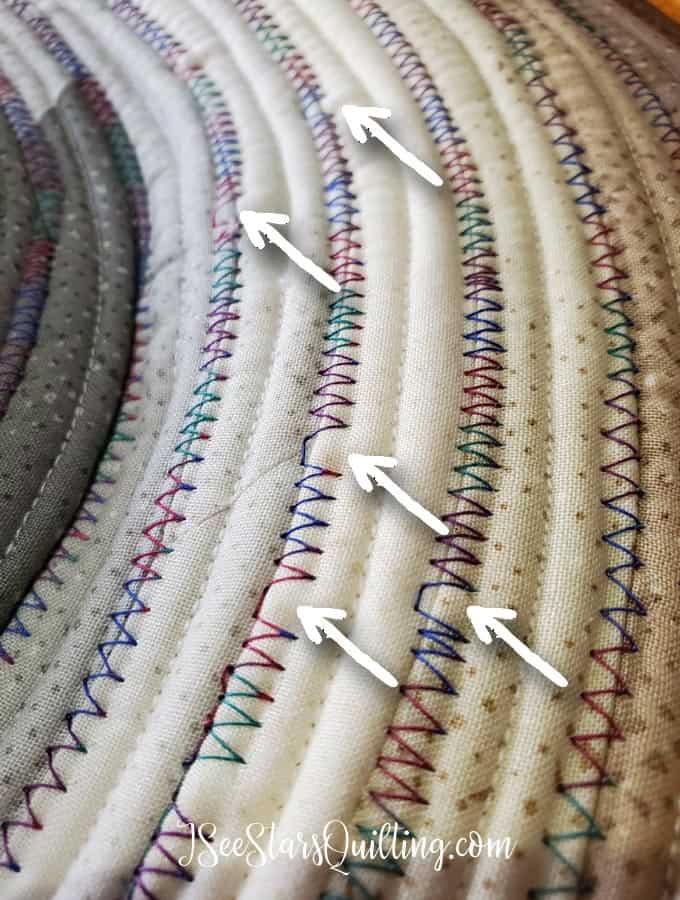
    My machine had some issues skipping stitches occasionally as I went as you can see in the photo below.

    I kept working and adjusting as I went and towards the end finally figured out a good setting. RIP to the middle stitches.

    2. Go S.L.O.W.

    It is so much fun to floor your sewing machine pedal and go all in while you watch this beautiful rug come to life.

    However, go slow anyways! I went about 1/4 of the speed I usually sew.
    This helped a lot with the stitches skipping issue that I had. You just have to tone it down on speed because there is a lot to consider and keep in mind while sewing. Give your machine the chance to keep up with it and get through all the layers.

    3. Pick The Right Needle

    Sharp. Brand New and of good quality. That is what you need.

    Your standard Universal needle will not work to your favor in this situation.

    A lot of fabric and layers need something tough!
    I used a denim needle… below are a few suggestions of needles you can order from Amazon, but you should be able to find them at your local quilt shop or craft store as well.

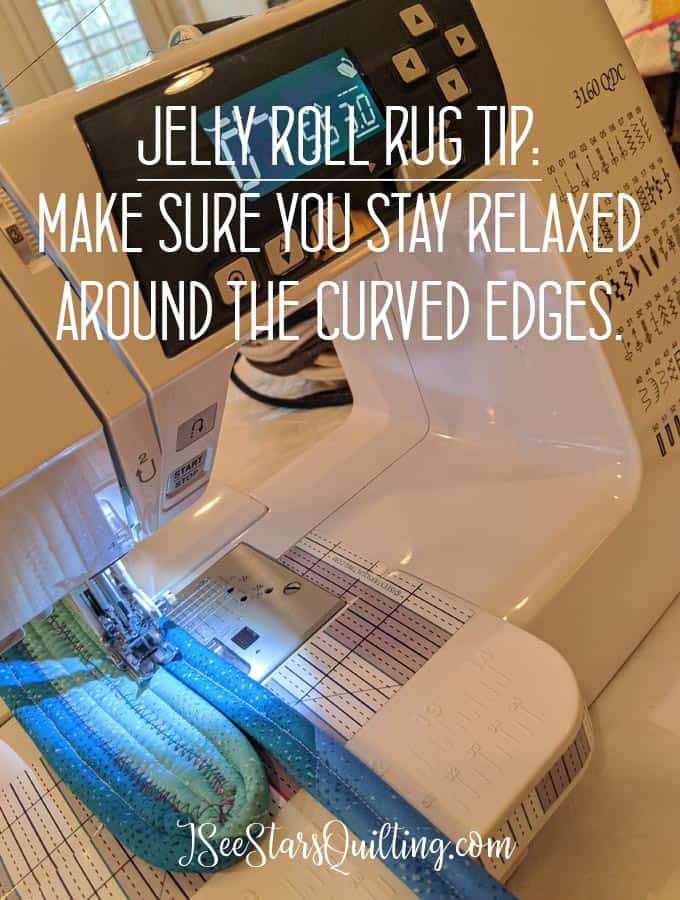
    4. Relax around those curves!

    It’s a little tough at first when your rug is still taking shape and you’re excited… but if you don’t, your rug won’t lay flat and there will be a weird hump in it that will make you frown and step on it every time you walk over it in effort to smush it into submission… or something of the like?

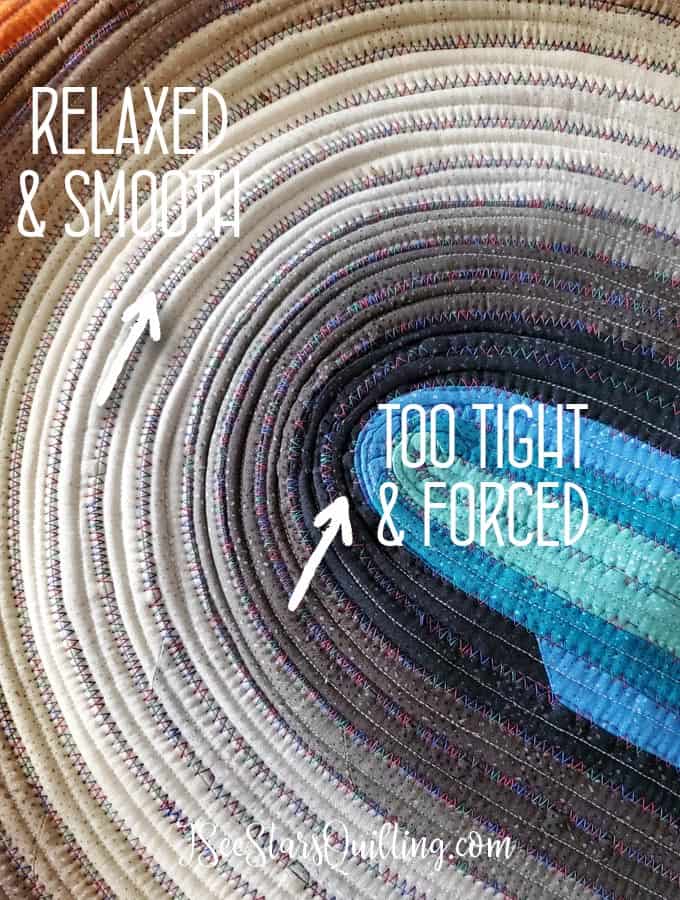
    Here is what I mean… Again, another “learning moment” for me!

    The fabric around the tighter area tends to bunch up and want to squish together while the outer edges (when I had practiced and kind of found my groove) lays flatter and looser.

    The straight edges of my jelly roll rug lay flat easily. It is just the curved edges where you are coercing the fabric around the curves that you have to remember to relax and just let the fabric guide itself around the previous row.

    5. Be mindful of what is going on on the BACk fo your Jelly Roll Rug!

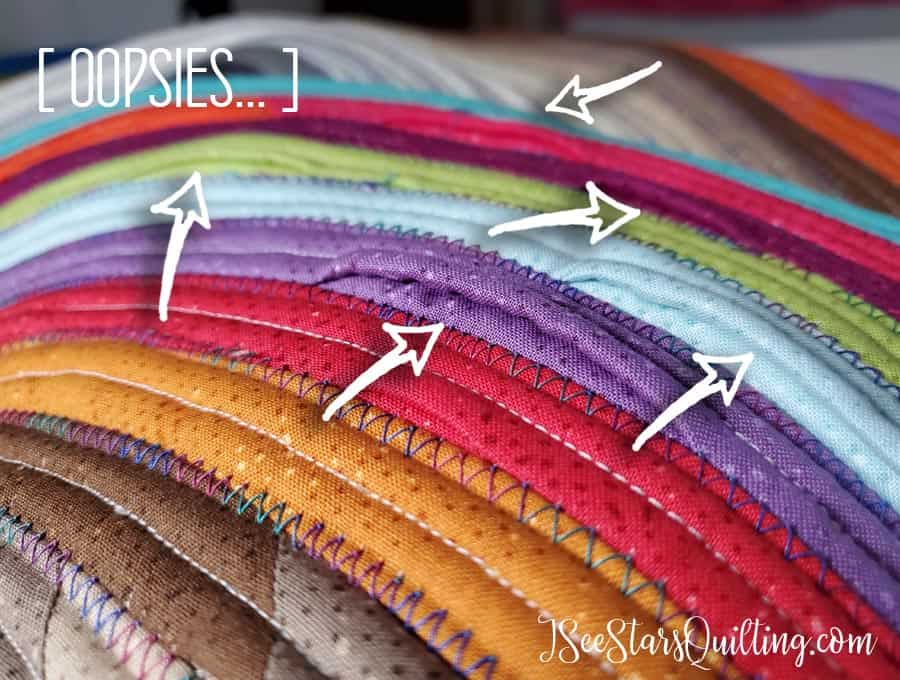
    Finally, live and learn! This view below is of one of the curved edges of my jelly roll rug and it was the worst of it. There were only a few other areas where I have to go back and fix my mistakes.

    When I was doing my zig-zag stitch to join the rows together, the backside flap of my rope didn’t get caught in the zig-zag. Oopsies…

    See? You can tell where the brown and orange meet up is smooth and the red/purple joint is just… not ok. πŸ™

    While this is an easy fix… (hello again hand sewing and a little clear thread!) It would have been nice to notice what was happening earlier on in the process and take the steps needed to make sure it didn’t keep happening.

    Still, it is fixable and no one will know!… except for of course me, and now you because I told you about it.

    Lessons Learned…

    There is kind of a lot to focus on at one time the first time you make one of these jelly roll rugs.

    I still really enjoyed the process and can’t wait to sew my next one. I expect it to go much easier as I have worked through the mistakes and “learning moments” during my first jelly roll rug, right?

    Have you thought about making a Jelly Roll Rug?

    Do you feel like these “mistakes I made” posts help you or make it easier for you to jump in and make your own projects that maybe you were on the fence about before?

    I would love to hear your thoughts in the comments below! πŸ™‚

    Happy sewing!

  • DIY Project Dry Erase Board

    When I finished my new sewing space in our new house, I tried out a fun DIY project that I want to share with you today! It is a DIY Project Dry Erase Board. I’ve been using it to keep my current projects front and center and using it to record my ideas on the spot.

    I wanted to test it out and make sure I felt that it was worth sharing but… my quilting friends…

    I absolutely LOVE it.

    Like, I don’t know how I survived without. It’s been THAT beneficial in my sewing room for the last few months.

    The DIY Project Dry Erase Board

    This DIY Pegboard Tutorial has step by step instructions and tips to make your own pegboard for your sewing and crafting tools! This is a super easy project! Anyone can make one!

    I have it hung up on the wall right next to my machines.

    I see it every single day. It keeps me aware of what I have to work on, what deadlines are coming up and maybe that’s not what works for you… but my oh my have I felt more productive now!

    The best part… it only cost me $7!

    How to make your own DIY Project Dry Erase Board

    DIY Project Dry Erase Board - How I did it and why I absolutely LOVE it. I don't know how I ever got along without it!

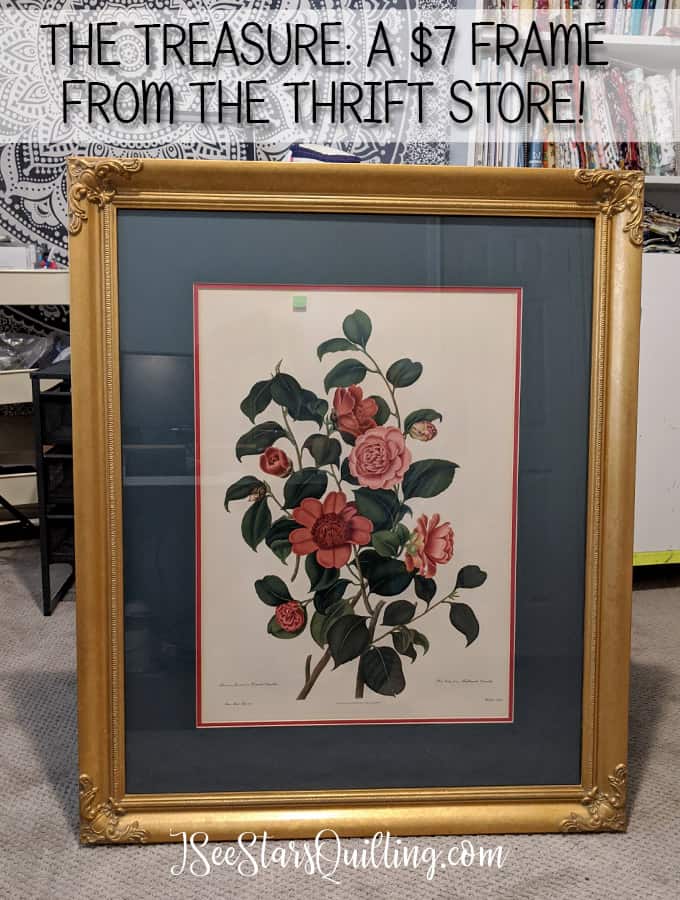
    This is what I started with… keep it budget-friendly, An idea to repurpose an old frame and make it so so pretty, because, why not?

    I went by the thrift store and found a frame that was from… I’m guessing the 1990s? I don’t know, but it was not anything that would fit my current home decor.

    I took out the picture, painted the backing that was already in the frame. (or you could frame some really cute wallpaper?), painted the frame and BOOM πŸ™‚ Instant loveliness.

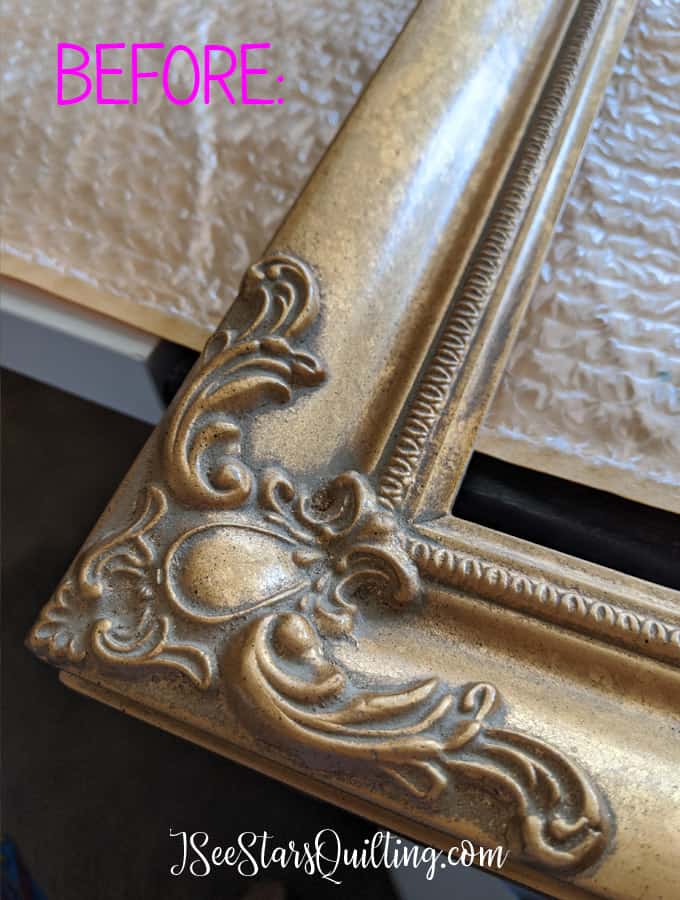
    The frame needed a little cleaning up, but overall it was in good shape and I loved the little carved details on it.

    DIY Project Dry Erase Board - How I did it and why I absolutely LOVE it. I don't know how I ever got along without it!

    I started with a primer paint that I had on hand just to minimize the number of coats of colored paint I would need to use.

    DIY Project Dry Erase Board - How I did it and why I absolutely LOVE it. I don't know how I ever got along without it!

    I had these little small containers of paint leftover from another project. It isn’t really a secret that I love pink, right?

    I love these little Valspar paints for small projects around the house. (and if you ask my husband, I collect way too many of them)

    DIY Project Dry Erase Board - How I did it and why I absolutely LOVE it. I don't know how I ever got along without it!

    I highlighted the little corner carvings with the lighter shade of pink and to add a little extra feminine touch to it.

    DIY Project Dry Erase Board - How I did it and why I absolutely LOVE it. I don't know how I ever got along without it!

    What I use it for…

    I use my DIY Project Dry Erase board as a brain essentially.

    I keep track of long term and short term goals on it as well as deadlines and progress.

    Download this FREE quilt planner and get organized so that you can create more! 6 pages of everything you need. nothing you don't!

    How to keep yourself organized!

    A while back I created this FREE 6-page quilt planner that I use to help me keep track of my current projects and what is in the works etc. You can download your copy below.

    More Ideas To Get Organized

    Comment down below and let me know if this is a project that would work for you… what do you think of my easy DIY project dry erase board organizer!

    I would love to hear your thoughts πŸ™‚

  • Current Project: Jelly Roll Rug

    It feels like it’s been so long since I’ve been really able to commit to a big quilt project. I’ve done a few small projects here and there but it sure doesn’t scratch that quilting itch to play with some fabric and make something wonderful! – The Jelly Roll Rug Pattern!

    This is the progress I've made so far on the Jelly Roll Rug pattern. Has it been a fun pattern? yes. Has it given me challenges? Yes! I'll fill you in on my learning mistakes here...

    I’ve had this small (or not so small?) Jelly Roll Rug project on the back burner for a while because I was busy with quilts and too many other things going on. About a week ago, I finally decided it was time to pull it out and let me tell you… it has been a breath of fresh air.

    A little something different can do wonders for your inspiration and creativity!

    First of all, I had mixed feelings about this project because it was kind of slow going in the beginning… but the longer it goes on, the more I find myself planning another one… isn’t that too funny?

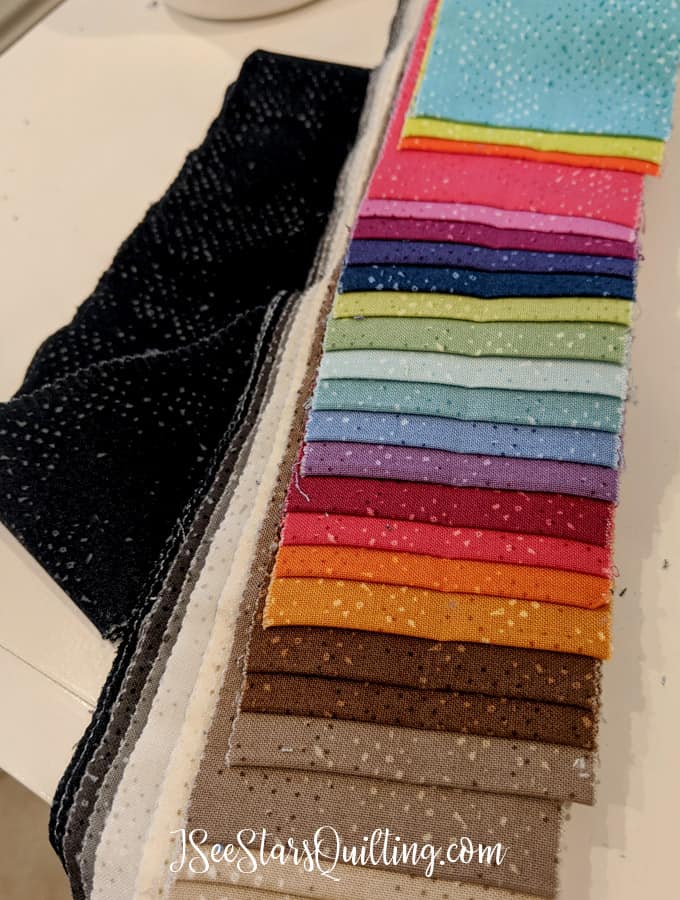
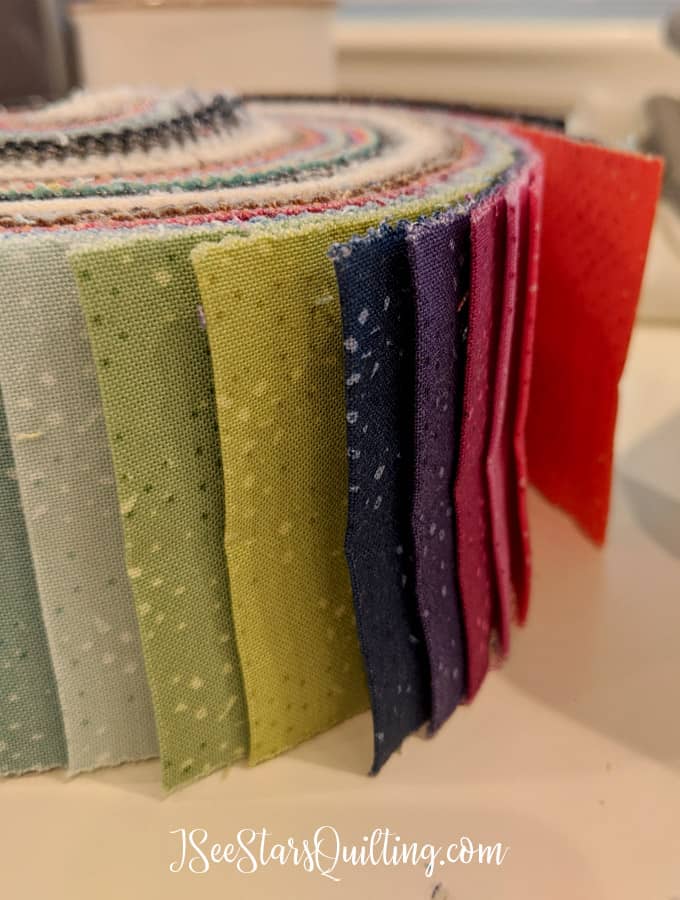
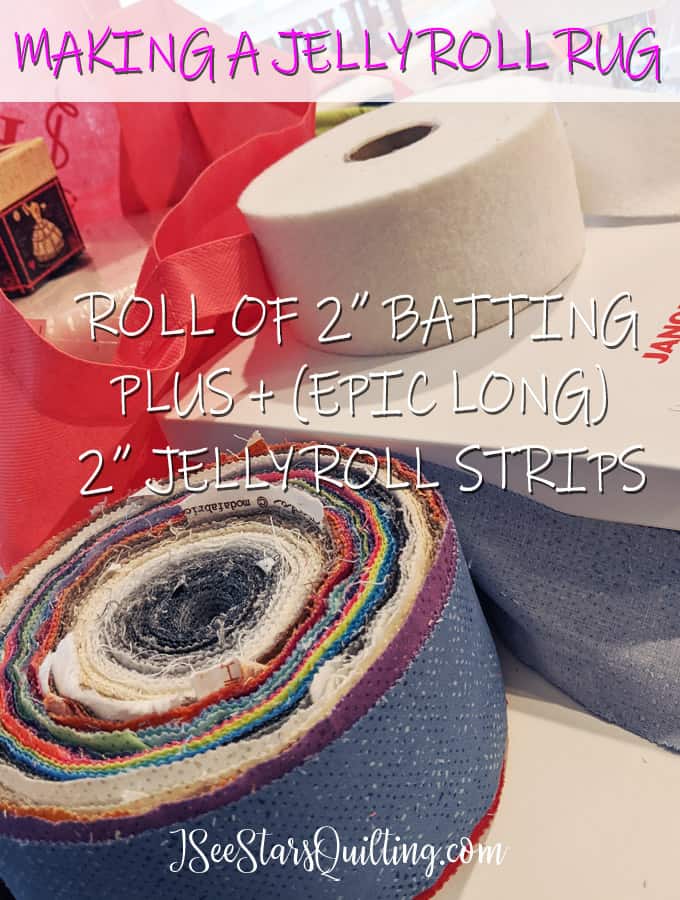
    Here is the jelly roll before I cut into it.

    This is the progress I've made so far on the Jelly Roll Rug pattern. Has it been a fun pattern? yes. Has it given me challenges? Yes! I'll fill you in on my learning mistakes here...

    I picked up this fabric from the 2019 International Quilt Festival. Click to read more about what other treasures I found that day!

    This is the progress I've made so far on the Jelly Roll Rug pattern. Has it been a fun pattern? yes. Has it given me challenges? Yes! I'll fill you in on my learning mistakes here...

    What do you think about the subtle pattern/texture? I wasn’t sure what to expect so I chickened out decided to go with simple fabric patterns to see what happens.

    In hindsight… you could absolutely pick something wild and crazy or stripes and polka dots… anything with these rug patterns! Even scrap fabrics would make a really fun and useful rug.

    (This is where I get myself into trouble, planning my “next” rug project before this one is even finished… what can I say?)

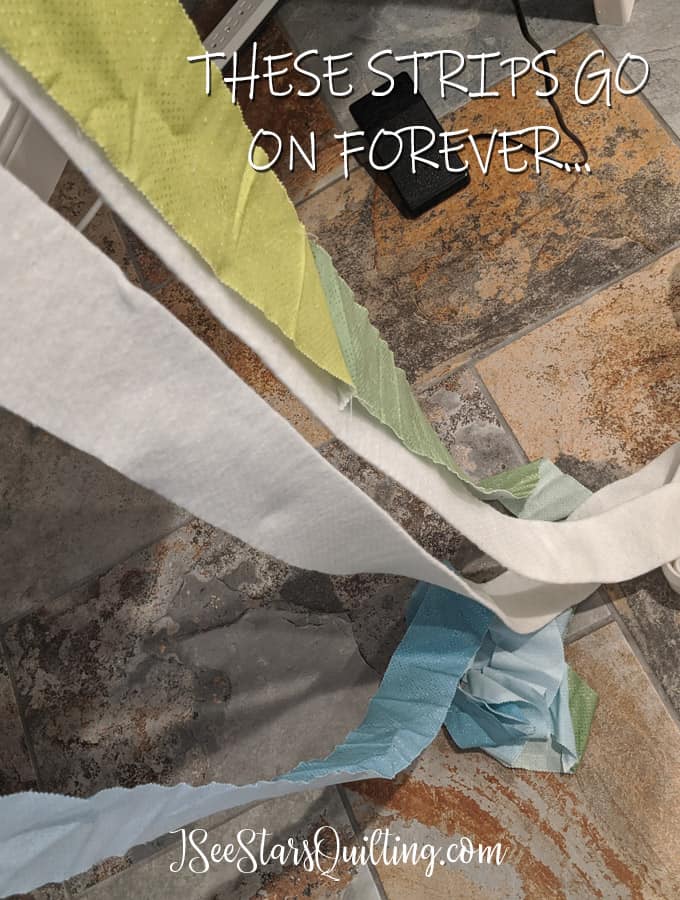
    The only thing you really need is A LOT of Jelly Roll Strips. Like so so many.

    This is the progress I've made so far on the Jelly Roll Rug pattern. Has it been a fun pattern? yes. Has it given me challenges? Yes! I'll fill you in on my learning mistakes here...

    You’ll feel like the line of fabric is never ever going to end…

    This is the progress I've made so far on the Jelly Roll Rug pattern. Has it been a fun pattern? yes. Has it given me challenges? Yes! I'll fill you in on my learning mistakes here...

    A Note about working with Jelly Roll fabric…

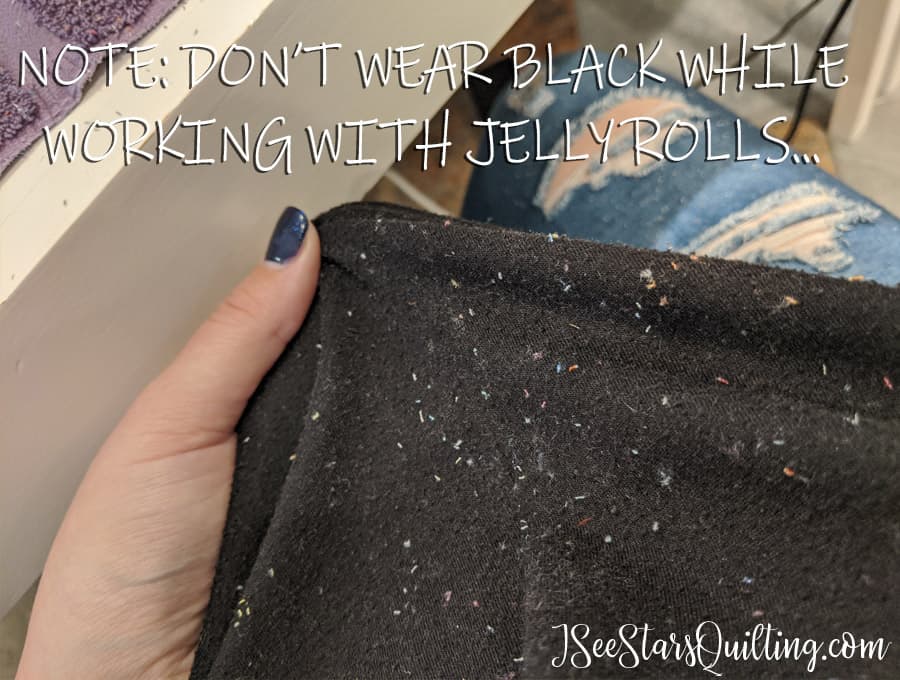
    Jelly Roll fabrics really stick with you… quite literally.

    If you have worked with Jelly Roll fabric bundles before… you know this drill… but I didn’t heed my own warning and well… Ladies and gents, do NOT wear black. Just do, not wear anything that you would mind looking like you’ve been kissed by fabric confetti, because there is no avoiding this disaster. None.

    I’m calling in a new fashion trend for us quilters. – In-the-middle-of-my project-chic AKA lint-brush-way-over-where? ooh or what about #creativitykisses πŸ˜‰

    This is the progress I've made so far on the Jelly Roll Rug pattern. Has it been a fun pattern? yes. Has it given me challenges? Yes! I'll fill you in on my learning mistakes here...

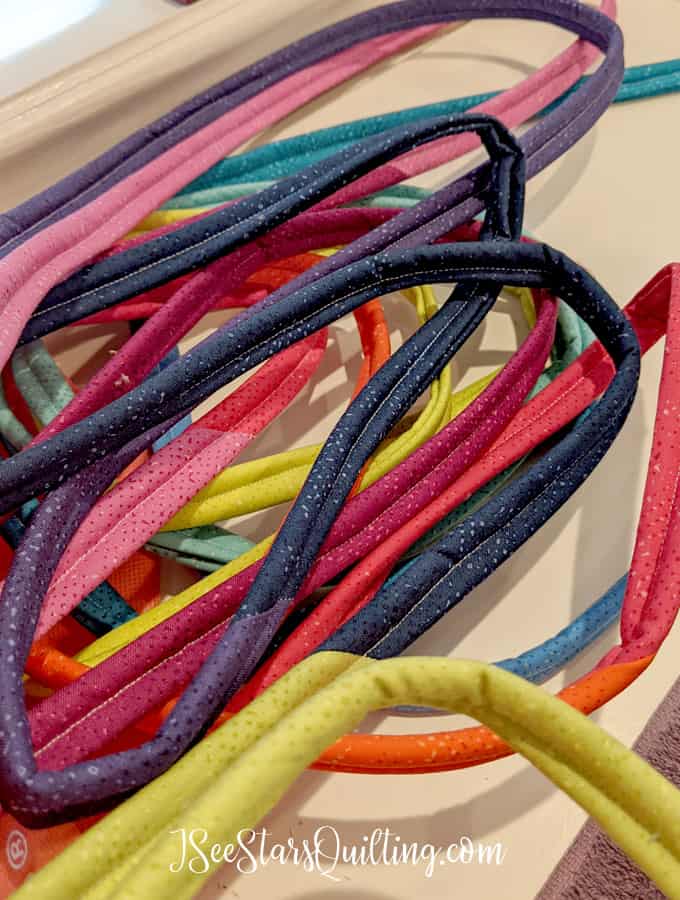
    After you sew all the strips together, you line it up with the batting and follow the instructions to create the “rope”

    This is the progress I've made so far on the Jelly Roll Rug pattern. Has it been a fun pattern? yes. Has it given me challenges? Yes! I'll fill you in on my learning mistakes here...

    Current Progress of the Jelly Roll Rug

    This is where I currently am. I’m working on my “rope” after sewing all the strips together and working it in with the batting.

    This is the progress I've made so far on the Jelly Roll Rug pattern. Has it been a fun pattern? yes. Has it given me challenges? Yes! I'll fill you in on my learning mistakes here...

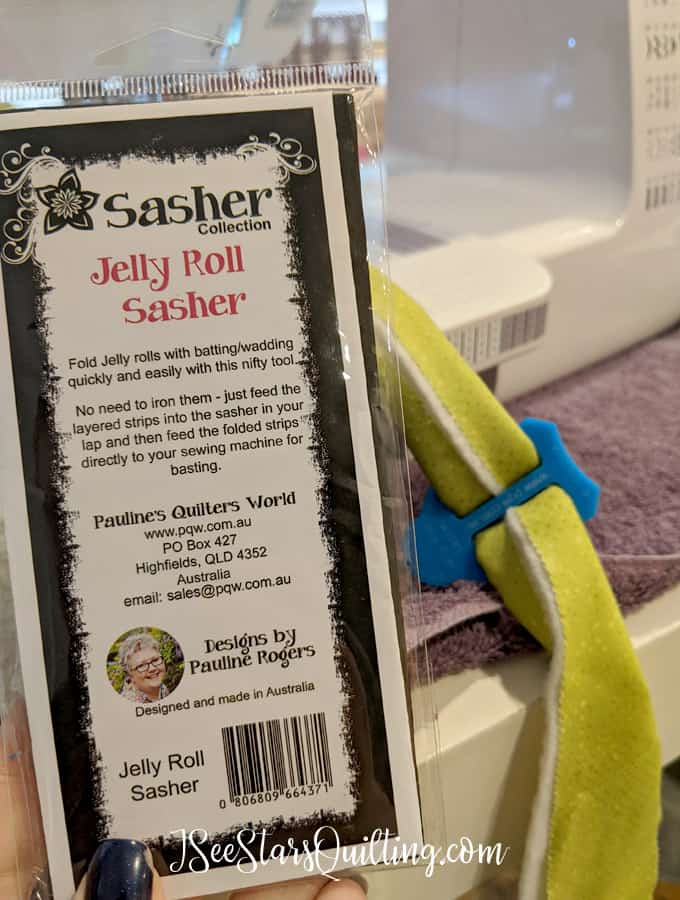
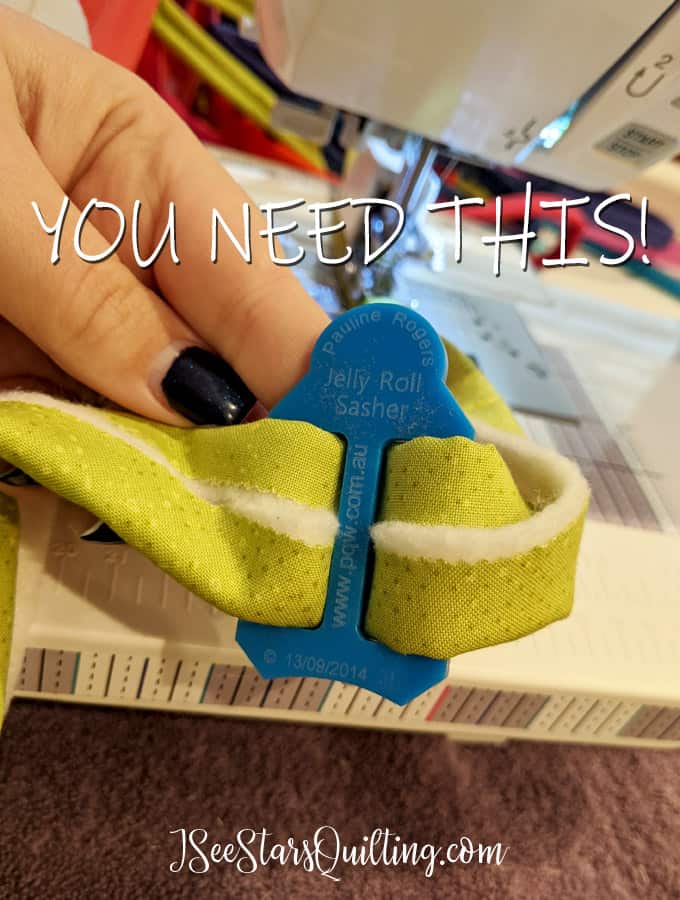
    Note on a tool that I thought wasn’t necessary to buy, but a friend talked me into it because… peer pressure, right?

    [Turns out she was right] If you plan on making even one of these Jelly roll rug patterns, you NEED to invest in this.

    It was a little awkward working with it at first, but I’m fairly sure there is a youtube tutorial (perhaps I will film next time I’m working??) or something similar out there, but I took it out of the package and immediately started playing with it until I could make it work on my own.

    It helps you fold and crease the fabric as you’re pulling together up this big chunky roll of fabric… by about 5 minutes in, I realized there was no way I could do without it. (also, the only way to get it off is… to bring it all the way through to the other side of you looooooong jelly roll strip!)

    I know its a work in progress and I’m making a little progress at a time in between other events that we have going on right now but its really creatively satisfying and I’m excited to finally be starting on this project!

    The Jelly Roll Rug is going to turn out amazing and I’m really looking forward to putting it in the little half bath that I have attached to my sewing room so that it is just a quilty as the rest of the space!

    I promise I’ll update more as I work on it!

    More to come…

  • HOW TO: DIY Pegboard for sewing tool storage

    I have wanted to make a DIY Pegboard for sewing tool storage for a really long time. My sewing room in my old house just didn’t really allow for it.

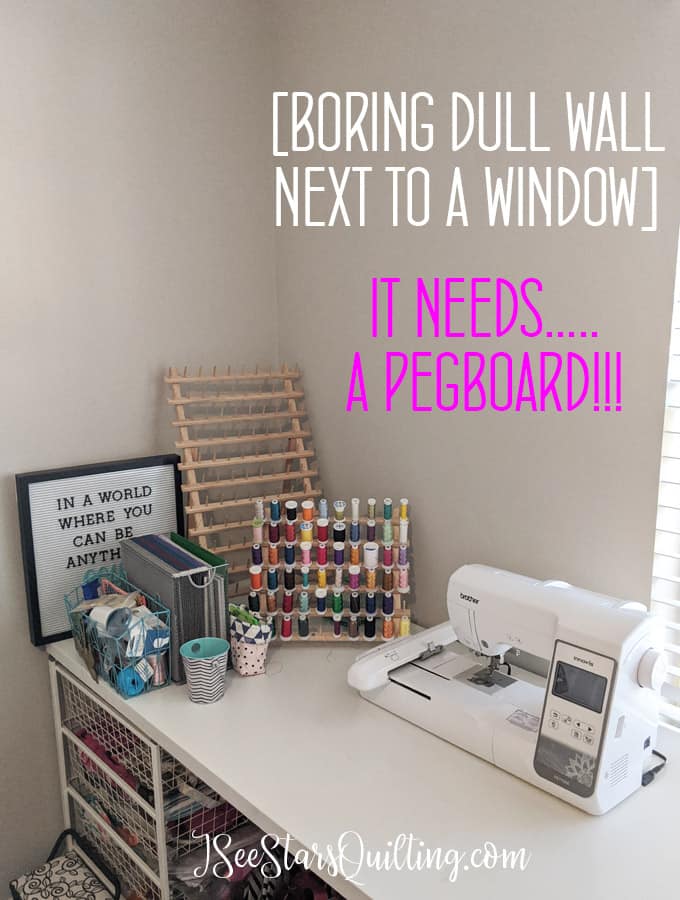
    But we moved aaaand… I have this empty wall and… It’s so totally going to happen this time!

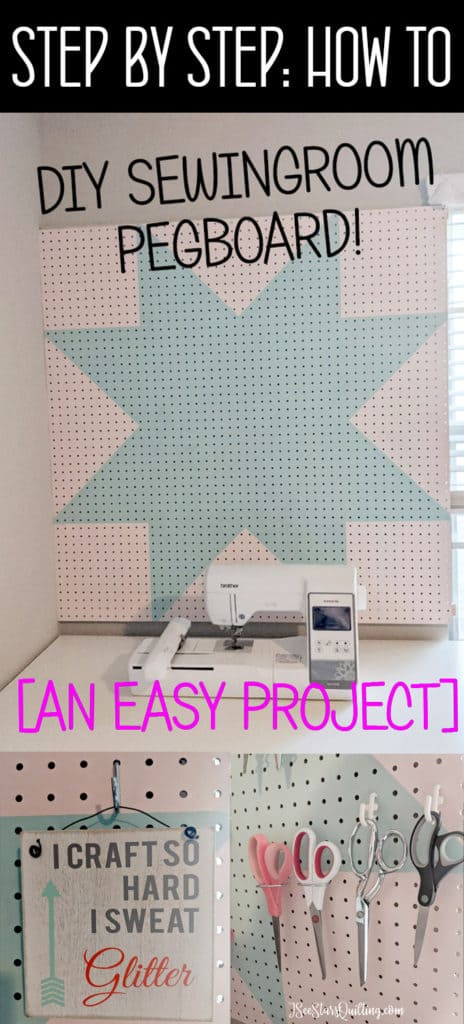
    I’m going to share with you the steps and pics that I took along the way so that you can make this super easy (AND OH SO AMAZING!) DIY pegboard project at home!

    This DIY Pegboard Tutorial has step by step instructions and tips to make your own pegboard for your sewing and crafting tools! This is a super easy project! Anyone can make one!

    If you want to tour my old sewing room (lots of ideas on modifications and using what you have) you can check it out here.

    To tour my new sewing room, you can check it out here.

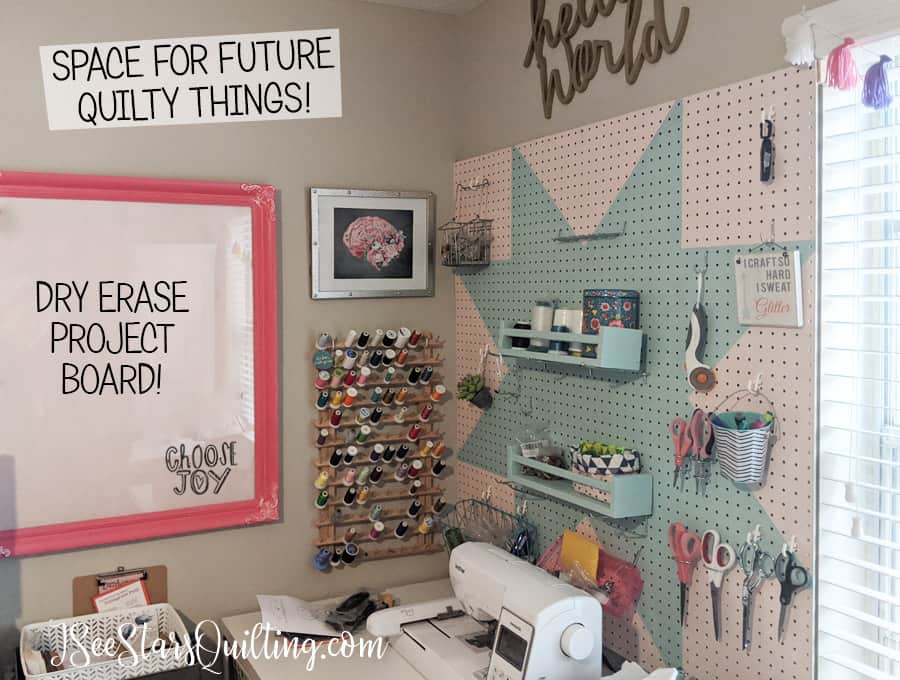
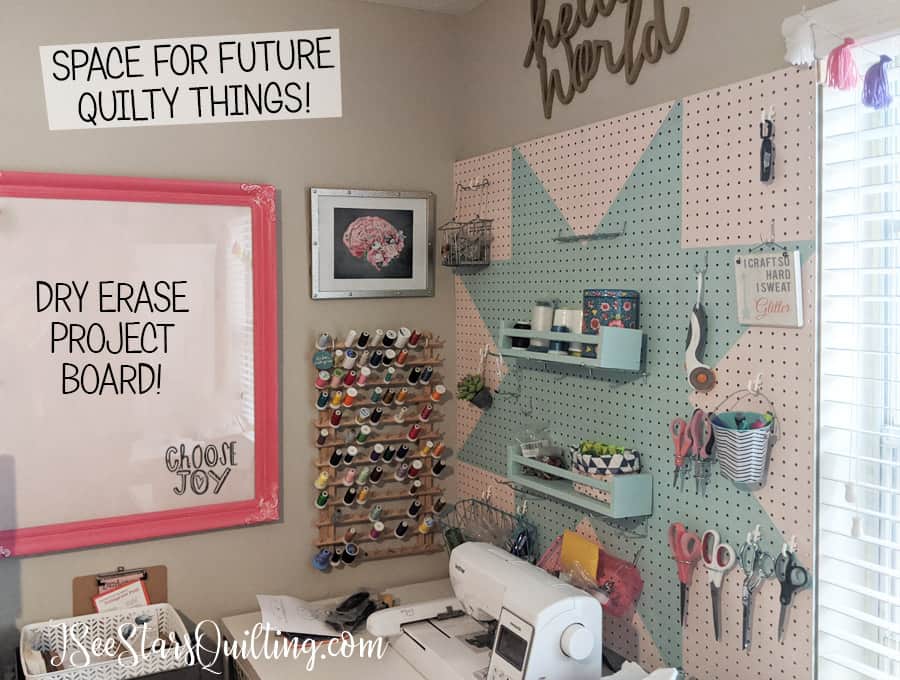
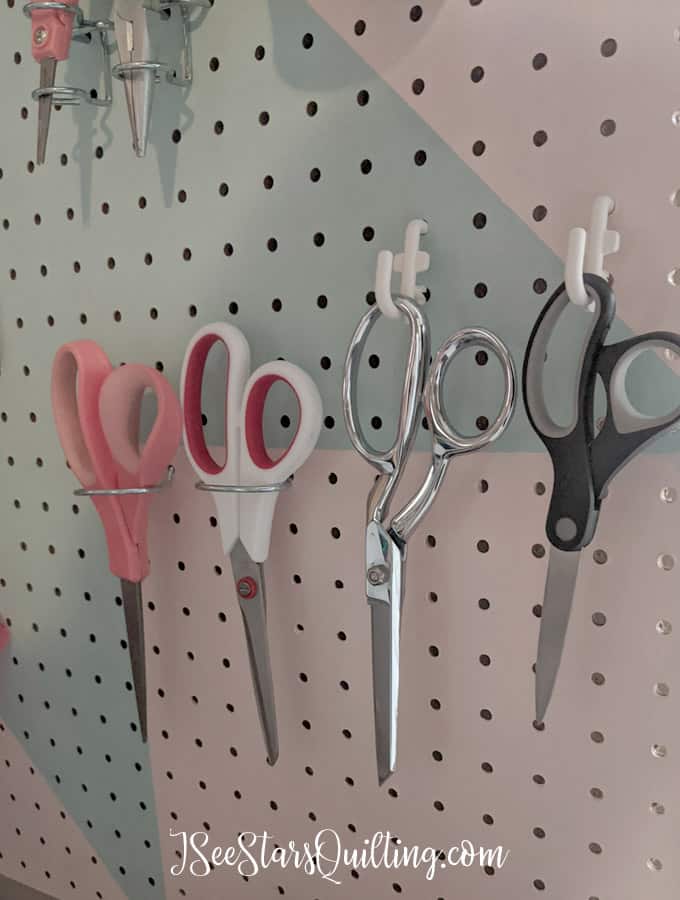
    I am so pleased with how the pegboard works in my new sewing room space! It is exactly what I was wanting and holds SO many of my sewing tools in a neat and organized manner!

    Here is the finished Pegboard for sewing tool storage!

    This DIY Pegboard Tutorial has step by step instructions and tips to make your own pegboard for your sewing and crafting tools! This is a super easy project! Anyone can make one!

    And here it is all loaded up with my sewing tools!

    We moved! Come tour my New Creative space and see how I arranged all my tools to create the most amazing crafting space!
    Thrift store dry erase board project coming soon…

    There is so much storage with my new pegboard! I could have big happy heart eyes for daaaaayyyyys!

    Everything is neat and organized. All my most used tools are where I can easily see them… and I still feel like there is plenty of room to grow and add more tools or rearrange!

    First of all, you don’t need to be incredibly handy to make this. It is actually a really easy project!

    What you’ll need:

    • Pegboard sheet
    • (2) 1×2 boards that are the same width as your pegboard (maybe more if you choose to make a really BIG pegboard)
    • Screws
    • Paint (optional)
    • Pegboard hooks like these

    How I did it:

    1) SHOP

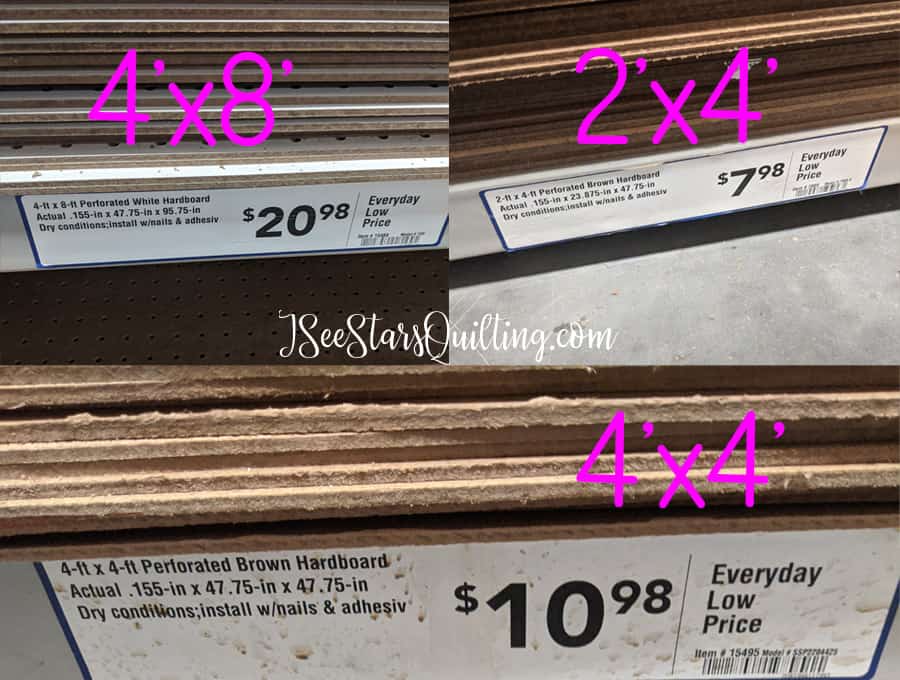
    I picked up a sheet of pegboard from Home Depot.

    The first thing to know is that they offer several different sizes. (When I went shopping in Dec 2019, these were the prices/sizes available.) I chose a 4’x4′ size for about $10!

    This DIY Pegboard Tutorial has step by step instructions and tips to make your own pegboard for your sewing and crafting tools! This is a super easy project! Anyone can make one!

    You can also ask them to cut your pegboard sheet to the size you want it if you have a specific area you’re looking to cover/fit. (Or you have a smaller car lol plan ahead!)

    2) PAINT!

    A fresh coat of paint will freshen up anything! It also adds a little personality and a pop of color if you’re looking for a fun piece of decor.

    I had this pale blue-ish minty color on hand. (Pink. I absolutely love it and I was so tempted to paint it neon pink, let me tell you… but I didn’t want to get tired of the brightness or have it take away from the quilts I still want to hang on the walls.)

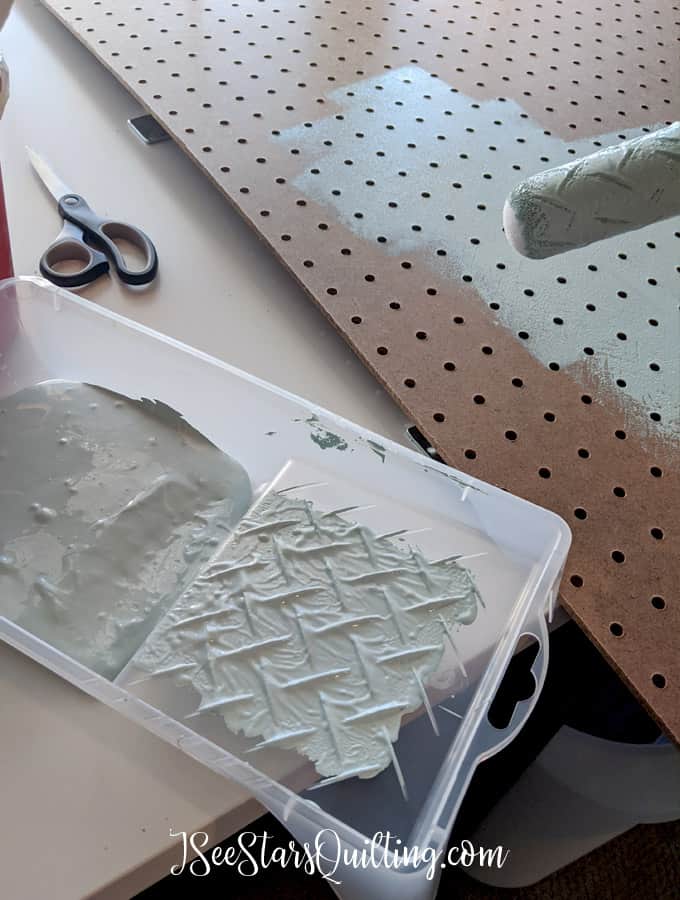
    I do recommend that you roll your paint instead of using a brush.

    There is much less of a chance of pushing the paint through the pegboard holes and making a dotted mess on the back.

    I also focused on 2-3 thin coats of paint instead of trying to cover it in one coat.

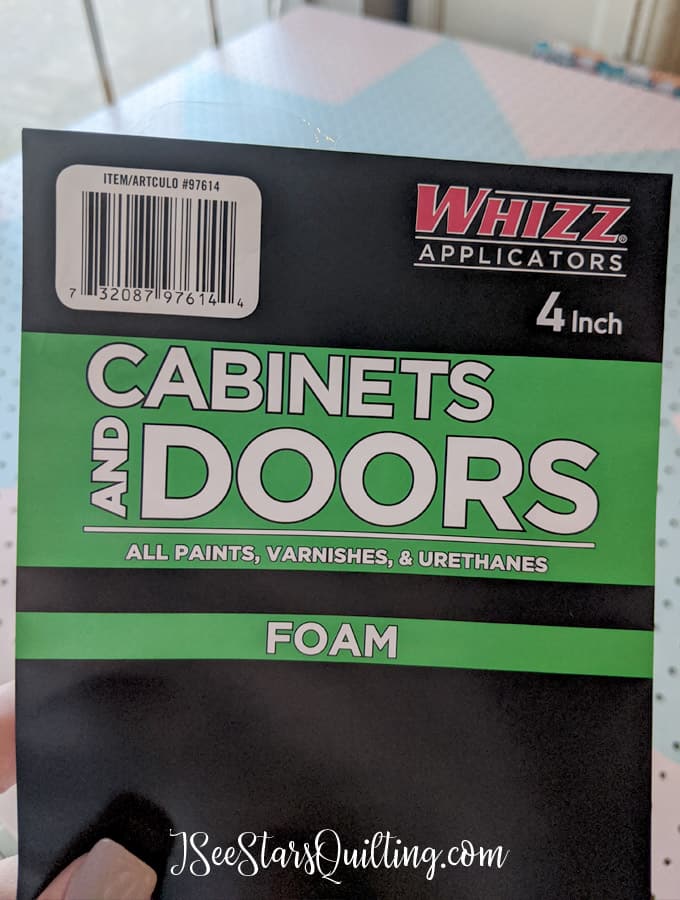
    This is the roller I used. It was perfect for the job.

    3) Decide if you want to be bold…

    I ALMOST just left the DIY pegboard the minty blue color… it would have been beautiful. I still would have loved it and it still could have held all my tools perfectly… BUT… I couldn’t leave well enough alone, could I? πŸ™‚

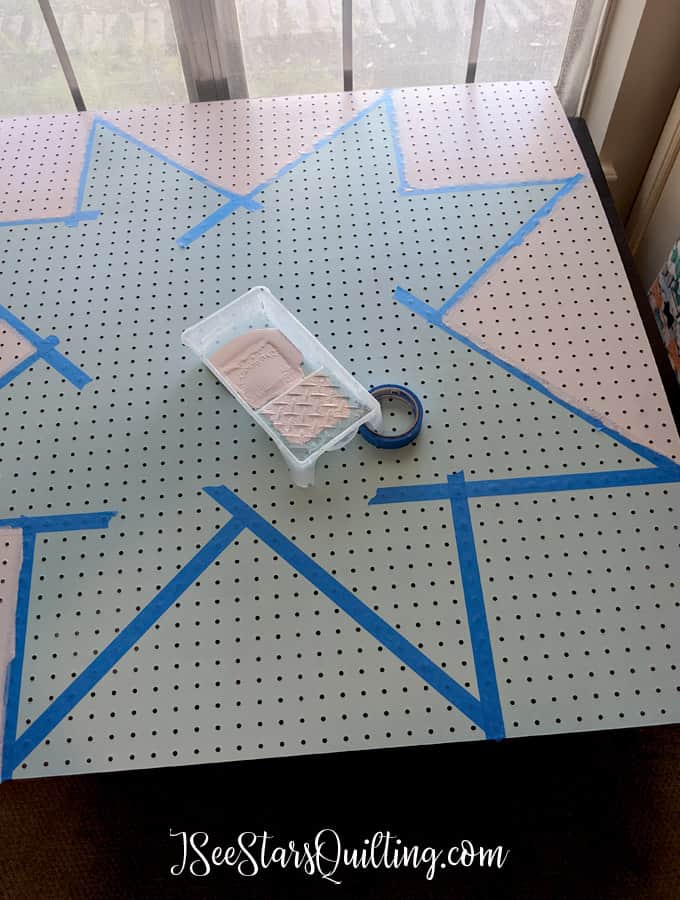
    So I let it dry a little bit and then I used painters tape to mask off a big quilty looking star pattern!

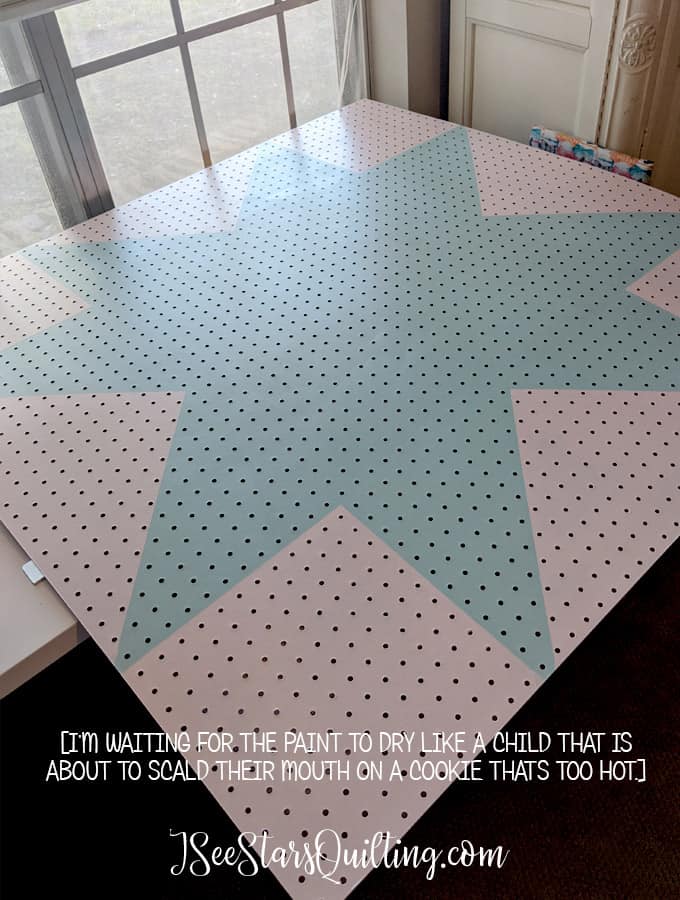
    I painted in the background using a pale pink color I had on hand from another project…

    And Voila! Here is the finished painted piece!

    I am really happy I decided to add a little more pizzaz. Polka dots were another consideration… and so was dividing the larger piece into several smaller quilty blocks.

    3) HANG

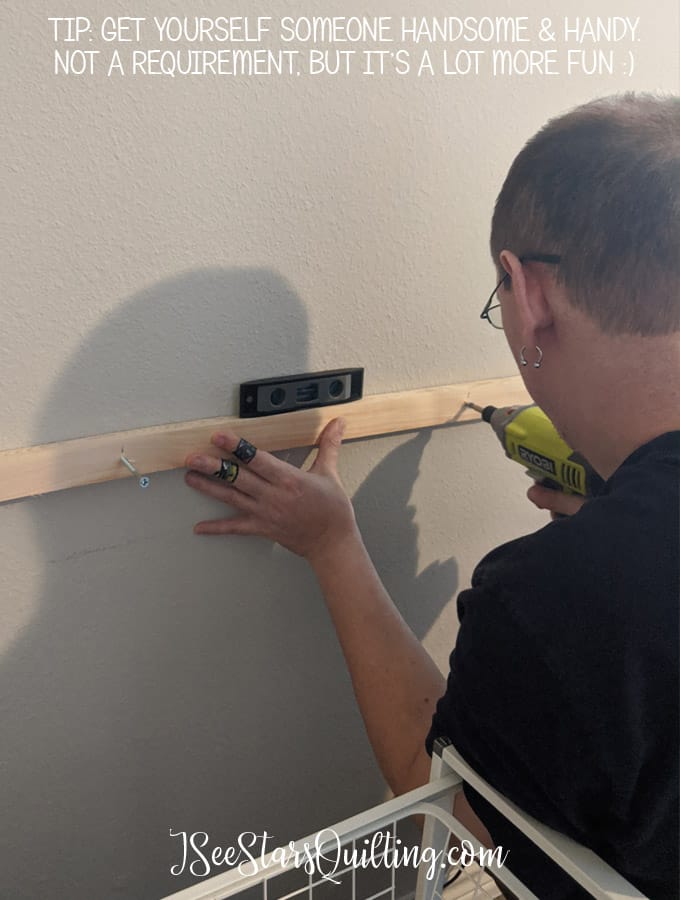
    This next part I recommend having a friend or a helper assist you in putting up your DIY Pegboard.

    Could you do it on your own? Absolutely… but the company and extra hands are nice πŸ™‚

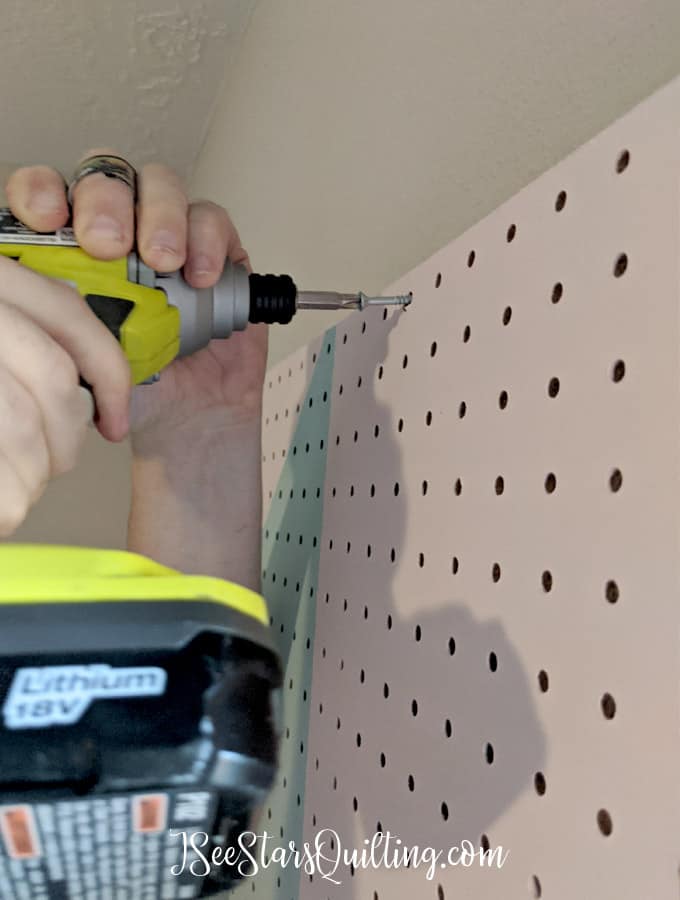
    Use a level to hang your 1×2 pieces and screw them into the wall studs.

    TIP: If you pre-drill your holes, it will help keep the board from splitting.

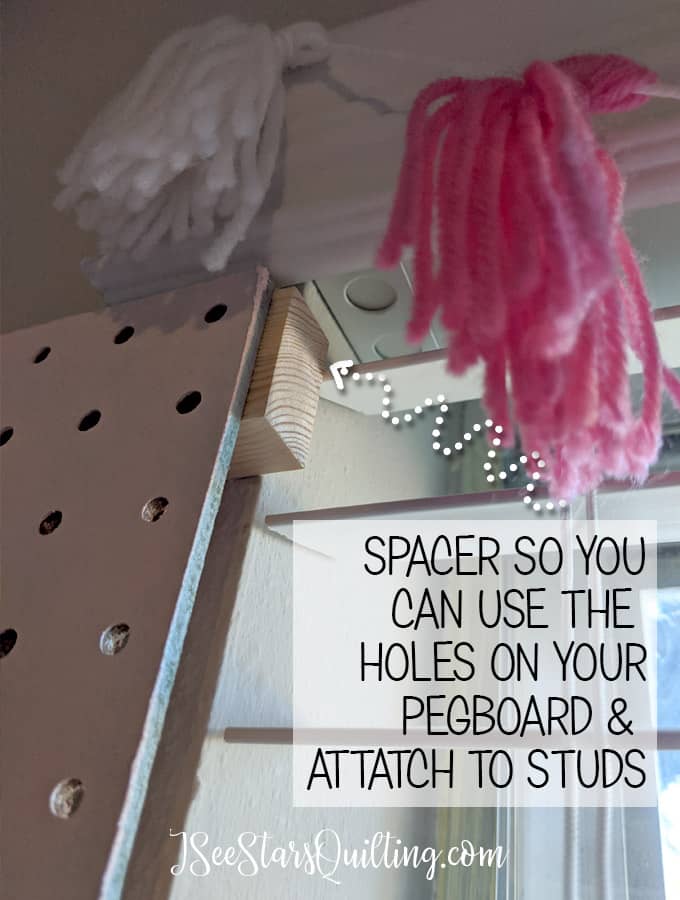
    I put a piece of the 1×2 at the bottom of where my pegboard sat and at the top of where my pegboard came to.

    This pulls it off of the wall so that you have room to add hooks to your pegboard.

    After you put up your 1×2 pieces and they are secured to the wall studs, use screws to attach your pegboard to the 1×2 pieces in the corners. (and also in the middle if you’re my husband and want to make sure nothing is ever ever ever going to bring this thing down πŸ™‚

    4) ACCESSORIZE

    This was the fun part πŸ™‚

    I found a pack of pegboard accessories and used some baskets that I already had on hand to divide up the pegboard space and make room for all my tools.

    I added a few little fun displays too.

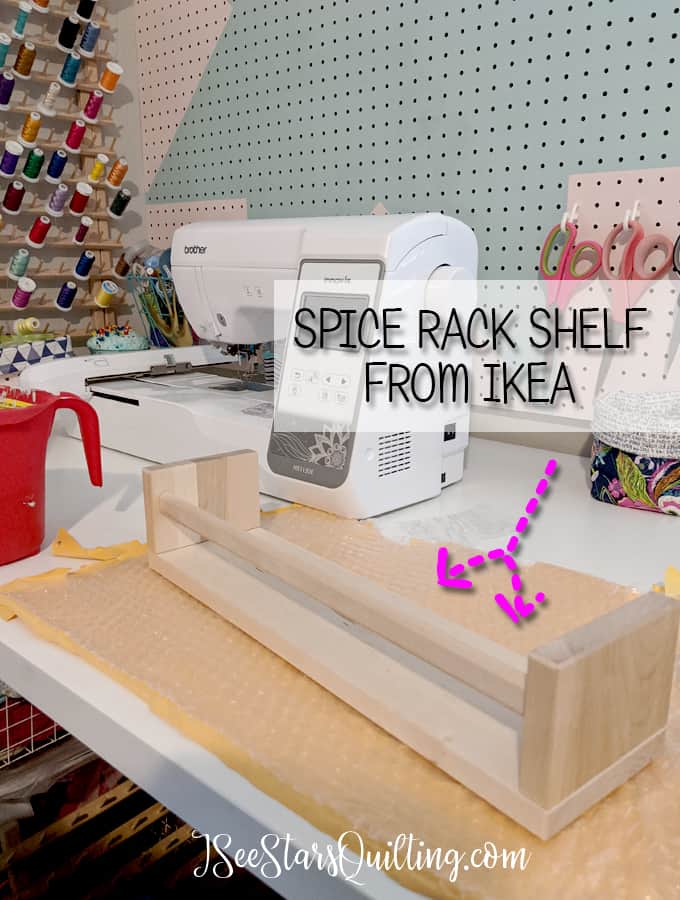
    And lastly, I repurposed some shelves that I had found cheaply at IKEA. I believe they’re called spice rack shelves… whatever, now they hold fun ribbons and canisters with sewing supplies!!

    I painted them the same minty blue as the background.

    We moved! Come tour my New Creative space and see how I arranged all my tools to create the most amazing crafting space!

    And here is a picture of the finished pegboard!

    Thrift store dry erase board project coming soon…

    What do you think?

    Do You Want to make your own DIY Pegboard for your sewing & craft room storage?

    Let me know in the comments below πŸ™‚ I would love to hear what you think about this new little corner of my sewing room!

  • How to Iron your Quilt Seams

    Hey there! We know to iron your quilt seams as you sew… It is a really big deal – like, non-negotiable for some people, right?

    But what if you’re new to quilting and you’re asking yourself…

    Why?

    Why do I HAVE to iron my seams? – I hate ironing.

    DO I HAVE to iron my quilt seams? – I really hate ironing.

    What will happen if I don’t? – I really really hate ironing.

    I’m here to answer those questions today as well as show you a video at the end that will hopefully further answer your most pressing questions! – (pun, totally intended. I couldn’t resist!)

    Do you NEED to Iron your Quilt Seams?

    The short answer is that you SHOULD. Yes.

    But why do you HAVE to iron your quilt seams?

    Because the pattern tells you to.

    Just kidding. I wouldn’t expect an answer that simple to be the end of it!

    Listen, I hate to iron!

    I actually will pick up a super cute shirt in a store and then put it back if the material looks like it’s going to need ironing after every wash. No thank you. I don’t have time for any extra chores in my life. Sorry, cute shirt.

    When it comes to quilting (and sewing), however…

    I do iron.

    I do iron my seams when I sew. (we’ll get to ironing fabric before you start sewing in just a minute. I have advice about that too.)

    I like to think of the pattern like a cooking recipe. If you want to make a cake, you have to follow the directions, right?

    You can’t add in a little extra flour, skip the eggs, and double the milk… and then expect to get a cake. It doesn’t’ work that way.

    Sewing and quilting are a little more forgiving and lenient when it comes to creativity, but you still should take the suggestions of the pattern designer.

    I’m sure they aren’t into wasting time any more than you are. So if they make a suggestion, it is best to follow it.

    When you do iron your seams…

    The biggest difference that you are going to notice is that your quilt top is going to lay flatter.

    Why does this matter?

    If you’ve ever tried to quilt on a top that has the seams all wonky, you’ll notice the extra bulk in areas of your quilt – especially if you have a quilt where many pieces come together. There is just a lot of fabric in those places and it takes some careful laying down of the seams to minimize the bulky-ness.

    We all have little mistakes and places on our quilts that aren’t perfect. No one expects it to be and I think that it’s perfectly normal.

    You can say that the mistakes “add character”… (Side note: I had a quilter actually tell me that) but don’t just let it be an excuse for pure laziness. πŸ™‚

    You spend so much time, creativity and effort on your quilts… why skip one of the major steps that are going to give your quilt an overall more professional look?

    Check out the video below to learn more about ironing your quilt seams and see my tips as well as a few favorite products of mine!