My Favorite Quilting Classes On Bluprint
Have you heard of Bluprint?! It is an amazing online hub of classes for everything crafty you could imagine… I’m going to share my favorite quilting classes that you can find on Blueprint today! (plus links where you can own the class too)
Seriously, if you are prone to getting lost down the rabbit holes of the internet and you have somewhere to be in an hour, do yourself a favor… bookmark this post and come back to it when you have time to look around. You’ll thank me later 😉

Bluprint by far has the best selection of crafting classes/education on the internet – You might remember a few years ago, it was called Craftsy. (I wrote a review about it here)
While I have learned many skills since the day I wrote that post about Craftsy, I still stand by the fact that Bluprint is one of my go-to learning destinations!
Ok, I also like YouTube too. I usually will do a quick search on YouTube when I want to learn something quickly or I’m having a hard time with a particular skill… but YouTubers are sometimes like a box of chocolates… you never know what you’re going to get, right?!
**I say that so nicely and with a lot of love because I have a YouTube Channel where I share tips and tutorials too… and that job is not an easy one!**
Still, if you’re looking for more quilting education and more quilting classes, check out the ones I suggest below.
How does Bluprint work?
The good news is that once you buy a class on Bluprint, it is yours forever!
But there is another option too… you can be a monthly member to their site and have access to TONS of classes that are included with your membership. It is really an amazing opportunity to soak in so much knowledge! (more on that down below)

As if the courses weren’t enough… there are also kits and supplies that you can purchase from Bluprint at members-only discount prices as well.
*heart eyes for the embroidery kits! They are to die for!*
OK, but that’s for another day because I promised that I was going to share my favorite classes on blueprint!
My favorite Quilting Classes on Bluprint
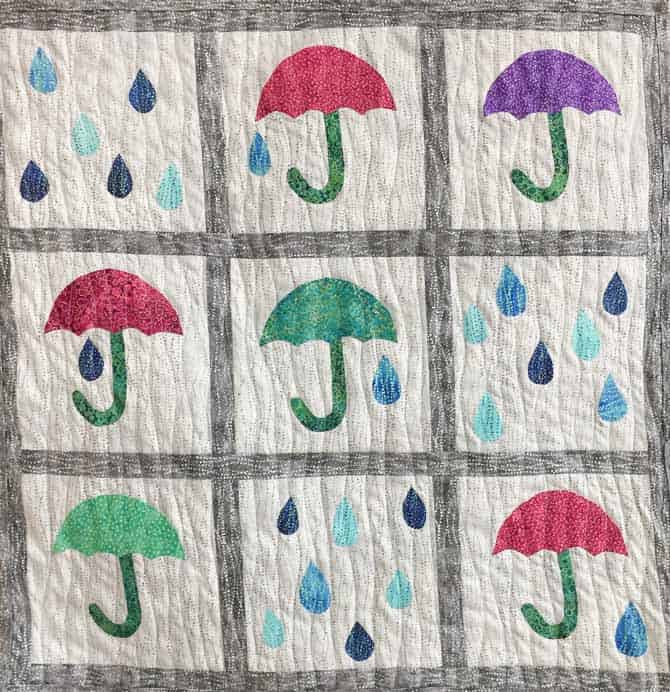
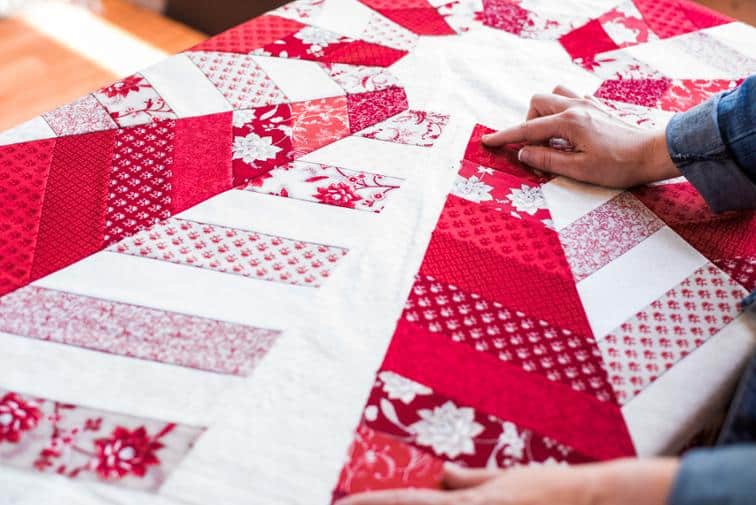
Rainbow Bias Tape Appliqué Quilt
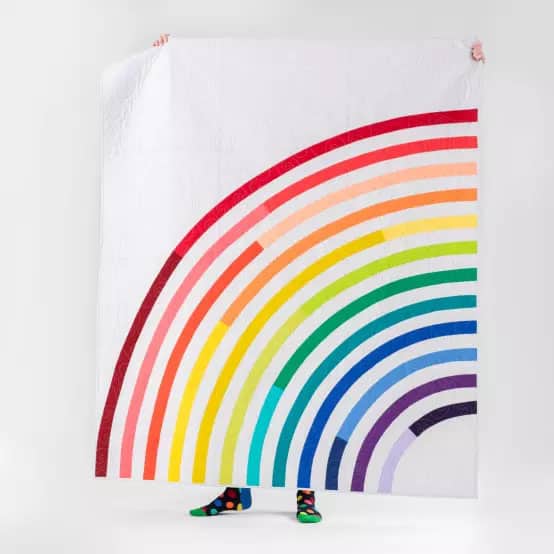
This one is so fast and so fun! I love a good happy rainbow. And it’s Applique, so you have fewer worries of the seams matching up and wondering if you’re at the right skill level etc… YOU ARE! This Rainbow Applique Quilt is for everyone and this quilt is beautiful every single time.
Here’s How to Pick the Perfect Quilting Thread Color Every Single Time
This is a free read! Yay! It has some really good tips to read over! No purchase required… just knowledge.

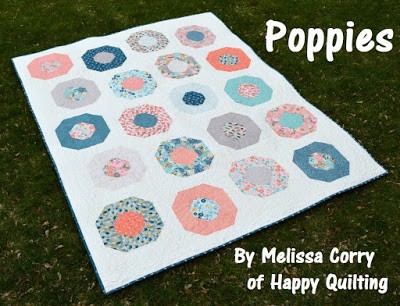
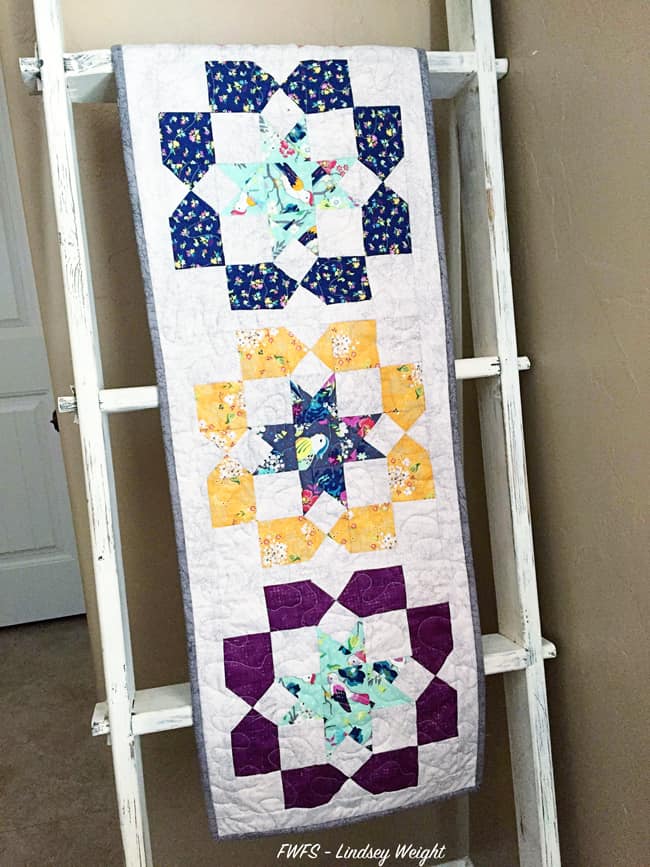
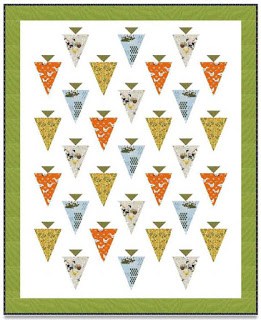
Your Perfect Project: Starry Path Quilt
Hi, I’m Christen. If you didn’t know, I’m obsessed with stars… 🙂 haha I really love this quilt design and the beautiful endless options for fabric that it lends itself to!
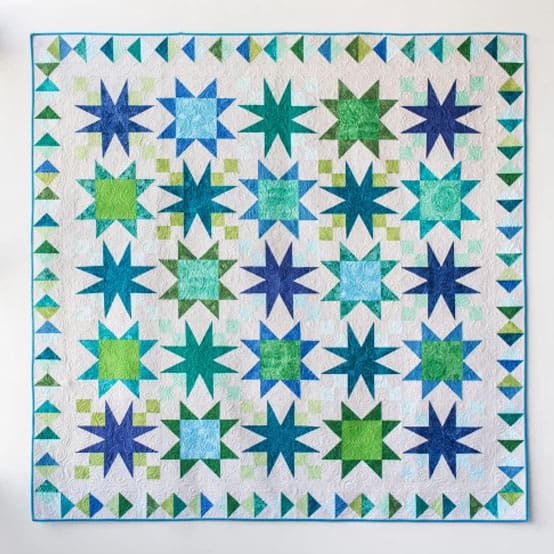
You can check out The Starry Path Quilt Here.
28 Days to Better Free Motion Quilting
Angela Walters… I love this girl. She has no idea I exist, but I know we could be fast friends – I tell you this, not to make this weird…er? but because I know you’ll love learning from her too!
Check out the video course here.
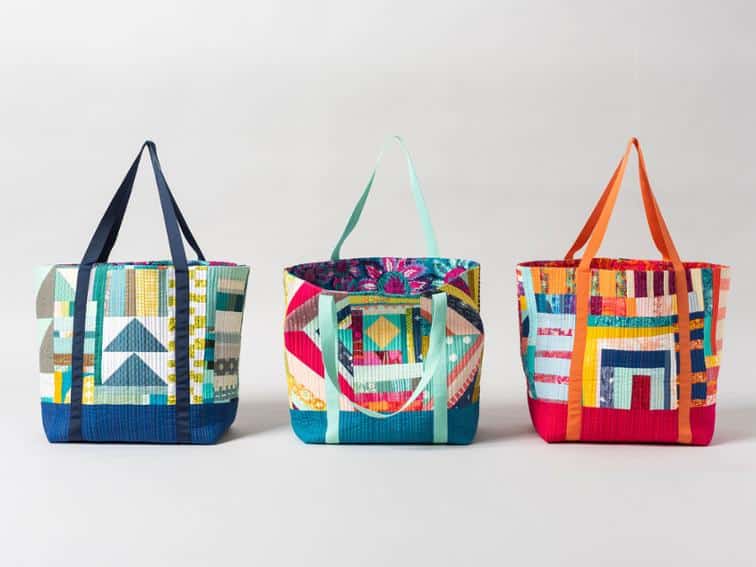
The Scrappy Market Tote
It is a scrap project!!! Looking for a fun way to use up those little scraps? I adore this one! How about fun Christmas presents? – unique gifts? – talk of the local farmers market? — uh huh, thats you, babe. 😉
Check out the class for The Scrappy Market Tote here:
Quilted Tree Skirt
This Quilting class is actually really easy, but super enjoyable! I love my tree skirt! Every single time I’ve made one I think that it will be my ‘last one’ and it will be a tradition to put it out every year, but soon I find myself looking at all the beautiful fabric out there and… I get a spark for another tree skirt!

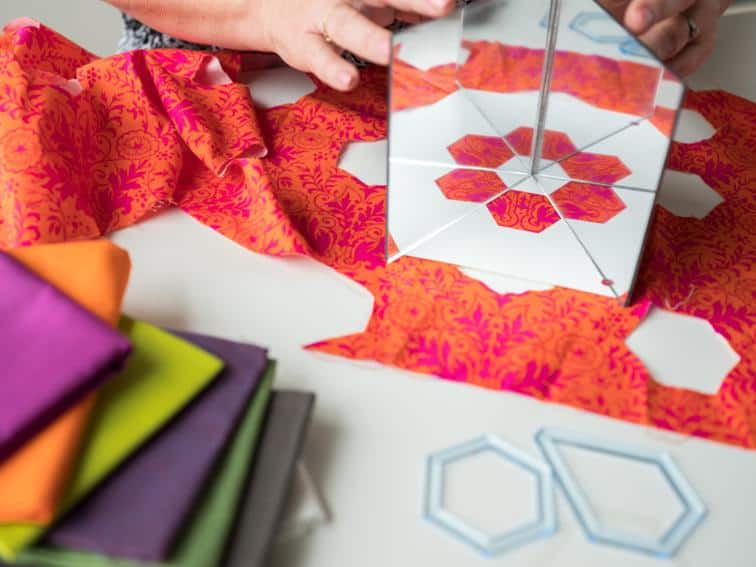
English Paper Piecing – Beyond The Basics
This class opened my eyes so much to the possibilities of this wonderful fabric craft.
I see inspiration everywhere now and I want to EPP forever! (well, as much as I want to quilt forever too lol)
Click here for The English Paper Piecing Class.
So, is it worth it to become a member?
Ok… I hear you… the cost of quilting classes can add up!
The good thing about buying these courses is that they are yours to own forever after you purchase them.
You can find some classes and materials on sale. – Check out the Deals of the Week sale section here.
My favorite way to do Bluprint is the membership option. It makes learning almost too easy… actually, who am I kidding… it is SO easy!
With their membership program, you have access to OVER 1300 classes! Boom. Just like that. Instant access, to become a master at just about anything craft related.
Decide that embroidery isn’t for you? no big deal… move on to beading! or knitting! or… decorate a cake to wow your family!
My honest opinions on Bluprint
I highly recommend Bluprint to anyone who enjoys a little bit of everything and to someone who wants to become an absolute MASTER at just one thing.
All the training that you need is right at the tip of your fingers on your computer screen, whenever you want it. No need to drive or wait for a class to visit your local shop. You can start today.
Also, I am a huge fan of things I can do while wearing my pajamas – This is definitely one of them! (don’t worry… I always wear cute ones haha)

Are you a member of Bluprint? Or are you thinking about it? Tell me your opinions on it in the comment section. I would love to hear your thoughts!